- 04 -
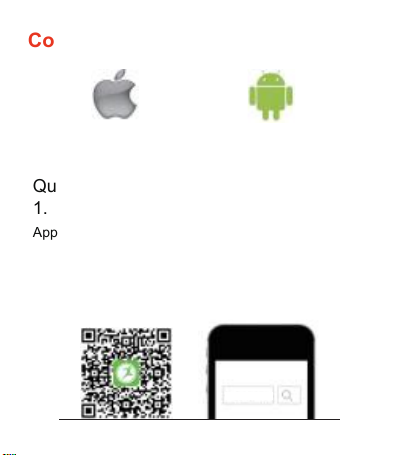
Compatibility with Mobile
Before connecting, make sure your device is powered
on and your smartphone's Bluetooth is on.
Note: When you use it for the first time, please allow
the app all permissions to avoid some features being
restricted.
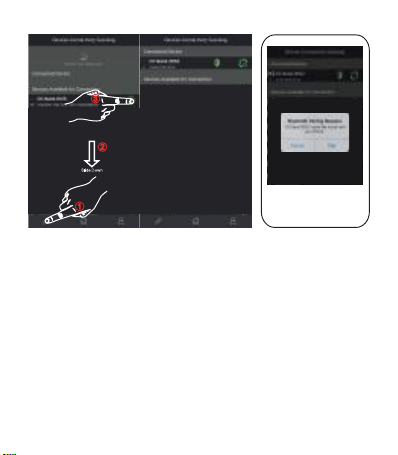
1. Connect the App with the device, go to the menu at
the bottom of the screen, and click the icon " " to
enter the page of "Device Connectivity Scanning".
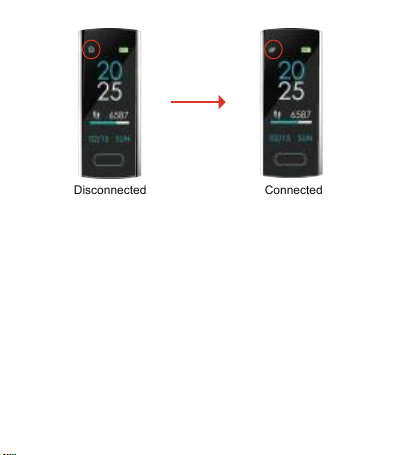
2. There you will see the devices that are ready to
connect, once you have found your device, click on the
icon that appears on the right side. If the bracelet icon
here is grey( ), please try again, the connection has
failed. If the icon is green( ),connection is OK.
3. It will need few seconds for App and bracelet to
synchronize data. If time synchronization failed, the
data in device will reset, if successful, the data will be
saved.
Note: Device must connect with App. Please don't pair
directly by Bluetooth on the Phone.