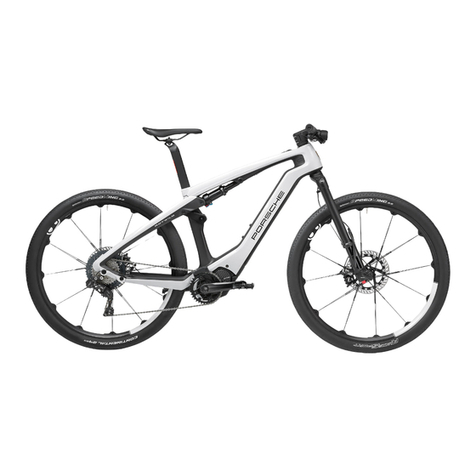
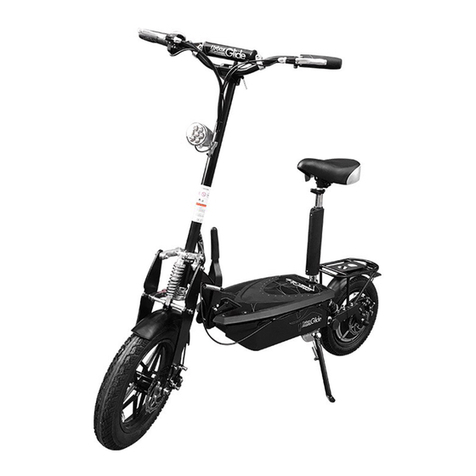
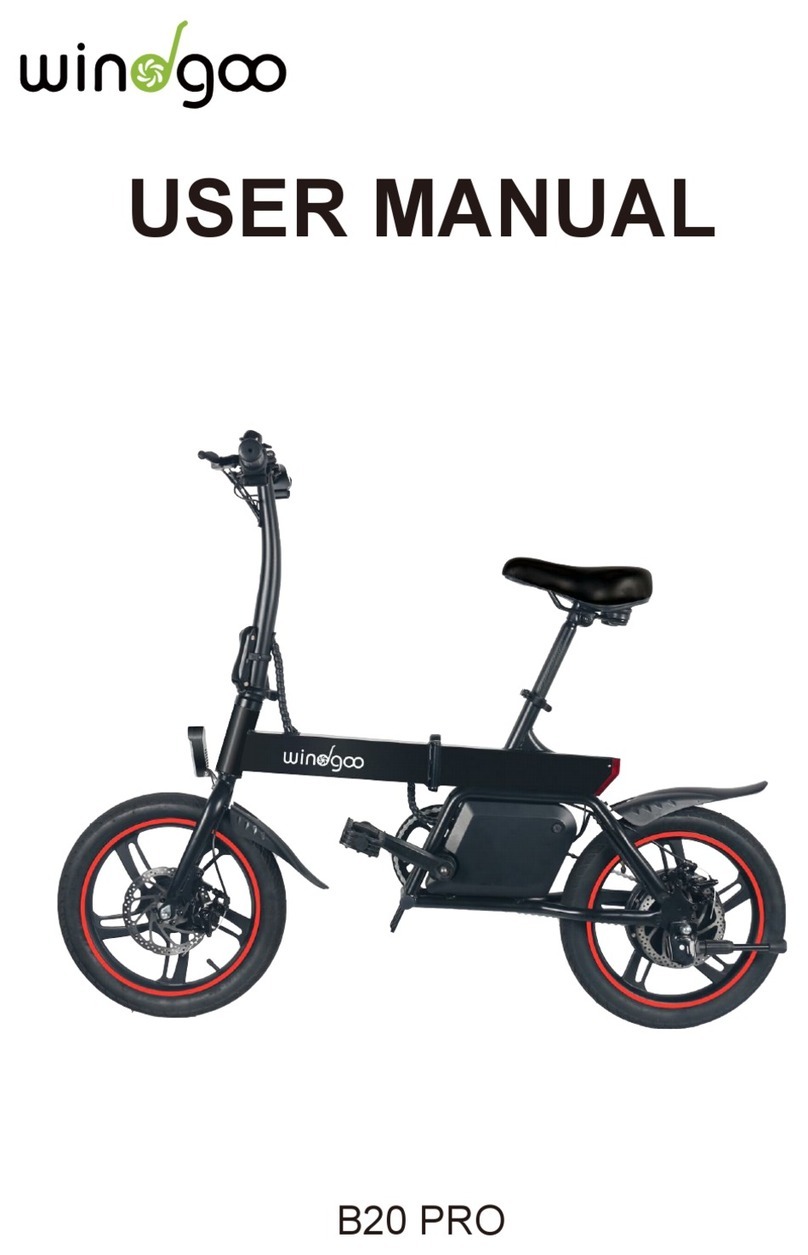
Bintelli B1 User manual

www.BintelliBicycles.com
Bintelli Electric Bicycles
Owner’s Manual
For how-to videos, please visit https://bintellibicycles.com/how-to-videos/

1
IMPORTANT INFORMATION! PLEASE READ PRIOR TO RIDING.
FULLY CHARGE BATTERIES BEFORE FIRST USE - Batteries should be fully charged immediately when they are received and after each use for the
recommended charge times (see below).
•
Lithium-ion Batteries: 4-6 hours
FACTORS TO MAXIMIZE THE RANGE OF YOUR ELECTRIC BICYCLE
•RIDER INPUT - The more the rider pedals the further the distance traveled. Continuous riding, as opposed to frequent stopping
and starting, will yield the greatest range possible.
•ELEVATION GAIN - The flatter the road the further the distance traveled.
•WEATHER - Cold weather can adversely affect the battery capacity.
•TERRAIN - The smoother the terrain (roadways vs. gravel roads, etc.) the further the distance traveled.
•RIDER WEIGHT - The lighter the rider, resulting in less drain on the batteries, the further distance traveled.
•RIDER BICYCLE MAINTENANCE - A properly maintained bicycle will yield the greatest range possible.
•RIDER TIRE PRESSURE - Properly inflated tires have less rolling resistance and will be easier to pedal.
•BATTERIES - Properly charged and maintained batteries will yield the greatest range possible. Batteries stored in cold areas (below 50
degrees Fahrenheit/10 degrees Celsius) will show reduced range. Batteries that have not been kept in optimum condition will show
reduced range and run time.

2
TABLE OF CONTENTS
Important Information..................................................................................................................1
Table Of Contents..........................................................................................................................2
Terminology ..................................................................................................................................3
Recommended Tools ....................................................................................................................4
Before You Ride ............................................................................................................................5
Safety Checklist .............................................................................................................................6
Riding Position...............................................................................................................................7
Handlebar Adjustment .................................................................................................................8
Throttle .........................................................................................................................................9
Riding Options …………………………………………………………………………………………………………………………10
Battery Care and Storage .............................................................................................................11
Frequently Asked Questions .........................................................................................................12
Bicycle Assembly ...........................................................................................................................13
Forks ..............................................................................................................................................14
Seat and Seat Post.........................................................................................................................15
Installing the Front Wheel.............................................................................................................16
Disc Brakes and Derailleurs ..........................................................................................................17
Drivetrain.......................................................................................................................................18
Troubleshooting ............................................................................................................................19
Checking Battery Terminals ..........................................................................................................21
How To Remove Your Battery ………………………………………………………………………………………………… 22
How To Turn On Your Headlight …………………………………………………………………………………………….. 23
How To Adjust the Brake...............................................................................................................24
How To Replace the Brake Lever ..................................................................................................25
How To Adjust the Derailleur........................................................................................................26
How To Remove the Rear Wheel ..................................................................................................27
How To Replace the Pedal Shaft ...................................................................................................28
Wiring Diagram .............................................................................................................................29

3
Warning / Important - Take notice of this symbol throughout this manual and pay
close attention to the instructions blocked off and preceded by this symbol.
Terminology
Power Systems
PAS –Pedal Assist - A sensor ring and pickup mounted near the bottom bracket below the bicycle to sense forward pedaling and apply power.
TAG –Twist and Go - A rider-controlled system, the motor activates only when the handlebar throttle is turned.
PAS/TAG –Pedal Assist or Twist and Go - A handlebar-mounted button allows selection of PAS or TAG modes.
Battery Systems
RTMB –Rack Top Mounted Battery with Lithium polymer cells - A single Li-Po battery pack lies horizontally inside the rack.
STB –Seat Tube Battery with Sealed Lead Acid (SLA) or Lithium Ion (Li- Po ) cells - A single battery pack is mounted behind the seat tube.

4

5
Before You Ride
About This Manual
It is important for you to understand how your new bicycle operates. By reading this manual before you go out on your first ride, you’ll know how to
achieve better performance, comfort, and enjoyment from your new bicycle. It is also important that your first ride on your new bicycle is taken in a
controlled environment, away from cars, obstacles, and other distractions.
General Warning
Bicycling can be a hazardous activity even under the best of circumstances. Proper maintenance of your bicycle is your responsibility as it helps reduce
the risk of injury. This manual contains many “Warnings” and “Cautions” concerning the consequences of failing to maintain or inspect your bicycle.

6
Safety Checklist
Before first initial ride and every ride after, it is important to carry out the following safety checks:
1.
Brakes
•
Check that front and rear brakes work properly.
•
Check that brake calipers are not over worn and are adjusted correctly.
•
Check that brake control cables are lubricated, adjusted, and do not display obvious wear and tear.
•
Check that brake control levers are lubricated and tightly secured to the handlebar.
2.
Wheels & Tires
•
Check that tires are inflated within the recommended limit as displayed on the tire sidewall.
•
Check that tires have tread and do not show any bulges or excessive wear.
•
Check that rims run true and do not have any obvious wobbles orkinks.
•
Check that all wheel spokes are tight and unbroken.
•
Check that axle nuts are tight. If your bicycle is fitted with quick release axles, make sure locking levers are correctly tensioned and in the closed position.
3.
Steering
•
Check that the handlebar and stem are correctly adjusted, tightened, and allow proper steering.
•
Check that the handlebars are set correctlyin relation to the forks and the direction of travel.
4.
Chain
•
Ensure chain is oiled, clean, and runs smoothly. (Extra care is required in wet or dustyconditions)
5.
Bearings
•
Check that all non-sealed bearings are lubricated, run freely, and do not display excess movement.
6.
Cranks & Pedals
•
Check that pedals are tightened to thecranks.
•
Check that cranks are tightened to the axle and are not bent.
7.
Derailleurs
•
Check that the front and rear mechanisms are adjusted and functionproperly.
•
Check that the shift and brake levers are attached to the handlebar, shift, andbrake.
•
Check that derailleurs, shift levers, shift and brake cables are properlylubricated.
8.
Frame and Fork
•
Check that the frame and fork are not bent nor broken. (If either is bent or broken, they need to bereplaced)
9.
Accessories
•
Check that that all reflectors are properly fitted.
•
Check that all other fittings on the bike are properly secured, fastened, and functioning properly.
•
Make sure the rider is wearing a helmet.
10.
Motor and Throttle
•
Check that the motor is working properly.
•
Check that the throttle is working properly.
11.
Battery pack
•
Check that the batteries are in good operating condition and kept fully charged.

7
The ideal clearance will vary between types of bicycles and rider preference. This makes straddling the frame when off the seat easier and safer in
situations such as sudden stops. The following chart and diagram will help you make the correct choice. Rider leg length refers to approximate pant
inseam.
Riding Position
Seat Height
For the most comfortable riding position and best possible pedaling
efficiency, the seat height should be set correctly according to the rider’s leg
length. Correct seat height helps prevent leg strain from over-extension.
When sitting on the bicycle, place your foot onto the pedal. The correct seat
height will allow the knee to be slightly bent in this position. If the rider
places their heel on the pedal, the leg should be almost straight.
Under no circumstances should the seat post project from the frame beyond
its “Minimum Insertion” or “Maximum Extension” mark. If your seat post
exceeds these markings, the seat post or frame may break. Before your first
ride, make sure to tighten the seat clamp appropriately. A loose seat clamp
can cause damage to the bicycle or for the rider to lose control. Periodically
check to make sure that the seat clamp is properly tightened.
Reach
To obtain maximum comfort, the rider should not overextend their reach
when riding.
To adjust this distance, the position of the seat can be adjusted in relation to
the seat post.

8
Handlebar Adjustment & Height
Height
Maximum comfort is usually obtained when the handlebar height is equal to
or slightly higher than the height of the seat. You may wish to try different
heights to find the most comfortable position.
Stem
The stem’s “Minimum Insertion” should not be the top of the headset. If the
stem is extended beyond this mark, the stem may break or damage the fork’s
steering tube, which could cause you to lose control or become injured.
Place the front wheel of the bicycle between your legs and attempt to twist
the handlebar/stem assembly using a reasonable amount of force. There
should not be any play in the handlebars or in relation to the wheel. If you
can twist the handlebars while the wheel remains in place, do not ride it until
proper alignment is obtained. Make sure to tighten all bolts accordingly
before use.
Failure to properly tighten any of these properly could result in losing control
of the bike and rider injury.

9
Throttle
TAG (Twist & Go)
Before you begin riding, turn the main power switch on, then start
riding as you would ride any regular, non-motor assisted bicycle. After
you have begun to ride, slowly twist the throttle (on equipped models)
towards you. The more you twist the throttle, the more power the
motor will supply. Once you have twisted the throttle all the way, the
motor will accelerate you to its full speed.

10
Riding Options
Option1: Regular pedaling –traditional way to ride a bicycle.
Option 2: Throttle mode is similar to how a motorcycle or scooter operates. When the throttle
is twisted, the motor provides power and propels you and the bike forward. A throttle allows
you to pedal or, you can kick back and enjoy a “free” ride! Most throttles can be fine tuned like
a volume dial between low and full power.
Option 3: Pedal assist is a mode that provides power only when you are pedaling. If you are
accustomed to riding a traditional bike, the pedal assist mode has a more intuitive feel
compared to the throttle mode. The pedal assist mode is also nice because you can focus
purely on your pedaling and you don’t have to hold the throttle in a certain position. Since you
have to pedal, the pedal assist mode will generally give you more range when compared to the
throttle mode.
The cadence sensor pedal assist systems provide assistance when the cranks of the
bike are turning. The cadence sensor will provide the assist based purely on the level
assist you have selected and it will not increase or decrease the assist based on your
actual pedal power. You could be pedaling very lightly or very hard and it will provide
the same level of assist.
A lot of pedal assist bikes have different levels of assistance, for example: low, medium,
or high assist. Please note that some e-bikes have 4 or 5 pedal assist settings.
Low pedal assist: Low assist provides a small electric assist while you provide more
pedal power and get more of a workout.
Medium pedal assist: You have a nice tailwind everywhere you go. Medium pedal assist
can be a nice balance of your pedal power and the motor power.
High pedal assist: High pedal assist is when you want to get somewhere quickly and
with minimal effort.
**The Bintelli E1 and F1 models both have 3 levels of pedal assist. The B1 and M1 have 5 levels of
pedal assist

11
Battery Care
Proper maintenance of your batteries will maximize their lifespan and capacity. Bintelli Bicycles warranties your new batteries from the date of
purchase for 2 full years if properly cared for. Even with proper care, batteries do not last forever. Every time the battery is discharged and
subsequently recharged, its relative capacity decreases by a small percentage. With proper care, the life span of your batteries will reach their
maximum life span. To maximize your battery life, please follow the instructions on this guide.
•
Batteries should be fully charged immediately when they are received for the full recommended charge times.
Lithium-Ion Recommended Charge Time: 4-6 hours. For a complete, 100% charge, leave the battery on the charger for one full hour after the
charger indicator light turns green.
•
Do not charge batteries for longer than 24 hours.
•
Lithium-Ion batteries do not have a “memory”. Partial discharge/charge cycles will not harm the batteries’ capacity or performance.
•
Always be sure to turn the bicycle power switch to “OFF” after each use. If you leave the power switch in the “ON” position, the batteries may
reach a stage at which they will no longer hold a charge.
Storage
Storing your batteries for a long period of time (longer than two months):
•
Charge your batteries every 90 days to avoid capacity loss. Battery life slowly shortens when left unused for a long period of time. If the
battery cells are left to reach a critically low voltage, their lifespan and capacity will be permanently reduced.
•
Always disconnect your charger from the wall outlet and battery before storing the battery.
•
Do not store your batteries in extreme hot or cold temperatures.

12
Frequently Asked Questions
Q: Do I need to break-in my batteries?
A: Yes, it is recommended that you perform a “break-in” cycle consisting of about three discharge/charge cycles to allow your batteries to
reach their full potential.
Q: Is it normal that the batteries get warm when recharging?
A: Yes, it is normal that the batteries will become warm to the touch during the recharging process. This is because the increase of internal
resistance and energy conversion from electric energy to chemical energy.
Q: How long will my batteries last before needing replacement?
A: Average battery life depends on how they were used and cared for. Even with proper care, rechargeable batteries do not last forever. Lithium-Ion
batteries will last between 500-700 cycles.

13
B1 Assembly
B1 Assembly
E1 Assembly
F1 Assembly
M1 Assembly
1) Handle bars:
Place bushing on the handle bar tube and twist to
get a tight seal.
Insert the handle bar stem into the tube.
Confirm that it does not go past the indicator.
Ensure the handle bar lines up with the forks.
Tighten all bolt with the 5 and 6 mm allen
wrenches
2) Wheel:
Remove acorn bolts and washers from the end of
the forks.
Insert the wheel between the forks ensuring the
break disk is on the left lining up with the break
caliper.
Replace acorn bolts and washers-tighten.
Remove bolts with 4mm allen wrench.
Make sure you remove the bolt completely so
you can place the headlight through the front of
the bolt before you slide the fender through from
behind.
Slide the fender through and tighten bolts.
3) Pedals:
There will be left and right indicators on the
pedal stems.
Use the 15 mm wrench to tighten.
The left pedal will be reverse thread so you will
tighten it counter-clockwise.
4) Seat:
Insert the tapered end of the seat rod into the
body of the bike.
Lock the seat in place at the appropriate height
ensuring it is past the minimum insertion line.
Attach the rear reflector to the seat stem using
the provided rubber strips.
5) Water bottle:
Mount bracket to frame using the bolts that are
already in the frame. Use 4mm allen wrench to
tighten down.
1) Handle bars:
Remove front plate of the handle bar bracket.
Place handle bars in mount ensuring they are
centered.
Replace front place and tighten bolts with 4mm allen
wrench.
2) Wheel:
Remove acorn bolts and washers from the end of the
forks.
Insert the wheel between the forks ensuring the
break disk is on the left lining up with the break
caliper.
Replace acorn bolts and washers-tighten.
Remove bolts with 4mm allen wrench.
Make sure you remove the bolt completely so you can
place the headlight through the front of the bolt
before you slide the fender through from behind.
Slide the fender through and tighten bolts.
3) Front Break adjustment:
Loosen left allen bolt of front break assembly.
Pull and tighten break cable so it is just off the tire.
That way when you engage the break it touches the
tire. Tighten allen bolt back down.
5) Pedals:
There will be left and right indicators on the pedal
stems.
Use the 15mm wrench to tighten.
The left pedal will be reverse thread so you will
tighten it counter-clockwise.
6) Seat:
Insert the tapered end of the seat rod into the body of
the bike.
Lock the seat in place at the appropriate height
ensuring it is past the minimum insertion line.
7) Water bottle:
Mount bracket to frame using the bolts that are
already in the frame. Use 4mm allen wrench to
tighten down.
1) Unfold and latch into
place.
2) Lock safety latch.
3) Put kick stand down to
stabilize bike if not using a
stand.
4) Make sure wheel is facing
left.
5) Match up the grooves on
the handle bar stem, slide
into handle bar tube, and
lock down.
6) Work your way from the
front to the back of the
bike making sure
everything is tight and
locked into place.
7) Pedals:
Left and right indicators
will be on the pedal stem.
Use 15 mm wrench to
tighten.
Left pedal is reverse
thread.
8) Water bottle:
Mount bracket to frame
using the bolts that are
already in the frame.
Use 4mm allen wrench to
tighten down.
4) Handle bars:
Remove front plate of the handle bar
bracket.
Place handle bars in mount ensuring
they are centered.
Replace front place and tighten bolts
with 4mm allen wrench.
5) Wheel:
Remove locking bolt from the front
wheel.
Insert the wheel between the forks
ensuring the break disk is on the left
lining up with the break caliper.
Insert the quick release hub through
the hole. Use the spring and bolt to
lock it in place. Ensure the quick
release hub is locked down.
Rotate head light and tighten it down
with 4 mm allen wrench.
6) Pedals:
There will be left and right indicators
on the pedal stems.
Use the 15 mm wrench to tighten.
The left pedal will be reverse thread
so you will tighten it counter-
clockwise.
7) Seat:
Insert the tapered end of the seat rod
into the body of the bike.
Lock the seat in place at the
appropriate height ensuring it is past
the minimum insertion line.
8) Water bottle:
Mount bracket to frame using the
bolts that are already in the frame.
Use 4mm allen wrench to tighten
down.

14
Forks
There are two different types of forks that vary in styles and dimensions.
One type is a more rigid fork (Picture at top) consisting of stationary tubing
with curved blades. The other type is a suspension fork (Picture at bottom)
consisting of inner stanchion tubes riding on the springs inside of a straight
outer fork leg. This mechanism acts as a shock absorber with a specified
amount of travel that varies between models.
Do not attempt to disassemble a suspension fork yourself. Consult your
local dealer for assistance.
If your bike is equipped with a suspension fork, check that the fork
compresses and rebounds smoothly. To do this, place the fork dropouts
against the ground, push and release the handle- bar. The fork will generally
compress 1-2” and rebound quickly. Most elastomer type forks will
gradually soften with use.

15
Seat and Seat Post
*Your bicycle may come equipped with a standard or a micro-
adjustable seat post.
Standard seat post
To attach the seat to the seat post by first you must loosen the nuts on the seat clamp. Insert the tapered end of the seat post into the seat clamp
until it’s at the top of the clamp. Tighten the nuts onto the seat clamp, insert the seat assembly into the frame of the bicycle, and then adjust the seat
to the appropriate height. The seat post must be inserted to at least the “Minimum Insertion” line. Move the quick release lever to the closed
position. Adjust the seat to be centered in the clamp and parallel to the ground, then tighten the clamp nuts evenly before riding. Do not ride the bike
with a loose seat.
Micro-adjustable seat post
Loosen the seat fixing bolt, then slide the seat into the clamp. The two seat rails should fit into the clamp channels. There normally is no need to
remove the fixing bolt, but it may be necessary in some cases. Tighten the seat fixing bolt accordingly, then insert the seat assembly into the frame of
the bicycle and adjust the seat to your preferred height. The seat post must be inserted to at least the “Minimum Insertion” line. Move the quick
release lever to the closed position. You should feel resistance while moving the lever. If not, re-open and tighten the lever, then move it to the closed
position. Adjust the seat to be centered in the clamp and parallel to the ground, then re-tighten the seat fixing bolt before riding. Do not ride the bike
with a loose seat.

16
Figure 1
Figure 2
Figure 3
Figure 4
Figure 5
Installing the Front Wheel:
1. Place wheel into fork (Figure 1).
2. Insert Quick Release Axle (Figure 2) as shown in Figure 3 & 4 with a nut.
3. When axle is in place, push the lever down on the axle to lock it into place (Figure 5).
4. Spin the wheel to make sure it is centered and clears the brake shoes.
5. Tighten the brakes if necessary.
**Important: It is very important to check the front wheel connection to the bicycle. Failure to properly tighten may cause the front wheel to comeoff.

17
Disc Brakes
1.
Check the tightness of the six mounting bolts holding the brake rotor onto the wheel. If
you need to remove these bolts, be sure to us a thread-locking compound when re-
installing them.
2.
Make sure the two bolts securing the caliper bracket to the fork are tightened.
3.
Thread the brake cable through the caliper and secure it with the cable fixing bolt.
4.
Loosen the two caliper mounting bolts enough to allow the brake caliper to float freely.
Derailleur Systems
The derailleur system includes the front and rear derailleurs, the shift levers, the derailleur control cables, all of which must function correctly for
smooth gear shifting to occur. Although the front and rear derailleurs are initially adjusted at the factory, you will need to inspect and readjust both
before riding the bicycle.
Rear derailleur
Begin by shifting the rear shifter to largest number indicated, loosen the cable from the rear derailleur cable anchor bolt, and place the chain on the
smallest sprocket. Adjust the High limit screw so the guide pulley and the smallest sprocket are lined up vertically. Re-tighten the cable, pull out any slack,
and retighten the anchor bolt securely. Shift through the gears, making sure each gear achieved is done quietly and without hesitation. If necessary, use
the barrel adjuster to fine tune the cable tension by turning it the direction you want the chain to go. For example: turning clockwise will loosen the cable
tension and move the chain away from the wheel, while turning counter-clockwise will tighten cable tension and direct the chain towards the wheel.

18
Drivetrain
The drivetrain of the electric bicycle refers to all parts that transmit power to
the rear wheel. This includes the pedals, chain, chain wheel, crank set and freewheel.
Pedals
These help to keep the feet correctly supported and allow the rider to exert pulling force, as
well as downward pressure, on the pedals.
Inspection
Pedals should be inspected every month, taking note of the following areas:
• Check correct tightness into the crank arms. If pedals become loose, they will not only be
dangerous but will also cause damage to the cranks.
• Check that pedal bearings are adjusted properly. Move the pedals up, down, right to left,
and also rotate them by hand. If you suspect any looseness or roughness in the pedal
bearings, adjustment, lubrication, or replacement may be required.
• Ensure that the front and rear pedal reflectors are clean and fitted securely.
**Important:
The left pedal has left handed threads and turns counter clockwise to tighten.

19
Troubleshooting
PROBLEM
POSSIBLE CAUSE
REMEDY
Bicycle has reduced range and/or speed
Low battery charge
Charge the batteries for recommended time
Faulty and/or old batteries
Replace the batteries
Low tire pressure
Inflate the tires to their recommended pressure
Brakes dragging against the disc
Adjust the brakes and/or the caliper
Riding in uneven terrain, headwind, etc.
Reduced range to be expected
Hub motor makes a "clicking" noise and has
reduced power and/or shuts off
Low batteries
Charge batteries for recommended time
Damaged planetary gears
Replace the hub motor/wheel
No power when the switch is
turned "ON"
Blown fuse
Replace the fuse
Loose connectors
Check all of the connectors
Broken wire
Inspect all wires for a damaged faulty switch
Faulty switch
Replace the switch and re-test the faulty controller
Faulty controller
Replace controller and re-test
Bicycle runs at full speed
without pedaling
Faulty TMM sensor
Replace TMM sensor and re-test the faulty throttle
Faulty throttle
Replace throttle and re-test Faulty controller
Faulty controller
Replace the controller and re-test
Battery indicates full charge when tested at the
charger port but bicycle doesn't operate
Blown fuse
Replace the fuse
Loose connectors
Check all connectors
Poor contact between battery terminals
Inspect and clean the battery terminals
Bicycle (RMB or STB Series) works in TAG
mode but not in PAS mode
Sensor and sensor ring not aligned
Realign so there isn’t a gap between sensor and ring
Faulty "White Box" sensor ring is 1-2mm
Replace "White Box" and retest
Throttle does not spring back to neutral position
Grip jammed against throttle
Adjust the gap 1-2mm between grip and the throttle
Faulty throttle
Replace the throttle
Bicycle has intermittent power
Loose connectors
Check all of the connectors
Loose fuse
Check the fuse connector
Continued onto the next page
This manual suits for next models
3
Table of contents
