manuals.online logo
Brands
  1. Home
  2. •
  3. Brands
  4. •
  5. Bionaire
  6. •
  7. Indoor Fireplace
  8. •
  9. Bionaire BFH5000 Manual

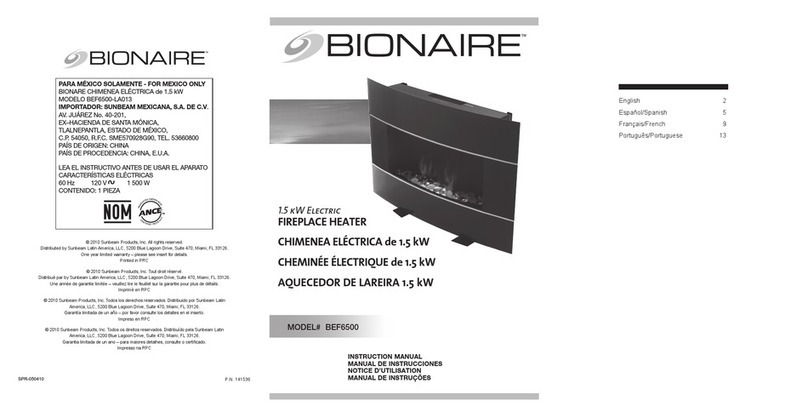
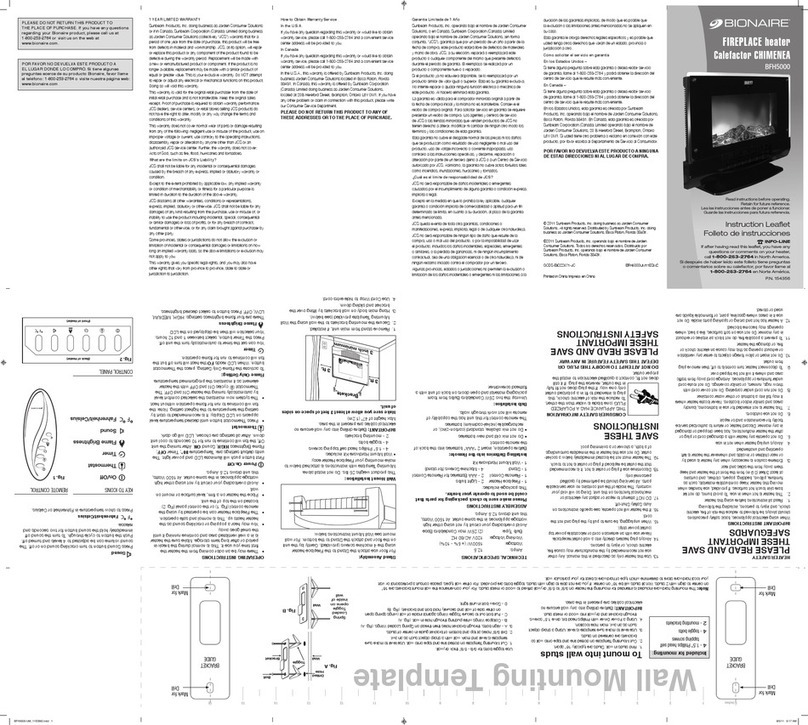
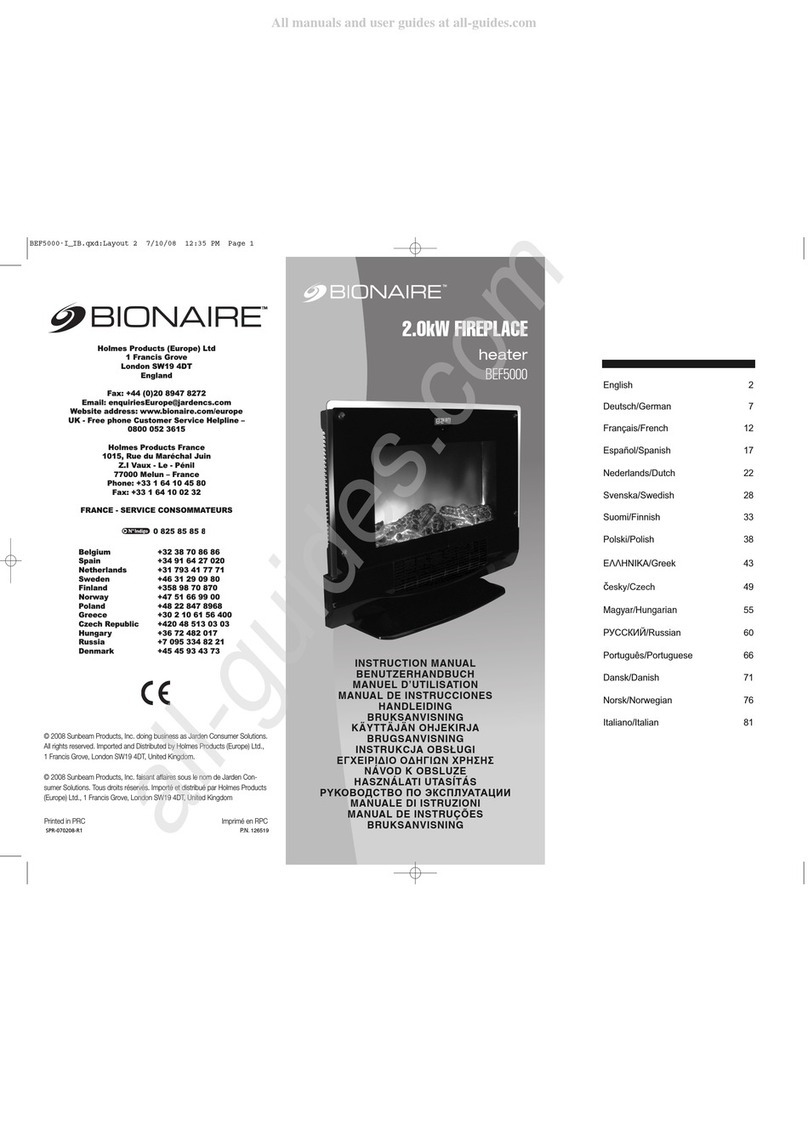
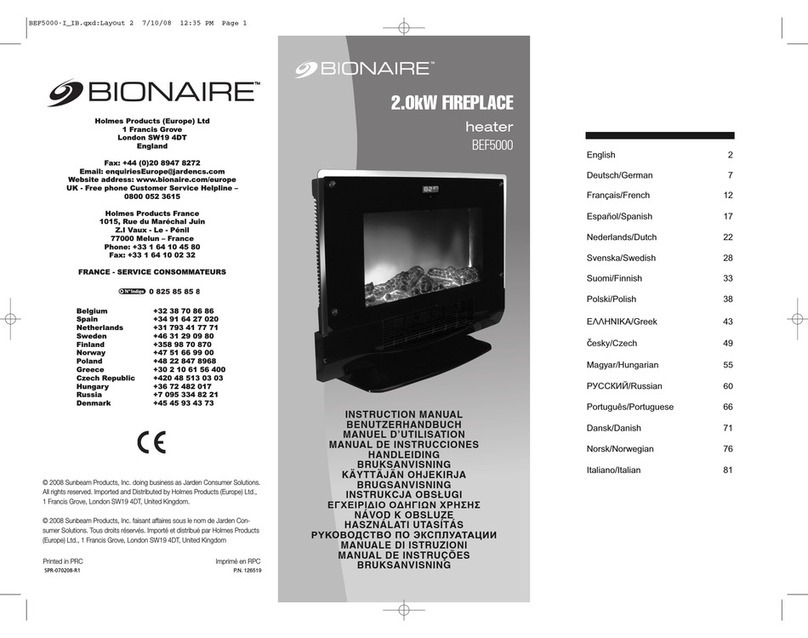
Bionaire BFH5000 Manual

FIREPLACE heater
BFH5000
Read instructions before operating.
Retain for future reference.
Instruction Leaflet
INFO-LINE
If after having read this leaflet, you have any
questions or comments on your heater,
call 1-800-253-2764 in North America.
P.N. 127176
CLEANING/MAINTENANCE
Always unplug the heater before cleaning and allow to
cool.
• Tocleanglassusehouseholdglasscleaner
• Lightlyrunavacuumcleanernozzleovertheheatergrill
toremoveanydustordirtthatmayhaveaccumulated
• Carefullywipetheheaterwithasoft,dampcloth.
Pleasebeverycautiousneartheheatingelements.
• NEVERuseabrasiveorammablesolventstocleanthe
heater
• Aftercleaning,besuretocompletelydrytheheater
with a cloth or towel
• Storeyourheaterinacool,drylocation
AUTO SAFETY SHUT-OFF
Thisheaterisequippedwithatechnologicallyadvanced,
safetysystemthatautomaticallyshutsoffthecurrent
totheheaterwhenapotentialoverheattemperatureis
reached.Theheatercanonlyresumeoperationwhenyou
reset it.
To Reset the Heater
Ifyourheatershutsdown,followthesesteps:
 1.Unplugtheheaterandwait30minutes
 2.Plugintheheater,turnthepowerON
(Front of Heater)
(Back of Heater)
3. Your heater should now be operating properly
TIp-OvER SHUT-OFF
Iftheheaterisknockedover,itwillinstantlyshutoff.To
resumeoperation,simplyplacetheheaterinanupright
position and press the Power
(Front of Heater)
(Back of Heater)
button.
BULB REpLACEMENT
Two25WCandelabraBaseBulbscanbereplacedby
openingdoorsonbackofunitwithaatheadscrewdriver.
TROUBLESHOOTING






 1.RegulateamebrightnessusingtheFlame
Brightness
(Front of Heater)
(Back of Heater)
button
 2.Checkbothbulbsareworkingandreplaceif
necessary

SunbeamProducts,Inc.doingbusinessasJardenConsumerSolutions
orifinCanada,SunbeamCorporation(Canada)Limiteddoingbusiness
asJardenConsumerSolutions(collectively“JCS”)warrantsthatfora
periodofoneyearfromthedateofpurchase,thisproductwillbefree
fromdefectsinmaterialandworkmanship.JCS,atitsoption,willrepair
orreplacethisproductoranycomponentoftheproductfoundtobe
defectiveduringthewarrantyperiod.Replacementwillbemadewith
aneworremanufacturedproductorcomponent.Iftheproductisno
longeravailable,replacementmaybemadewithasimilarproductof
equalorgreatervalue.Thisisyourexclusivewarranty.DoNOTattempt
torepairoradjustanyelectricalormechanicalfunctionsonthisproduct.
Doingsowillvoidthiswarranty.
Thiswarrantyisvalidfortheoriginalretailpurchaserfromthedateof
initial retail purchase and is not transferable. Keep the original sales
receipt.Proofofpurchaseisrequiredtoobtainwarrantyperformance.
JCSdealers,servicecenters,orretailstoressellingJCSproductsdo
nothavetherighttoalter,modifyoranywaychangethetermsand
conditions of this warranty.
Thiswarrantydoesnotcovernormalwearofpartsordamageresulting
fromanyofthefollowing:negligentuseormisuseoftheproduct,useon
impropervoltageorcurrent,usecontrarytotheoperatinginstructions,
disassembly,repairoralterationbyanyoneotherthanJCSoran
authorizedJCSservicecenter.Further,thewarrantydoesnotcover:
ActsofGod,suchasre,ood,hurricanesandtornadoes.

JCSshallnotbeliableforanyincidentalorconsequentialdamages
causedbythebreachofanyexpress,impliedorstatutorywarrantyor
condition.
Excepttotheextentprohibitedbyapplicablelaw,anyimpliedwarranty
orconditionofmerchantabilityortnessforaparticularpurposeis
limitedindurationtothedurationoftheabovewarranty.
JCSdisclaimsallotherwarranties,conditionsorrepresentations,
express,implied,statutoryorotherwise.JCSshallnotbeliableforany
damagesofanykindresultingfromthepurchase,useormisuseof,or
inabilitytousetheproductincludingincidental,special,consequential
orsimilardamagesorlossofprots,orforanybreachofcontract,
fundamentalorotherwise,orforanyclaimbroughtagainstpurchaserby
any other party.
Someprovinces,statesorjurisdictionsdonotallowtheexclusionor
limitationofincidentalorconsequentialdamagesorlimitationsonhow
longanimpliedwarrantylasts,sotheabovelimitationsorexclusionmay
not apply to you.
Thiswarrantygivesyouspeciclegalrights,andyoumayalsohave
otherrightsthatvaryfromprovincetoprovince,statetostateor
jurisdiction to jurisdiction.

IntheU.S.A.
Ifyouhaveanyquestionregardingthiswarrantyorwouldliketoobtain
warrantyservice,pleasecall1-800-253-2764andaconvenientservice
centeraddresswillbeprovidedtoyou.
InCanada
Ifyouhaveanyquestionregardingthiswarrantyorwouldliketoobtain
warrantyservice,pleasecall1-800-253-2764andaconvenientservice
centeraddresswillbeprovidedtoyou.
IntheU.S.A.,thiswarrantyisofferedbySunbeamProducts,Inc.doing
businessasJardenConsumerSolutionslocatedinBocaRaton,Florida
33431.InCanada,thiswarrantyisofferedbySunbeamCorporation
(Canada)LimiteddoingbusinessasJardenConsumerSolutions,
locatedat20BHerefordStreet,Brampton,OntarioL6Y0M1.Ifyouhave
anyotherproblemorclaiminconnectionwiththisproduct,pleasewrite
ourConsumerServiceDepartment.





 1.Checkpower
 2.PressFlameButton
(Front of Heater)
(Back of Heater)
 3.Checkbothbulbsandreplaceifnecessary

1. Unit is intended to replicate the gentle popping and
cracklingsoundsofaresidentialreplace.
 2.PressSound
(Front of Heater)
(Back of Heater)
buttontoadjust4levelsofsound
and to turn off sound.

 1.Refertooperatinginstructions
 2.PressThermostat
(Front of Heater)
(Back of Heater)
button until 00 is displayed.
Thefanwillcontinuetorunforameoperation.

 1.Thisisnormalinordertocooldowntheheaterand
preservetheheatingelement
 2.Thisisnormalwhentheheatisturnedoff

 1.Changebatteries(seeAssemblyInstructions)
 2.BesuretopointRemoteatControlPanelonunit
 3.Besuretherearenoobstructionsbetweenremote
and unit
 4.MakesureglassoverLCDDisplayisclean
 5.IdealrangeforRemoteControliswithin20feet

 1.Increasethermostatsettingtohighestsetting
 2.Thisisa1500wattheaterandisintendedfor
supplementheatonly

 1.Thethermostatautomaticallyturnstheheateron
andofftomaintainselectedcomfortlevel
 2.Tomakethisoccurlessfrequentlyadjustthe
thermostatsettingupordown
HEATER SERvICE INSTRUCTIONS





pLEASE CHECk pACkAGING FOR pARTS BEFORE

HEATER SAFETY

THESE IMpORTANT

IMpORTANT INSTRUCTIONS
Whenusingelectricalappliances,basicsafetyprecautions
shouldalwaysbefollowedtoreducetheriskofre,electric
shock,andinjurytopersons,includingthefollowing:
1. Readallinstructionsbeforeusingtheappliance.
2. Toavoidreorshockhazard,plugtheappliancedirectlyinto
a120VACelectricaloutlet.
3. Theheaterishotwheninuse.Toavoidburns,DONOT
letbareskintouchhotsurfaces.Usehandlewhenmoving
thisheater.Keepcombustiblematerials,suchasfurniture,
pillows,bedding,papers,clothes,andcurtainsatleast3
ft(0.9m)fromthefrontoftheheaterandkeepthemaway
fromthesidesandrear.
4. DONOTruncordundercarpeting.DONOTcovercordwith
throwrugs,runners,orthelike.Arrangecordawayfrom
trafcareaandwhereitwillnotbetrippedover.
5. Thisheaterisnotintendedforuseinbathrooms,laundry
areasandsimilarindoorlocations.NEVERlocateheater
whereitmayfallintoabathtuborotherwatercontainer.
6. Extremecautionisnecessarywhenanyheaterisusedby,
ornearchildrenorinvalids,andwhenevertheheaterisleft
operating and unattended.
7. Alwaysunplugtheheaterwhennotinuse.
8. Whenunplugging,besuretopullbytheplugandnotthe
cord.
9. DONOTinsertorallowforeignobjectstoenterany
ventilationorexhaustopeningasthismaycauseanelectric
shockorre,ordamagetheheater.
10.DONOToperateheaterwithadamagedcordorplug,or
aftertheheatermalfunctions,orhasbeendamagedinany
manner.Returnappliancetomanufacturerforexamination,
electricalormechanicaladjustment,orrepair.
11.Aheaterhashotandarcingorsparkingpartsinside.DO
NOTuseitinareaswheregasoline,paint,orammable
liquidsareusedorstored.
12. Use appliance only for intended household use as described
inthismanual.Anyotherusenotrecommendedbythe
manufacturermaycausere,electricshock,orinjuryto
persons.Theuseofattachmentsnotrecommendedorsold
bythemanufacturermaycausehazards.
13.DONOTuseoutdoors.
14.Topreventapossiblere,DONOTblockairintakesor
exhaustinanymanner.DONOTuseonsoftsurfaceslikea
bed,whereopeningsmaybecomeblocked.
15.Todisconnectheater,presstheOn/Offbutton,thenremove
plugfromoutlet.
16.Avoidtheuseofanextensioncordbecausetheextension
cordmayoverheatandcauseariskofre.However,ifyou
havetouseanextensioncord,thecordshouldbeNo.
14AWGminimumsizeandratednotlessthan1875watts.
17.Iftheheaterwillnotoperate,seespecicinstructionsunder
AutoSafetyShut-offonresettingtheheater.
18.DONOTattempttorepairoradjustanyelectricalor
mechanicalfunctionsonthisunit.Doingsowillvoidyour
warranty.Theinsideoftheunitcontainsnouserserviceable
parts.Allservicingshouldbeperformedbyqualied
personnel only.
19.DISCONTINUEUSEIFPLUGOROUTLETISHOT.
RECOMMENDOUTLETBEREPLACEDIFPLUGOR
OUTLETISHOTTOTOUCH.
pLEASE SAvE THESE
INSTRUCTIONS
CONSUMER SAFETY INFORMATION
THISAPPLIANCEHASAPOLARIZED
PLUG(onebladeiswiderthantheother).
Toreducetheriskofelectricshock,this
plugisintendedtotinapolarizedoutlet
onlyoneway.Iftheplugdoesnottfully
intheoutlet,reversetheplug.Ifitstill
doesnott,contactaqualiedelectrician
to install the proper outlet.

.

THESE IMpORTANT
SAFETY INSTRUCTIONS
TECHNICAL SpECIFICATIONS
 Amps: 12.5
 Wattage: 1500W/(+5%-10%)
 WorkingVoltage: 120VAC/60HZ
 BulbType: (2)25WmaxCandelabraBase
Avoidoverloadingyourcircuitbynotusingotherhigh
wattageappliancesinthesameoutlet.At1500Watts,
thisunitdraws12.5Amps.
ASSEMBLY INSTRUCTIONS
Pleasemakesuretocheckpackagingforpartsthatcould
be used to operate your heater.
Thispackageincludes:
1-FireplaceHeater 2-Lightbulbs
1-RemoteControl 2-AAABatteriesforRemote
1-Stand 4-MachineScrews(forstand)
1-WallMountHardwareKit

Beforeoperation,insert2“AAA”batteriesintothebackof
theremotecontrol:
•Donotmixoldandnewbatteries
•Donotmixalkaline,standard(carbon-zinc),or
rechargeable(nickel-cadmium)batteries
Theremotecontrolforthisunithasthecapabilityof
operating all control panel functions. Please note this
remotewillnotworkthroughwalls.

Unwrapthetwo25WCandelabraBulbsfromcardboard
insert found at the top of unit and open doors on back of
unitwithascrewdriver.

ForooruseattachtheStandtotheFireplaceheaterusing
the4machinescrews(provided).Gentlylaytheunitonthe
oorandattachtheStandtothebottomForwallmount
seeWallMountInstructionsbelow.

Thisproductweighs25lbs.Donotinstallalone.
MountingTemplatewithinstructionsisattachedbelowto
makemountingyourFireplaceHeatereasy.
•WallMountHardwareKitincludes:
 4-1.5”Phillipsheadselftappingscrews
 4-togglebolts
 2-mountingbrackets
Beforedrillingintoanywallensureno
electrical cables are present in the area.
Max.heightof47”(1.2m).


1. Removestandfrommainunit,ifinstalled.
2. SecurethemountingbracketstothewallusingtheWall
MountingTemplateprovided(seebelow).
3. Hangmainbodyonwallbracketsbyliftingoverthe
bracket and sliding down.
4. UseCordWraptohideextracord.
OpERATING INSTRUCTIONS
• Theremaybeanodorcomingfromtheheaterthe
rsttimeyouuseit.Thisisnormalduringthebreak-in
period.Makesuretheheaterisinawellventilatedarea
andcontinuerunningituntilthesmellgoesaway.
• Youmayhearapoppingorcracklingsoundasthe
heaterheatsup.Thisisnormalandsafeoperation.
• TheFireplaceHeatercanbeoperatedbyusingthe
remotecontrol(Fig.1)orthecontrolpanel(Fig.2)
located on the top of the unit.
• Placetheheateronarm,levelsurfaceormounton
wall.
• Avoidoverloadingyourcircuitbynotusingotherhigh
wattageappliancesinthesameoutlet.At1500Watts,
thisunitdraws12.5Amps.
(Front of Heater)
(Back of Heater)

TurnPowerON.LCDandPowerLightwillilluminate.The
unitsdefaultsettingsare:Temperature80°;TimerOFF;
FlameBrightnessHIGH;SoundON.
(Front of Heater)
(Back of Heater)

• PressThermostatbuttonuntildesiredtemperaturelevel
appearsonLCDDisplay.Itisrecommendedtostartby
settingthetemperaturetothehighestsetting.When
yourroomreachesthedesiredcomfortlevel,lowerthe
thermostatuntiltheheatstopsandthermostatlight
turnsoff.Note:thefanwillcontinuetorunforame
operation.
• Thesystemnowmaintainstheselectedcomfortlevel
byautomaticallyturningtheheaterONandOFF.The
ThermostatlightcyclesONandOFFwiththeheater
elementasitmaintainstheprogrammedtemperature.
• WhenLCDreads00 the heat will turn off but the fan will
continuetorunforameoperation.
(Front of Heater)
(Back of Heater)

Youcansetthetimertoautomaticallyturntheunitoff.
PresstheTimerbutton,selectbetween1and12hours.
YourselectionwillthenbedisplayedontheLCD.
(Front of Heater)
(Back of Heater)

Therearefouramebrightnesssettings:HIGH,MEDIUM,
LOW,OFF. Press button to select desired brightness.
(Front of Heater)
(Back of Heater)

PressSoundbuttontoadjust4soundlevelsorturn
crackling sound on or off.
(Front of Heater)
(Back of Heater)

PresstoshowtemperatureinFahrenheitorCelsius.
(Front of Heater)
(Back of Heater)




1. Findstudsinwall.Studsaretypically16”(40cm)apart.
2. CutMountingTemplateondottedlineandtapeontowallso
brackets are centered on studs.
3. Useleveltomakesuretemplateislevel.Usingasharpobject
suchasanawl,markholelocation.
4. UsingaPowerDriverwithPhillipsheadbit,drive1.5”(38mm)
screwsthroughbracketanddrywallintowoodormetalstud.
Beforedrillingintoanywallensureno
electrical cables are present in the area.

Usetoggleboltsfor3/8-5/8”(10–16mm)thickdrywall.
1.CutMountingTemplateondottedlineandtapeontowall.Useleveltomake
suretemplateislevelandmarkwallwithasharpobjectsuchasanawl.
2.Drill3/8”(10mm)holesattopandbottomofbracketguideincenterofstuds.
3.A-Alignbolts,throughbracketholesthenthreadonSpringLoadedWings.
 B-CollapseWingswhilepushingthroughholeinwall.
 C-PullboltouttosecureToggleWingsagainstinsideofwall(wingsspring
openonothersideofwallandsecurelyholdboltandbracket).
 D-Screwboltinuntiltight.
Mark for
Drill
Mark for
Drill
Mark for
Drill
Mark for
Drill
1 2 3 4 5 6 7 8 9 10 11 12 13 14 15 16
Bracket
Bolt
Toggle
Wall
Drilled
Hole
Wall
Spring
Loaded
Toggle
opens on
inside of
wall
:
4- 1.5” (38 mm) Phillips
head self tapping screws
4- toggle bolts
2- mounting brackets
Glass
Panel
Heat
Vent
Control
Panel
Buttons
LCD
Display
Power
Light
Removable
Stand
FRONT
KEY TO ICONS
REMOTE CONTROL
CONTROL PANEL
Handle
Hanging
Brackets
Light Bulbs Cord Wrap
BACK
On/Off
Thermostat
Timer
Flame Brightness
Sound
Fahrenheit/Celsius
Brackets
3 ft.
3 ft. minimum
3 ft.
BRACKET
GUIDE
BRACKET
GUIDE
Themountinghardwareincludedisintendedformountingtheheateron3/8”to5/8”(10–16mm)drywallafxedtowoodormetalstuds.Foryourconveniencethewallmount
bracketsare16”(40cm)oncentertoalignwith2studs.Notallstudswillbe16”(40cm)oncenter.Ifyouarenotabletoalignwithstuds,toggleboltsareprovided.Forotherwalltypes,
pleaseconsultaprofessionalorvisityourlocalhardwarestoretodeterminewhichtypeofhardwareisbestforyourparticularwall.
0 inches

Other Bionaire Indoor Fireplace manuals

Bionaire BFH5000 Manual

Bionaire

Bionaire BFH5000 Manual

Bionaire BEF6300 User manual

Bionaire

Bionaire BEF6300 User manual

Bionaire BEF5000 -  2 User manual

Bionaire

Bionaire BEF5000 - 2 User manual

Bionaire BEF6500 User manual

Bionaire

Bionaire BEF6500 User manual

Bionaire BEF5000 -  2 Manual

Bionaire

Bionaire BEF5000 - 2 Manual

Bionaire BEF6500 User manual

Bionaire

Bionaire BEF6500 User manual

Bionaire BEF6500LED User manual

Bionaire

Bionaire BEF6500LED User manual

Bionaire BEF6300 User manual

Bionaire

Bionaire BEF6300 User manual

Bionaire BFH5000 User manual

Bionaire

Bionaire BFH5000 User manual

Bionaire BEF5000 -  2 User manual

Bionaire

Bionaire BEF5000 - 2 User manual

Bionaire BEF6500 User manual

Bionaire

Bionaire BEF6500 User manual

Bionaire BEF6500LED User manual

Bionaire

Bionaire BEF6500LED User manual

Popular Indoor Fireplace manuals by other brands

Napoleon Stylus Cara Installation and operation manual

Napoleon

Napoleon Stylus Cara Installation and operation manual

Escea EK950 Design guide

Escea

Escea EK950 Design guide

Miles Industries Valor Portrait 922ECN/ECP Installation & operating instructions

Miles Industries

Miles Industries Valor Portrait 922ECN/ECP Installation & operating instructions

Montigo M40DV-ST Installation & operation manual

Montigo

Montigo M40DV-ST Installation & operation manual

Twin-Star International ClassicFlame 26MM1066 manual

Twin-Star International

Twin-Star International ClassicFlame 26MM1066 manual

Outdoor Lifestyles CARODG36I owner's manual

Outdoor Lifestyles

Outdoor Lifestyles CARODG36I owner's manual

TAGU 23PF1A user manual

TAGU

TAGU 23PF1A user manual

Moretti Design AQUA SLOT VISION DEDICATED MANUAL

Moretti Design

Moretti Design AQUA SLOT VISION DEDICATED MANUAL

Dimplex DF2024L owner's manual

Dimplex

Dimplex DF2024L owner's manual

FMI FSF32NRWS manual

FMI

FMI FSF32NRWS manual

Napoleon LHD62P Installation and operating instructions

Napoleon

Napoleon LHD62P Installation and operating instructions

Valor BLACK BEAUTY 348 Installer and owner guide

Valor

Valor BLACK BEAUTY 348 Installer and owner guide

Enviro Cube Unpacking & setup instructions

Enviro

Enviro Cube Unpacking & setup instructions

JAYLINE IS550 Installation & operation instructions

JAYLINE

JAYLINE IS550 Installation & operation instructions

FireplaceXtrordinair 564 Series quick start guide

FireplaceXtrordinair

FireplaceXtrordinair 564 Series quick start guide

Napoleon B81NS Installation and operating instructions

Napoleon

Napoleon B81NS Installation and operating instructions

FireplaceXtrordinair ProBuilder 42 GSB2 owner's manual

FireplaceXtrordinair

FireplaceXtrordinair ProBuilder 42 GSB2 owner's manual

pleasant hearth 238-33-80M user guide

pleasant hearth

pleasant hearth 238-33-80M user guide

manuals.online logo
manuals.online logoBrands
  • About & Mission
  • Contact us
  • Privacy Policy
  • Terms and Conditions

Copyright 2025 Manuals.Online. All Rights Reserved.