(Original instructions)
uAn exposure of the eye to the beam of a class 2 laser is
considered safe for a maximum of 0.25 seconds. Eyelid
reexes will normally provide adequate protection. At
distances over 1 m, the laser complies with class 1 and
thus is considered completely safe.
uNever look into the laser beam directly and intentionally.
uDo not use optical tools to view the laser beam.
uDo not set up the tool at a position where the laser beam
can cross any person at head height.
uDo not let children come near the laser.
Warning! This tool is intended for indoor use only. Do not use
the tool for outdoor applications.
Residual risks.
Additional residual risks may arise when using the tool which
may not be included in the enclosed safety warnings. These
risks can arise from misuse, prolonged use etc.
Even with the application of the relevant safety regulations
and the implementation of safety devices, certain residual
risks can not be avoided. These include:
uInjuries caused by touching any moving parts.
uInjuries caused by touching any hot parts.
uInjuries caused when changing any parts or accessories.
uInjuries caused by prolonged use of the appliance. When
using any appliance for prolonged periods ensure you take
regular breaks.
Safety of others
uThis appliance is not intended for use by persons (includ-
ing children) with reduced physical, sensory or mental
capabilities, or lack of experience and knowledge, unless
they have been given supervision or instruction concern-
ing use of the appliance by a person responsible for their
safety.
uChildren should be supervised to ensure that they do not
play with the appliance.
Features
This appliance includes some or all of the following features.
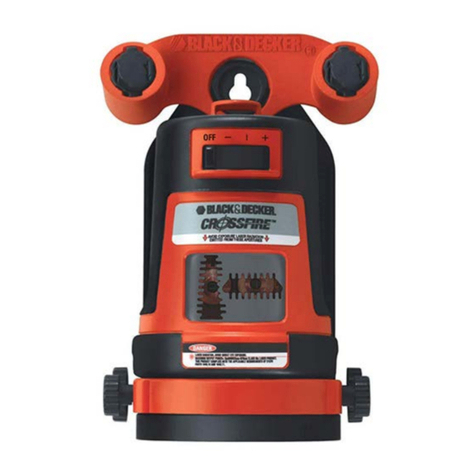
1. On/off switch
2. Operating mode selector
3. Laser aperture
4. Battery cover
Fig.A
5. Tripod
6. Hanging strap
Assembly
Warning! Make sure that the tool is switched off.
Fitting the battery (g. B)
uRemove the battery cover (4) from the tool.
uConnect the battery to the connector. The larger battery
terminal connects to the smaller connector terminal.
uRet the cover and let it click into place.
Installing the tool (g. A, C & D)
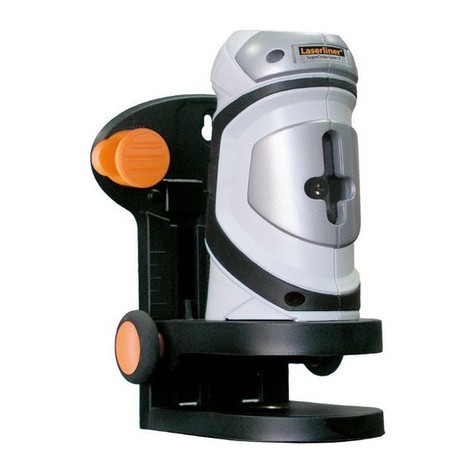
The tool can be installed on a horizontal surface such as
a oor or a table. Alternatively, the tool can be mounted on
the tripod (5). The tool can also be hung from a joist or other
secure structure using the hanging strap (6).
Note: the laser lines will only be level if the tool is kept within
5° from vertical.
Mounting the tool on the tripod (g. C)
uAlign the threaded screw (8) on the tripod with the laser.
uScrew the laser to the tripod and make sure that it is
secure.
uTo remove the tool, unscrew the laser from the tripod.
Hanging the tool (g. A & D)
uThread the hanging strap (6) through the slot in the top of
the tool and fasten the hook.
uAdjust the tool so that it hangs relatively level.
Installing and adjusting the tripod (g. A & E)
Installing
uChoose a smooth and level surface to install the tripod.
uFlip open the lever locks (7) (g. A) and extend the legs to
the required length.
uFlip the lever locks closed to lock the legs.
uMount the tool to the tripod.
Adjusting
uLoosen the locking knob (10) (g. E).
uPull out the fold-away handle (9) and rotate it until the
required height is reached.
uTighten the locking knob (10) to secure the tripod at the
adjusted height.
