Black Box Coalesce WC-COA User manual

User Guide
Create. Connect. Collaborate.
Coalesce
WC-COA
WC-COA-I
FREE 24/7 technical support or order toll-free in the U.S. Call 877-877-BBOX (outside U.S.: call
724-746-5500) • www.blackbox.com • info@blackbox.com
Contact
Information

877-877-2269 | blackbox.com/Coalesce
Page 2
Trademarks Used in this Manual
We‘re here to help! If you have any questions about your application
or our products, contact Black Box Tech Support at 877-877-2269
or go to blackbox.com and click on “Talk to Black Box.”
You’ll be live with one of our technical experts in less than 60 seconds.
Trademarks Used in this Manual
Black Box and the Double Diamond logo are registered trademarks of BB Technologies, Inc.
Any other trademarks mentioned in this manual are acknowledged to be the property of the trademark owners.

Page 3
877-877-2269 | blackbox.com/Coalesce
FCC and IC RFI Statements
Federal Communications Commission and Industry Canada Radio Frequency Interference
Statements
This equipment generates, uses, and can radiate radio-frequency energy, and if not installed and used properly, that is, in strict
accordance with the manufacturer’s instructions, may cause interference to radio communication. It has been tested and found to
comply with the limits for a Class A computing device in accordance with the specifications in Subpart B of Part 15 of FCC rules,
which are designed to provide reasonable protection against such interference when the equipment is operated in a commercial
environment. Operation of this equipment in a residential area is likely to cause interference, in which case the user at his own
expense will be required to take whatever measures may be necessary to correct the interference.
Changes or modifications not expressly approved by the party responsible for compliance could void the user’s authority to
operate the equipment.
This digital apparatus does not exceed the Class A limits for radio noise emission from digital apparatus set out in the Radio
Interference Regulation of Industry Canada.
Le présent appareil numérique n’émet pas de bruits radioélectriques dépassant les limites applicables aux appareils numériques
de la classe A prescrites dans le Règlement sur le brouillage radioélectrique publié par Industrie Canada.
Disclaimer:
Black Box Network Services shall not be liable for damages of any kind, including, but not limited to, punitive, consequential or cost of cover damages, resulting
from any errors in the product information or specifications set forth in this document and Black Box Network Services may revise this document at any time
without notice.

877-877-2269 | blackbox.com/Coalesce
Page 4
NOM Statement
Instrucciones de Seguridad
(Normas Oficiales Mexicanas Electrical Safety Statement)
1. Todas las instrucciones de seguridad y operación deberán ser leídas antes de que el aparato eléctrico sea operado.
2. Las instrucciones de seguridad y operación deberán ser guardadas para referencia futura.
3. Todas las advertencias en el aparato eléctrico y en sus instrucciones de operación deben ser respetadas.
4. Todas las instrucciones de operación y uso deben ser seguidas.
5. El aparato eléctrico no deberá ser usado cerca del agua—por ejemplo, cerca de la tina de baño, lavabo, sótano mojado o cerca
de una alberca, etc.
6. El aparato eléctrico debe ser usado únicamente con carritos o pedestales que sean recomendados por el fabricante.
7. El aparato eléctrico debe ser montado a la pared o al techo sólo como sea recomendado por el fabricante.
8. Servicio—El usuario no debe intentar dar servicio al equipo eléctrico más allá a lo descrito en las instrucciones de operación.
Todo otro servicio deberá ser referido a personal de servicio calificado.
9. El aparato eléctrico debe ser situado de tal manera que su posición no interfiera su uso. La colocación del aparato eléctrico
sobre una cama, sofá, alfombra o superficie similar puede bloquea la ventilación, no se debe colocar en libreros o gabinetes
que impidan el flujo de aire por los orificios de ventilación.
10. El equipo eléctrico deber ser situado fuera del alcance de fuentes de calor como radiadores, registros de calor, estufas u otros
aparatos (incluyendo amplificadores) que producen calor.
11. El aparato eléctrico deberá ser connectado a una fuente de poder sólo del tipo descrito en el instructivo de operación, o como
se indique en el aparato.
12. Precaución debe ser tomada de tal manera que la tierra fisica y la polarización del equipo no sea eliminada.
13. Los cables de la fuente de poder deben ser guiados de tal manera que no sean pisados ni pellizcados por objetos colocados
sobre o contra ellos, poniendo particular atención a los contactos y receptáculos donde salen del aparato.
14. El equipo eléctrico debe ser limpiado únicamente de acuerdo a las recomendaciones del fabricante.
15. En caso de existir, una antena externa deberá ser localizada lejos de las lineas de energia.
16. El cable de corriente deberá ser desconectado del cuando el equipo no sea usado por un largo periodo de tiempo.
17. Cuidado debe ser tomado de tal manera que objectos liquidos no sean derramados sobre la cubierta u orificios de ventilación.
18. Servicio por personal calificado deberá ser provisto cuando:
A: El cable de poder o el contacto ha sido dañado; u
B: Objectos han caído o líquido ha sido derramado dentro del aparato; o
C: El aparato ha sido expuesto a la lluvia; o
D: El aparato parece no operar normalmente o muestra un cambio en su desempeño; o
E: El aparato ha sido tirado o su cubierta ha sido dañada.

Page 5
877-877-2269 | blackbox.com/Coalesce
Table of Contents
Table of Contents
1. Specifications.........................................................................................................................................................................6
2. Overview ...............................................................................................................................................................................8
2.1 Introduction...................................................................................................................................................................8
2.2 Key Terms......................................................................................................................................................................8
2.3 Coalesce System Overview ............................................................................................................................................8
2.4 What's Included ............................................................................................................................................................9
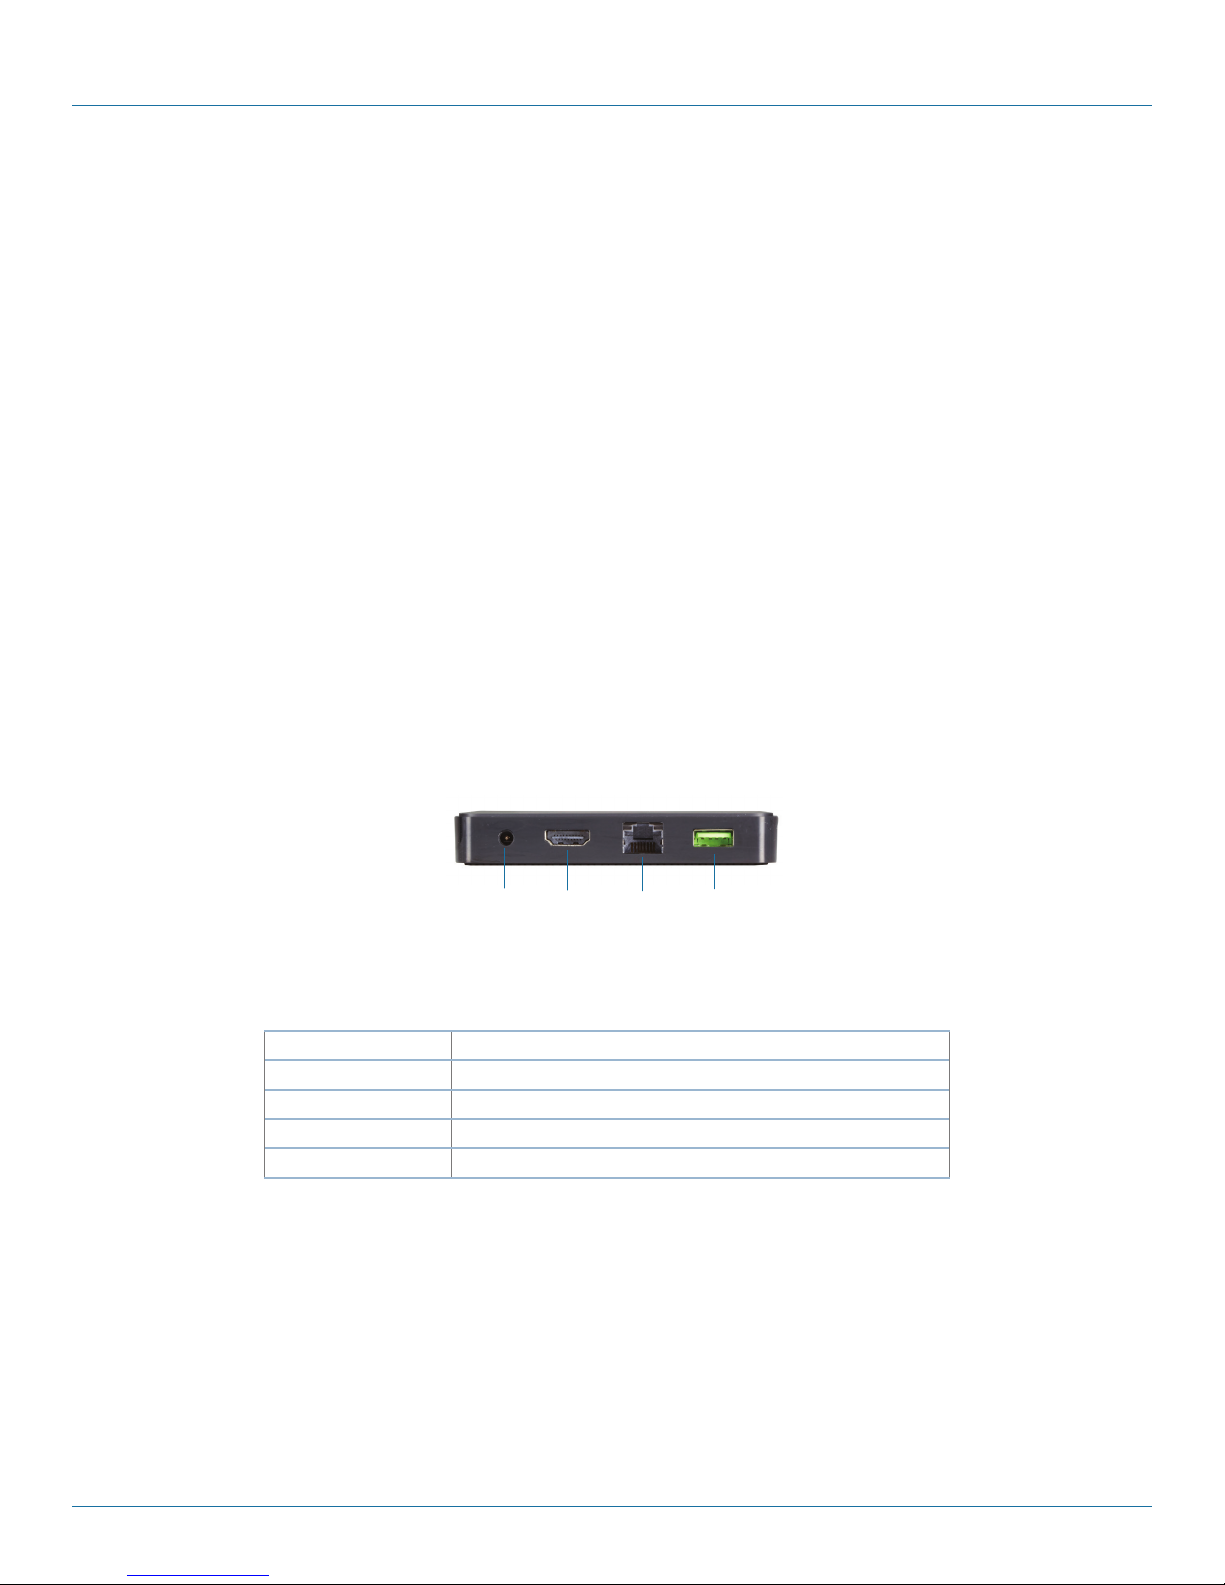
2.5 Hardware Description....................................................................................................................................................9
3. Setup ............................................................................................................................................................................. 10
3.1 Starting a Coalesce Display.......................................................................................................................................... 10
3.2 Getting Started with the Coalesce Display Splash Screen............................................................................................ 10
4. Operating the Coalesce....................................................................................................................................................... 11
4.1 Accessing the Coalesce Display Menu ......................................................................................................................... 11
4.2 Connecting to a Coalesce Display for User Devices ..................................................................................................... 12
4.3 Using the Coalesce for Collaboration Sessions ............................................................................................................ 14
4.3.1 Coalesce Client App during Full Collaboration Sessions...................................................................................... 14
4.3.2 Coalesce Display Interface during Full Collaboration Sessions ............................................................................ 16
4.4 Managing Media Items on the Coalesce Display ......................................................................................................... 18
5. Using the Coalesce Mobile Application ...............................................................................................................................22
5.1 Sharing iOS Devices to a Coalesce Display...................................................................................................................23
5.2 Using Coalesce for Moderated Sessions ......................................................................................................................24
5.2.1 Colaesce CLient App During Moderated Sessions .............................................................................................. 24
5.2.2 Coalesce Display Interface During Moderated Sessions......................................................................................28
Appendix A. Coalesce Licensing................................................................................................................................................29
Appendix B. Coalesce Network Setup.......................................................................................................................................30
Appendix C. Configuring Coalesce............................................................................................................................................32
Appendix D. Coalesce Security..................................................................................................................................................35
D.1 Network, Configuration Options .................................................................................................................................35
D.2 Network, Ports and Traffic ..........................................................................................................................................36
D.3 Encryption ...................................................................................................................................................................36
D.4 Coalesce Base Port Scan Results..................................................................................................................................36
D.5 Operating System Security Considerations ..................................................................................................................36
D.6 Software Security and Access Options ........................................................................................................................37
Appendix E. Writing and Using NFC Tags to Connect to a Coalesce Display ............................................................................38
E.1 Writing NFC Tags for Coalesce via the Android Client App.........................................................................................38
E.2 Using NFC Tags to Connect to a Coalesce Display ......................................................................................................38

877-877-2269 | blackbox.com/Coalesce
Page 6
Chapter 1: Specifications
1. Specifications
Coalesce Specifications
Hardware
Type Computer console
Dimensions 0.7”H x 4.1”W x 45.1”D (1.7 x 10.5 x 10.5 cm)
Weight 1.75 lb. (0.79 kg)
Mounting Options Console tabletop
Connectors (1) HDMI 1.4,
(1) RJ-45 Ethernet,
(1) USB 3.0,
(1) 5-VDC power connector
Power
Input 5 VDC
Efficiency Level V
Adapter WC-COA: US power plug;
WC-COA-I: Switching, changeable plug type for international power options
Testing and Certifications
Safety UL®
Emissions FCC (home and office use)
Regional Certification Marks USA, Canada, Australia/New Zealand, China, Singapore, Mexico, Europe
System
Processor QualComm Snapdragon™S805, Krait 450
Graphics Processor Adreno™420
Internal Storage 2 GB RAM,
16 GB Flash Storage
Wireless Dual band, 802.11ac 2x2
Video Output HDMI 1.4 output with Audio
Streaming Video Support HD (1920 x 1080),
HD SD (1280 x 720)
I/O USB 3.0
Bluetooth 4.1 + HS
Operating System Android 5.1 Lollipop
Coalesce Software Pre-installed Includes Android version of Coalesce server software built for wireless sharing.
Clients — Laptops and Mobile Devices
Operating System Laptops and Tablet PCs: Windows XP, 7, 8, 10, OSX 10.7 or higher;
IPads, Phones, and iPods: iOS version 6.0 or later;
Android Tablets and Phones: Gingerbread OS (2.3.x) or later
Minimum Required Laptops and Tablet PCs: Intel Core 2 Duo 2.3 GHz, 2 GB RAM;
IPads, Phones, and iPods: iPad 2 or later, iPhone Gen2 or later;
Android Tablets and Phones: Phones/tablets with Android 2.2 or later
Recommended Laptops and Tablet PCs: Intel Core i7, 2.3 GHz, 6 GB RAM;
IPads, Phones, and iPods: iPad/iPhone 3 or later with retina display;
Android Tablets and Phones: Phone/tablets with Android 4.0 or later

Page 7
877-877-2269 | blackbox.com/Coalesce
Chapter 1: Specifications
Specifications (continued)
Coalesce Network Requirements
Network Connection, Minimum
Bandwidth Required
WIred or wireless connection with 20 Mbps minimum bandwidth;
When running HD content, 50 Mbps minimum bandwidth
Access Point Deployment
Requirements
Use built-in wireless access point function: requires Internet access to install software updates for the
Coalesce. Also requires Internet access to install Apple iOS and Android client aps and to update all client
apps (Windows, Mac, Apple iOS, and Android).
Security Specifications
Network Interface Cards (1) Ethernet NIC and (1) wireless NIC
Network Settings Accessed via Coalesce configuration panel and an admin password;
Settings include DHCP or fixed address, DNS server, SSID Name (for wireless)
Network Modes Wireless Access Point, Ethernet Network Deployment, Dual-Network (complete firewall or Internet
bridge), Wireless Client
Encryption 2048-bit length encryption key, Open SSL, HTTPS
Software Security and Access
Options
Disable/enable local configuration, open access, password lock, moderator mode, screen key
Network, Ports, and Traffic
Required Ports TCP Port 53100, TCP Port 53101, TCP Port 53102
Optional Ports TCP Port 80 (optional), TCP Port 443 (required for license and software updates), TCP Port 53200
(for display naming and discovery)

877-877-2269 | blackbox.com/Coalesce
Page 8
Chapter 2: Overview
2. Overview
2.1 Introduction
The Coalesce User Guide provides a summary of the Coalesce for users, including an overview of how Coalesce works as well as
steps for users to connect, share, and control items to a Coalesce wireless display using laptops, mobile devices, and the display
user interface. The Coalesce is compatible with nearly any display and improves meeting efficiency, engagement, and productivity.
2.2 Key Terms
Coalesce (Wireless) Display – The flat panel or projector display that is connected via a Share Video cable to the Coalesce, allowing
users to connect and share content.
Coalesce – Compute console that connects to the display by Share Video cable and runs an integrated, Android version of the
Coalesce server software.
Coalesce client software/app – Application installed on user laptops and mobile devices used to connect, share, and control the
Coalesce display.
items – The individual pieces of share files published to the Coalesce display.
2.3 Coalesce System Overview
A diagram of a typical Coalesce-enabled conference room setup is shown below. The requirements for an operational system are
straightforward. First, a display connected via HDMI Share Video cable to a Coalesce is needed. Next the Coalesce should either
be attached to an existing network, attached multiple networks, or deployed as a standalone collaboration hotspot using the
Coalesce wireless access point (WAP) capabilities. Then laptops and mobile devices with access to the Coalesce’s network(s) can
connect to the Coalesce display.
Diagram Format
Rule Size: 1 pt
DVI
Audio
USB
CATx
Fiber
HDMI
Coalesce display
Any local WiFI or
Ethernet network
Smartphone
Tablet Laptop
Coalesce
Figure 2-1. Coalesce conference room setup.
There are two software programs that work in tandem to use Coalesce for meetings:
• Coalesce Software (server) is integrated on the Coalesce connected to the display. The software is licensed at the time of
purchase from Black Box or one of its authorized resellers. For more information on licensing, refer to the Appendix A: Coalesce
Licensing.
• Coalesce client software/apps are installed on Windows or Mac laptops, Windows 8 tablets, or Android or iOS mobile devices
used to connect and share files to the Coalesce display. Coalesce client apps are free and can be accessed/downloaded
from http://www.blackbox.com.

Page 9
877-877-2269 | blackbox.com/Coalesce
Chapter 2: Overview
Alternatively, Coalesce client apps can also be accessed by entering the IP address visible on the Coalesce display into a web
browser on the client device. All laptops and mobile devices need to be connected to the same network as the Coalesce.
Android and iOS devices will also require Internet access to download the app. Once installed, the app will remain on the device
for future use and does not need to be downloaded/installed again.
Coalesce client apps for Windows and Mac laptops can also be run from a USB dongle, with no installation and no dependen-
cies or libraries required on the client laptop. Instructions for creating Coalesce dongles are available at www.blackbox.com/get-
Coalesce.
2.4 What's Included
Your Coalesce package should contain the following items. If anything is missing or damaged, contact Black Box Technical
Support at 877-877-2269 or info@blackbox.com.
• Coalesce unit
• 5 V power supply (US version, WC-COA) or 5 V power supply with EU, UK, and AU clips (international version, WC-COA-I)
• USB power cable
• HDMI cable
You will also need:
• HDTV display (not included in your package)
2.5 Hardware Description
Figure 2-2 shows the back panel of the Coalesce. Its components are described in Table 2-1.
Power HDMI
1.4
RJ-45
Ethernet
USB 3.0
Figure 2-2. Back panel of the Coalesce.
Table 2-1. Back panel components.
Connectors Description
(1) barrel connector Links to 5-VDC power supply (included).
(1) HDMI 1.4 Connects to HDMI 1.4 interface on the Coalesce display.
(1) RJ-45 Ethernet Attaches to wired network (optional).
(1) USB 3.0 Connects to mouse and keyboard (optional).

877-877-2269 | blackbox.com/Coalesce
Page 10
Chapter 3: Setup
3. Setup
3.1 Starting a Coalesce Display
To start using your Coalesce display, first ensure the display is powered on and that the Coalesce is connected to the display via a
Share Video cable. Next, check that the Coalesce input is selected on the display. Lastly, ensure your Coalesce is plugged in and
Coalesce is running. At this point, you will see the Coalesce splash screen on the display with instructions to get started.
3.2 Getting Started with the Coalesce Display Splash Screen
Figure 3-1. Coalesce Display Splash Screen.
Upon system launch, Coalesce has a built-in splash screen that informs users how to get the Coalesce client software app onto
their devices and connect to the display. The splash screen also provides access to the Coalesce Display Menu, which contains
access to system access security and configuration options. Black Box recommends reviewing and setting the Coalesce Display
Menu options before using the Coalesce display.
When enabled via the Coalesce Central, bulletin messages will show/scroll across the top banner between the “Coalesce wireless
display” title on the left and the SSID on the right (when SSID is enabled). Once any content is shared to the Coalesce display, the
bulletin messaging will disappear.

Pa g e 11
877-877-2269 | blackbox.com/Coalesce
Chapter 4: Operating the Coalesce
4. Operating the Coalesce
4.1 Accessing the Coalesce Display Menu
To access the Coalesce Display Menu when Coalesce is running, click the Coalesce icon in the bottom right corner of the display
(using a mouse or supported touch screen). Menu options include “Access Control” (visible only when Access Control is set to
“Determine at Runtime” in the Configuration Panel), “Lock,” “Disconnect All Users,” and “System.”
Figure 4-1. Coalesce Display Menu 1.
Figure 4-2. Coalesce Display Menu 2.

877-877-2269 | blackbox.com/Coalesce
Page 12
Chapter 4: Operating the Coalesce
Access Control options are only visible when access control is set to “Determine at Runtime” in the Coalesce Configuration Panel
or via the Coalesce Central. When visible, there are four access control settings:
• Open allows anyone to join the session, share items, and control the display.
• Screen Key allows only those who can see the screen key in the bottom left corner of the Coalesce display to connect to the
session.
• Password allows only those with the password—set in the Configuration Panel or via the Coalesce Central—to connect to the
session.
• Moderated requires users to request to join the session as Hosts or Guests. To join as a Host, the user will need the session
password, which is set in the Configuration Panel or via the Coalesce Central. Hosts have full sharing rights and control of the
display during the session. Users that do not have the session password can request to join as Guests and must be approved by
a Host to join the session. Further Hosts will review and approve or reject items submitted by Guests, and Guests do not have
control of items on the display.
Lock disables access to the display by any new users for the remainder of the session. Only users already connected to the display
can share files.
Disconnect all Users disconnects all users from the session and removes all items selected by the users.
System provides access to the local Configuration Panel.
Configure opens the local Configuration Panel. See Appendix D: Configuring a Coalesce Display for more information.
4.2 Connecting to a Coalesce Display from User Devices
For users to connect to the Coalesce display, ensure the Coalesce is powered on and Coalesce is running with the Coalesce inter-
face is visible on the display. Then ensure that client devices are connected to the same network as the Coalesce via Wi-Fi or
Ethernet connection.
With Coalesce running, users can connect in two ways from their client devices as described on the Coalesce display splash
screen. First-time users that have not previously installed the Coalesce client software app on their device can simply open a web
browser on their device and enter the IP address visible on the Coalesce display. Clicking “Connect” on the browser landing page
will download the client app, or it will redirect iOS users to the Apple App Store and Android users to the Google Play Store to
download the client app. Once downloaded, install/launch the Coalesce app.
Once downloaded and installed, the app will remain installed on the user’s client device and does not need to be re-downloaded
for future use. Simply launch the app from the device rather than re-downloading the app from the browser page.

Page 13
877-877-2269 | blackbox.com/Coalesce
Chapter 4: Operating the Coalesce
Figure 4-3. Coalesce Browser Connect Screen.
The Coalesce client app features support for both Japanese and English languages. The client app language is set automatically
based on the language that the client device’s operating system is set to. The Coalesce app will default to English for client devices
set to languages other than English or Japanese.
Figure 4-4. Coalesce Client Software Connection Screen (Windows client).
Once a Coalesce client app is open, the user will see the Coalesce client connect screen, showing a list of displays available to con-
nect to on the network, as well as an “Enter IP” tab, and a settings button with a gear icon in the lower left corner of the user
interface.

877-877-2269 | blackbox.com/Coalesce
Page 14
Chapter 4: Operating the Coalesce
Settings options include the ability to designate the user/device name, adjust notification settings, designate whether Share
Desktop audio should be shared automatically or not when the Share Desktop is shared (Windows and Mac clients only), and
input the Coalesce Directory Service IP address (for non-broadcast display naming and discovery—see the CDS User Guide for
more information). Once the user connects to a display, the settings menu will also allow the user adjust the session access con-
trol (if Access Control is set to ‘Determine at Runtime’ in the Coalesce Configuration Panel or via the Coalesce Central).
To Select a Display, click to Select a Display from the list provided, or select the “Enter IP” tab, and enter the display’s IP address. If
the Access Control setting is set to Open, the client will automatically join the session with full item and control rights. If the
Access Control setting is set to Screen Key or Password, the user will have to enter the Screen Key (visible on the Coalesce display)
or Password (designated in the Coalesce Configuration Panel or via the Coalesce Central) to access the session. If the Access
Control setting for the session is set to Moderated, the user will be prompted to join the session as a Host or a Guest and enter
the Host password or wait for a session Host to approve the request to join as a Guest. If the session is set to Lock, no new users
will be able to join.
Once connected to a Coalesce display, there are two types of sessions with unique sharing and control rights for users. Full
Collaboration sessions provide all members of the session with equal rights to share and control the display. These include sessions
with Access Control set to Open, Screen Key, or Password. For these sessions, any user who attains access to the session has
equal sharing and control rights. Moderated sessions—with Access Control set to Moderated—allow one or more Host users to
lead the session by controlling what is published to the display and the layout of items. In these sessions, non-Host users can
request to join as Guests with restricted sharing and control rights.
4.3 Using Coalesce for Collaboration Sessions
Coalesce supports a broad range of user modes—from basic one-to-many wireless presentations, to egalitarian collaboration
among any number of users adding items and controlling unlimited content on the display simultaneously. In this section, we’ll
provide an overview of using Coalesce for full egalitarian collaboration, covering first the client/user apps followed by the Coalesce
display interface. The next section will cover how Coalesce is used for moderated sessions led by one or multiple Host users.
4.3.1 Coalesce Client App during Full Collaboration Sessions
When users Select a Display, they will see the sharing panel with user and session information at the top of the app interface, as
well as the available sharing options in the center, and thumbnail view of the display in the upper right section of the interface.
Figure 4-5. Coalesce Client Share Panel (full collaboration session—Share Desktop).

Page 15
877-877-2269 | blackbox.com/Coalesce
Chapter 4: Operating the Coalesce
The sharing panel provides the user options for sharing different types of items to the display. Not all sharing options are available
on all devices. The sharing options available for Windows and Mac laptops include:
• Share Desktop with Audio—share the Share Desktop view of the Windows or Mac laptop, with optional Share Desktop
audio, to the display. Note that when Share Desktop audio is shared, the volume is controlled by the audio source from the user
device, outside of the Coalesce client application.
• Share Window – share a single application window open on the Windows or Mac laptop.
• Share File – access and share files, including images and Share Videos, from the device.
The Coalesce display will automatically enter full screen mode when only one source is shared. Additionally, the sharing options
users see can be enabled/disabled individually in the Configuration Panel or via the Coalesce Central.
When Share Windows or Share Desktop views are shared to the display in the room, the items are not static images—they are
live feeds from the client device(s). Any change visible on Share Desktop or Share Window that is shared to the Coalesce display
will be visible on the shared Coalesce display in real-time. However, the shared document/data never leaves the original device—
only the Share Desktop/Share Window view is shared to the display. So the security of shared documents and data is never com-
promised/at-risk.
The client app interface also consists of a side bar menu with options for toggling between the sharing panel and the control
panel, as well as “Settings” and “Look-In” options.
NOTE: The side menu will appear along the top of certain mobile devices when the device/app is in portrait orientation.
Then, the “Disconnect” button will disconnect the user from the Coalesce display/session.
Toggling to the control panel replaces the sharing panel with a what-you-see-is-what-you-get interface with options for control-
ling the items on display. Refer to the Managing Media items on the Coalesce Display section for more details about the control
panel. The “Settings” options are the same as those from the Coalesce client connect screen with only the addition of Access
Control options (if Access Control is set to “Determine at Runtime” in the Coalesce Configuration Panel or via the Coalesce
Central). The “Look-In” option provides the user an option to view the display up close on their device via a web browser and
includes “native” resolution, “full screen,” or “fit to window” views.

877-877-2269 | blackbox.com/Coalesce
Page 16
Chapter 4: Operating the Coalesce
Figure 4-6. Coalesce Client Control Panel (full collaboration session).
The client software control panel (see Figure 8) enables users to control items on the display in a number of ways. To access the
control panel from the share panel, toggle to the “Control” option in the left side menu. To go back to the share panel, toggle
back to the “Share” option.
From the control panel, items can be rearranged, moved on/off screen, and deleted. The layout can also be changed to/from grid
and freeform modes. In freeform mode, items can be scaled and rearranged arbitrarily to create custom layouts to meet the
needs of the unique session. Media control/management features of the control panel are covered in detail in Managing Media
items on the Coalesce Display.
Users can also share new media items from the control panel, similar to sharing from the share panel. To share an item from the
control panel, click the display icon button in the lower right area of the client interface and select the type of item you would like
to share.
4.3.2 Coalesce Display Interface during Full Collaboration Sessions
The Coalesce display interface serves as a collaborative digital workspace during Coalesce session with rich features and function-
ality to improve meeting-room collaboration and productivity. For example, Coalesce supports display-side interaction via a mouse
connected to the Coalesce. Display-side interaction enables the Coalesce display-side user to control the shared content on the
display, using the Coalesce as connected client in the Coalesce session.

Page 17
877-877-2269 | blackbox.com/Coalesce
Chapter 4: Operating the Coalesce
Figure 4-7. Coalesce Display Interface.
Display Name/IP—The display name and/or IP address appear(s) in the lower left corner of the Coalesce display. The display
name can be changed—and preferences for display discovery can be set—in the Coalesce Configuration Panel. See Appendix D:
Configuring a Coalesce Display for more.
Screen Key (not pictured)—Visible only when the Access Control for the session is set to “SCREEN KEY,” this alphanumeric key
appears in the lower left section of the display, which users are required to enter in order to join and participate in the session.
This ensures only those in the room with a view of the display can connect to the session in order to share and control the display.
Meeple—Meeple are graphical indicators of session participants located along the bottom of the Coalesce display interface.
Meeple Menu (not pictured)—The Meeple Menu, accessed by left clicking on any Meeple icon, provides the display-side user
access to per-user control of the individual users in the session, including options to boot user; show, hide, stack, and delete a
user’s items; and get session info about the user.
Coalesce Display Menu (not pictured)—This menu, accessed by left clicking the Coalesce icon in the lower right corner of the
display, provides the display-side user session Access Control and Configuration options. See Accessing the Coalesce Display Menu
for more details.
On Screen Area—This is the large interactive area with the active items in view on the Coalesce display.
On Deck Panel—This is the smaller interactive area along the left side of the Coalesce display that shows media items not cur-
rently in view on the shared display. Media items in this area are “on deck.” The on deck panel will be empty until a item is
moved from the display onto the panel. The on deck panel will auto-hide after a short period of inactivity. To access the on deck
panel when hidden, simply mouse over the left border of the Coalesce display.
In addition to the display interface controls covered in the section, the display-side user can also control media content on the dis-
play using a mouse. Media items can be rearranged, moved on/off screen, and deleted. The display layout can also be changed
to/from grid and freeform modes. Media control/management features are covered in detail in the next section, Managing Media
items on the Coalesce Display.

877-877-2269 | blackbox.com/Coalesce
Page 18
Chapter 4: Operating the Coalesce
4.4 Managing Media Items on the Coalesce Display
With Coalesce, users can not only Share, they also have a large amount of control over the media shared, regardless which user
shared it (unless the session Access Control is set to Moderated, in which case only host/moderator users can control shared
media). Further, media and the display layout can be controlled by users on their client devices or display-side by the display host
user.
Figure 4-8. Controls for Display Layout of Media (from Coalesce client app).
Placement and Layout. There are two layout modes that can be designated by accessing the Arrange menu, Snap to Grid
(default) and freeform (enabled by deselecting “Snap to Grid”). To access the menu from Coalesce client apps, click the alignment
icon in the bottom right corner of the control panel (see Figure 10 above). To access the menu from the Coalesce display inter-
face, left click-and-hold any part of the display On Screen Area that isn’t covered by a media item. The menu will appear.
From the menu, users can select “All Items on Screen,” “All Items off Screen,” and enable/disable “Snap to Grid.” Additional con-
trols include the ability to drag and drop items individually between the On Deck Panel and the On Screen Area, as well as the
ability to rearrange items individually within the On Screen Area by clicking, holding, and dragging. When “Snap to Grid” is dis-
abled/deselected, items can also be scaled arbitrarily. Pinch to zoom on touch-enabled devices, or use the mouse wheel to scale
media in and out. All of these controls are available for client and display-side users. These are the basic layout control options.
Media Actions. There are specific actions available for each media item that you can access by right-clicking the media item, tap-
ping-and-holding on touch-enabled devices, or left clicking-and-holding for the display-side users:
• Delete removes the media item from the session completely.
• Create Stack enables the user to organize multiple media items into a single item on the display. Items can then be flipped
through within the position of the single item.
• Fullscreen publishes the media item to a full screen view and moves all other items in the On Screen Area to the On Deck
Panel. About toggles to a view of the media item on the display that provides information about the item and the user.
• Preview enables a user to enlarge a item to nearly-fullscreen size—by double-tapping/clicking the item—without moving other
items in the On Screen Area to the On Deck Panel.

Page 19
877-877-2269 | blackbox.com/Coalesce
Chapter 4: Operating the Coalesce
Figure 4-9. Media Actions (client view).
Stack Actions—When multiple items are compiled into a stack on the display—which is indicated by a small number in the top
right corner of the item—there are specific actions available which are accessed by right-clicking the stack, tapping-and-holding
on touch-enabled devices, or left click-and-holding for the display-side users:
• Fullscreen publishes the media stack to a full screen view and moves all other media items in the On Screen Area to the On
Deck Panel.
• About toggles to a view of the stack on the display that provides information about the stack and user.
• Stop Sharing removes all media items within the stack from the session completely.
• Unstack makes each component piece of media in the stack its own item on the display. Edit Stack enables the user to add and
remove media items from the stack.

877-877-2269 | blackbox.com/Coalesce
Page 20
Chapter 4: Operating the Coalesce
Figure 4-10. Stack Actions (client view).
Share Video items on Coalesce—Coalesce supports Share Video items up to 1080p at 30 fps or higher with synchronized
audio. A Share Video item to the display during a session will auto-play with audio. When moved from the On Screen Area to the
On Deck Panel, the Share Video will auto-pause and auto-mute. Users can control Share Video(s) items to the display with the
Coalesce Share Video player. The Coalesce Share Video player functions similarly to other Share Video players, with play/pause
buttons, as well as volume control, mute/unmute, fast-forward/rewind, and loop options. As with all Coalesce media items, any
user with session access can control any Share Video item to the display. Coalesce will only play audio from one source at a time.
If multiple Share Videos with audio are item to the display On Screen Area, audio from the first Share Video only will play. Other
audio sources will be auto-muted.
Figure 4-11. Share Video item on the Coalesce Display.
Other manuals for Coalesce WC-COA
2
This manual suits for next models
1
Table of contents
Other Black Box Music Mixer manuals
Popular Music Mixer manuals by other brands

YORKVILLE
YORKVILLE PGM8 owner's manual

Studiomaster
Studiomaster Professional DJX 825 instruction manual

Dynacord
Dynacord Vector Operating and service instructions

PRESONUS
PRESONUS StudioLive AR-Series owner's manual

Harman
Harman Studer Micro Series operating instructions

Mackie
Mackie PPM Series owner's manual