Blackbox3D Array Block User manual

[1]
Array Blocks
Instruction manual

[2]
Contents
Chapter I Preface.......................................................................................3
1.1Product safety precautions...............................................................3
Chapter II Equipment List and Precautions..........................................4
2.1Product check and inspection.......................................................... 4
2.2Precautions before use.....................................................................5
Chapter III Equipment Assembly and Scanning Operations...............6
3.1Equipment assembly........................................................................6
3.2Software Installation........................................................................7
3.3Scanning operation.......................................................................... 9
Chapter IV Frequently Asked Questions..............................................30
4.1Software problems and solutions.................................................. 30

[3]
Chapter I Preface
3D scanner, is a high-tech product that integrates light, machine, electricity and
computer technology. It is mainly used to obtain the three-dimensional coordinates of
the outer surface of the object and the three-dimensional digital model of the object.
The equipment can be used not only in reverse engineering, 3D inspection, etc., but
also with the continuous development of 3D scanning technology, such as 3D film
and television animation, digital exhibition hall, clothing tailoring, computer virtual
reality simulation and visualization, etc. Many industries have also begun to use 3D
scanners as a convenient means to create digital models of physical objects. Through
the non-contact scanning physical model of the 3D scanner, the accurate 3D point
cloud data of the physical surface is obtained, and finally the digital model of the real
object is generated, which is not only fast but also high in precision, and can almost
completely replicate any object in the real world to be digitalized. The form
realistically reproduces the real world.
1.1Product safety precaution
1.1.1 Please read and follow the safety precautions in this manual.
1.1.2 This device can only use the voltage of the standard power supply, 5V 2A
interface, using incorrect voltage may cause malfunction or fire hazard.
1.1.3 Cables must be protected from damage and damaged cables can cause a short
circuit or fire hazard.
1.1.4The ambient temperature should be 5-40 °C to avoid sharp changes in
temperature.
1.1.5 The device should not be in contact with the liquid; to clean the device, a dry
cloth can be used, but the power must be cut off before cleaning.
1.1.6 The device can only be used on a safe, stable surface, away from direct sunlight.
1.1.7 The scanner should be handled gently to avoid strong impact, otherwise it will
cause hardware damage.
1.1.8 Non-professionals are not allowed to disassemble and repair the scanner. If there
is any problem, please contact your dealer or service center.
Chapter II Equipment List and Precautions

[4]
2.1Product check and inspection
Products and accessories:
Scan head 1st
Turntable 1st
Calibration plate 1st
Calibration plate bracket 1st
Power Adapter 1st
Adapter power cord 1st
Data line 1st
Certificate 1st
Warranty card 1st
Blue ding gum 1st
Marker 2st
U Disc 1st
Scanning object 1st
After getting the product, the first time is to check whether the product is
complete and damaged. If there is any omission or damage, please contact the
after-sales customer service as soon as possible. If the product is complete, please
read the product manual carefully and follow the steps to use the product. If the
product is faulty or has obvious defects, please contact the after-sales customer
service in time to explain the specific problem. It is convenient for us to provide you
with the solution as soon as possible, so that you can use our products more smoothly.

[5]
2.2Precautions before use
2.2.1Objects not suitable for scanning
2.3.2Computer recommended configuration
OS:Windows7(64bit)
CPU:Intel i5
RAM:4GB and above
GPU:NVIDIA GTX650 and above
2.3.3Preparation before scanning
a. Scanning environment requirements: When using the scanner, try not to place it
under strong light sources (sunlight, spotlights, strobe lights, etc.). Avoid ambient
light interference (including strong light, light changes (such as walking)), normal
indoor LED light environment can be used normally. If the sun is strong, try to pull
the curtains or place them on the back side of the backlight. Do not use them under
the floor-to-ceiling windows.
b. Scanning background requirements: calibration and scanning process, try to ensure
that the scene of the scanner is stable, no people/objects move around, do not have
Hollow
Large depth of field
Occlusio
Large depth of field
Glossy
Black
Transpare
nt

[6]
reflective highlights, and the black background is the best.
c. Scanning stability requirements: Please place the scanner and turntable on a stable
platform to avoid platform shaking. The item should be placed in the center of the
turntable. During the rotation of the turntable, it is necessary to ensure that the item
does not shake or shift, otherwise it needs to be scanned again.
d. Calibration requirements: All the rotation of the turntable, the scanner, and the
change of the angle of the scanner need to be recalibrated to continue scanning. At the
time of calibration, the angle of the calibration plate and the calibration plate bracket
is 68°; the calibration plate is timed as far as possible in the middle of the turntable;
during the calibration process, do not move the position of the calibration plate
bracket, only flip the calibration plate; after the calibration is completed, cut Do not
move the relative position between the turntable and the scanner, and the angle of the
scanner cannot be changed.
e. Software operation requirements: the scanning process, calculation of calibration
results, two model splicing, model packaging and other steps require a certain
calculation processing time (the higher the CPU configuration, the shorter the waiting
time), do not operate the software interface or Rotate the model and wait quietly
f. USB device requirements: Do not plug or unplug other USB devices (mouse,
keyboard, USB flash drive, etc.) during the 3D scanner scanning process.
Note: For the desktop, please use the USB port on the back of the host.
g. Before installing the scanning software, please turn off the desktop assistant, 360
security guard and other anti-virus software.
h. Please run the installation software as an administrator. After the software is shut
down, please wait for about 30 seconds before restarting the software.
Chapter III Equipment Assembly and Scanning Operations
3.1Equipment assembly
a.Place the scan head on the main body of the turntable, and connect the turntable to
the scan head

[7]
b.Connect the type C cable to the turntable body and computer, and the power adapter
to the turntable body
c.Place the calibration plate bracket in the middle of the main body of the turntable
and place the calibration plate on the calibration plate bracket.

[8]
3.2Software Installation
a.Download the device software to the computer, right click "Run as administrator" to
install the device software
b. Select the language of the software operation and click "OK"
c. By default, click "Next", select the software package corresponding to the device,
click "Next"
d.The software is installed on the D drive by default. You can click "Browse" to select
the software installation location, and then click "Install".

[9]
e.The software installation is complete and a shortcut to the device software is
displayed on the desktop.
3.3scanning operation
3.3.1Power on the device and connect to the computer, double-click the desktop
shortcut, or right-click "Open" to open the software.

[10]
3.3.2Calibration
a.Place the calibration plate in the direction shown, click "Start" to calibrate the first
direction
b.Place the calibration plate in the direction shown, click "OK", then click "Start" to
calibrate the second didirection

[11]
c.Place the calibration plate in the direction shown, click "OK", then click "Start" to
calibrate the third direction

[12]
d. After the three directions have been calibrated, wait a few seconds. After the calibration is
successful, click “OK”.
3.3.3Turntable scanning
a.After the calibration is complete, select "Scan" and then select "Auto Scan"

[13]
b.To scan for color texture data, select color scan and color calibration; the method is
to place a blank sheet of paper in front of the scanned object, click on “Color
Calibration”, wait a moment, click “OK” to finish the color calibration.
c.Place the object to be scanned on the turntable, select the “Low, Middle, High”
details as needed, and select the appropriate brightness, click “Next”

[14]
d.Select the number of scans and scan mode, then click "Scan", the object starts
scanning, please do not move devices and objects
e.At the end of the scan, if some parts of the object are not scanned, click “OK” to
scan the multi-angle; change the angle of the object and click “Scan”

[15]
f.After the multi-angle scan ends, the data of each part of the object has been scanned.
Click “Cancel”, do not scan the next time, click “Finish”

[16]
g.Click on the package. If you want to open the model, first select “NOSealing” and
click OK. For example, if you need to scan 3D printing, select the curvature or plane
as needed, then select “Sealing” and click OK. Wait for the grid to be generated.

[17]

[18]
h.Click "Save" to export the desired format. For 3D printing, click "Mesh" and drop
down to select STL format.

[19]
3.3.4 Other steps - Segment
a.Data scanning is completed. If you find that the scan has extra data, you can select
the “Segment” function.
b. Select to scan the extra data, select the clipping method in the lower left corner, the
left mouse button can select the part to be cropped, the right mouse button confirms
the selection, the red color is selected to delete the part, click the lower left corner “√”

[20]
to confirm the red part.
c.The cropping is completed and the redundant data has been deleted.
This manual suits for next models
1
Table of contents
Popular Scanner manuals by other brands
BCF Technology
BCF Technology Ovi-Scan instruction manual
AGFA
AGFA DuoScan f40 owner's guide

Faro
Faro Edge FaroArm instructions
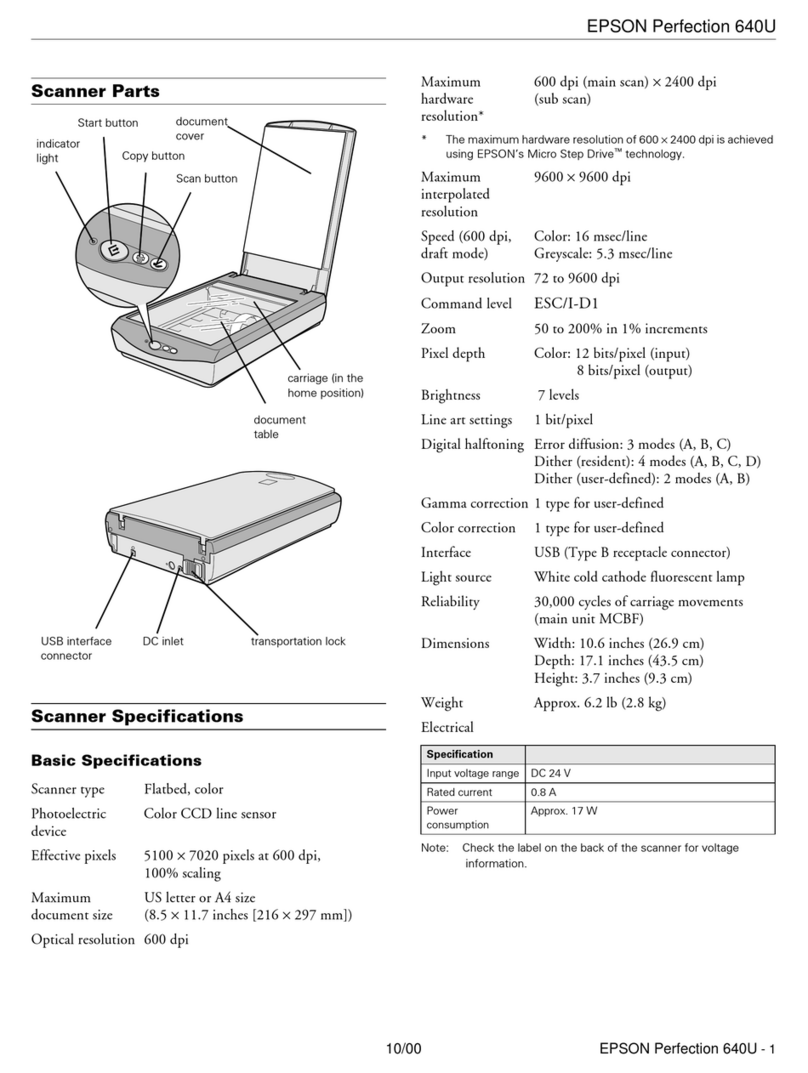
Epson
Epson Perfection 640U Series Product information guide
Fujitsu
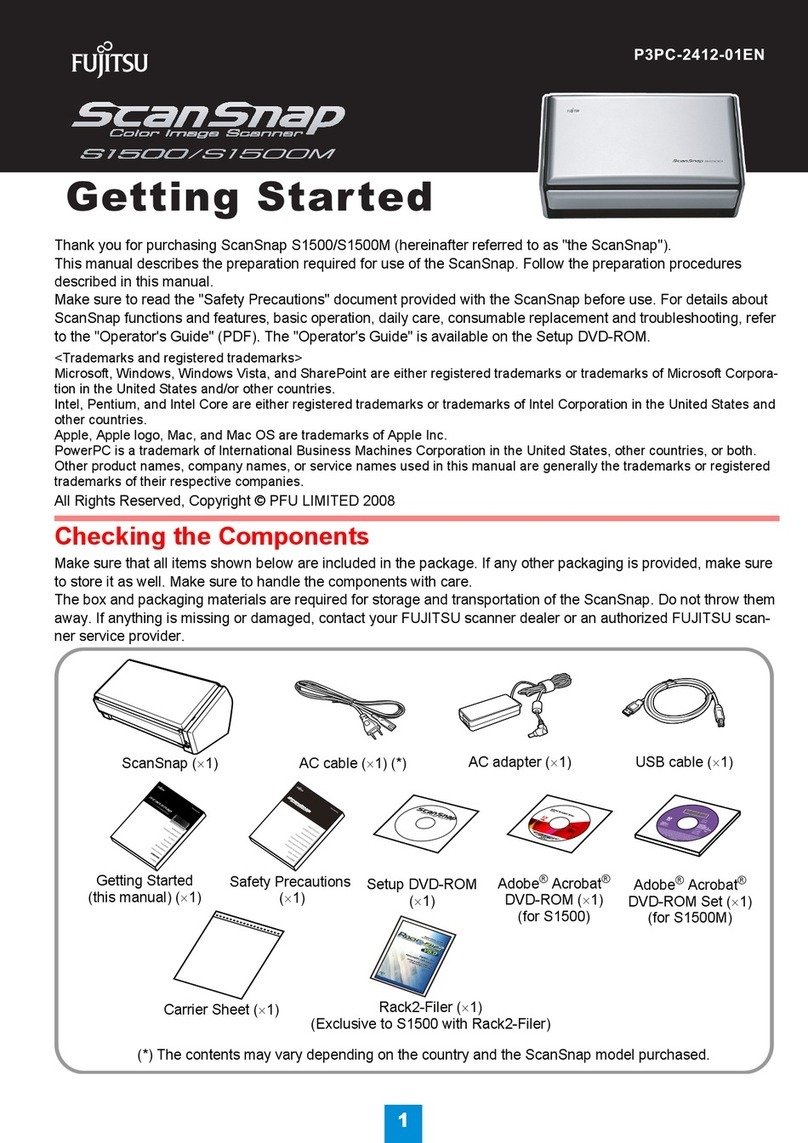
Fujitsu S1500M - ScanSnap - Document Scanner Getting started guide

Pressure Systems
Pressure Systems NetScanner 9116 user manual
