________________________________________PL10C / PL20B_____________________________________
8
II) INTRODUCTION
- This instruction manual has been prepared for professional workshop personnel, used to work with lifts, as well
as for the technicians who are in charge of the lift’s installation and maintenance (PL20).
-The straightening system BLACKHAWK POSTLIFT (PL10) (can be used with either the universal mechanical
measuring system BLACKHAWK P188, or the measuring gauges or the ultrasonic, electronic system SHARK.
This instruction manual has been prepared to explain to highly-qualified professional workshop personnel the way
this equipment functions, not to explain to amateurs the rudiments of vehicle repair. Therefore it does not give a
list of all the possible damages that can be encountered, nor the equipment needed for a particular straightening
job, nor all the possible combinations of accessories and equipment.
If you have questions relating to the POSTLIFT system, please contact BLACKHAWK, or its distributor.
III) PACKING, TRANSPORT AND STORAGE
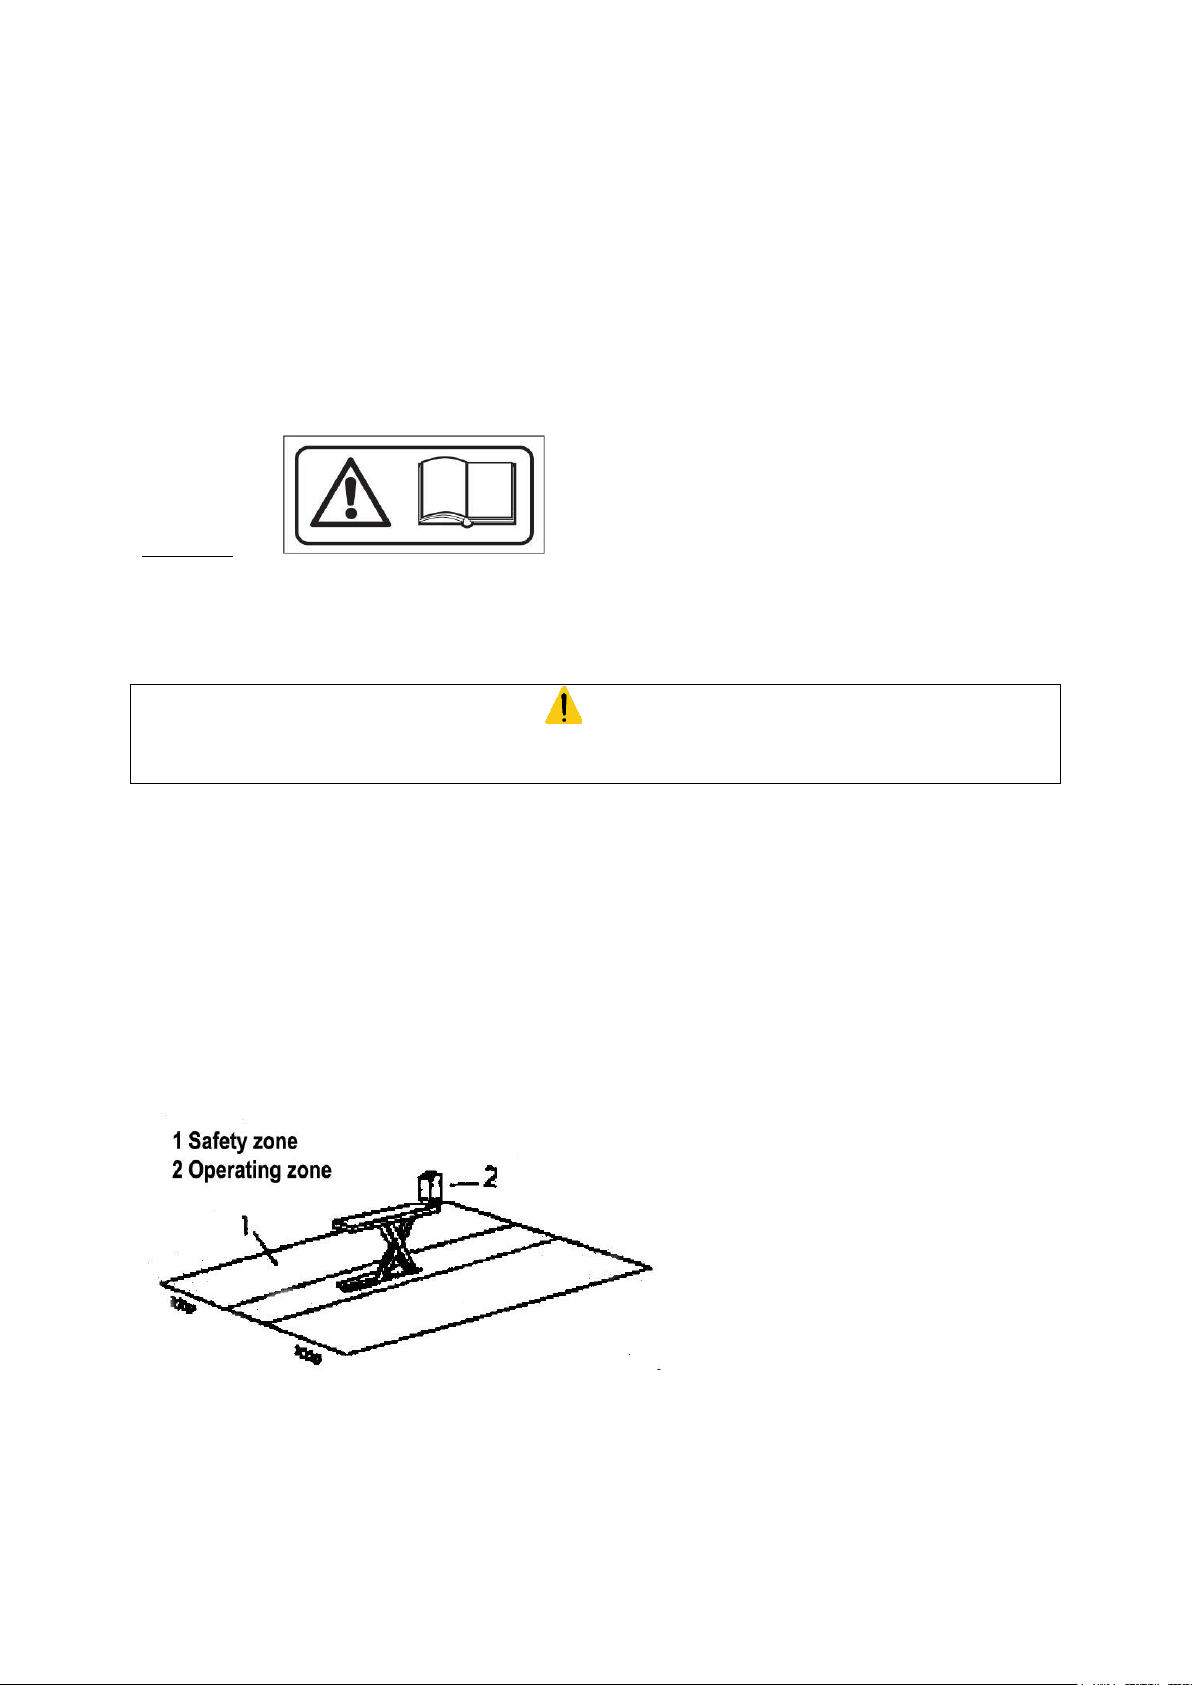
CAUTION
Any action involving the operation, transportation or unpacking of the equipment must ONLY be performed by
trained personnel with a proper knowledge of the lift and of the contents of this operating manual
LIFTING AND MOVING THE PACKING
The wooden crates must be lifted and moved with the help of a fork lift or a crane.
The chosen equipment must be capable of lifting and moving the equipment safely, keeping in mind the
dimensions of the vehicle, the weight, the centre of gravity, as well as the fragile parts.
WEIGHT OF THE LIFT: 500 Kg
WEIGHT OF THE PUMP: 50 Kg
WEIGHT OF THE PULLING ARM WITH CLAMPS AND ACCESSORIES: 820 Kg
STORAGE
The packed lift must always be placed in a covered area at a temperature between -10°C and +40°C and must
not be exposed to direct sunlight.
OPENING THE CRATES
Make sure the equipment has not been damaged during transport, and whether all the components mentioned in
the packing list are physically present.
WARNING
It is strongly recommended to carefully read the safety instructions first.