manuals.online logo
Brands
  1. Home
  2. •
  3. Brands
  4. •
  5. Blaupunkt
  6. •
  7. TV
  8. •
  9. Blaupunkt BN32H1372EKB User manual

Blaupunkt BN32H1372EKB User manual

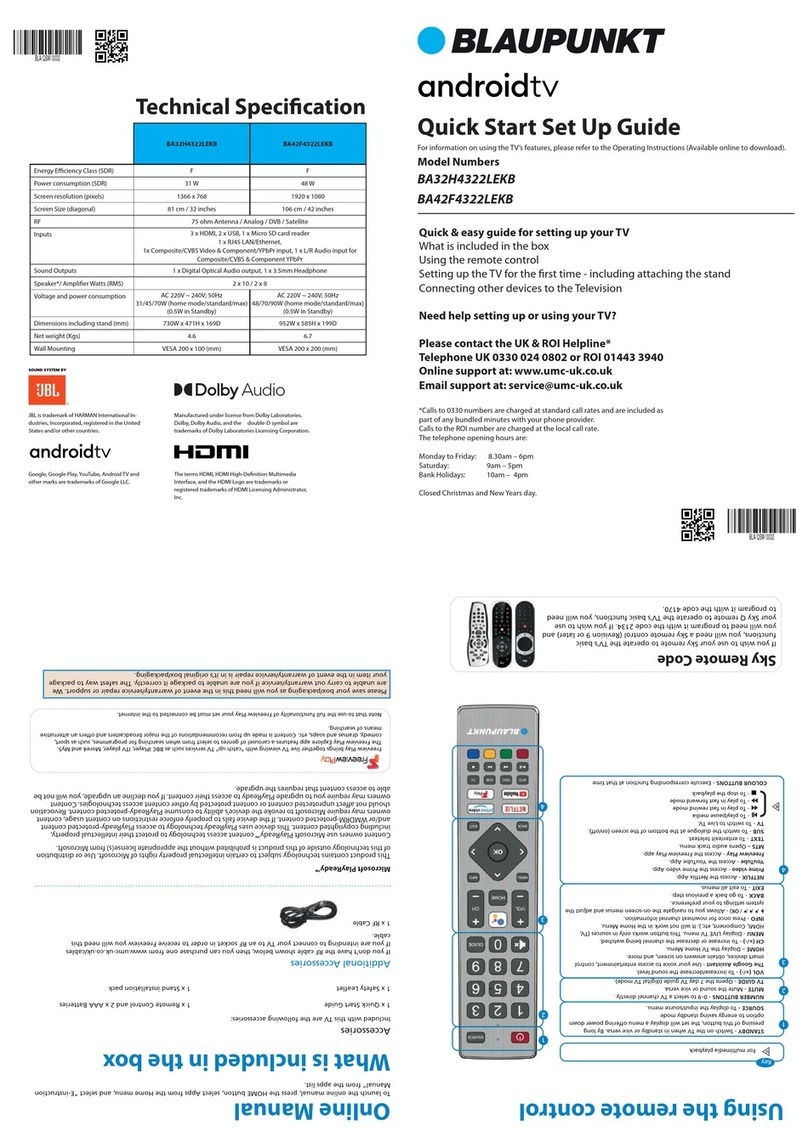
Quick Start Set Up Guide
For information on using the TV’s features, please refer to the operating Instructions.
Model Numbers
BN32H1372EKB
BN32H1372EIB
Please save your box/packaging as you will need this in the event of warranty/service repair or support. We
are unable to carry out warranty/service if you are unable to package it correctly. The safest way to package
your item in the event of warranty/service repair is in it’s original box/packaging.
Quick & easy guide for setting up your TV
What is included in the box
Using the remote control
Setting up the TV for the rst time - including attaching the stand
Connecting other devices to the Television
Need help setting up or using your TV?
Please contact the UK & ROI Helpline*
Telephone UK 0330 024 0802 or ROI 01443 3940
Online support at: www.umc-uk.co.uk
Email support at: servic[email protected].uk
*Calls to 0330 numbers are charged at standard call rates and are included as
part of any bundled minutes with your phone provider.
Please note these hours are subject to change periodically.
Calls to the ROI number are charged at the local call rate.
The telephone opening hours are:
Monday to Friday: 8.30am – 6pm
Saturday: 9am – 5pm
Bank Holidays: 10am – 4pm
Closed Christmas and New Years day.
What is included in the boxUsing the remote control
3
2
1
Register your manufacturers guarantee online within 14 days
of purchase at www.registertv.co.uk/blaupunkt
Register For Your
Manufacturers Warranty
BLA/QSW/0047
BLA/QSW/0047
Technical Specication
The terms HDMI, HDMI High-Denition
Multimedia Interface, and the HDMI Logo
are trademarks or registered trademarks of
HDMI Licensing Administrator, Inc.
Additional Accessories
If you don’t have the RF cable shown below, then you can purchase one from www.umc-uk.co.uk/cables
If you are intending to connect your TV to an RF socket in order to receive Freeview you will need this
cable.
1
4
2
3
5
4
5
Manufactured under license from Dolby
Laboratories. Dolby, DolbyAudio, and the
double-D symbol are trademarks of Dolby
Laboratories Licensing Corporation.
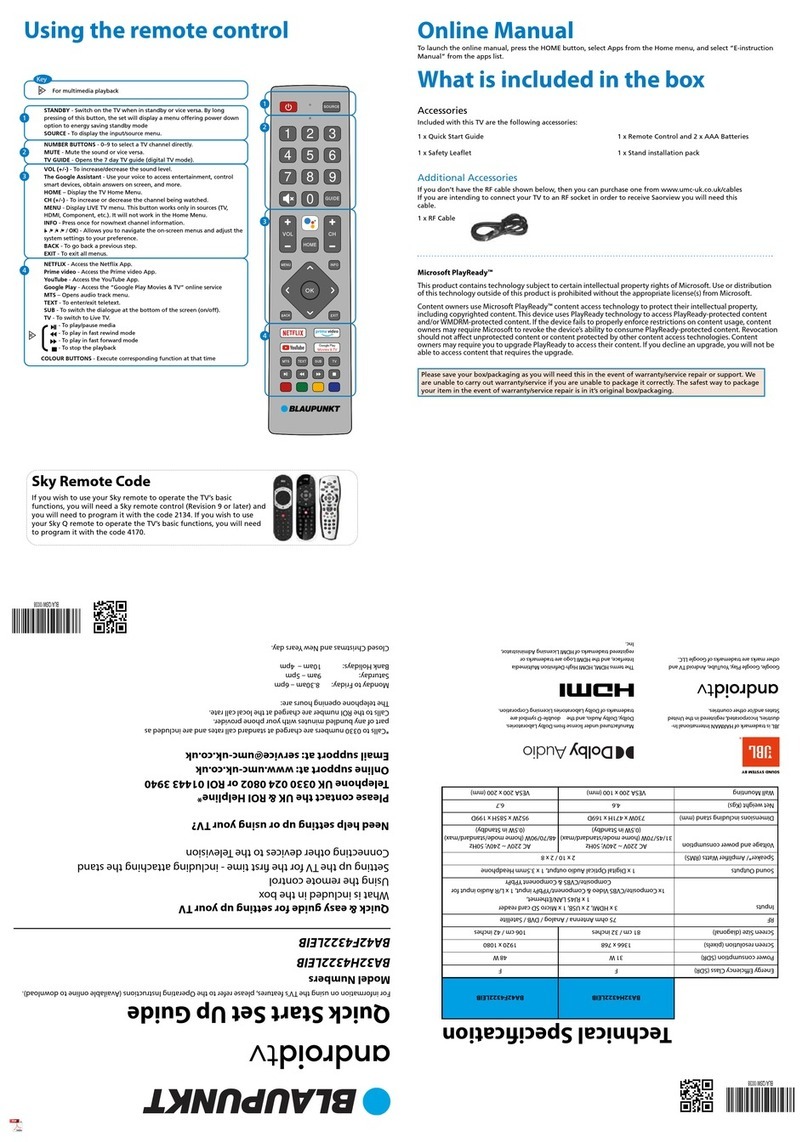
STANDBY - Switch on TV when in standby or vice versa
MUTE - Mute the sound or vice versa
NUMBER BUTTONS - 0 – 9 to select a TV channel directly.
TV/RADIO - Switches between TV and Radio
FAV - To display favourites menu
VOL (+/-) - To increase / decrease the sound level
REC. LIST - No Function
GUIDE - Opens the 7-Day TV Guide (Freeview mode)
CH (+/-) - To increase or decrease the channel being watched
REC - No Function
MTS - Scrolls NICAM modes
ASPECT - Scrolls picture scales.
MENU - To display OSD menu
SOURCE - To display the input/source menu
( / / / ) - Allows you to navigate the on-screen menus and adjust
the system settings to your preference
EXIT - To exit all menus
DISPLAY - Displays source and channel information
COLOUR BUTTONS - Execute corresponding function at that time
MEDIA/TELETEXT CONTROL:
- To play in fast rewind mode
- To play in fast forward mode
- To go back a chapter
- To go to the next chapter
- To stop the playback
- To Play/Pause the media
INDEX* - Request the index page in Teletext mode
TTX* - Switch teletext on/off - where available.
SUB.PG* - Press to access sub page
REVEAL* - Reveal or hide hidden words
HOLD* - Hold on or off for current page display
CANCEL* - Cancels current teletext operation
SIZE* - change the size of display in teletext mode
SUBTITLE - Displays subtitle in USB mode.
*Some functions are not available in regions where teletext is
unavailable
Accessories
Included with this TV are the following accessories:
1 x Safety Leaflet
1 x Remote Control and 2 x AAA Batteries1 x Quick Start Guide
BN32H1372EKB
BN32H1372EIB
Energy Eciency Class (SDR) E
Power consumption (SDR) 26 W
Screen resolution (pixels) 1366 x 768
Screen Size (diagonal) 80 cm / 32 inches
RF 75 ohm Antenna / Analog / DVB / Satellite
Inputs 3 x HDMI, 2 x USB, 1x AV IN - Composite/Video & L/R audio input
Sound Outputs 1 x Coaxial Audio Out
Speaker / Amplier Watts (RMS) 2 x 8W
Voltage and power consumption
110-240V 50 / 60Hz
26/45/60W (ecomode/standard/max)
(<0,5W in Standby)
Dimensions including stand (mm) 732W x 483H x 205D
Net weight (Kgs) 3.5
Wall Mounting VESA 100 x 100 (mm)
2 x Screws
For attaching the
stand neck to the TV.
1 x RF Cable
1 x Stand Installation Pack
1xLeft + 1 x Right Stand foot
Setting up the TV set for the rst time
3 Connecting your set
Connect the TV to your power socket.
If you wish to use the TV to receive Digital TV channels, connect
the RF input from the TV to your outdoor Digital TV aerial. If you
do not wish to receive Freeview/Saorview, skip this step.
1 Fitting the stand
Register For Your
Manufacturers Warranty
Register your manufacturers guarantee
online within 14 days of purchase at
www.registertv.co.uk/blaupunkt
R
e
g
is
M
a
n
u
f
a
R
e
gi
ster
y
ou
r
online with
w
ww.re
g
Connections
2 Installing batteries
Remove the battery cover from the rear of the remote control and
insert the AAA batteries which are supplied in the accessory pack.
Ensure that the polarity of the batteries is as shown in the battery
compartment. Replace the battery cover. The remote control is
ready for use.
TV panel must be facing downwards.
For the stand installation, there is
one type of screw provided as shown
below.
To complete the stand installation you
will require a cross head screw driver.
Place the TV set on a flat and
clean surface with the panel facing
downwards to avoid damage.
5 TV Button Control
To obtain a copy of your Operating Instructions, please go to: https://www.umc-uk.co.uk/instruction-manuals/Blaupunkt-Television_information.html Or Scan this QR Code:
Wall Mounting the TV
Follow steps 1 - 2 to safely install the TV stand
Used for attaching the stand neck
to the TV (g.3)
4 x Screws
Optional
Remove the four screws that are
supplied in the wall mounting holes.
The wall mount can now be easily
attached to the mounting holes on
the rear of the TV.
Install the wall mounting bracket to
the television as advised by the bracket
manufacturer.
The picture shows the use of spacers,
which are not applicable to all
sets/installations.
Image for illustration only.
12
1
2
2
1
4
3
Place the TV set on a flat and clean surface with
the panel facing downwards to avoid damage.
Take note of the hole and guide pin positions.
Align the stand feet screw holes with the screw
holes and guide pin positions on the TV.
Using the provided screws, carefully mount the
stand feet to the TV.
2
1
H
Coaxial Out Digital Audio Out
AV In Video + Left / Right Audio In
HDMI 3 HDMI Input
HDMI 2 HDMI Input
HDMI 1 (ARC) HDMI Input with ARC
SAT In Satellite Input
RF In RF / TV aerial input
USB USB x2
CI CARD IN Common Interface Module Input
G
F
D
C
B
A
E
Thank you
Thank you for purchasing this television.
We hope you have many years of trouble free enjoyment from your
purchase.
Your product is covered under the manufacturers guarantee for 12
months from the date of purchase.
If you experience any difficulties with your TV, please refer to the
'Frequently asked questions' in the manual.
Please make a note of your TV model, the serial number and the date
of purchase.
You will need this information should you need to call the helpline.
When you first turn on the set, you will be welcomed by the First Time Installation screen as shown.
Once you have decided the options as described below, select Auto Tuning and press OK.
DVB Antenna: Select type of TV signal you wish to tune. DVB-T (Freeview channels) or
DVB-S (Satellite channels).
Language: Select your preferred on-screen display language. This will change the language in which the
menus and associated information is displayed in.
Country: Select the correct country in which the set will be used in. This will enable the TV to correctly install
the functions applicable in the country of use. Note: Country selection appears after entering Auto Tuning.
Environment: Use this option to select either Home or Store mode.
Home Mode is a power saving mode which reduces the energy used by up to 25% (by reducing the power to
the LED/LCD panel). When in STORE MODE the picture will be brighter and you can personalise the settings
within the picture settings menu (Contrast, Brightness, Colour etc.
Note: In Home Mode, the TV will switch itself to the standby mode after 4 hours in the event that the buttons
on the remote control or TV are not used.
First Time Installation
3
1
2
I
F
H
G
F
E
D
C
B
A
I
(Power on/Strandby): Press the power button located behind the LED
indicator to turn the TV on and off.
Indicator on (Red) Standby Mode
Indicator off (No light) Power on Mode
4 Powering on the TV
The TV sets basic functions can be controlled by the Power
Button which is used for powering on the TV. This button is
located on the TV, behind the LED indicator.
While the TV is running, a short press of the Power Button
will display the button menu (shown above).
This menu will automatically disappear in 5 seconds of
inactivity.
By short presses of the Power Button, you can cycle through
these options one by one until you select the desired option.
By a long press of the Power Button with the desired
selection highlighted, you will activate the desired selection
Each icon in the menu is described below:
: Power Off Icon : Corresponds to the POWER button on the remote.
: Menu Icon : Corresponds to the MENU button on the remote.
: CH - Icon : Corresponds to the POWER button on the remote.
: CH + Icon : Corresponds to the POWER button on the remote.
: Source Icon : Corresponds to the SOURCE button on the remote.
: Volume + Icon: Corresponds to the POWER button on the remote.
: Volume - Icon: Corresponds to the POWER button on the remote.
Retuning your TV
Important information about retuning your TV - Please keep this
information to hand.
To ensure you are receiving the very latest channels on your television,
we suggest that you retun your set on a monthly basis.
This is because channels can be added and/or moved by the
broadcaster.
To retune using the buttons on the remote control, do the following:
Press Menu Press No. 8 four times
in quick succession
This manual suits for next models

1

Other Blaupunkt TV manuals

Blaupunkt BA32H4322LEKB Technical manual

Blaupunkt

Blaupunkt BA32H4322LEKB Technical manual

Blaupunkt 32/133I-WB-5B-HKUP User manual

Blaupunkt

Blaupunkt 32/133I-WB-5B-HKUP User manual

Blaupunkt PS 45-29 User manual

Blaupunkt

Blaupunkt PS 45-29 User manual

Blaupunkt B39SHE210TCFHD User manual

Blaupunkt

Blaupunkt B39SHE210TCFHD User manual

Blaupunkt BN32H1100BSKB Technical manual

Blaupunkt

Blaupunkt BN32H1100BSKB Technical manual

Blaupunkt 236/207I-GB-3B-HKUP User manual

Blaupunkt

Blaupunkt 236/207I-GB-3B-HKUP User manual

Blaupunkt 40/234I-GB-5B-FHKUP User manual

Blaupunkt

Blaupunkt 40/234I-GB-5B-FHKUP User manual

Blaupunkt DVB-T User manual

Blaupunkt

Blaupunkt DVB-T User manual

Blaupunkt BA32H4322LEIB Technical manual

Blaupunkt

Blaupunkt BA32H4322LEIB Technical manual

Blaupunkt 32/233I-WB-5B2-HKDUP User manual

Blaupunkt

Blaupunkt 32/233I-WB-5B2-HKDUP User manual

Blaupunkt 32/148I-GB-5B2-HKUP User manual

Blaupunkt

Blaupunkt 32/148I-GB-5B2-HKUP User manual

Blaupunkt 32/148M-GB-11B-EGPX Technical manual

Blaupunkt

Blaupunkt 32/148M-GB-11B-EGPX Technical manual

Blaupunkt BP650USG9500 User manual

Blaupunkt

Blaupunkt BP650USG9500 User manual

Blaupunkt 236/207O-GB-3B-EGPS Technical manual

Blaupunkt

Blaupunkt 236/207O-GB-3B-EGPS Technical manual

Blaupunkt 32/136-WB-11B-HKU User manual

Blaupunkt

Blaupunkt 32/136-WB-11B-HKU User manual

Blaupunkt 188G-GB-5B-FTCU-UK User manual

Blaupunkt

Blaupunkt 188G-GB-5B-FTCU-UK User manual

Blaupunkt BA32H4382QEB User manual

Blaupunkt

Blaupunkt BA32H4382QEB User manual

Blaupunkt BLA-MAN-0075 User manual

Blaupunkt

Blaupunkt BLA-MAN-0075 User manual

Blaupunkt BLA-23/157J-GB-3B-HKU User manual

Blaupunkt

Blaupunkt BLA-23/157J-GB-3B-HKU User manual

Blaupunkt 40/133Z-WB-5B2-FGKU User manual

Blaupunkt

Blaupunkt 40/133Z-WB-5B2-FGKU User manual

Blaupunkt BP420FSG9200 User manual

Blaupunkt

Blaupunkt BP420FSG9200 User manual

Blaupunkt BP4000F User manual

Blaupunkt

Blaupunkt BP4000F User manual

Blaupunkt 32/152R-GB-3B-GKU User manual

Blaupunkt

Blaupunkt 32/152R-GB-3B-GKU User manual

Blaupunkt 24/147I-GB-3B-FHBKUP User manual

Blaupunkt

Blaupunkt 24/147I-GB-3B-FHBKUP User manual

Popular TV manuals by other brands

Panasonic TX-40CXW404 operating instructions

Panasonic

Panasonic TX-40CXW404 operating instructions

Panasonic TX-39DW304 operating instructions

Panasonic

Panasonic TX-39DW304 operating instructions

Toshiba 30HF84 - 30" CRT TV Service manual

Toshiba

Toshiba 30HF84 - 30" CRT TV Service manual

Samsung SMART TV E-manual

Samsung

Samsung SMART TV E-manual

Sony KLV-70X300A Service manual

Sony

Sony KLV-70X300A Service manual

Panasonic TX-55CX400B operating instructions

Panasonic

Panasonic TX-55CX400B operating instructions

Toshiba 19A20 Service manual

Toshiba

Toshiba 19A20 Service manual

Sanyo CE27LD4-B instruction manual

Sanyo

Sanyo CE27LD4-B instruction manual

Loewe Articos 55 HD Service manual

Loewe

Loewe Articos 55 HD Service manual

Philips SmartCard PA9027C1 Instructions for use

Philips

Philips SmartCard PA9027C1 Instructions for use

Panasonic Viera TC-P65S60 owner's manual

Panasonic

Panasonic Viera TC-P65S60 owner's manual

Philips 42PF9731D - 1 manual

Philips

Philips 42PF9731D - 1 manual

Sanyo DS35510 owner's manual

Sanyo

Sanyo DS35510 owner's manual

Panasonic TX-28EX3C operating instructions

Panasonic

Panasonic TX-28EX3C operating instructions

JVC AV-14F3 Service manual

JVC

JVC AV-14F3 Service manual

JVC AV-27530/SC Service manual

JVC

JVC AV-27530/SC Service manual

BEA 82BS4K20 user manual

BEA

BEA 82BS4K20 user manual

Savant Touch TTV-2024 Deployment guide

Savant

Savant Touch TTV-2024 Deployment guide

manuals.online logo
manuals.online logoBrands
  • About & Mission
  • Contact us
  • Privacy Policy
  • Terms and Conditions

Copyright 2025 Manuals.Online. All Rights Reserved.