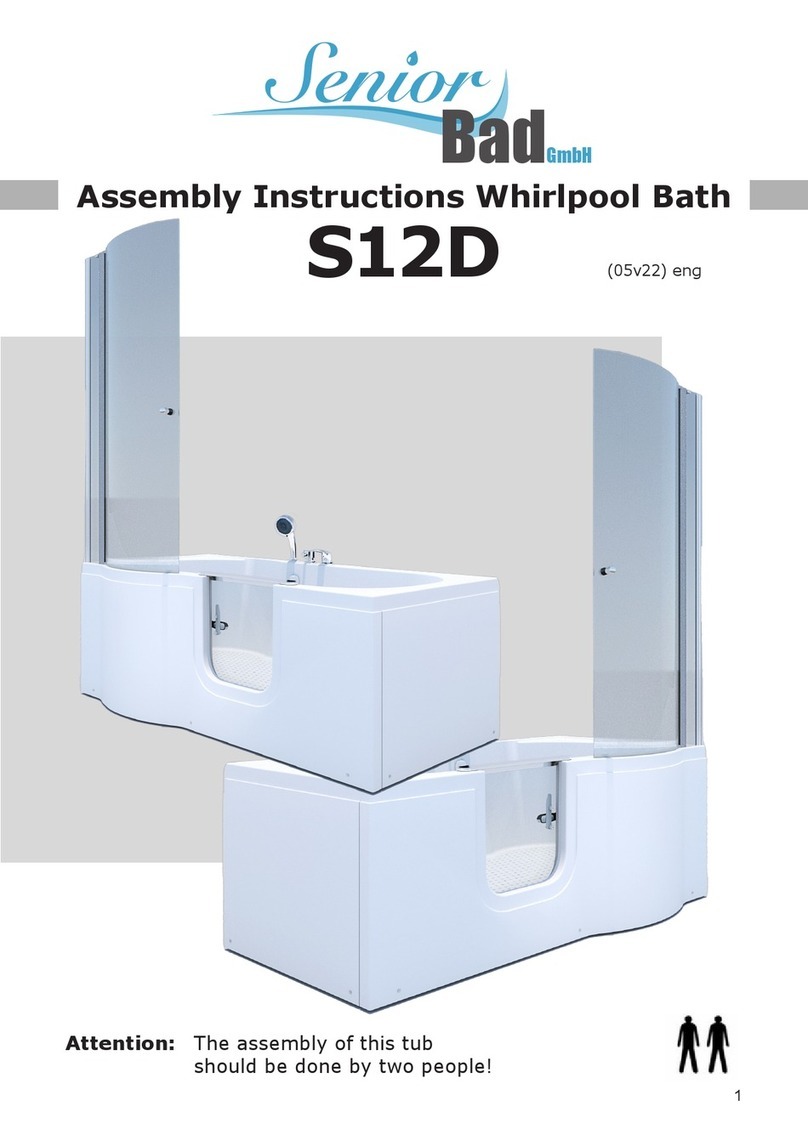
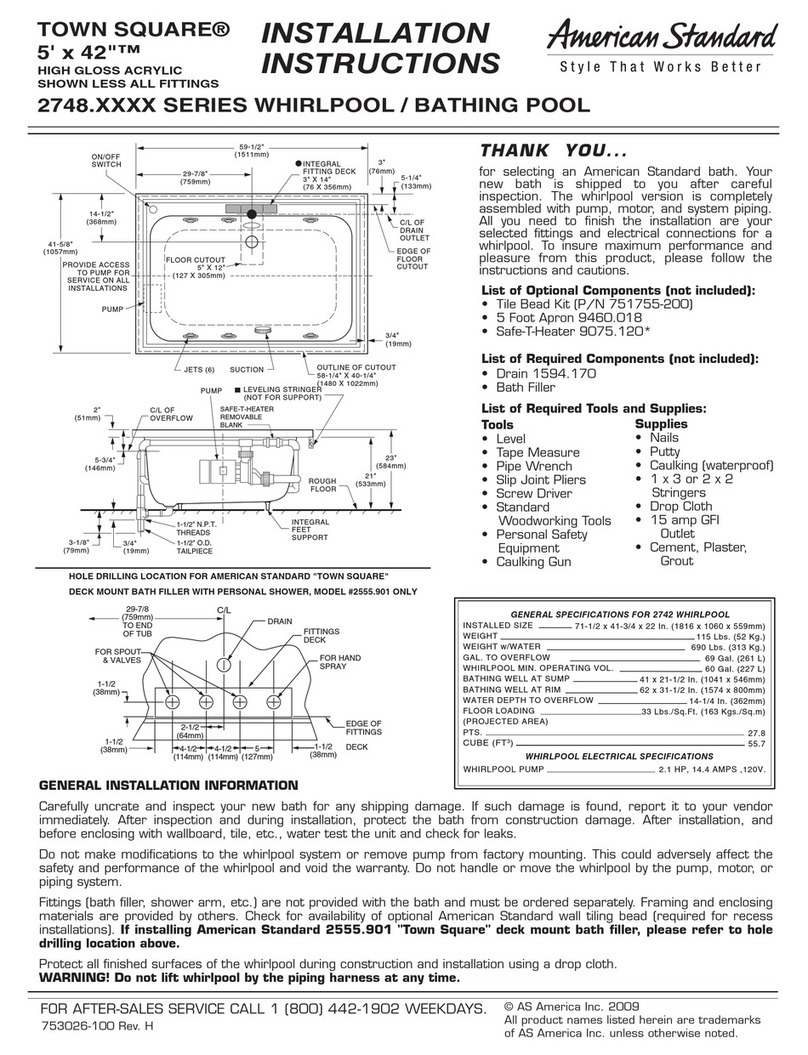
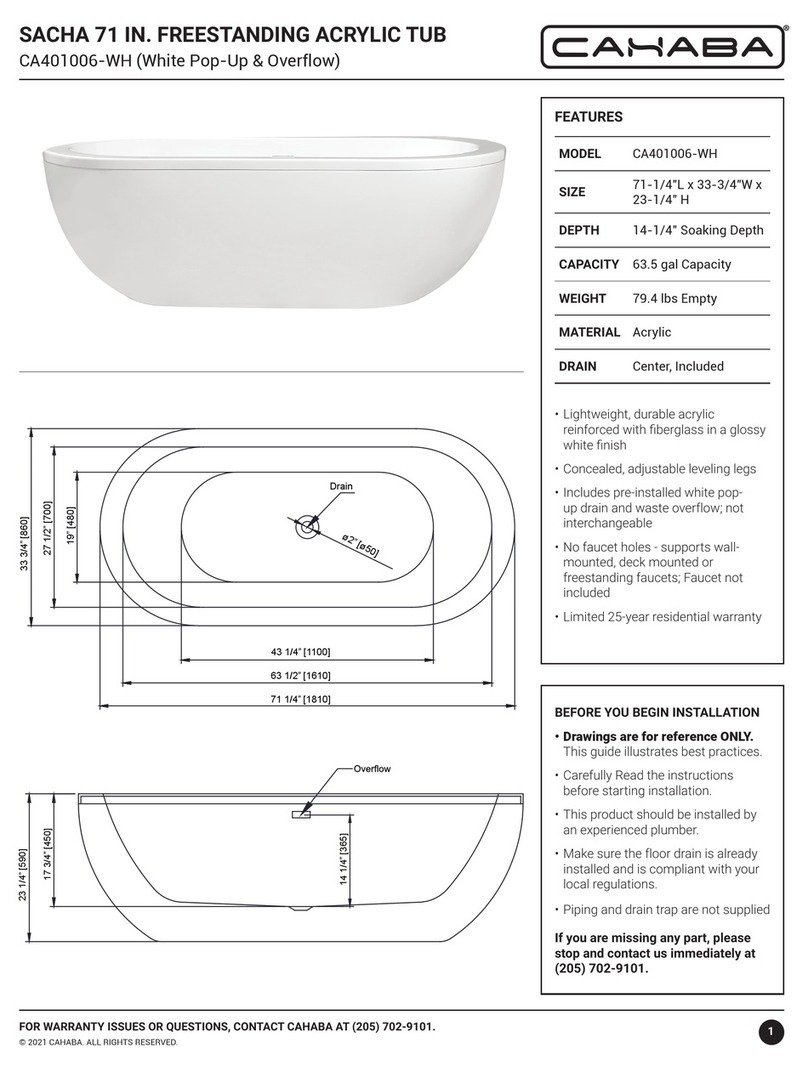
Bliss Tubs B3252HC User manual

HYDROMASSAGE SYSTEM
QUESTIONS?
Please call your dealer rst:
Telephone:
SAVE THESE INSTRUCTIONS
Image shown for reference. The size, color & conguration of your tub may vary.
Walk-in Bathtub
Operating Manual
DON'T
FORGET TO
MAIL IN YOUR
WARRANTY
REGISTRATION
(page 2)
© 2015 - 2017 Bliss Walk-in Bathtubs. All Rights Reserved.

BLISS TUBS
MAIL THIS PAGE
1
© 2015 - 2017 Bliss Walk-in Bathtubs. All Rights Reserved.
DANGER... Alcohol, Drug, and Medication Use
The use of alcohol, drugs or medications can greatly increase the risk of medical complications, fatal
hyperthermia, serious bodily injury or death. The material provided in this manual is not intended to
replace the advice of a physician. Seek advice from a competent medical professional or doctor prior to
the use of this product with regard to the user's specic symptoms or conditions.
DANGER… Hyperthermia
Prolonged immersions in hot water may induce hyperthermia. Hyperthermia occurs when the internal
temperature of the body reaches a level several degrees above normal body temperature of 98.6°F. The
symptoms include an increase in internal temperature of the body, dizziness, lethargy, drowsiness, and
fainting. The eects of hyperthermia include:
• Failure to perceive heat
• Failure to recognize a need to exit the bathtub
• Lack of awareness of impending hazard
WARNING... When using this unit, basic precautions should be followed, including the following:
READ AND FOLLOW ALL INSTRUCTIONS TO
REDUCE THE RISK OF INJURY:
DANGER... Injury: To reduce the risk of injury, do not permit children to use this unit
unless they are closely supervised at all times. Supervision is also recommended when
an elderly or handicapped individual uses this unit.
• Use this unit only for its intended use as described in this operating manual and the corresponding installation
manual. Do not use attachments not recommended by the manufacturer.
• Never drop or insert any object in any opening within the whirlpool system.
• Do not operate this unit without the guard over the suction tting. The guard is a safety device that reduces
the potential hazard of hair or body entrapment. Keep hair and body away from suction guard while the
water pump is running. Should the suction guard be covered by an object, the integrated air line will vacate
the suction and release the object.
• This unit must be connected only to a supply circuit that is protected by a ground-fault circuit-interrupter
(GFCI). Such a GFCI should be provided by the installer and should be tested on a routine basis. To test
the GFCI, push the test button. The GFCI should then interrupt power. Push the reset button. Power should
be restored. If the GFCI fails to operate in this manner, the GFCI is defective. If the GFCI interrupts power
without the test button being pushed there is a ground current owing, indicating the possibility of an electric
shock. If this should occur, do not use this hydromassage bathtub. Disconnect the hydromassage bathtub
and have the problem corrected by a qualied service representative before further use.
• Bliss Tubs are UL certied for installation and use within the United States. The electrical connections must
remain the standard three-prong (NEMA) connections and are not to be permanently installed or altered in
any way. More detailed electrical usage instructions are provided later in this manual.
• Any servicing outside the scope of the operating instructions or the care and maintenance instructions
beginning on page 21 should be performed by a qualied service technician.
SAFETY & WARNINGS
IMPORTANT SAFETY INSTRUCTIONS
INSTRUCTIONS PERTAINING TO RISK OF FIRE,
ELECTRIC SHOCK, OR INJURY TO PERSONS
• Fetal damage in pregnant women
• Physical inability to exit the bathtub
• Unconsciousness and danger of drowning

BLISS TUBS
MAIL THIS PAGE 2
© 2015 - 2017 Bliss Walk-in Bathtubs. All Rights Reserved.
NAME OF ORIGINAL USER:
PRIMARY TELEPHONE:
ADDRESS:
CITY: STATE: ZIP:
DEALER:
INSTALLER:
TUB SERIAL NUMBER:
INSTALLATION DATE:
End user acknowledges receipt of the Bliss Walk-in Tub Operating Manual and Warranty and
has familiarized themselves with the unit's operation, maintenance and warranty procedure.
SIGNATURE: DATE:
Staying Put at Home Newsletter:
Staying Put at Home is the ocial blog for Bliss Tubs and contains invaluable information and
resources for seniors across the United States who are interested in aging in place in their own
homes. To receive the occasional newsletter, please provide your email address below. You
may opt out of receiving emails at any time.
EMAIL ADDRESS:
Warranty Registration & Customer Feedback Form
Upon completion, mail to: Bliss Tubs, 1274
East Cypress Street, Covina, CA 91724.
Disclaimer: To ensure that your warranty is
properly registered with Bliss Tubs, please
ll-in and return this registration card to the
address above within 30 days of purchase
or installation. Your warranty will not be
recognized by Bliss Tubs unless this card is
fully completed and returned promptly.
WARRANTY REGISTRATION
DON'T FORGET
TO MAIL IN YOUR
WARRANTY
REGISTRATION

BLISS TUBS
MAIL THIS PAGE
3
© 2015 - 2017 Bliss Walk-in Bathtubs. All Rights Reserved.
FEEDBACK
Customer Testimonial:
We at Bliss Tubs deeply value customer input and feedback and always strive to provide the best
experience possible for our end-user customers and their families. If time permits, we strongly
encourage you to share with us the experience with your dealer, installer and/or the Bliss Tub
itself. We may choose to feature your testimonial in some of our literature. The signature on the
previous page represents a release thereof.
If you have time, please share your experience with all those who you feel may also benet from
the therapeutic benets and safety features of a Bliss Tub. Feel free to write a review for Bliss
Tubs on any or all of these sites:

BLISS TUBS
SAVE THESE INSTRUCTIONS 4
© 2015 - 2017 Bliss Walk-in Bathtubs. All Rights Reserved.
PRODUCT INFORMATION
PRODUCT INFORMATION & WARRANTY PROCEDURE
IMPORTANT... To ensure that your warranty is registered and acknowledged with
Bliss Tubs, please take a few moments to ll in, sign and mail the product registration
card on the previous page within 30 days of the date of purchase or installation. Mail
to Bliss Tubs at 1274 East Cypress Street, Covina, CA 91724. By returning the
product registration card, Bliss Tubs conrms the date of purchase of your new
walk-in tub and initiates the warranty period. This conrmation will allow Bliss Tubs
to process any and all warranty claims appropriately.
Purchase Registration
The personal information provided on the Product Registration Card will be kept on le with
Bliss Tubs as ocial Purchase Registration.
Privacy Policy
We do not sell, trade or otherwise transfer to outside parties your personal information. This
does not include trusted third parties who assist us in conducting our business or servicing
your needs (i.e. dealers or installers). We may also release your information to comply with the
law or to protect ours or other's rights, property or safety.
Product Information
Warranty Claim Procedure
1. Refer to Tub Maintenance & Care (page 21) or Troubleshooting Guide (page 24) for answers to
basic technical questions before contacting your dealer's or Bliss Tubs' technical support.
2. Upon need of warranty assistance, the user should rst call their dealer or installer. Your
dealer's name and phone number are provided on the front page of this manual.
3. The dealer or installer technician will ascertain the specics of the issue you are experiencing.
4. If needed, the dealer or installer will contact Bliss Tubs for technical support as needed.
5. If needed, replacement part(s) are shipped to the address provided.
6. It is requested that the user or installer return the damaged part(s) using the prepaid shipping
label provided by Bliss Tubs (if included).
Dealer:
Installer:
Serial Number:
Dealer Phone:

BLISS TUBS
SAVE THESE INSTRUCTIONS
5
© 2015 - 2017 Bliss Walk-in Bathtubs. All Rights Reserved.
INTRODUCTION
Thank you for your purchase of a Bliss Walk-in Bathtub!
We at Bliss Tubs appreciate that you have many options when deciding on a walk-in tub brand
and congratulate you on making the wise decision in selecting the Bliss Walk-in Bathtub. You've
made the right choice! We'd like to formally welcome you back to a safer and more independent
bathing experience! This Operating Manual has all the necessary information to safely and
properly operate and maintain your new walk-in tub.
PLEASE COMPLETELY READ THIS MANUAL BEFORE USING YOUR TUB.
DANGER... INDICATES A DEFINITE HAZARD LIKELY RESULTING IN BODILY HARM,
SERIOUS INJURY OR DEATH.
WARNING... Indicates a potential hazard that could result in bodily harm, serious injury or
death.
CAUTION... Indicates a situation in which property damage could occur.
IMPORTANT... Indicates important information related to the use of the product. Failure
to follow highlighted specic instructions could drastically effect the use, function, and/
or reliability of the product.
LEGEND
TECHNICAL SUPPORT
Please call your dealer rst.
Dealer:
Telephone:
Bliss Tubs
(800) 398-9639
Monday-Friday
10am - 7pm Eastern
7am - 4pm Pacic

BLISS TUBS
SAVE THESE INSTRUCTIONS 6
© 2015 - 2017 Bliss Walk-in Bathtubs. All Rights Reserved.
SAFETY AND WARNINGS .............................................................. 1
WARRANTY REGISTRATION (detachable) ..................................... 2
PRODUCT INFORMATION ............................................................. 4
INTRODUCTION ............................................................................ 5
TABLE OF CONTENTS ................................................................... 6
FEATURES .................................................................................... 7
1. Inward-swinging door
2. Outward-swinging door
ENTERING THE TUB ...................................................................... 11
FAUCET OPERATION ................................................................... 13
DRAIN AND OVERFLOW .............................................................. 16
HYDROMASSAGE SYSTEM OPERATION ...................................... 18
EXITING THE TUB ....................................................................... 20
MAINTENANCE AND CLEANING .................................................. 21
1. Door
2. Maintenance Panels
3. Tub Finish
4. Faucets, Handspray, Grab Bar, Drain and Overow
5. Hydro System
TROUBLESHOOTING GUIDE ....................................................... 24
WARRANTY ................................................................................. 26
ACCESSORIES (SEPARATE ATTACHMENTS IF INCLUDED)
TABLE OF CONTENTS

BLISS TUBS
SAVE THESE INSTRUCTIONS
7
© 2015 - 2017 Bliss Walk-in Bathtubs. All Rights Reserved.
FEATURES
Features of Tub with Inward-Swinging Door
TOP VIEW
ADA-Compliant 5-Piece Faucet Set (page 13)
Drain, Stopper & Overow
Knob (page 16)
Adjustable Water Jets
(10) (page 18)
Ergonomic Door
Handle (page 11)
Control Keypad (page 18)
Textured Slip-Resistant
Floor (page 22)
Ergonomic Interior
Grab Bar
ADA-Compliant 17"
High Contoured Seat
Safety Suction
(Water Return)
(page 23)
Image shown for reference. The size, color & conguration of the installed tub may vary.
Extension/ller panel not shown.
IMPORTANT... Accessory items not shown here will be detailed on attached
operating manual inserts
Contoured Neck Rest

BLISS TUBS
SAVE THESE INSTRUCTIONS 8
© 2015 - 2017 Bliss Walk-in Bathtubs. All Rights Reserved.
FEATURES
Features of Tub with Inward-Swinging Door (continued)
FRONT VIEW
6" Door Threshold
Stainless Steel
Piano-Style
Door Hinge
Guaranteed
Watertight Door
Seal (page 21)
Small Faucet
Area Access
Panel (page 21)
Large Seat Area
Access Panel
(page 21)
Tile Flange
(not integral
on all tubs)
Marine-Grade
Polished Gel-Coat
Finish (page 22)
Welded
Stainless
Steel Frame
Built-in Floor and Seat Supports
Extra-Thick,
Durable Fiberglass
Tub Body Water Pump
(page 18)
Adjustable Leveling Feet (6)
Door Drain (page 21)
BACK VIEW
Structural Reinforcement
for Grab Bars
Image shown for reference. The size, color & conguration of the installed tub may vary.
Extension/ller panel not shown.
IMPORTANT... Accessory items not shown here will be detailed on attached
operating manual inserts
Water Jet
Plumbing

BLISS TUBS
SAVE THESE INSTRUCTIONS
9
© 2015 - 2017 Bliss Walk-in Bathtubs. All Rights Reserved.
Features of Tub with Outward-Swinging Door
TOP VIEW
FEATURES
ADA-Compliant 5-Piece Faucet Set (page 13)
Drain, Stopper &
Overow Knob (page 16)
Adjustable Water Jets (10) (page 18)
Ergonomic Door
Handle with Locking
Mechanism (page 12)
Control Keypad
(page 18)
Textured Slip-
Resistant Floor
(page 22)
Ergonomic Interior
Grab Bar
ADA-Compliant 17"
High Contoured
Seat
Safety Suction
(Water Return)
(page 23)
Removable Top
Access Panel
Angled Feet
Rests
Personal
Hygiene Divot
Guaranteed Watertight
Door Seal (page 21)
Image shown for reference. The size, color & conguration of the installed tub may vary.
Extension/ller panel not shown.
IMPORTANT... Accessory items not shown here will be detailed on attached
operating manual inserts

BLISS TUBS
SAVE THESE INSTRUCTIONS 10
© 2015 - 2017 Bliss Walk-in Bathtubs. All Rights Reserved.
Features of Tub with Outward-Swinging Door (continued)
FRONT VIEW
FEATURES
7" Door Threshold
Stainless Steel
Piano-Style
Door Hinge
Door Catch
(page 12 & 21)
Seat Area
Access Panel
(page 21)
Marine-Grade
Polished Gel-Coat
Finish (page 23)
Long Lower Access Panel
- for use with patient lifts
(page 22)
Door Drain (page 21)
Faucet Area
Access Panel
(page 21)
Door Locking Bolts
and Receivers (2)
(page 12 & 21)
Welded Stainless
Steel Frame
Built-in Floor and Seat Supports
Extra-Thick,
Durable Fiberglass
Tub Body
Water Jet
Plumbing
Water Pump
(page 18)
BACK VIEW
Image shown for reference. The size, color & conguration of the installed tub may vary.
Extension/ller panel not shown.
IMPORTANT... Accessory items not shown here will be detailed on attached
operating manual inserts
Adjustable Leveling Feet (6)
Structural Reinforcement
for Grab Bars

BLISS TUBS
SAVE THESE INSTRUCTIONS
11
© 2015 - 2017 Bliss Walk-in Bathtubs. All Rights Reserved.
ENTERING THE TUB & TUB DOOR OPERATION
Entering the Tub
WARNING... Water on the tub oor and other bathroom
surfaces may accumulate and become a slipping hazard.
Use caution at all times to prevent injury.
CAUTION... Use only the tub arm rest, faucet deck and
integrated grab bar(s) as supports when entering the tub.
Do not use the door, door latch or faucet components
as supports when entering the tub. Damage to tub or
components due to misuse is not covered under warranty.
Inward-Swinging Doors
1. Ensure that all potential obstacles are cleared from the tub
entryway.
2. Using caution and adequate support, carefully step into the tub. The standard inward-
swinging door threshold height is 6". Request assistance if needed.
3. Door closing - the tub door may be swung closed from a standing or seated position,
whichever feels more comfortable and stable.
Closing the door from a seated position:
a. Carefully lower yourself onto the seat.
b. Maneuver both knees and feet toward the back
well wall of the tub to make room for the door to
shut.
c. Once the door has cleared both legs, use one
hand to hold the door in the closed position. Use
the other hand to fully engage the door latch.
d. Be careful not to pinch hands or ngers in any
moving parts.
Closing the door from a standing position:
a. Once standing in the tub, carefully turn around
and back into the corner of the tub well catty-
corner to the door hinge to make room for the
door to shut.
b. Once the door has cleared both legs, use one
hand or a knee to hold the door in the closed
position. Use the other hand to fully engage the
door latch.
c. Be careful not to pinch hands or ngers in any
moving parts.
d. Carefully lower yourself onto the seat.
Handle: Open Position
Handle: Closed Position

BLISS TUBS
SAVE THESE INSTRUCTIONS 12
© 2015 - 2017 Bliss Walk-in Bathtubs. All Rights Reserved.
Outward-Swinging Doors
1. The outward-swinging door should be left unlatched,
but engaged in the door frame catch, when not in use
to preserve the life of the door seal.
2. Ensure that all potential obstacles are cleared from
the tub entryway. Note that the contour of the outward-
swinging door may swing over some xtures (i.e.
toilets, etc.).
3. Gently pull the tub door outward. Once the door has
been released by the integrated catch in the door
frame, swing the tub door open in a slow arc.
CAUTION... The outward-swinging door
is quite heavy and should be guided open
and closed to prevent hitting and potentially
damaging the tub or other bathroom xtures.
WARNING... Do not stand in the door-swing
radius while opening the door to avoid being
knocked by the door and losing your balance.
4. Per your preference and/or physical ability, either
carefully step into the tub and lower yourself onto
the seat OR sit down on a portion of the exposed
seat and swing your legs into the tub. The standard
outward-swinging door threshold height is 7". Request
assistance if needed.
5. It is recommended that closing an outward-swinging
door be done from a seated position. Reaching forward
across the tub, pull the tub door gently back into the
closed position. Some rmness may be needed to
reengage the door in the door catch of the door frame.
6. To engage the door's locking bolts, push down on
the button on the door handle to release the handle
catch and push the door handle forward, engaging the
door's two (2) locking bolts and compressing the door
seal.
7. Release the door handle button, securing the door
handle in place.
CAUTION... Make sure the door handle is safely
in the locked position before lling the tub. Failure
to do so could result in the door opening under
water pressure and ooding the bathroom.
ENTERING THE TUB & TUB DOOR OPERATION
*Handle: Open Position
*Handle: Closed Position
Locked Button
Unlocked Button
* The operation of the door
handle is illustrated on a right-
hand tub below. Operation
of a left-hand door would be
mirrored.

BLISS TUBS
SAVE THESE INSTRUCTIONS
13
© 2015 - 2017 Bliss Walk-in Bathtubs. All Rights Reserved.
Faucet Operation
DANGER... RISK OF ELECTRIC SHOCK. DO NOT PERMIT ELECTRIC
APPLIANCES (HAIR DRYERS, LAMPS, PHONES, TELEVISIONS, ETC.) WITHIN
3 FEET OF THE TUB WHEN FILLED.
FAUCET OPERATION
Left-Hand Tub Faucet Orientation
Right-Hand Tub Faucet Orientation
12345
WARNING... Do not use the spout or any other faucet component to support
yourself when entering or exiting the tub. Despite their solid construction, the faucet
pieces are not designed to fully support a user's body weight.
WARNING... Use caution when lling the bathtub with water. If not equipped with
a thermostatic anti-scald valve, be sure to carefully mix the hot and cold water to
avoid potential scalding.
32145
3 Cold Tap (blue dot)
2 Diverter (silver dot)
1Hot Tap (red dot) 4Fill Spout
5Shower Handspray with
Retractable Flex Hose

BLISS TUBS
SAVE THESE INSTRUCTIONS 14
© 2015 - 2017 Bliss Walk-in Bathtubs. All Rights Reserved.
90º
Cold Tap
180º
Diverter
FAUCET OPERATION
Turning Water On and Off
1. Turn the hot or cold taps 90º toward you to begin water ow from the spout. The hot and
cold taps are indicated with a red and blue dot respectively.
Hot Tap
90º
2. Turn the hot or cold taps back 90º to their original positions to stop water flow.
Using Your Diverter and Shower Hand Spray
1. Lift your hand spray UP then pull OUT towards yourself.
2. Turn the diverter 180º to redirect water ow to the shower hand spray. The diverter is
indicated with a silver dot.
First Pull UP Then Pull OUT Towards Yourself

BLISS TUBS
SAVE THESE INSTRUCTIONS
15
© 2015 - 2017 Bliss Walk-in Bathtubs. All Rights Reserved.
FAUCET OPERATION
CAUTION... Avoid pulling the hand spray toward you before it has been fully lifted
out of the holster. Failure to correctly remove the hand spray can cause irreparable
damage and would require replacement.
CAUTION... The 59" shower exhose attached to the hand spray is connected to
the diverter underneath the tub deck. Only approximately 45" of the exhose can
be exposed when using the shower hand spray. Never yank on or over-extend the
exhose as this can cause irreparable damage to the exhose and would require
replacement. An over-extended exhose also has the potential to rupture causing
extensive water damage.
3. Adjust the spray function of the hand spray by twisting the face either clockwise or counter-
clockwise. A soft clicking noise should be heard when each spray function becomes fully
engaged.
Handspray Function Adjustment
4. Turn the diverter 180º to return water ow to the spout.
5. Keep the handspray in the deck mount when not in use.

BLISS TUBS
SAVE THESE INSTRUCTIONS 16
© 2015 - 2017 Bliss Walk-in Bathtubs. All Rights Reserved.
DRAIN AND OVERFLOW OPERATION
Bath Drain and Overow Operation
The Bliss Tub comes standard with a cable-actuated drain stopper, not a chain-and-stopper or
toe-touch stopper. The scalloped knob just under the faucet set doubles as the overow and
the stopper actuator.
Closing the Drain
• Twist the scalloped overow knob and lever 45º counter-clockwise until the stopper seals
down against the drain tting. The ADA assist lever sticking out of the overow knob is
intended to be used to increase the ease of turning.
CLOSED DRAIN
Scalloped
Knob in
Closed
Position
Lever in
Closed
Position
Stopper in
Closed Position
OPEN DRAIN
Stopper in
Open Position
Lever in
Open
Position
Scalloped
Knob in
Open
Position
Opening the Drain
• Twist the scalloped overow knob and lever 45º clockwise until the stopper fully pops up
and away from the drain tting. The ADA assist lever sticking out of the overow knob is
intended to be used to increase the ease of turning.
Warning... Should the ADA assist lever (set screw) ever become loose, the knob
will not be able to actuate the stopper properly. To re-secure the set screw, simply
tighten the set screw by twisting it clockwise. The set screw needs to engage into
the divot/at portion in the brass actuator shaft behind the overow knob. Remove
the overow knob if necessary to line up the set screw with the divot/at portion in
the brass actuator shaft. For additional assistance, contact your dealer, installer or
a qualied service technician as needed.

BLISS TUBS
SAVE THESE INSTRUCTIONS
17
© 2015 - 2017 Bliss Walk-in Bathtubs. All Rights Reserved.
Warning... Should the stopper set screw ever become loose, the stopper will not
pop up properly. For your safety, the stopper is a loose part and can always be lifted
out easily by hand to drain the tub. See the troubleshooting guide (page 24) for further
instructions on adjusting the stopper set screw. For additional assistance, contact
your dealer, installer or a qualied service technician as needed.
Drain Stopper & Set Screw
Stopper
Set Screw
DRAIN AND OVERFLOW OPERATION
Loctite Tape
Locking Nut

BLISS TUBS
SAVE THESE INSTRUCTIONS 18
© 2015 - 2017 Bliss Walk-in Bathtubs. All Rights Reserved.
HYDROMASSAGE SYSTEM OPERATION
Hydro Massage System Operation
IMPORTANT... For the hydro massage system to operate properly, the water level
must be 1" above the highest water jets on the inside of the tub.
Turning the Hydro Massage System On and O
• Press and release the "HYDRO ON/OFF" button once to
activate (turn on) the water pump, pushing water through the
water lines and out the water jets.
• Press and release the "HYDRO ON/OFF" button again to
deactivate (turn o) the water pump and stop the water ow.
• The strength of each water jet can be adjusted individually
by rotating the chrome trim ring 90º in either direction
allowing for a wide range of comfort settings. Rotating the
water jet trim clockwise will almost completely close the jet,
while rotating the water jet trim counter-clockwise will fully
open the jet.
IMPORTANT... Automatic hydromassage system shut-o: the hydromassage system
has an integrated 20 minute time that will shut o the pump and preserve the operating
life of the equipment. Simply push the "HYDRO ON/OFF" button once to reactivate
the system for a longer bath. The hydro massage system also has integrated internal
sensors that will shut the pump o if the pump is operated without water ("dry run") for
more than 10 seconds.
CAUTION... The water pump is designed to use the water in the tub as lubrication
and coolant while in operation and should not be activated without water in the tub.
Improper use by extended activation of the pump without water can irreparably damage
the pump. Such misuse would void the warranty for that component.
HYDROMASSAGE SYSTEM CONTROL PAD
Turns Hydro
System On
and O
Water Jet Trim
OFF ON

BLISS TUBS
SAVE THESE INSTRUCTIONS
19
© 2015 - 2017 Bliss Walk-in Bathtubs. All Rights Reserved.
Exiting the Tub
WARNING... Water on the tub oor and other bathroom surfaces may accumulate
and become a slipping hazard. Use caution at all times to prevent injury.
CAUTION... Use only the tub arm rest, faucet deck and integrated grab bar(s) as
supports when exiting the tub. Do not use the door, door latch or faucet components
as supports when exiting the tub. Damage to tub or components due to misuse is
not covered under warranty.
Inward-Swinging Doors
1. Allow tub to fully drain before opening the tub door.
2. Door opening - the tub door may be swung open from a standing or seated position,
whichever feels more comfortable and stable.
Opening the door from a seated position:
a. Use one hand to hold the door in the closed position. Use the other hand to fully
disengage door latch. Be careful not to pinch hands or ngers in any moving parts.
b. Maneuver both knees and feet toward the back well wall of the tub to make room for
the door to open.
c. Swing the tub door open.
d. Once the door has cleared both legs, use the armrest and integrated tub grab bar to
carefully pull yourself out of the seat and into a standing position.
Opening the door from a standing position:
a. Use the armrest and integrated grab bar to carefully pull yourself out of the seat and
into a standing position.
b. Once standing in the tub, use one hand or a knee to hold the door in the closed
position. Use the other hand to fully disengage the door latch. Be careful not to pinch
hands or ngers in any moving parts.
c. Carefully position yourself in the corner of the tub well catty-corner to the door hinge
to make room for the door to open.
d. Swing the tub door open.
3. Using caution and adequate support, carefully step out of the tub. The standard inward-
swinging door threshold height is 6". Request assistance if needed.
Outward-Swinging Doors
1. Allow tub to fully drain before opening the tub door.
2. Push down on door handle button, releasing the door handle from its locked position.
3. While pushing the door handle button down, gently pull the handle towards you to disengage
the door's two (2) locking bolts and decompress the door seal.
EXITING THE TUB
Table of contents
Popular Bathtub manuals by other brands

Streamline
Streamline N-140-60FSWH-FM Owner's manual & installation guide

Kohler
Kohler K-1113-LA Roughing-In Guide

Clou
Clou First CL/05.13010.20 installation instructions

Jade
Jade Plaisir 1000 INSTALLATION PROCEDURE

Kolpa
Kolpa Kolpa-san Series Instructions for installation and use

Ropox
Ropox taylordolman 40-14140-6 user manual

Signature Hardware
Signature Hardware BOYCE 925339 manual

Kohler
Kohler K-1209P-LA Guide

American Standard
American Standard Colony 2740.118C Specification sheet

DURAVIT
DURAVIT Cape Cod 70362 Series Mounting instructions

Sanipex
Sanipex BAGNODESIGN BDB-DRE-830-WH installation guide

BETTE
BETTE SILHOUETTE installation guide