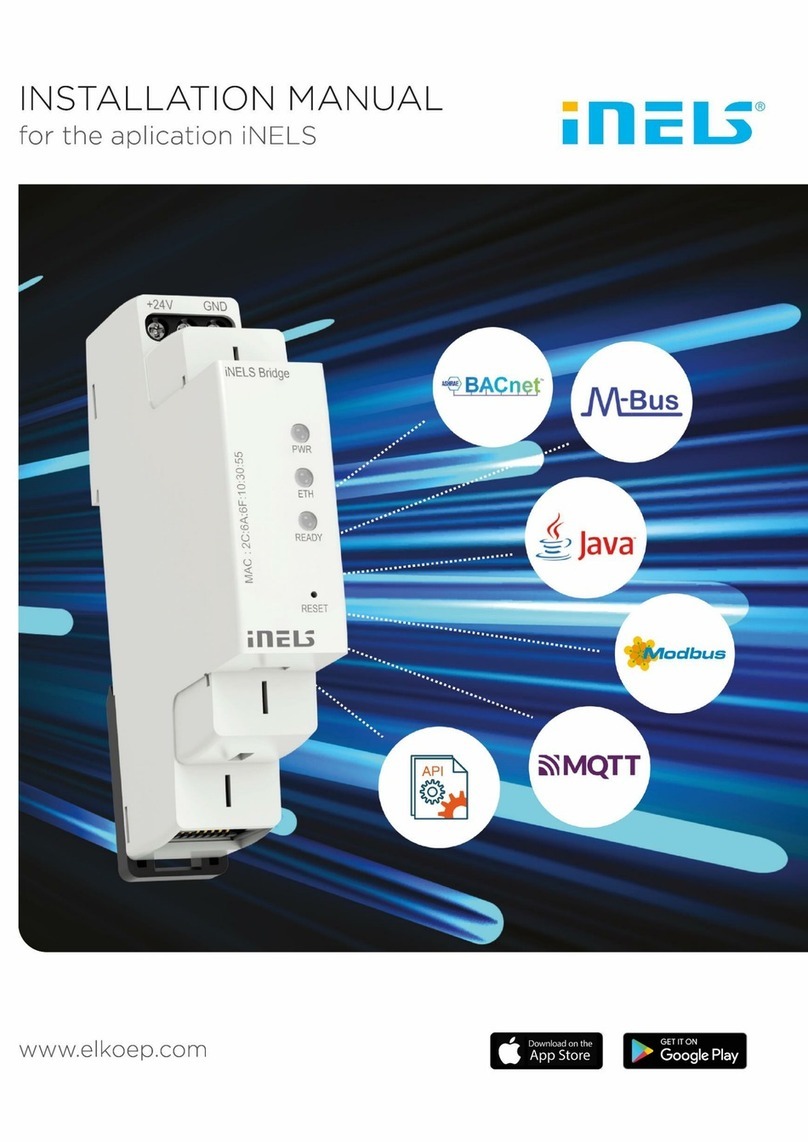
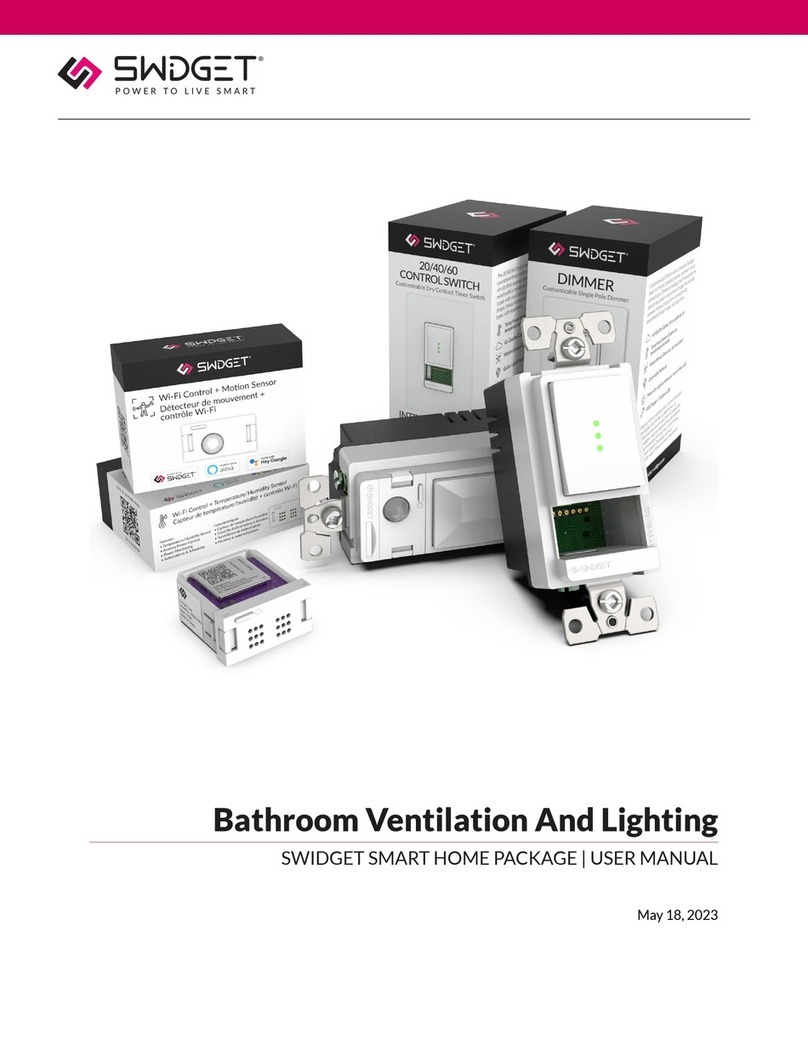
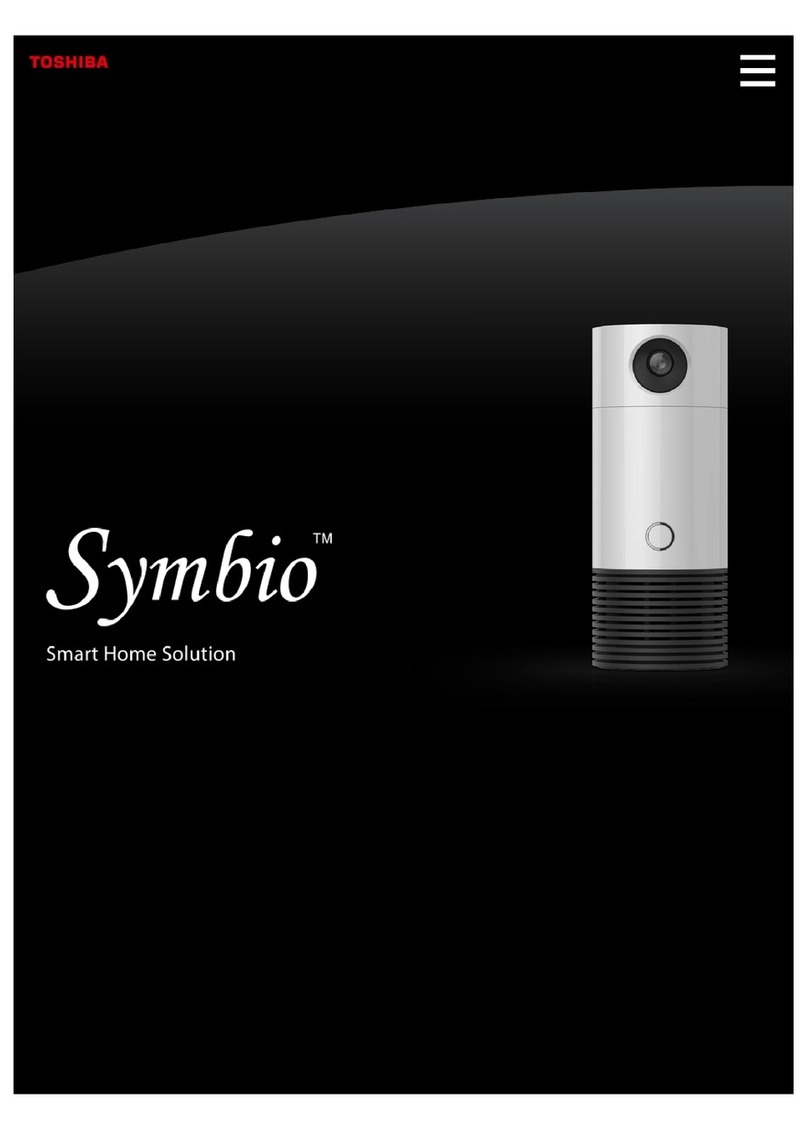
Blue by ADT Smart Home Hub User manual

Product name :Smart Home Hub
Model name :S40LR0-01
© 2020 ADT. All rights reserved. Blue by ADT and other product/service names are marks and/or registered
marks of their respective o ners and used under license. Unauthorized use strictly prohibited.
www.BluebyADT.com

y
is
Arming
Cancel
Cameras
View Saved Med ia
Motion Detected
·ont
Do,
r Senso,
blue
by ADT
Quick start guide


Table of contents
Setting up your system
Welcome 4
Plan your setup
Setting up your hub 7
Home automation devices 1
Using your system
Arming your system 17
What to do in the event of an alarm 19
User codes & keychains 20
Panic & duress 20
False alarm prevention 21
Alarm registration & permits 22
Customer help
Base LED light quick reference guide 23
Troubleshooting 24
Warranty disclaimer 25

Welcome
Welcome to Blue by ADT! You have made a great decision to help protect your family and home with the
purchase of your new security system. Setting up the system is easy and does not require any tools.
Registering your security system
If purchased from ADT online or by phone:
Your system and monitoring information has been pre-configured to make your setup even easier. To begin registration, go to
login.BluebyADT.com on your bro ser or do nload the iOS or Android Blue by ADT app and log in ith the username and
pass ord that as sent in your order confirmation email.
After you are logged in, follo the instructions to verify your monitoring information and set up your system on Wi-Fi or
Ethernet.
If purchased from a retailer, such as Amazon, etc.:
To get started, please visit www.BluebyADT.com/activate to activate your system ith the activation code on the flyer
you received in the device package. The activation code is a unique ID number used to associate your base to your
account. You ill only use this code once during the activation process.
Note: During the activation process, it is important to set up professional monitoring so that your home is protected in the
event of burglary and fire. Enrolling in professional monitoring ensures that you are contacted by the monitoring center and
emergency authorities are dispatched.
If you have any questions during setup, you can contact our Onboarding Specialists at 877-725-3838 or visit the
Support Center at www.BluebyADT.com/support
Master user code
The master user code is used to arm and disarm your security system and is utilized during the setup process. This
randomly generated code should be changed after the setup is completed.
Master user code
4

Make sure to take advantage of your ne system ith our interactive app. You can access the eb portal at
login.BluebyADT.com or do nload the Blue by ADT app in the Google Play Store and iOS App Store through
your device’s app store belo :
If you have any issues during setup, please feel free to visit our
online Support Center at www.BluebyADT.com/support
or call us at 877-725-3838.
5
Tip:
Go beyond the alarm! Did you know that you can do more than just arm and disarm your system?
You can easily set up alerts through the web portal and mobile app. Alerts give you peace of mind
and keep you informed about what is happening inside your home. Blue by ADT also gives you the
freedom to customize your system with the push of a button!

Plan your setup
Take a few moments to walk around your home and
identify these key locations:
1. A central location ithin your home to place
your base.
2. We recommend that you protect all first-floor
doors and indo s, and any indo s on upper
floors hich an intruder could access.
3. Find a location for your entry keypad,
preferably near your front door or the main
entry point to your home that you use most
often. This may be a side door or the door to
your garage.
4. The motion sensor should be placed in an empty
corner of the room, or on a shelf ithin the
room, or near an entry point you ould like to
protect.
5. Find good locations for your indoor and/or
outdoor camera(s) that provide
unobstructed vie s of the areas you need to
monitor.
. Determine the locations of your smoke
alarms and/or CO detectors.
6
Congratulations! You have completed planning your setup. Now start unpacking your home security system equipment.

Setting up your hub
Your hub is the most important piece in your home security system. The hub requires a Wi-Fi/internet connection.
Please keep in mind that the base needs to be free from metal objects and appliances that generate heat. Avoid setting
the hub directly on or near any major appliances, kitchen appliances, heaters, entertainment consoles, cable boxes,
internet routers, televisions, and stereos.
Once you have determined the ideal location for your hub, you may begin setup.
1. Open the box that says “Smart Home Hub”.
2. Unpack the contents and plug the po er cord into the
hub. Then plug the po er cord into the closest po er
outlet.
3. While your hub is starting up, open up the Blue by ADT
app on your mobile device and log in to your account.
4. Follo the in-app setup instructions to connect your
Hub bottom
base via Wi-Fi.
5. Once your hub po ers on, it ill begin to communicate
ith our security net ork. When the top LED light
on your base is solid green or flashing yello , you can
proceed to the next step.
Po er Ethernet
If the top LED on your base is not solid green or flashing yello ithin 10 minutes, please contact Customer Support for
additional assistance at 877-725-3838.
7

Setting up your hub
7
Hub top

Home automation devices
)
Home automation devices
Your system supports the use of Z-Wave lights, locks, thermostats, and garage door controllers. To learn more about
ho to add the devices to your system, control them, and hat is supported, please visit www.BluebyADT.com/support
and explore our Support Center articles.
8

Arming your system
Blue by ADT provides a variety of options for arming and disarming your system.
Depending on your needs, you may choose one of three different arming modes:
ARM-STAY: Press the Stay button on top of the hub, then enter your user code
ARM-AWAY: Press the Away button on top of the hub, then enter your user code
INSTANT ARMING: Press the Night button on top of the hub, then enter your user code
DISARM: Press Off button on top of the hub, then enter your user code
Note: The exit and entry delays are designed to give you enough time to leave or enter your home ithout setting off a
false alarm.
You can arm and disarm your system using various devices. The following instructions will explain how to arm and
disarm your system using each one.
Blue by ADT mobile app and web portal:
•ARM-STAY: Press the arming icon (shield) and select STAY (the house ith a dot inside the house), then
enter your user code
•ARM-AWAY: Press the arming icon (shield) and select AWAY (the house ith a dot outside the house), then
enter your user code
•INSTANT ARMING: Press the arming icon (shield) and Select NIGHT (the lightning bolt inside the house), then
enter your user code
•DISARM: Press OFF (shield ith keyhole), then enter your user code
9
Tip:
Make sure all windows and doors are closed before arming the system. If a sensor is open when you
are trying to arm the system, you may be prompted to bypass the sensor. You can either close the door
or window and try to arm again, or bypass the sensor, and it will not be monitored until the next time
the system is armed.

Arming your system
(continued)
Entry keypad:
•ARM-STAY: Press Stay, then enter your user code
•ARM-AWAY: Press Away, then enter your user code
•INSTANT ARMING: Press Night, then enter your user code
•DISARM: Press OFF, then enter your user code
Keychain remote (must be within 30 feet of your base):
•ARM-STAY: Press and hold the Stay arming button for three seconds
•ARM-AWAY: Press and hold the Away arming button for three seconds
•INSTANT ARMING: is not available on the keychain remote
•DISARM: Press and hold the OFF button
Note: To bypass open sensors using the keychain remote, hold do n the desired arm button for an additional three
seconds.
10

What to do in the event of an alarm
Glossary of terms:
What is a user code? It’s your o n personal 4-digit PIN used to disarm your system.
What is a monitoring passcode? This is a phrase given verbally to the monitoring center to verify you are the
account holder. In the event of an alarm, it must be provided to prevent dispatch or discuss any information ith the
monitoring center.
When your alarm is sounding, there are a few options for you to choose, depending on the scenario:
•If it is a false alarm triggered by you, a loved one, or by accident, you have 30 seconds to Disarm the
alarm by entering your user code. This ill cancel the alarm and return the system to normal ith no
further action.
•If it is a false alarm and you do not enter a user code ithin 30 seconds, the monitoring center
ill call the Primary Contact. If that person gives the correct monitoring passcode to the dispatcher, the
false alarm is canceled.
•If the alarm sounds in a true emergency, then the alarm ill continue to sound, and the monitoring center
ill be notified after 30 seconds. The primary contact ill receive a call, provide the monitoring passcode,
and can request a dispatch of emergency services to your home.
•If the primary contact is unavailable or cannot provide the dispatch with the monitoring passcode, the
dispatcher ill continue calling the secondary contact and any courtesy contact until someone has
the correct monitoring passcode.
•If the incorrect monitoring passcode is provided or no contact can be reached, the monitoring
center will contact the authorities.
•If you trigger the panic button, emergency services ill be dispatched to your home immediately,
ithout a phone call. The panic button can only be selected hen you are at home.
To trigger the panic button:
•Smart Home Hub: Press the star (*) and pound (#) buttons at the same time
and hold for t o seconds.
•Entry keypad: Press the star (*) and pound (#) buttons at the same time and
hold for t o seconds.
•Keychain remote: Press the star (*) and STAY buttons at the same time and
hold for t o seconds.
Make sure you have a family emergency escape plan that specifies here to meet and hat to do in case of an
emergency.
11

User codes & keychains
Blue by ADT allows for multiple user codes, which allows you to keep track of who arms and disarms your system.
•Master user code: You ill only have one 4-digit master user code, hich gives you complete access to your
entire system. Protect this code, and do not share it ith others.
•Users: Invite your friends and family and keep track of ho arms and disarms your system. Users ill be invited via
email and set their o n login pass ord, security question, and can manage their notifications under
My profile. As the master user, you may invite any of the follo ing user types to your system:
•Admin users get full access to all platforms and functionalities except billing.
•Standard users have access to monitoring, controlling, and limited settings management.
•Basic users can only arm/disarm.
•Duress users have a code to disarm the system and dispatch police. You may only have one
duress code, hich is shared by all to trigger a duress police dispatch.
Your keychain remotes are the only arm and disarm method hich does not require a code. If you lose a keychain
remote, do not orry. You can easily remove it from the system using the app or eb portal to disable access and keep
your home secure.
Panic & duress
Your system includes a panic button to be used in case of an emergency inside your home. This panic button ill
immediately notify the monitoring center to automatically dispatch emergency services to help you ithout delay. The
panic button can only be selected hen you are at home.
To trigger the panic button:
•Smart Home Hub keypad: Press and hold the star (*) and pound (#) buttons at the same time for t o seconds
•Entry keypad: Press the star (*) and pound (#) buttons at the same time and hold for
t o seconds.
•Keychain remote: Press and hold the star (*) and STAY buttons at the same time for t o seconds.
•Duress code: There is also an option here you can set up a special duress code (different from your
user codes), to be used hen you feel threatened by someone forcing you to disarm from inside your home. When
you enter the code, the alarm ill not sound, but a special duress message is sent to the monitoring center, and
emergency services ill respond appropriately.
•To create a duress code, select Menu > Users > + to add, and select Duress User.
Create a duress user ith a unique 4-digit duress code and then press Add User.
Note: The panic button and duress codes should only be used in an emergency. There is no option to cancel dispatch if you
are not in an emergency. This ill be treated like a false alarm by your local municipality and police department.
12

False alarm prevention
Your system is CP-01 Certified for False Alarm Reduction. This means e have designed our system ith features and
best practices to help you reduce the number of false alarms.
There are many ays to avoid triggering false alarms. When your alarm is sounding, there are a fe options for you
to choose from, depending on the scenario. You can turn off these settings; ho ever, doing so ill trigger an increased
number of false alarms.
•Abort window time: You have 30 seconds to enter the correct user code, hich ill allo you to cancel and
disarm the alarm, due to there being an extra delay kno n as the abort indo delay. If the alarm has already
been triggered and a siren is sounding, you can enter your user code during this next
30-second indo , and no alarm ill be sent to the monitoring center.
Note: You may change the abort indo time in your system settings.
•Fire alarm verification: After a loud smoke or CO detector siren triggers your fire safety sensors, the system
ill check t ice ithin 60 seconds to ensure that the siren is still sounding before dispatching a signal to
get help. This gives you the opportunity to silence an alarm triggered by burning food,
for example, and avoid a false alarm.
•Exit error: Exit error occurs if a sensor is tripped hen the exit delay time expires, for example, if you do not
close the door completely hen leaving your home. The entry delay time ill start immediately, giving you the
chance to disarm the system before an alarm is sent to the monitoring center ith an exit error.
•Auto Arm Stay: If you arm the system in A ay mode and do not exit through a monitored entry point, then
the system ill automatically default to Stay mode to prevent false alarms from motion sensors.
•Practice mode — 7-day practice period: When you first set up your ne security system, you are placed
ithin a 7-day practice period, hich serves as a learning opportunity for you. This ill ensure that you can
practice using your system and make mistakes ithout orrying about the police sho ing up for false alarms.
After this 7-day period, as long as all permit requirements are met, you ill be placed in
full-monitoring mode by the monitoring center to ensure that your home is protected.
13

Alarm registration and permits
Many municipalities require users to obtain an alarm permit/registration in order to activate monitoring services.
Obtaining local permits and registration
ADT contacts your local municipality to determine if a permit is required and ill email you ith any steps on ho to
obtain permit/registration. In the meantime, you can contact your local municipality and ask if a permit is required for a
security system. Belo is some of the information a municipality may ask you.
It is very important to obtain permits and/or registration if required in your municipality.
Please note: Residents are responsible for all permit fees, false alarm fees, runner service/alarm verification service fees, and
other applicable fees, if incurred.
Many municipalities ill not allo ADT to begin monitoring your home ithout a permit. In the event of a false alarm,
municipalities can charge fines to consumers ho do not obtain the required permits/registration. In addition, some police
agencies ill not dispatch to a home that is not registered/permitted.
Note: You may still be required to pay your municipality’s false alarm fees.
14
Alarm company
ADT
2021 Cabot Blvd West Langhorne,
PA 19047
Phone: 1-877-464-7437
Fax: 267-560-5571
Monitoring company
Criticom/Security Monitoring Services, Inc.
PO Box 521769
Long ood, FL 32752
Phone: 855-894-1737

Base LED light quick reference guide
Your home security base has an LED light on the front of the unit. This quick reference guide ill assist you in
understanding your system’s status on a day-to-day basis.
LED light System mode
Normal LED light patterns on the base
Solid green Ready to arm
Solid blue Armed (any mode)
Flashing blue Entry delay, exit delay
Flashing red Alarm, exit alarm, panic
Flashing green
Disarm – not ready to arm
Flashing yellow A device is faulted, lost, or has a lo battery and
the system is not ready to arm.
Other LED light patterns
Solid purple Boot mode – base is restarting
Flashing purple Add sensor/device
White/blue alternating Do nloading firm are
Yellow/red alternating No net ork connection
Yellow/green alternating Net ork is connected, but not connected to our server
Yellow/blue alternating Connected to server, not activated
15

Troubleshooting
Base troubleshooting steps:
Front LED light
The base is trying to...
What you should do...
The light on the front of the base is
flashing/alternating
yellow / green.
The base is online, but is not
connected to the server.
Please contact Technical Support at
877-725-3838.
The light on the front of the base is
flashing/alternating
yellow / red.
The base is trying to connect to
the internet, failed to connect,
and is trying to connect again.
Ensure your home Internet is orking.
If the Internet is orking and the light
does not return to solid green, please
reset the base, press and release the
red reset button in the back of the base.
If the issue remains, contact Technical
Support.
The light on the front of the base
flashing/alternating
white / blue.
The firm are is updating.
The light should return to green
ithin approximately 15 minutes. If
the light does not return to green,
please contact Technical Support.
The light on the front of the base
flashing yellow.
A device is faulted, lost, or has a
lo battery and the system is
not ready to arm.
Close the door or indo that is
open, or address any other
faulted or troubled devices.
Note: Troubleshooting steps may take a fe extra minutes.
16

Warranty disclaimer
Go to www.BluebyADT.com/terms-and-conditions to vie more of our arranty disclaimer.
Limited Warranty on Leased Products; Product Warranty Disclaimer:
THE FOLLOWING LIMITED WARRANTY IS APPLICABLE TO BLUE BY ADT-BRANDED PRODUCTS THAT
YOU PURCHASE:
i. Blue by ADT ill repair or replace any defective equipment ( ith ne or refurbished equipment, at
Blue by ADT’s sole option) that you purchase at no cost to you for a period of 12 months from the date
of purchase;
ii. You ill receive a prepaid mailing label to return any defective system equipment;
iii. You are responsible to pay shipping costs for any replacement equipment;
iv. After the expiration of the 12-month arranty period, you are responsible for the cost of all
replacement equipment, including all shipping charges;
v. If you fail to return the defective equipment, you void this arranty and must pay Blue by ADT the
MSRP for the equipment.
THE FOLLOWING LIMITED WARRANTY IS APPLICABLE TO BLUE BY ADT-BRANDED PRODUCTS THAT YOU LEASE:
i. Your leased equipment is arranted for the full term of the Lease provided you remain in good standing
ii. Any defective leased system equipment ill be repaired or replaced ( ith ne or refurbished equipment, at
Blue by ADT’s sole option) at no cost to you;
iii. You ill receive a prepaid mailing label to return any defective leased system equipment;
iv. If you fail to return the defective equipment, you void this arranty and must pay Blue by ADT the MSRP for
the equipment
Subject to the terms of the Limited Warranties set forth above, you are responsible for the loss of, damage to, or the entire
cost of, any necessary service or repair of the System equipment. THE LIMITED WARRANTY DOES NOT APPLIY TO
PROMOTIONAL ITEMS OR GIFTS. Read Section 16 for other important limitations and exclusions. You have no right to sell,
give a ay, transfer, pledge, mortgage, alter or tamper ith the equipment. OTHER THAN THE REPAIR AND
REPLACEMENT SERVICES FOR THE SYSTEM OR ANY COMPONENT THEREOF, WE MAKE NO WARRANTY OR
REPRESENTATION, EITHER EXPRESS OR IMPLIED, REGARDING ANY SERVICE OR EQUIPMENT, WHICH IS PROVIDED
TO YOU AS IS AND WITH ALL FAULTS. ALL SUCH WARRANTIES, INCLUDING WITHOUT LIMITATION, THE IMPLIED
WARRANTIES OF MERCHANTABILITY AND FITNESS FOR A PARTICULAR PURPOSE, ARE EXPRESSLY EXCLUDED. BLUE BY
ADT IS NOT RESPONSIBLE FOR ANY SPECIAL, INCIDENTAL OR CONSEQUENTIAL DAMAGES RELATING TO LEASED SYSTEM
EQUIPMENT OR ANY ACCESSORIES/CUSTOMER PURCHASED EQUIPMENT. By leasing from us, you ackno ledge that you have
had an opportunity to revie our arranty terms, have done so to the degree you feel you need to be familiar ith
17

Warranty disclaimer
(continued)
them, and you accept their terms and conditions, including the limitations, exclusions, and disclaimers. STATE LAW:
Certain state la s do not allo limitations on implied arranties or the exclusion or limitation of certain damages.
If these la s apply to you, some or all of the disclaimers, exclusions or limitations may not apply to you, and you might have
additional rights.
Limitations on our Limited Warranty. We have no obligation under our Limited Warranty if e reasonably determine that
your need for service as caused by any event, condition, or circumstance beyond our control, other than ordinary ear and
tear to your System. For example, our Limited Warranty does not cover any of the damage or loss of use resulting from, or
necessary because of, any of the follo ing: natural disasters, fires, storms, accidents, acts of God, strikes, riots, floods, or
terrorism. Furthermore, our Limited Warranty does not cover any of the damage or loss of use resulting from, or necessary
because of, any of the follo ing: (A) your misuse of, or tampering ith, the System; (B) telephone line malfunctions or
modifications to your telephone service that render it incompatible ith your System;
(C) your failure to provide ordinary maintenance to your System or any accessories/customer purchased equipment;
(D) anyone other than our authorized representative performing service on your System, except at our specific direction;
(E) physical alterations made by you or third parties to your Premises or to your System, or made necessary by damage to
your Premises or your System; (F) any change in la s or regulations that make it impossible or impracticable to continue
use of the System as is; or (G) any other reasons beyond our control. You must furnish
the necessary electrical po er through your meter at your expense to obtain arranty services.
How to obtain warranty service or other information:
To obtain service or information you can:
Call: Blue by ADT Customer Service at 1-888-723-8894
You ill receive instructions on ho to ship the Products, at your expense, to a Blue by ADT Authorized Repair Center.
To obtain service, you must include:
1. A copy of your receipt, bill of sale or other comparable proof of purchase;
2. A ritten description of the problem;
3. The complete physical address of the location here the system as set up and most importantly;
4. Your address and telephone number; and,
5. The “Return Merchandise Authorization” or “RMA” number that Blue by ADT provides to you.
What is not covered (exclusions)
Normal wear and tear: Periodic repair and replacement of parts due to normal ear and tear are excluded from
coverage.
Ornamental decorations: Ornamental decorations such as emblems and graphics and other decorative elements are
excluded from coverage.
18
This manual suits for next models
1
Table of contents
Other Blue by ADT Home Automation manuals

