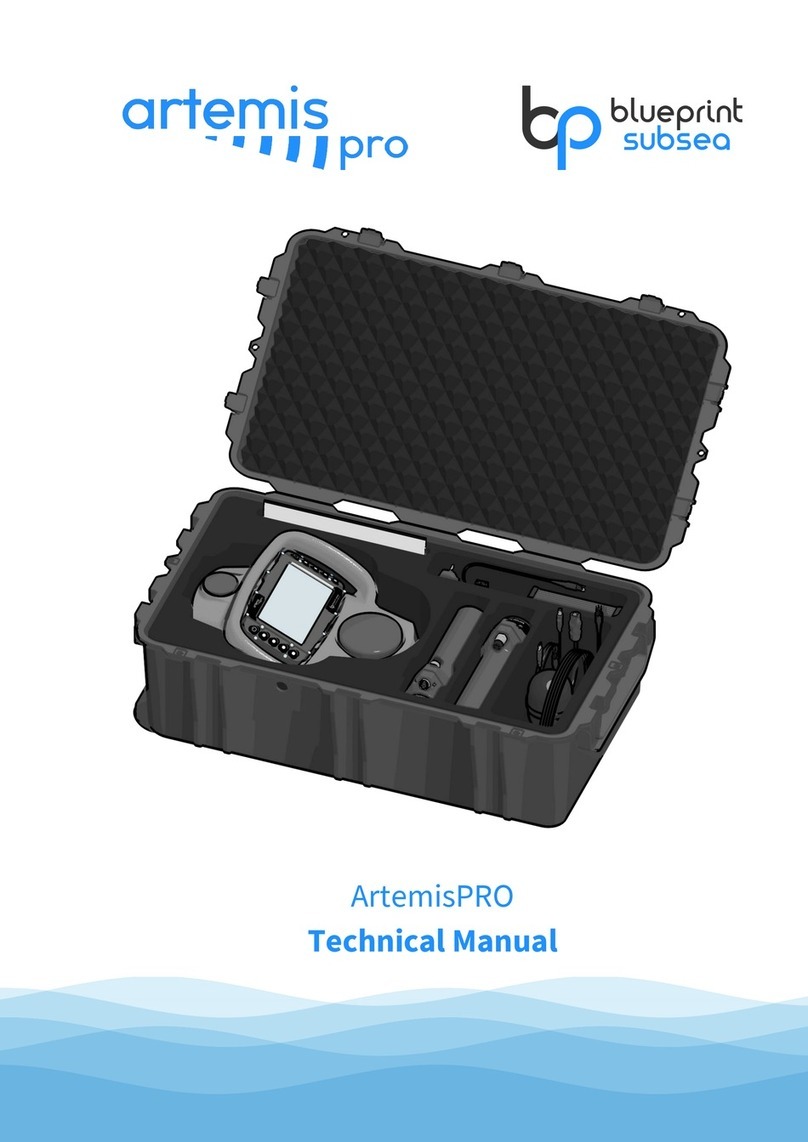
Blueprint Subsea Navigator User manual

Check that the Navigator system contains the
following items...
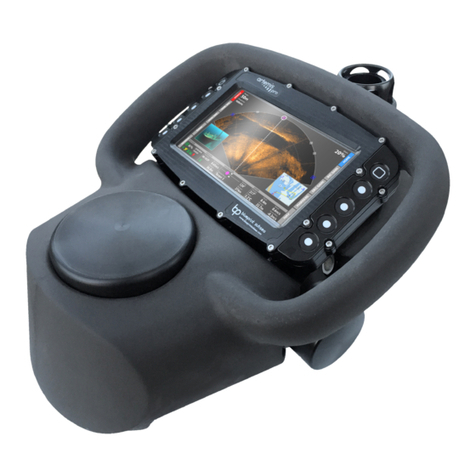
lNavigator Console
lNavigator GPS float
lRechargeable NiMH battery pack (8.4V, 2.2Ah)
lBattery charger (Universal AC supply, 3-stage
charging)
lUSB connection lead
lPinPoint software CD (for Microsoft Windows)
lUser documentation
Before using the Navigator system for the first
time, please read the full User Manual as this
contains important safety and operational
information.
lDo not rely on this product or its sensors as a
primary means of life-support during or after a
dive. Navigator is designed as a navigation aid
only, and not as an alternative or replacement
for dive-computers or similar apparatus.
lDo not submerge the console, unless all
connectors or suitable blanking plugs are fitted
in unused electrical connector sockets, and the
battery housing cap is secured.
lDo not use this product if any of the cabling, or
housings of its component parts appear to be
damaged or compromised for the ingress of
water (where required to be watertight).
When you have finished using your Navigator
system, you should…
lRemove any weed, or other detritus, that may
have been collected during its operation.
lWash the system in fresh water, if it has been
used in salt-water, to prevent corrosion and
damage to rubber mouldings.
lStore in a well ventilated enclosure after use, to
allow any moisture on system components to
evaporate naturally.
BEFORE YOU START
P/N: BP01039.1 UM-145-P01039-01
QUICK START
AND REFERENCE
FEATURES
Power USB /
GPS
Connectors
Battery Housing
Battery Pack
Battery Housing Cap
GPS Float & Cable
BATTERY CHARGING,
FITTING & CARE
Keypad...
Status Bar Icons...
Battery
Logging
Data
GPS
Green = Normal operation
Yellow = Warning
Red = Error / Alarm
Icon colour...
Application Icons...
Press Dive Profile
Compass
GPS
Settings
Copyright © 2016, www.blueprintsubsea.com
Yellow = No battery / Initialising
Orange = Bulk Charge Mode
Green/Yellow = Top-off Charge Mode (fast flash)
Green = Trickle Charge / Complete
Orange/Green = Error (slow flash)
To fit (or remove) the battery pack...
Navigation
To charge the battery pack...
lWith the charger turned off, plug the charging lead into the socket at the
end of the battery pack.
lCharging can take up to 4 hours, during which time the battery may
become warm as charging approaches completion.
lThe charger status indicator colour shows current mode, completion or
error.
Please refer to the full list of safety notices, care and storage guidelines
in the user guide.
l Use only the supplied charger with the Navigator NiMH battery packs.
l Do not allow the charger or battery pack to be exposed to water.
l Charge batteries in a well ventilated location where ambient temperature is
between 10°C and 30°C.
l Avoid repeatedly re-charging the battery without allowing for a minimum 30
minute cooling period between charge cycles.
When storing batteries...
l When not in use, batteries should be disconnected from the charger and
stored in a fully charged state. Do not leave battery packs in the Navigator
battery housing for long periods of storage.
l The chemistry of the nickel metal hydride battery pack will self-discharge
approximately 1% of its charged capacity per day
l When storing batteries for more than one year, charge at least once a year to
prevent leakage and deterioration of performance due to self-
discharging.
Immersion
Sensor
F1 / Up
F2 / Down
F4 / Right
F3 / Left
Power On /
App
Display
Area
Display & Keypad
Frame & Handles

USING APPLICATIONS
F1 / Up F2 / Down F4 / Right
F3 / Left
Settings
GPS
Navigation
Compass
Switch Application
Calibrate
Selection
Up
Selection
Down
Prev Value
/ Execute
Next Value
/ Execute
Set Time From
GPS
Add Marker Next Marker Zoom Display Mode
Dive Profile Zero Depth
Sensor Not used Not used Not used
PRE-DIVE CHECKLIST
With Navigator connected to a PC...
lCheck that any required mission files have been uploaded onto the Navigator
lCheck that Mission files to be used have enough free “marker” slots to allow
the diver to define any in-mission markers if required.
lCheck there is enough free space on the internal storage for the Dive-Log file
(allow approximately 1Mb of storage space per minute of the dive).
Hardware preparation...
lCheck a fully charged battery been fitted and the housing cap is tight and
sealed correctly.
lCheck that all cables are fitted into all connector sockets, preventing water
ingress.
lCheck the cable of the GPS Float is securely attached to the console frame,
avoiding strain on the connector.
Software preparation, prior to use by the diver...
Power on the Navigator and check the required status icons go green...
lCheck the GPS status icon on the Navigator status bar is visible and green (red
indicates no GPS connected, yellow no GPS fix currently available).
lThe Immersion Sensor droplet icon is red when the Navigator is not
submerged. When submerged, dive logging starts automatically (the disk icon
goes green).
lIf no droplet icon is shown, the immersion sensor is not enabled, so manually
start dive logging if required from the “Settings” app.
NAVIGATION REVIEWING DIVE LOGS
Target more than
60° to left/right
Target more than
30° to left/right
Target more than
90° to left/right
Navigation Bubble...
Target within ±30°.
Align bubble in
centre of display.
Application Key Functions...
Navigation Markers...
Waypoint
Target Marker
Diver Placed Marker
Icons found on the Navigation App
display:
Icons found on the Status Bar:
To download recorded “Dive Log” data (or upload new “Mission” files)…
lPlug the USB lead into the USB connector at the base of the console, and
connect the other end of the lead into a free USB socket on a PC / Laptop that
has the PinPoint software installed.
lTurn Navigator on and after a few seconds the Windows™ operating system
should detect it, appearing as a “Mass Storage Device” (similar to a USB pen-
drive).
l Use the Windows File Explorer (or other file manager) to download and remove
any Dive Log files (or upload new mission files).
To prevent corruption to any of the files, always follow the Windows “Safely
Remove Hardware & Eject Media” procedure, before disconnecting the USB
cable or powering-down the Navigator.
Pan Chart
Measure Distance/
Bearing
Zoom To Rectangle
Zoom To All Markers
Play Log Data
Pause Playback
Restart Playback
Repeat Playback
PinPoint Icons...
Open Dive Log
Export Log Data
(to other programs)
Not used Not used Not used
Not used Not used Not used
Choose a mission file from the
Settings display.
Use the GPS display to check the GPS is
working (status icon should be green).
On the Navigation display, press
“F3/Left” to change the chart scale.
Press “F2/Down” to cycle through
markers and choose a destination.
Align the status bar “bubble” on the
centre marks and swim towards target.
Distance to
swim
Direction to
swim
Selected
mission
marker
Current chart
scale
Use the Dive Profile screen to review
the progress of your dive.
Selected Mission
GPS Fix Good
Dive Timer
Dive Log
Recording
Table of contents
Other Blueprint Subsea Diving Instrument manuals
