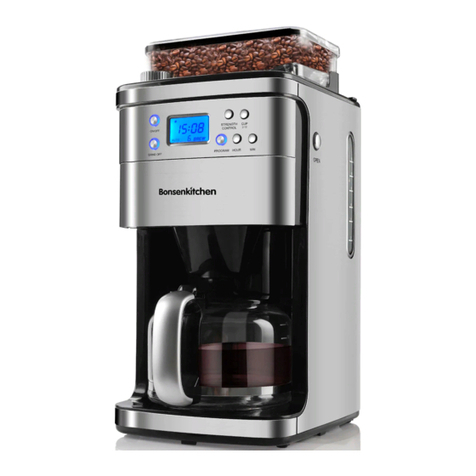
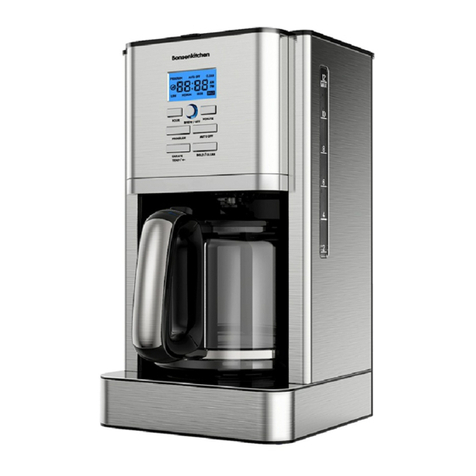
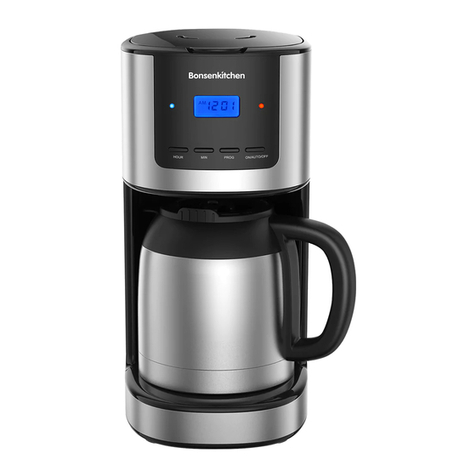
BonsenKitchen CM8903 User manual

OperationInstructions
Model: CM8903
Coffee Maker
www.bonsenkitchen.com

Contents
IMPORTANT SAFEGUARDS
PACKAGE CONTENTS
KNOW YOUR COFFEE MAKER
TECHNICAL DETAILS
USING THE MACHINE FOR THE FIRST TIME
FUNCTION DECLARATION
CLEANING AND MAINTENANCE
CLEANING MINERAL DEPOSITS
WARRANTY CLAIM PROCEDURE
ENVIRONMENT FRIENDLY DISPOL
1-3
3
4
4
5
5-8
8
8
9
9
.......................................................................................
...........................................................
............................................................................
..................................................................................
...............................................................................
................................................................................................
.........................................................................................
..........................................................................
..................................................................................................
..............................................................................

1
IMPORTANT SAFEGUARDS
When using electrical appliances, basic safety precautions should always be
followed to reduce the risk of fire, electrical shock, and/or injury to persons
including the following:
1. Read all instructions.
2. Do not touch hot surfaces. Use handles or knobs.
3. To protect against electric shock, do not place cord, plugs, or appliance in
water or other liquid.
4. Close supervision is necessary when any appliance is used by or near children.
5. Unplug from outlet when not in use and before cleaning. Allow to cool before
putting on or taking off parts, and before cleaning the appliance.
6. Do not operate any appliance with a damaged cord or plug or after the
appliance malfunctions, or has been damaged in any manner. Return
appliance to an authorized service facility for examination, repair or
adjustment.
7. The use of an accessory not evaluated for use with this appliance may cause
injuries.
8. Do not use outdoors.
9. Do not let cord hang over edge of table or counter, or touch hot surfaces.
10. Do not place on or near a hot gas or electric burner, or in a heated oven.
11. Do not use appliance for other than intended use.
12. Appliances with Glass Containers.
A. The container is designed for use with this appliance. It must never be used
on a range top.
B. Do not set a hot container on a wet cold surface.
C. Do not use a cracked container or a container having a loose or weakened
handle.
D. Do not clean container with cleansers, steel wool pads, or other abrasive
material.

2
CAUTION:
13. The electrical voltage must correspond with the voltage stated on the label
on the bottom of the appliance.
14. Use only cold water!
15. Ensure the carafe is placed properly in its position when brewing coffee.
16. Between brewing processes switch off the appliance and let it cool down for
about 5 minutes. Then refill with cold water.
17. After the brewing process, always switch off the appliance.
18. Disconnect the appliance before cleaning.
19. This appliance can be used by children aged from 8 years and above and
persons with reduced physical, sensory or mental capabilities or lack of
experience and knowledge if they have been given supervision or instruction
concerning use of the appliance in a safe way and understand the hazards
involved.
20. Keep the appliance and its cord out of reach of children less than 8 years old.
21. Cleaning and user maintenance shall not be made by children without
supervision.
22. To turn off the device, press the “Brew” button.
23. If the supply cord is damaged, it must be replaced by the manufacturer, its
service agent or similarly qualified persons in order to avoid a hazard.
24. Misuse may cause injury.
25. Heating element surface is subjected to residual heat after use.
26. The coffee-maker shall not be placed in a cabinet when in use.
27. This appliance is not intended for use by persons (including children) with
reduced physical sensory or mental capabilities, or lack of experience and
knowledge, unless they have been given supervision or instruction concerning
use of the appliance by a person responsible for their safety.
28. Children shall not play with the appliance.
29. The appliance must not be immersed.

30. This appliance is intended to be used in household and similar applications
such as:
– staff kitchen areas in shops, offices and other working environments
– farm houses
– by clients in hotels, motels and other residential type environments
– bed and breakfast type environments
35. SAVE THESE INSTRUCTIONS.
HOUSEHOLD USE ONLY.
3
PACKAGE CONTENTS
1 Coffee maker
1 Glass Carafe
1 Measuring spoon
1 Reusable Fliter
1 Operating Instructions
Check the delivery contents for completeness immediately after unpacking.
Remove all packaging materials and plastic film from the appliance.

4
KNOW YOUR COFFEE MAKER
1. Carafe
2. Button
3. Display
4. Fliter
5. Spout
6. Funnel cover
7. Water tank
8. Water gauge
9. Power cord
10. Base enclosure
1
10
2
9
4
7
3
8
5
6
TECHNICAL DETAILS
120V~ 60Hz 1000W
BEFORE USING COFFEE MAKER
Please study these operating instructions before using the coffee maker. By
following them carefully, and by paying special attention to the safety instructions
you will ensure that this coffee maker will go on making perfect coffee for years
to come.

FUNCTION DECLARATION
USING THE MACHINE FOR THE FIRST TIME
1. INITIAL POWER ON DISPLAY
A. plug in the power, LCD display "12:00AM" flashes 5 times (1 Hz each time)
after a beep, normal running clock, enter the standby state. When the backlight
is lit, if there is no operation button within 15 seconds, the LCD backlight will
be automatically turned off, and any button backlight will be illuminated first
to function.
B. In the standby state, press and hold the “Carafe Temp” button 3S, the mute
indicator is on; press and hold the “Carafe Temp” button 3S, and the mute flag
is off. When the mute logo is displayed, there is no sound.
C. In standby mode, press Hour+Min button 2S at the same time, the buzzer will
sound three times, then the factory settings will be restored (clock, holding
time, appointment time, insulation position, factory reset)
1.Before making coffee you should use the coffee maker once with water only
(without coffee or filter paper).
2.Insert the plug into the socket.
3.Place the carafe in original position.
4.Start the brewing process by pressing the“Brew”switch.
5
2. THE CLOCK SETTINGS
A. In standby mode, press “Hour” or press “Min” once, the clock will flash and
enter the clock setting.
B. When the clock is set, press the “Hour” button once and the hour increments
by 1 hour; if you press and hold the “Hour” button for 1 second, the hour will
increase rapidly, and the value will increase by 2 values every 0.2s until the
display shows 11:00AM. Then go back to 12:00 PM and cycle again. (12-hour
system: AM and PM will switch when 11 to 12 o'clock)

6
C. When the clock is set, press the “Min” button once and the minute increments
by 1 minute; if you press and hold the “Min” button for 1 second, the minute
will increase rapidly, and the value will increase by 2 values every 0.2s until
the display shows 0:59. Then go back to 0:00 and cycle again.
3. HOLDING TIME SETTING
A. In the standby mode, press the “Auto Off” button once, the display AUTO OFF
and the clock 0:30 flash (the default power-on time is 0:30), and enter the set
holding time.
B. During the set holding time (heating time and AUTO OFF flashing), press “Hr”
to increase the hour by one hour; if you press and hold “Hr” for 1 second, the
hour will increase rapidly and 0-4 will continue to cycle. Press the “MINUTE”
button once, the minute displays 30 and 0 switching, and the maximum time
is no more than 4 hours.
C. During the set holding time (heating time and AUTO OFF flashing), press “Brew”
or 5s (flicker 5 times) without any button operation to confirm the holding time,
buzzer Beep, directly exit to standby state, normal Run the clock.
4. APPOINTMENT TIME SETTING AND APPOINTMENT OPENING
A. In the standby state, press the “PROGRAM” button once, the display
PROGRAM and the clock 12:00AM flash (the default is 12:00AM each time),
and enter the reservation time setting.
B. In the appointment time setting (the reservation time and PROGRAM flashes),
press the “Hour” button once and the hour increments by 1 hour; if the “Hour”
button is pressed for 1 second, the hour will increase rapidly and increase
every 2 seconds. Values, until 11:00 AM is displayed, return to 12:00 PM and
cycle again. (12-hour system: AM and PM will switch between 11 and 12 o'clock)
C. In the appointment time setting, press the “Min” button once, and the minute
increments by 1 minute; if you press and hold the “Min” button for 1 second,
the minute will increase rapidly, and the value will increase by 2 values every
0.2s until 0 is displayed: After 59, go back to 0:00 and cycle again.
D. In the set appointment time, press “Brew” or 5S (flicker 5 times) to confirm
the reservation time without any button operation, and the buzzer Beep will
enter the reservation state directly.

7
E. In the reservation state, when the system clock runs to the appointment time,
it will enter the coffee and insulation mode according to the set insulation
position.
F. In the reservation state, press AUTO OFF to enter the holding time setting;
press“Carafe Temp” to set the holding position; press “Brew” to cancel the
reservation; press “BLOD” to enter “BLOD” mode; Press the “PROGRAM” button
and display the appointment time. Press the “PROGRAM” button again or there
is no button operation in the 10S to go to the reservation state.
5. INSULATION GEAR SETTING
A. The default power-on insulation position is Meddium by default, that is,
re-plugged after power-off, and the insulation position is reset to Meddium. In
any mode, press the “Carafe Temp” button to display the insulation gear first,
then press again to switch the insulation gear, and cycle between Low--Medium
--High. Each time you press it, the corresponding LED will light for 1 second. The
LCD's Low/Medium/High will be on, the 10S will not press the "Carafe Temp"
button, and the LCD's Low/Medium/High will be off.
B. Low insulation temperature: 78±3°C, insulation temperature of Medium gear:
81±3°C, insulation temperature of High gear: 84±3°C.
C. Control the relay breaking time to control the coffee temperature during the
heat preservation.
6. BOLD FUNCTION
A. Under standby, reservation status and coffee, press “BLOD” button, BLOD is
always on, press “Brew” button to enter coffee mode, “Brew” LED is always on,
cook for 20s for 10s, display insulation position, The clock is running normally.
B. In the coffee mode, press the “BLOD” button, BLOD is always on, cook for 20s
for 10s, display the insulation position, and run the clock normally.
C. In the “BLOD” cup function of the coffee mode, press the “BLOD” button to exit
the “BLOD” cup function; press the “Brew” button to return to the standby state.
D. After the water in the water tank is finished, enter the heat preservation mode
and BLOD is extinguished.

8
7. CLEAN FUNCTION
A. In the standby mode, press and hold the “BOLD” button for 3 seconds, the
display CLEAN is always on, then press the “Brew” button, “Brew” and CLEAN
are on, then enter the Clean mode.
B.Clean is always on, press the “BOLD” button to exit to standby and the BOLD
icon is always on. When the Clean is always on, press the “BOLD” button for 3
seconds to exit to the standby state.
C.Clean mode, the machine is boiled for 1 minute, stopped for 2 minutes, and
continuously circulated until the water in the water tank is finished, and the
buzzer Beep quits and exits to the standby state.
D. After 60 times of water (after counting the water in the water tank), the “Clean”
light flashes at 5 Hz. After the Clean function is completed, the “Clean” LED is
extinguished.
To make sure that your coffee maker goes on producing perfect coffee you will
need, from time to time, to descale it. Frequency will depend on how hard the
water is in your area, and how often you use the coffee maker. If you use your
coffee maker once or twice a day, it is recommended that the maker be cleaned
every 6-8 weeks.
If the time it takes to brew a can of coffee suddenly is increased it is
recommended that the coffee maker is descaled. The harder the water is in your
area, the more often the coffee maker needs to be descaled. The hardness of the
water can be advised at your local waterworks.
1.Disconnect the appliance.
2.Never immerse the appliance in water.
3.Clean the appliance with a damp cloth only.
4.The carafe can be cleaned with warm water, some washing-up liquid and a soft
brush. Do not clean the carafe in a dishwasher.
5.Serving should be performed by an authorized service facility.
CLEANING MINERAL DEPOSITS
CLEAN AND MAINTENANCE

9
WARRANTY CLAIM PROCEDURE
This product must not be disposed together with the domestic waste. This product
has to be disposed at an authorized place for recycling of electrical and electronic
appliances. By collecting and recycling waste, you help save natural resources, and
make sure the product is disposed in an environmental friendly and health way.
ENVIRONMENT FRIENDLY DISPOL
To ensure quick processing of your case, please observe the following instructions:
Please have the till receipt and the item number (S/N: 12345) available as proof
of purchase.
You will find the item number as a sticker on the rear or bottom of the appliance.
If malfunctions or other defects occur, please contact our customer service listed
either by telephone or by email.
If you request any further assistance, please contact us:
Customer service: 1-888-965-8032
support@bonsenkitchen.com

Register your product at www.bonsenkitchen.com
to get more perks!
: 5805C Peachtree Corners East
Norcross, GA, 30092
: 1-888-965-8032
Follow us @bonsenkitchen
Bonsen Electronics Inc.
Other manuals for CM8903
1
Table of contents
Other BonsenKitchen Coffee Maker manuals

BonsenKitchen
BonsenKitchen CM8903 User manual

BonsenKitchen
BonsenKitchen CM8004 User manual

BonsenKitchen
BonsenKitchen CM8001 User manual

BonsenKitchen
BonsenKitchen CM8901 User manual

BonsenKitchen
BonsenKitchen CM8005 User manual

BonsenKitchen
BonsenKitchen CM8902 User manual

BonsenKitchen
BonsenKitchen CM8006 User manual

BonsenKitchen
BonsenKitchen CM8009 User manual

BonsenKitchen
BonsenKitchen CM8002 User manual

BonsenKitchen
BonsenKitchen CM8003 User manual