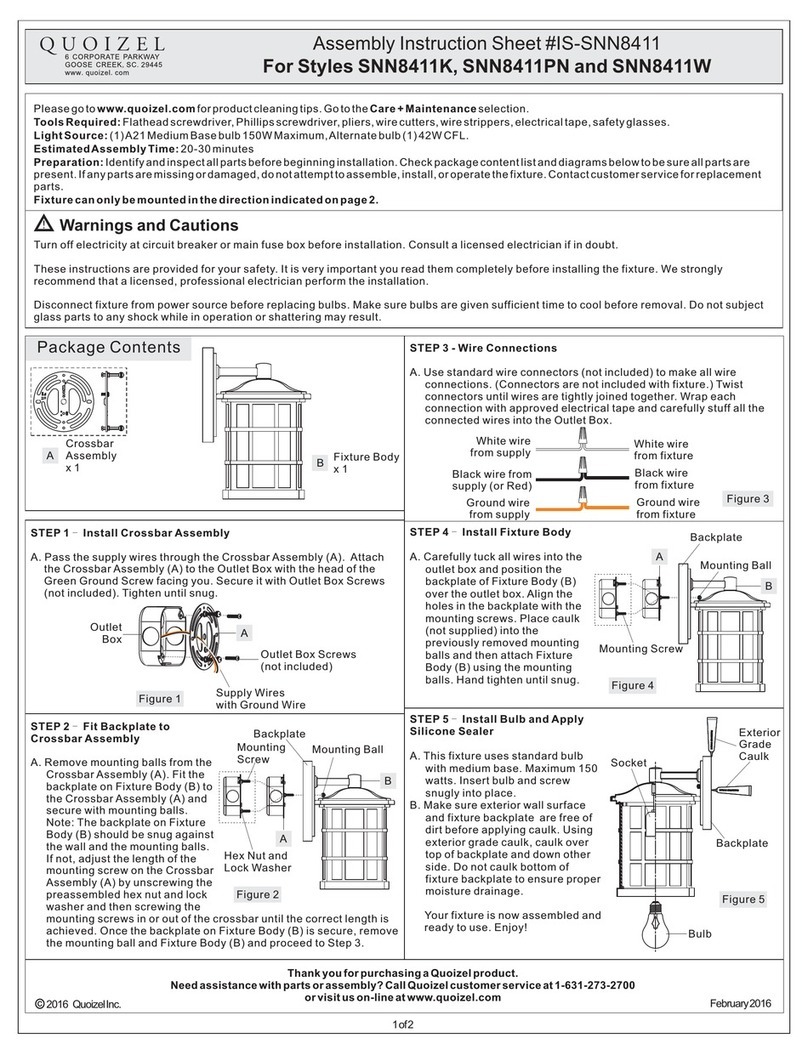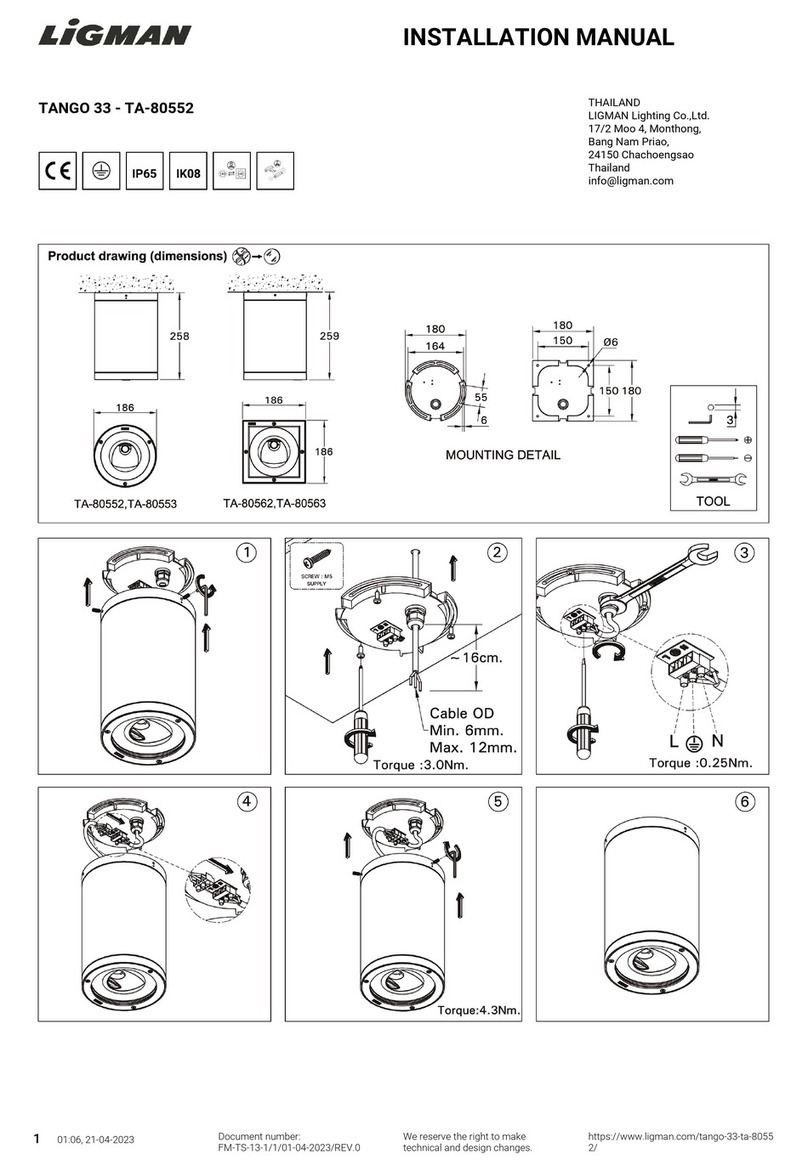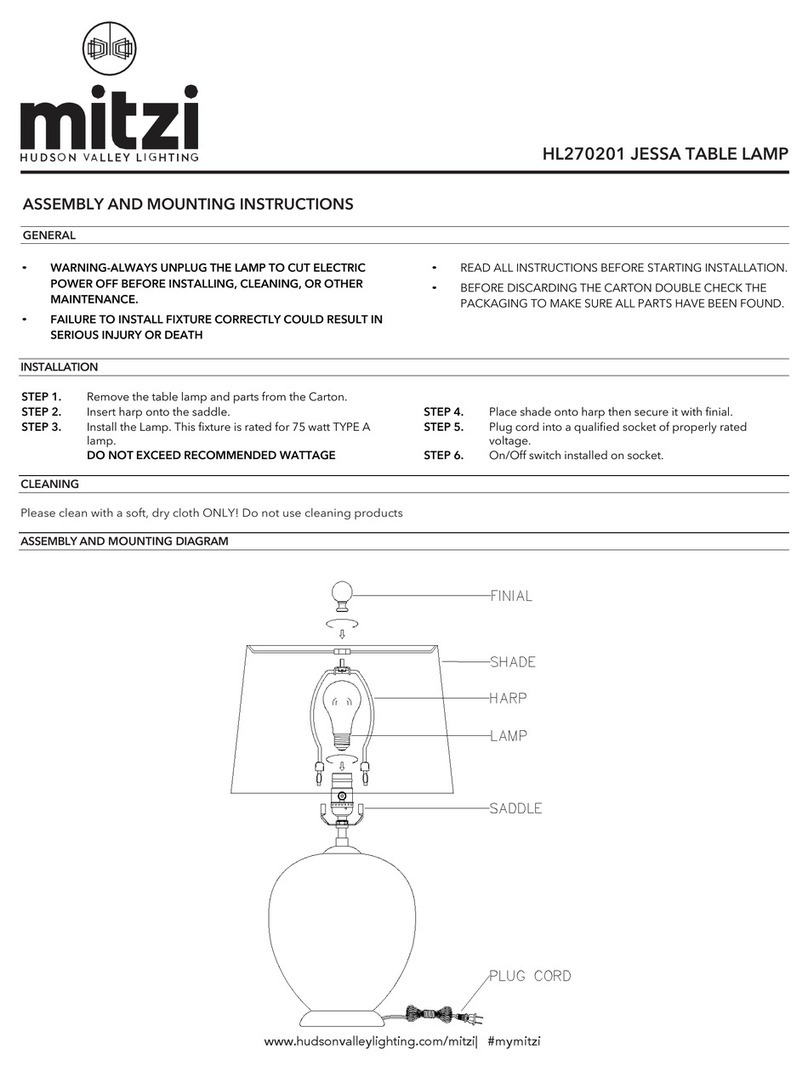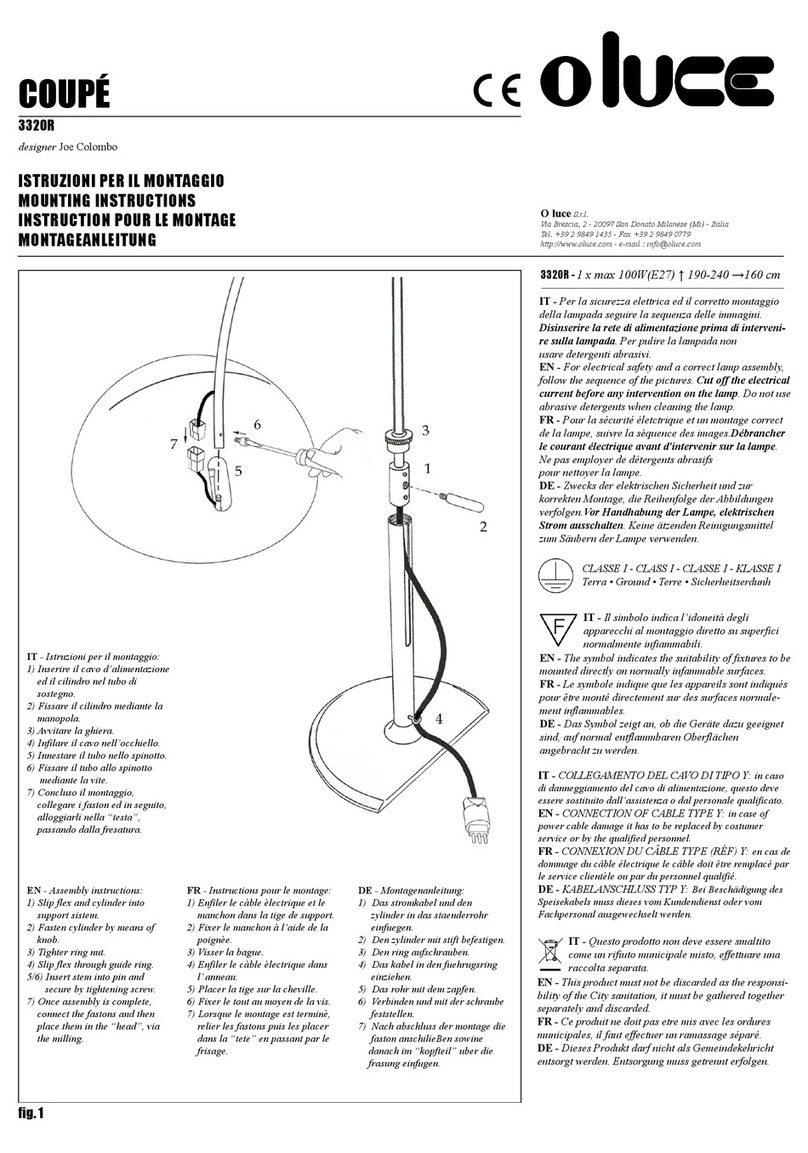
Remove the packages and foil bags from the shade and electrical elements. Tripod installation must be done
according to the pictures on the next page. Just afterwords the shade must be put into the bulb holder socket
and secure by tightening the socket ring.Install the bulb with parameters strictly according to rating details
given on rating label. Connect the plug to a wall switch.
Thank you for buying a product made by our company. Please read these instructions fully before proceeding
with installation. Keep these instructions for future use. Always comply with these instructions. This product is
designed for indoor use. If you are in any doubt about the installation or operation of this product, please consult
a qualified and experienced electrician..
INSTRUCTION MANUAL FOR FLOOR LAMP
IMPORTANT SAFETY RULES
1. This product is designed for indoor use ONLY and must be protected against dirt and moisture. 2. Children must not
play with the product. 3.If the bulb needs to be exchanged the power must be off. Before exchanging make sure the
bulb is not hot anymore. During the usage some parts of lamp get hot. DO NOT TOUCH THEM TO PREVENT THE
BURN. There is strictly forbidden to touch the lamp and the bulb when the light is on. 4. There is strictly forbidden to
use the bulbs with rating higher than the parameters given on rating label. 5. There is forbidden to cover the
lampshade with anything. 6. The user must 7. In case of technical fault, the user must contact the trading body. 8. In
case of the power cord is damaged, it must be replaced by qualified electrician to prevent the fire or electrical shock or
any other damage.
TECHNICAL DETAILES UTILISATION
BPS
Koncept
Product name:
Item noumber:
Power:
Frequency:
Bulb holder:
Floor lamp
010p
230V
50Hz
1 x E27, max 60W
weight:
5,24 kg
All products marked with
symbol of Crossed-out
Wheelie Bin means that the
product should not be
disposed of with your other
household waste. It is your
responsibility to dispose of
your waste equipment
separately from the municipal
waste stream
INSTALLATION

