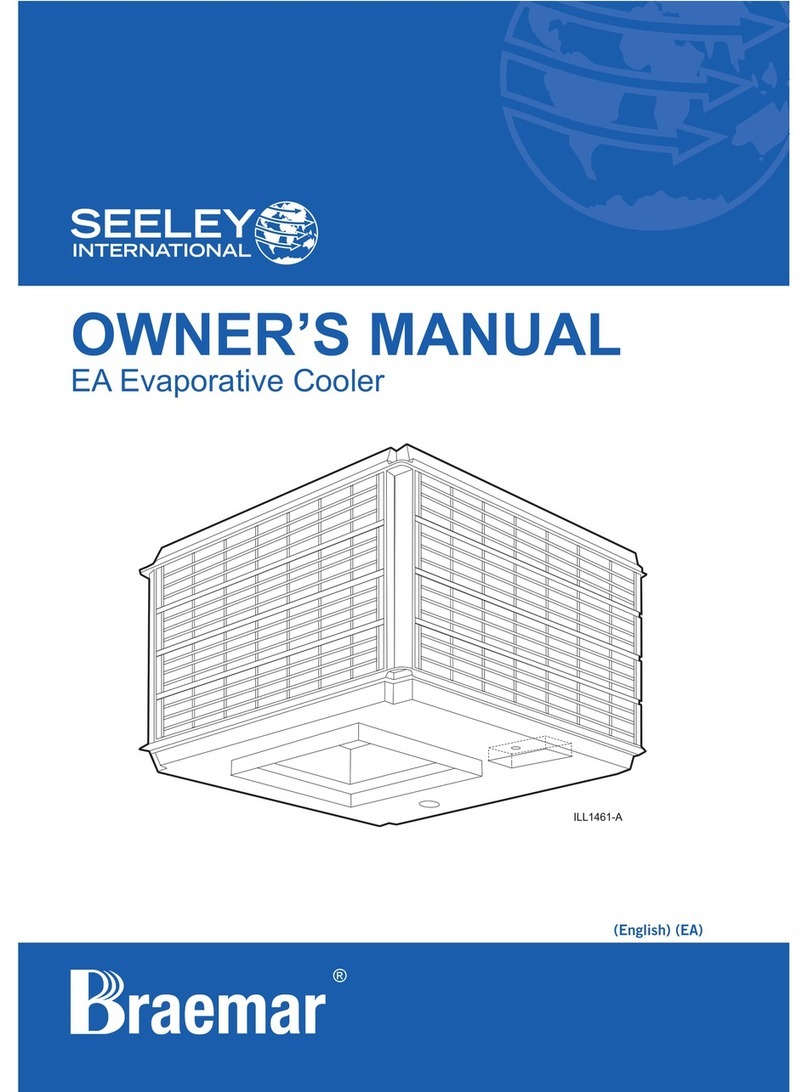
Braemar EA series Setup guide

OWNERS INSTRUCTION MANUAL
R O O F T O P
N A T U R A L
A I R C O N D I T I O N E R S
by
“EA” series
FOR FIXED INSTALLATION COMMERCIAL
AND RESIDENTIAL
EVAPORATIVE AIR CONDITIONERS
How to Operate
Using Your Air Conditioner
Getting the Best Results
Help
Installation Report/Service
PLEASE KEEP THESE INSTRUCTIONS FOR
FUTURE REFERENCE
IMPORTANT OWNER MATERIAL: This booklet must be given to the owner.

1
“EA” Index
Introduction........................................................1
How to Operate.................................................2
Getting the Best Results...................................2
Troubleshooting................................................3
Installation Report.............................................4

1
Introduction 1
Hello and congratulations on purchasing a
Braemar Ducted Cooler for your home.
Braemar coolers have been designed to
provide quiet, reliable and cool comfort.
At Seeley International we manufacture
Braemar evaporative coolers from the
highest quality materials, and we have
designed the product to provide many
years of economical, trouble free cooling.
Please take a few moments to read these
operating instructions, so that the most
can be gained from this investment.
The appliance is not intended for use by
persons (including children) with reduced
physical, sensory or mental capabilities,
or lack of experience and knowledge,
unless they have been given supervision
or instruction concerning the use of the
appliance by a person responsible for
their safety.
Children should be supervised to ensure
they do not play with the appliance.
Braemar coolers are fitted with either a
Variable Speed Control or a 2 Speed
Control. Please refer to the relevant
section in this manual for instructions on
how to operate either system. Also, please
be aware of the components and features
that are fitted to your particular cooler.
Keep these instructions in a safe place for
future reference.
EFFECTIVE COOLING
Important Notes!
To provide efficient cooling or ventilation
the building must have sufficient exhaust
openings to the outside of the building. To
assist air flow, open windows and doors
that are farthest from the outlet vent in
each room. In these rooms, provide an
exhaust opening about 2 times the vent
size of the room.
Where the design of the building prevents
adequate exhaust, consideration should
be given to the provision of mechanical
extractions, such as an exhaust fan.
In areas where temperatures can cause
water supply pipes to freeze, a drain down
facility should be provided during the
installation.
This drain down facility must be activated
prior to freezing conditions, to avoid
possible damage to the cooler
components.
“EA”

1
How To Operate 2
Two Speed and Variable Speed Units.
Your evaporative air conditioner has control
switches to provide for the benefits of fresh air
ventilation and cooling at high and low air flows.
There are two types of control switches available:
Two Speed (Fig. 1) and Variable Speed (Fig. 2).
Your control panel offers independent control for
the fan and cooling functions.
Using Your Air Conditioner
Evaporative air conditioners provide very effective
cooling by drawing outside air through filter pads
saturated with water. This water washes the air and
cools it by the process of evaporation. There are a
n u m b e r o f o p e r a t i n g t e c h n i q u e s a n d
circumstances of which you should be aware to
get the best performance from your evaporative air
conditioner.
To provide effective cooling or ventilation, the air
conditioner must be operated with sufficient
openings to exhaust the air. For example:
windows, doors or ducts. The location of the
opening(s) will determine the pattern of cool air
flow. The following are the minimum opening sizes
required in square metres:
EA90 0.4
EA120 0.6
EA 150 0.8
In light wind conditions more cooling can be
obtained by opening additional windows and
doors. In windy conditions close openings facing
the wind.
Generally, openings opposite the supply vents are
best. Some experimentation will soon show the
arrangement most suited to your requirements. For
a multiple outlet system, this is generally 1 (one)
window opened 100 to 150 mm per outlet.
For a short time, when operating with new filter
pads, you may detect an odour like "wet timber”.
This is the filter material becoming conditioned to
use.
In many areas the water supply is quite hard. When
this water is evaporated through the filter pads, the
hardness is deposited as a scale on the pad. To
reduce this scale build-up and to retain efficient
filter pads a small amount of water is bled from the
system.
The continuous drain of small amounts of water
ensures that fresh water is added to dilute any
build-up of scale or salts. The bleed rate for your air
conditioner will depend on local operating
conditions and will be adjusted during installation.
UNIT AREA (m )
2
To Start the Air Conditioner
To Stop the Air Conditioner
(1) Switch the COOL control on.
(2) Turn on the AIR (fan) control and using
the SPEED switch (HI/LO switch or variable knob),
select the fan speed you reqire.
When ventilation only is required (air flow with no
cooling) turn the COOL switch off, and select the fan
speed to provide the air flow you require.
Switch the COOL control off, then switch the AIR
control off.
“EA”

1
Getting the Best Results
3
(11) Replace filter pad frames. Ensure they are the
correct way up.
(12) If water flow appears low, there may be a
problem with foreign material clogging the pump
or pump strainer. To correct, remove pump,
dismantle base, clean and reassemble.
Post-season Maintenance
overflow or overflow bleed funnel.
All units can benefit from routine preventative
maintenance. This may be required more
frequently if you are operating under harsh
conditions.
To perform Preventative Maintenance, follow the
instructions for ‘Pre-Season Maintenance’ at
regular intervals.
In some areas and for some commercial
installations local regulations have specific
requirements for the maintenance of evaporative
air conditioning systems.
Generally these involve regular cleaning and
maintenance at (3) monthly intervals or more
frequently if necessary.
Preventative Maintenance:
Check Your Local Regulations:
!
!
!
!
!
!
!
!
!
!
Turn off the power supply to the cooler.
Remove pad frames
Turn off the isolating switch inside the cooler.
Remove pad frames. Clean them by hosing them
with clean water, but do not use excess pressure
because you might create holes in the pad media.
Remove and clean the special water "spreader"
plates located under each edge of the top panel.
Do not disconnect from water hose. When
replacing them, check underneath to see that the
spreaders are correctly located in the notches
under the top panel.
Drain all the water form the cooler by removing
the Do NOT put
it back until next season. Do not lose the O-ring
seal.
Disconnect the water supply pipe from the tank.
Make sure no water is left in the float valve.
Clean the bottom tank thoroughly.
Replace pads frames.
Cover the cooler for winter if desired.
3
Maintenance
To ensure that your air conditioner continues to
provide reliable service for many years, it requires
some routine maintenance. There are two forms of
maintenance:
(1) pre and post season maintenance, and
(2) preventative maintenance.
(1) Turn off the water supply.
(2) Turn off the power supply.
(3) Remove the filter pad frames.
Insert a screwdriver into the slots at the bottom of the
pad frames and lever upwards. Pull the bottom of the
pad frames away from the unit, then lower the frames
out of the cabinet (Fig. 3).
(4) Turn off the isolating switch.
(5) Hose both sides of the filter pads CAREFULLY
. Ensure that the wood
wool pad material is evenly distributed, especially
make sure that there is no gaps or holes at the TOP of
PADS.
Pre-season Maintenance
Do not replace
this item until next season. Do not lose the "O"
ring seal.
(do
not use excess water pressure as this may create
"holes" in the pad material)
(6) Check and, if necessary, clean the water
spreaders located inside the roof above the filter
pads.
(7) Drain the water from the unit by removing the
overflow or overflow bleed funnel.
(8) Check pulleys for wear and correct alignment.
(9) Check "V" belt for wear.
(10) Thoroughly clean and dry the bottom of the
water tank.
“EA”

1
Troubleshooting 4
It will not take long for you to get to know the features of your air conditioner, but in case you encounter
difficulties here are a few hints to help keep you cool:
PROBLEM POSSIBLE CAUSE SUGGESTED REMEDY
Inadequate cooling.
No air flow.
Air flow, but not cool.
Fan stops and then
restarts.
Continuous overflow
of water.
Dry pads, or lack of water while
air conditioner operating.
Insufficient air discharge
openings to allow air to exhaust
from areas being cooled.
Pads shrunk away from the top
corners (woodwool pads only).
Air restriction in ductwork.
Clogged or Dirty Filter pads.
Circuit breaker tripped or unit
fuse blown.
Broken fan belt
Electrical fault.
Insufficient water reaching filter
pads.
Pump failure.
Motor overload.
Float valve adjustment.
Incorrect bleed rate.
Check that the tap is turned on. Check pump and pump
strainer. Check water distribution systems. Ensure pump
(COOL) is turned on.
Adjust door / window opening.
Tease the woodwool out evenly or replace pads.
Call Dealer to investigate and rectify.
Clean or replace pads.
Replace the fuse specific to that unit.(See Braemar
Installation Manual).
Replace belt.
Call Service (see Page 5).
Ensure water supply to unit is turned on.
Clean pump filter.
Call Service to repair.
The fan motor is fitted with an automatic thermal
overload protector which will be reset when the motor
cools down. If the motor stops and starts continuously, it
should be investigated for a fault by a qualified
Technician.
Adjust float valve.
Adjust bleed rate. Included on each bleed tray are
plastic plugs with matching holes. With all plugs
inserted, bleed rate is maximum. If you decide that the
amount of bleed is too much, remove the plug/s from
the bleed tray one at a time until the desired amount is
achieved.
“EA”

1
Installation Report 5
CHECKLIST
•
•
•
•
•
•
•
•
•
•
•
•
•
•
•
•
•
Unit level and secure.
All roof or other penetrations
properly sealed.
Ductwork completed and air
distribution checked and outlets
correctly set.
Mains wiring complete.
Control switch correctly installed.
Belt tension and alignment
correctly adjusted.
Fan runs in correct direction at all
speeds (clockwise when viewed
from pulley side).
Motor power (tong) tested.
Power input to motor recorded
High amps.
Low amps.
Motor pulley adjusted and tight on
Shaft.
Water bleed/drain/overflow fitting
correctly installed.
Water level and float adjustment
checked.
Filter material (wood wool) evenly
packed in all pad frames.
Pump runs and water evenly
distributed to all filter pads.
Bleed rate adjusted to lt/min.
All control functions checked.
Owner instructed in correct
operating procedure .
Owners Name:
Telephone:
Address:
Dealer:
Installer:
Date Installed:
Model No.:
Serial No.:
If you have followed the instructions and still have
problems, the Braemar service network is only a phone
call away. They can help with any aspect of operation
you may not be sure of, or arrange for a service person
to fix any faults.
However, please bear in mind that if a service call reveals
no fault with the Braemar unit, you may be charged for the
call, even during the warranty period. In the first instance
we recommend you contact the retailer from whom you
purchased the unit. They will be familiar with your
installation and will be anxious to rectify any difficulties.
FREECALL
1300 650 644
For all your Braemar warranty and
service needs. Or contact your
local Braemar dealer direct
S
E
E
L
E
Y
S
E
R
V
I
C
E
“EA”

859972-A AU 1007
Evaporative Air Cooling Manual. Seeley International Pty Ltd, Adelaide, South Australia. ACN 054 687 035.
As the policy of the company is one of continuous product improvement, all specifications are subject to change without notice.
Braemar
This manual suits for next models
3
Table of contents
Other Braemar Air Conditioner manuals