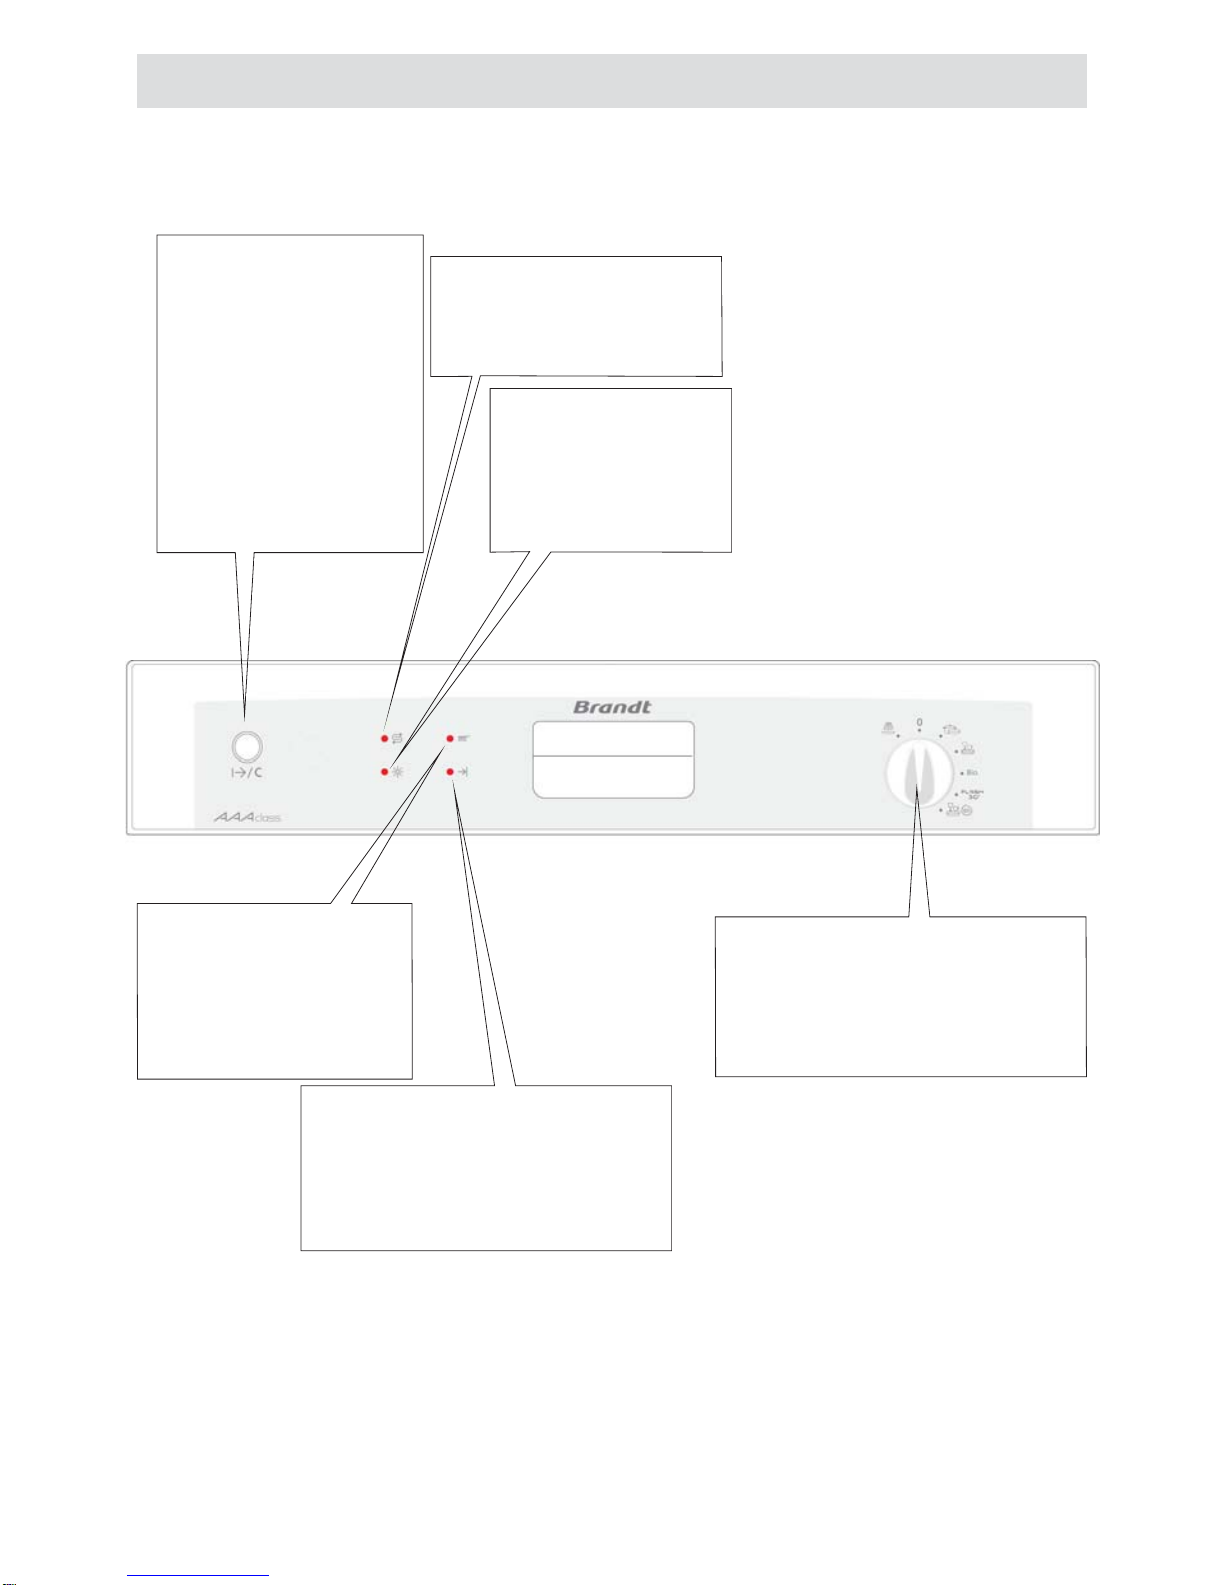
33
What to do before using the machine for the first time
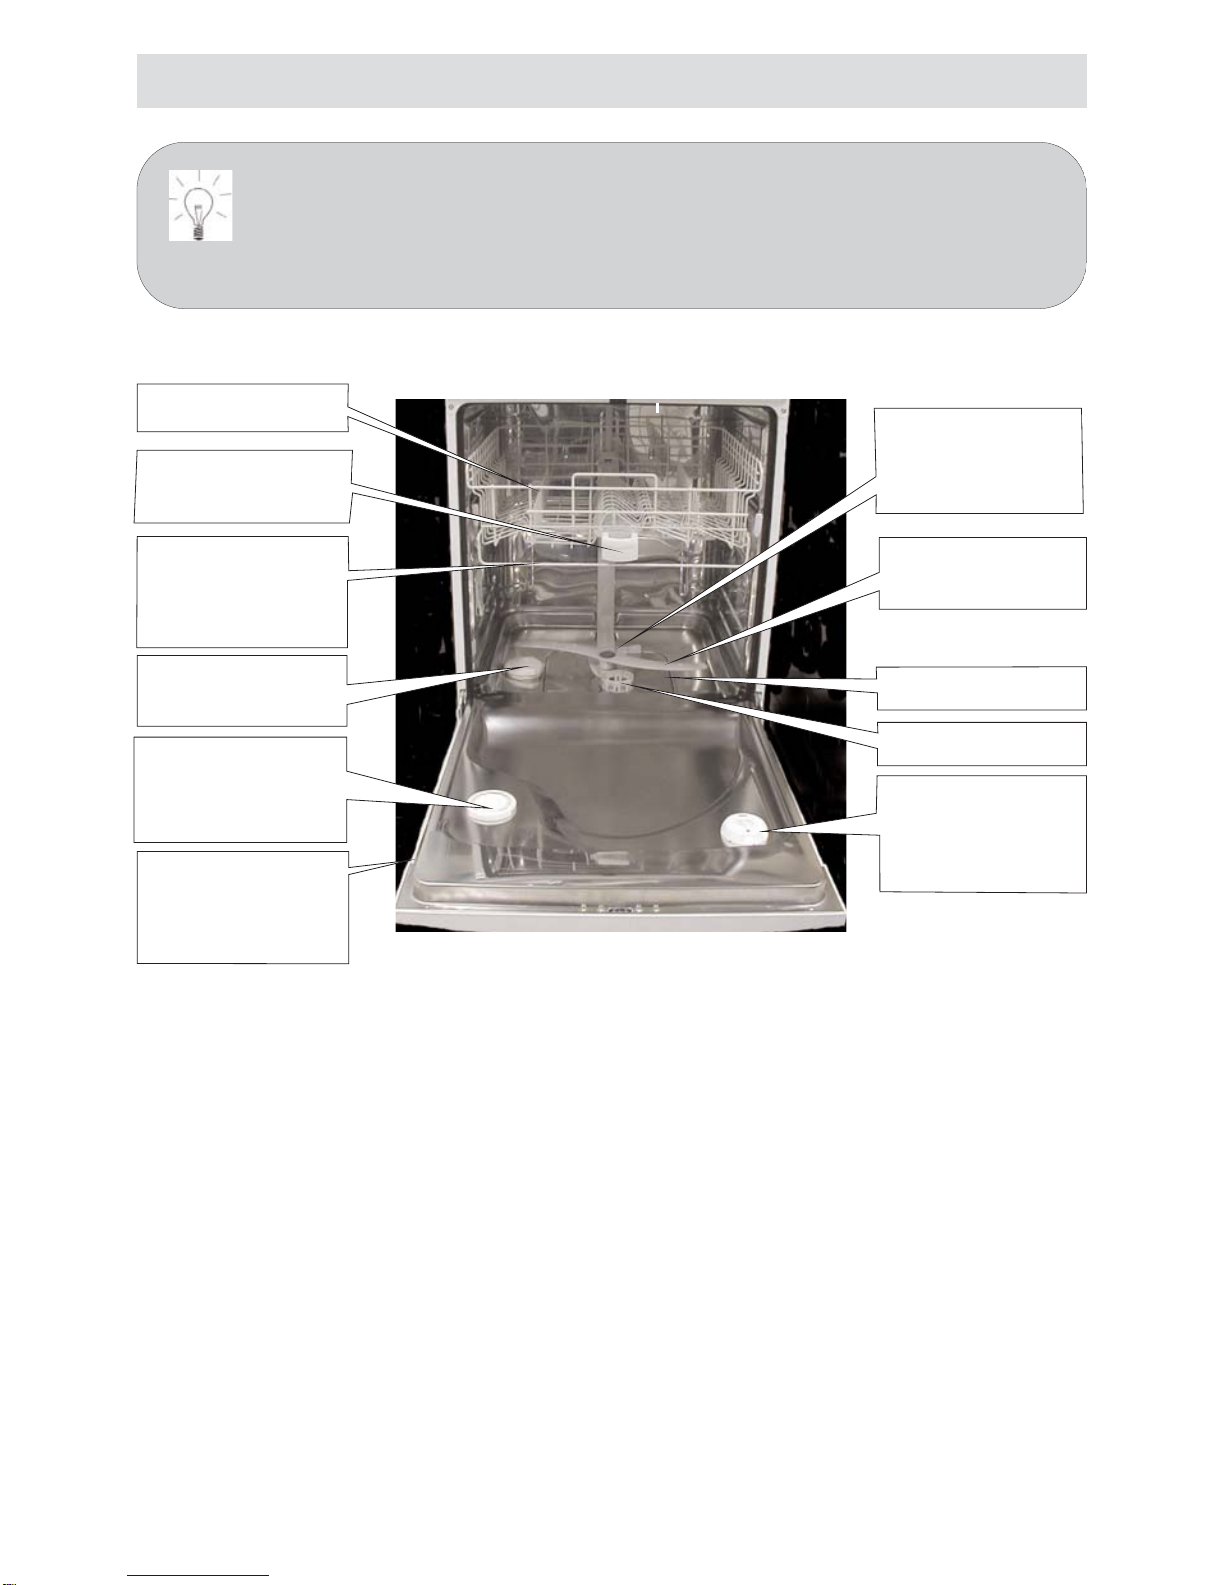
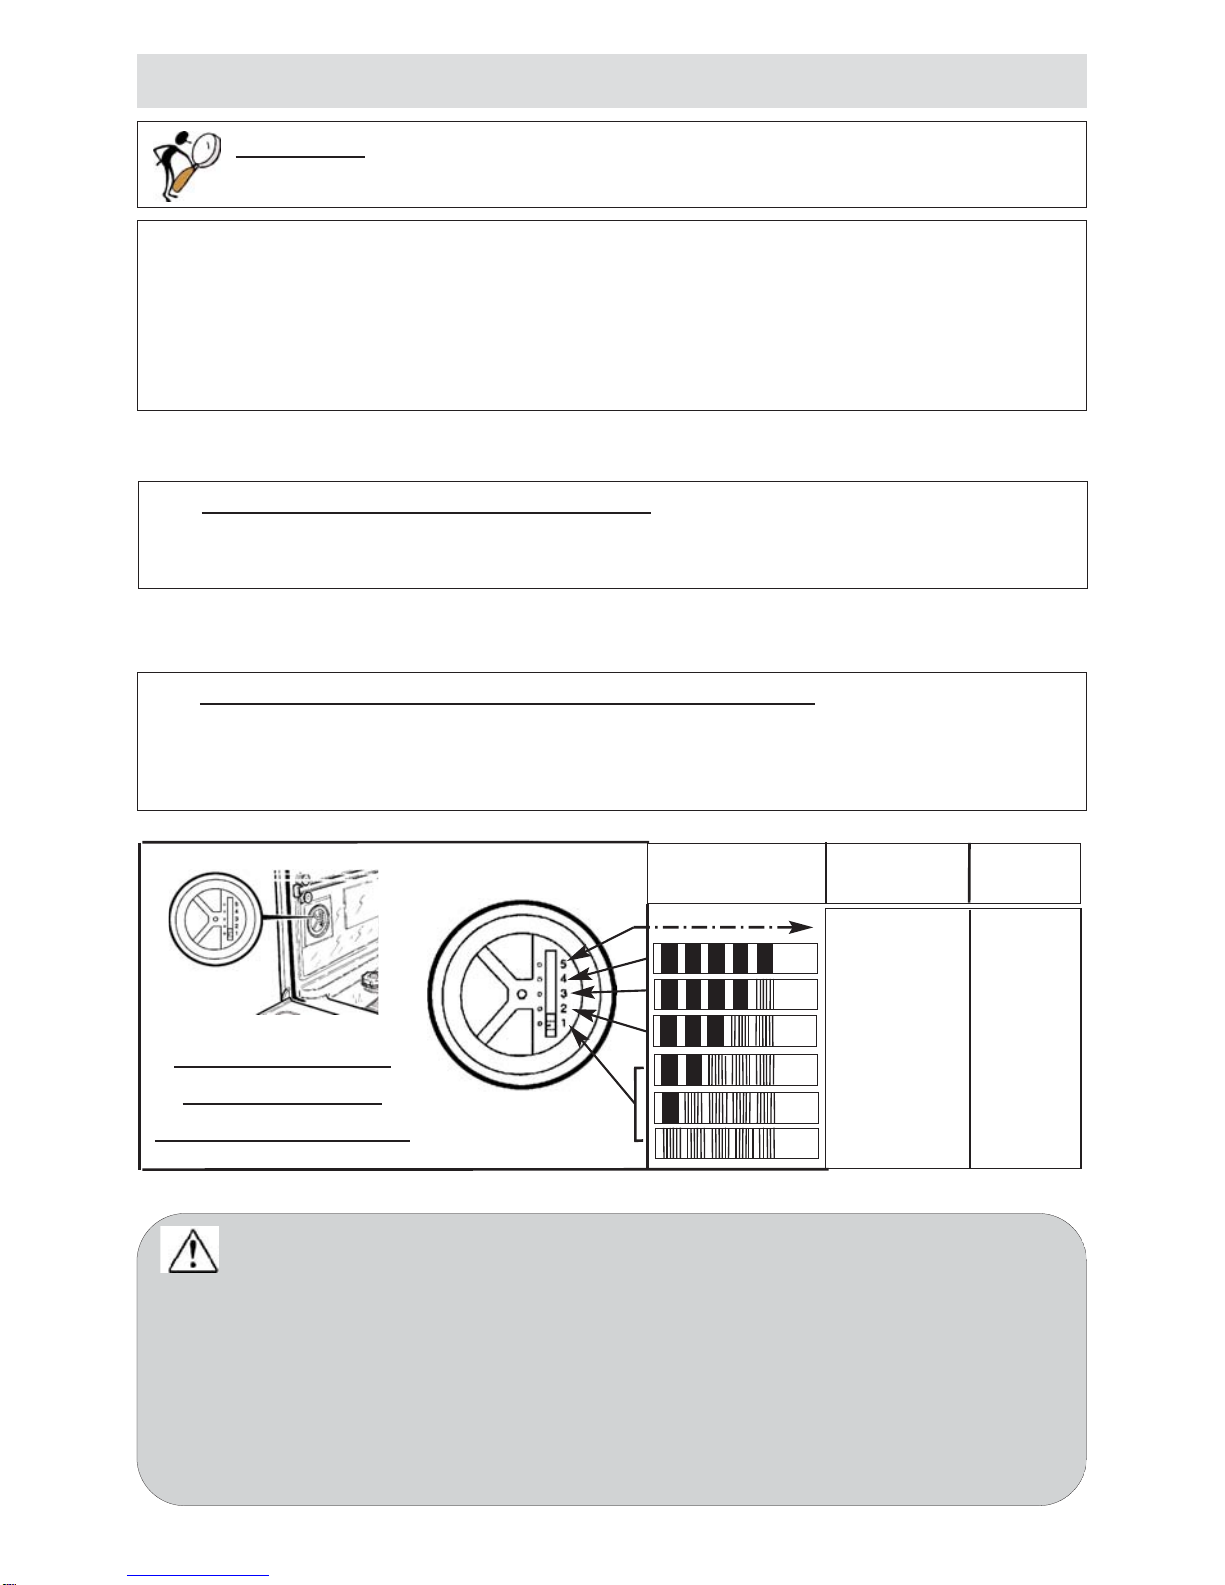
Indication of the level of
regenerating salt
SALT indicator light:
This illuminates showing salt
needs to be added. After you have
refilled the salt reservoir, the light
may still remain lit until the salt
has dissolved sufficiently, generally
after one cycle (or if the reservoir
has not been completely filled, for
instance when putting the
machine into operating using the
sample.
If the water is especially
soft and does not require the
use of any regenerating salt,
the SALT light remains lit.
③③
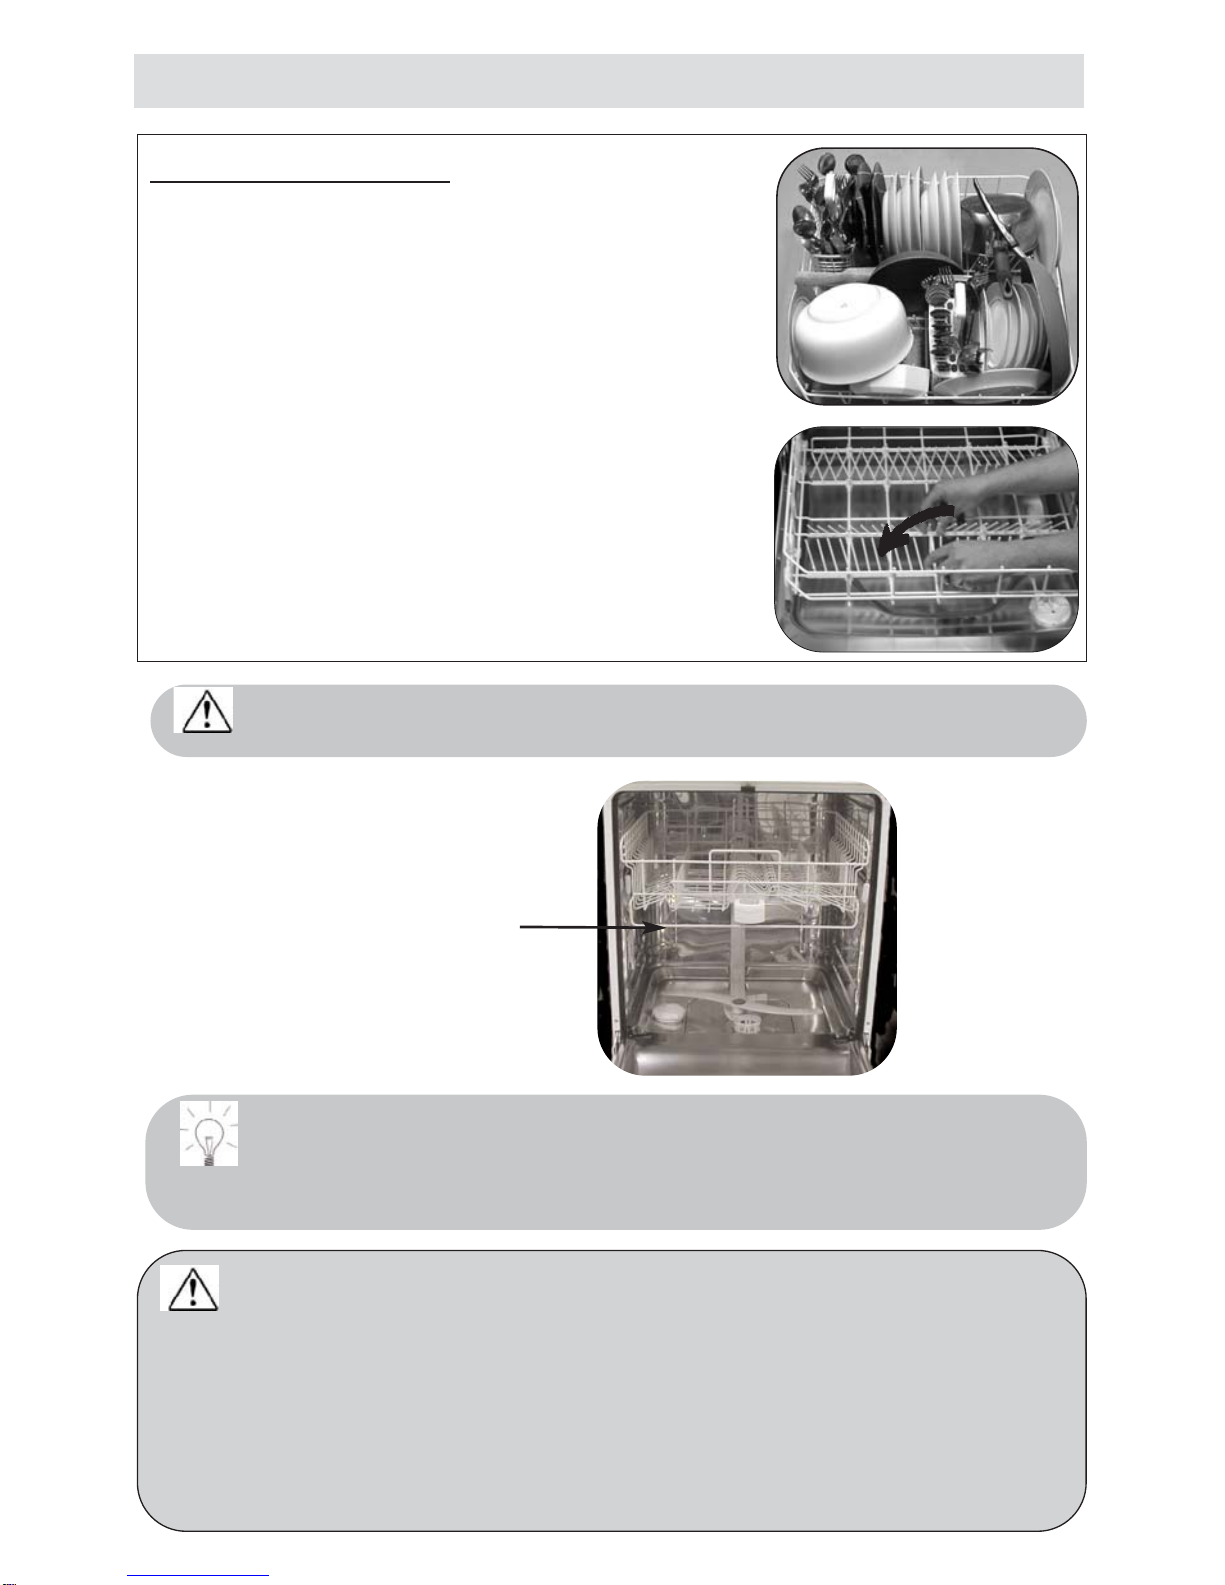
Filling the regenerating salt reservoir
You must fill this, with water just
before starting your first wash then
add the salt:
Filling with salt is essential to obtain a good
wash with no streaks. The salt regener-
ates the resins, which soften the water by
removing its limestone content unless
the water is already sufficiently soft
(see “Adjusting the water softener”).
Salt reservoir
Should any regenerating salt overflow when filling,
we recommend that you remove the loose salt crystals
to avoid oxidising the machine.
Never put deter-
gent in this reser-
voir: this will ruin
the water softener.
- Unscrew the salt reservoir’s stopper and
remove it.
- Use the funnel to introduce the salt.
(available from the after-sales department
under reference : 31X3964).
- Fill the reservoir with regenerating salt
specially designed for dishwashers.
- On the first time, add
water until it reaches the
edge of the reservoir.
- Screw the salt reservoir’s stop
back in fully.
Do not use kitchen salt.
SALT