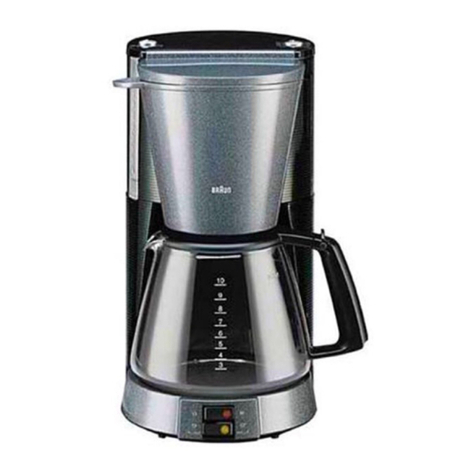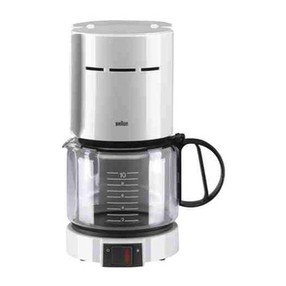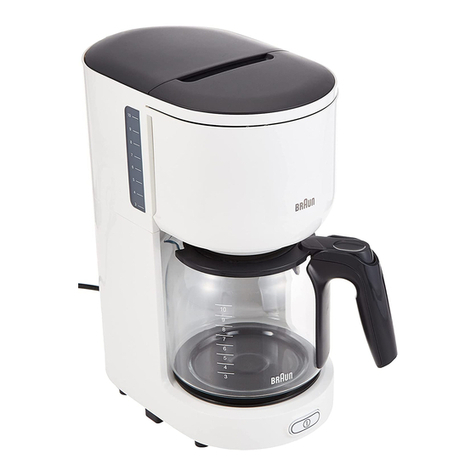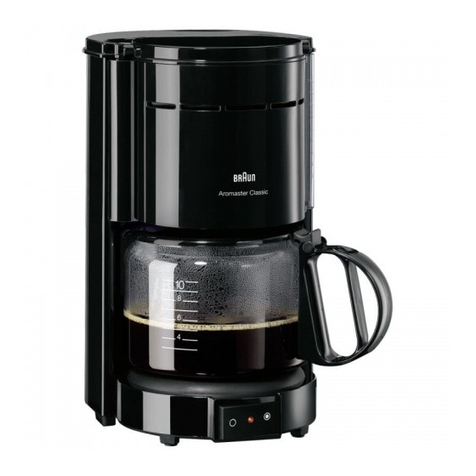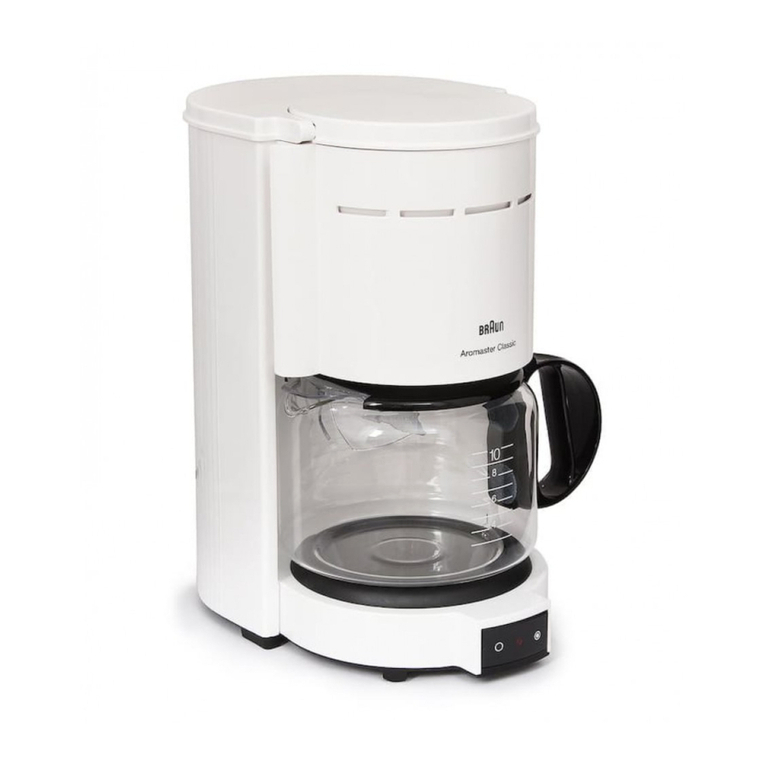
Our products are engineered to meet the highest
standards of quality, functionality and design. We
hope you thoroughly enjoy your new Braun appliance.
Caution
Read all instructions carefully before using this
product.
This appliance must be kept out of reach of children!
Before plugging into a socket, check whether your
voltage corresponds with the voltage printed on the
bottom of the appliance.
Do not put the carafe on other heated surfaces
(such as stove plates, hot trays, etc.).
Before you start preparing coffee a second time,
always allow the coffee-maker to cool down for
approximately 5 minutes between brewing, otherwise
steam can develop when you pour cold water into the
water container and this could cause scalding.
The hotplate
6
heats up when the appliance is
switched on. Avoid touching it and never let the cord
come into contact with it.
Braun electric appliances meet applicable safety
standards. Repairs on electric appliances must only
be done by authorised service personnel. Faulty,
unqualified repair work may cause accidents or injury
to the user.
The cord of the appliance may only be replaced by an
authorised Braun Service Centre as a special tool is
required.
Important
This appliance was constructed to process normal
household quantities. Always use cold water to make
coffee. Warm water or other liquids could cause
damage to the coffeemaker.
Before using the first time, or when the coffeemaker
has not been used for some time, fill the water con-
tainter to approx. 4-cup level with cold water (i.e.
without coffee and without a filter bag). Turn on the
coffeemaker and allow the water to flow through.
Maximum cups
4 cups (0.125 ml each)
Description
1
Cord storage (a)
2
Water container
3
Cover for the water container
4
Water level indicator (KF 12)
5
Filter holder
6
Hotplate
7
On/off switch (with control lamp)
Filling with coffee
Pull out the filter holder
5
(b) and insert a paper filter
bag. Put coffee (not ground too finely) into the filter bag
(c) and close the filter holder again (b) until it snaps in
place. Measure coffee according to the strength
desired.
Filling with water
Pour cold water into the water container
2
(d) to the
number of cups of coffee desired.
KF 12: See cup measuring scale
4
on the side of the
water container
2
.
KF 10: See cup measuring scale on the glass carafe
(e), before pouring the water into the water container
2
.
Measuring scale on carafe
Please note that the section of each line above the cup
symbol indicates the number of cups of brewed
coffee, whereas the elevated section of the line above
the water drop symbol indicates the quantity of
water needed to obtain the desired cups of brewed
coffee (1-4 cups). The difference between these scale
divisions on the glass carafe (e) is due to the amount
of moisture remaining in the coffee grounds.
Switch
On/off switch
7
with control lamp
On =
}
(control lamp lights up)
Off =
~
The control lamp lights up when the switch is turned
on; it goes out when the switch is turned off.
Making coffee
Place the carafe with the lid onto the hotplate
6
,
making sure that the filter holder
5
is properly
snapped in place. Turn on the coffeemaker.
Brewing time is approx. 6 minutes for 4 cups.
A «drip stop» prevents dripping when removing the
glass carafe or opening the filter holder. Remove the
filter holder
5
to empty coffee grounds (f). (See the
section «Cleaning»).
Keeping the coffee hot
The hotplate starts to heat up as soon as the coffee-
maker is switched on; the hotplate stays turned on until
the coffeemaker is switched off (the control lamp goes
out).
Cleaning
Always pull the plug out of the socket before cleaning.
The appliance should never be cleaned under running
water and should never be immersed into water.
Swing out the filter holder
5
, push it upwards, and
then pull off downwards diagonally (f).
To replace: insert the top first (f). To clean the carafe,
take the lid off (e). The glass carafe, the lid and the
filter holder can be washed in the dishwasher. Clean
all other parts with a damp cloth only. Put the lid back
on the carafe (e). Clean the hotplate
6
with liquid
cleansers only. Do not use abrasive cleansers.
Decalcifying
If you have hard water, decalcify the appliance
occasionally. The frequency depends on the hardness
of your water and how often you use the coffeemaker.
KF10_12_Korea Seite 4 Donnerstag, 4. Dezember 2003 10:46 10

