manuals.online logo
Brands
  1. Home
  2. •
  3. Brands
  4. •
  5. Braun
  6. •
  7. Digital Camera
  8. •
  9. Braun Champion 360 User manual

Braun Champion 360 User manual

1
BRAUN Champion 360 Panoramic Camera
User’s Manual
2
Overview
Thank you for purchasing this product!
BRAUN Champion 360 Camera is a digital panoramic camera with two
lenses.
The application of up-to-date technologies enables you to take
panoramic videos and photos, and create an experience of a brand new
panoramic world.
Important
Before using this product, please read this manual carefully
Prepare a 32G (Class 6 ~ Class 10) Micro SD card
Check the camera power. A full charge is recommended before
use (charge until the charging indicator turns off)
Scan the QR Code on the next page, or search for “SYVR360” on
the Apple Store or Google Play, and then download and install it
About the Camera
1. LCD Display
2. Power button/Mode button
3. Wi-Fi indicator (red)
4. Power indicator
(red)/Charging indicator
(blue)
5. Wi-Fi button/MENU button
6. Busy indicator (red)
7. Shutter button/OK button
8. Lens × 2
9. Triangle nut
10. Interface cover (USB/TF)
11. Speaker
12. Microphone
13. Rope hole
14. Reset hole
3
QR Code:
For iOS systems, please scan this QR Code to access theApple Store
to download and install “SYVR360”.
For Android systems, please scan this QR Code to access Google Play
to download and install “SYVR360”.
4
Quick start guide
1. Install SD card:
Insert the Micro SD card you prepared into the
slot as indicated on the right.
Important:
A high-speed Micro SD card between Class 6 ~ Class 10 must be
used, or else this product may not function normally.
Always turn off the camera before inserting or removing the card.
2. Power on/off
Power on: Press and hold the Power button for about 2 seconds until it
beeps, then release. The display screen will light up, as shown below,
indicating the device is ready (the default mode after power on is
Shooting mode).
Important:
If power on fails, charge the camera first, and see whether the
blue indicator lights up during charging. If so, this indicates the
product is being charged.
Power off: After usage, press and hold the Power button for about 3
seconds and release. The display will show a “GOODBYE” message
and turn off. If there are no operations for 3 minutes under Power save
mode (default), the camera will automatically power off.
5
3. Charging
Use the data cable included with the product pack for camera charging.
During charging, the indicator will be blue and on constantly; when
charging is complete, the blue indicator will turn off.
Important:
If another charger is used, check the output power before use to
ensure it is within 5V/0.5A ~ 5V/2.0A.
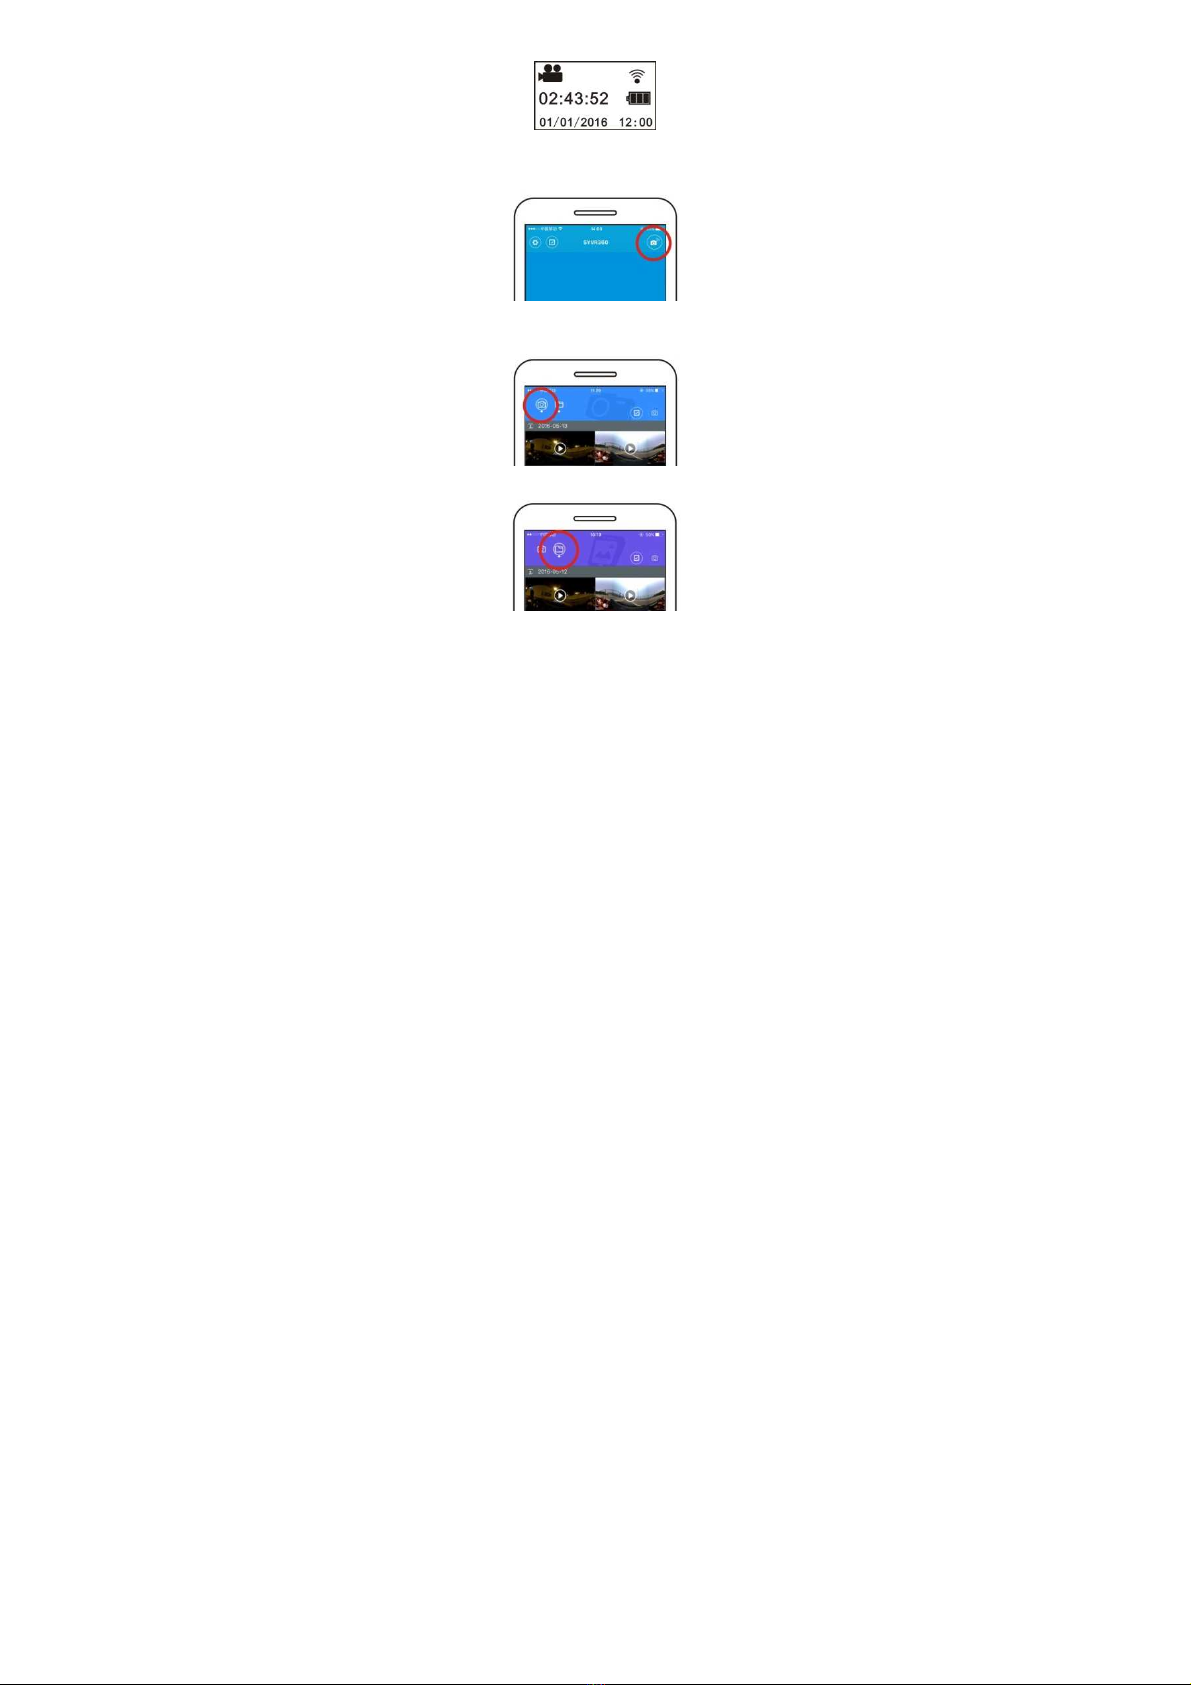
4. Recording or shooting
This camera has Recording mode and Shooting mode. After power on,
press MODE (Power button) to switch between different modes, the
corresponding mode icon will be displayed on the screen.
Video: In Recording mode, press the Shutter button, the camera will
start to record. The display screen displays the video recording time.
Stop recording: During recording, press the Shutter button to stop
recording. The video will automatically be saved on your camera
storage card.At that moment, the display screen will show the
remaining time available for recording, as shown below:
Shooting: In Shooting mode, press the Shoot button to take photos.
After taking the photo, the display screen will display the number
(estimated amount) of pictures you can save in the remaining camera
storage space.
6
5. Menu settings
To operate the Menu, press and hold the Wi-Fi button for about 2
seconds to enter menu settings (as shown below):
Menu operation:
In Menu mode, press the Wi-Fi button to move the cursor. Press the
Shutter button to confirm. Press and hold the Wi-Fi button to go back to
the previous menu or to exit Menu mode.
Explanation of menu functions:
Power Save: Set Power Save mode. You may set the camera to enter
Power Save mode after a certain period of time. The available options
are 1min/3min/5min or Power Save mode off.
Date & Time: Set the camera system time manually.
Language: Set system language for the camera, English is the default
language.
Factory Reset: Restore factory default settings.
System: Check system and storage card information.
Format: Format storage card.
Important:
After formatting, all existing data on the storage card will be lost. Please
be cautious of this operation!
7
6. How to use accessories properly
It is strongly recommended to use original accessories provided by the
manufacturer. It helps create a better product use experience and better
shooting/recording effect.
Tripod: Screw the tripod nut into the screw hole on the bottom of the
camera. It serves both as a hand-held or fixed device.
Fix to use tripod Hold to use tripod
7. Use of remote control (optional)
1. Power button
2. Shoot button
3. Record button
8
Play panoramic video or picture
Note: The videos or pictures may be viewed with its panoramic effects
only on smart phones, tablets or PCs.
1. Use a mobile phone or tablet to play
Follow these steps to play panoramic videos or pictures on mobile
phone or tablet.
Download the app:
Scan the QR Code on Page 4 or search for
“SYVR360” on theApp Store to download
and install the app.
Connect mobile phone and camera: Connect mobile phone and camera
through Wi-Fi connection
i. Turn on camera Wi-Fi: Press camera Wi-Fi button, the display
screen will display “Wi-Fi ON”, and then “P3600_XXXXX”. The
default password is “1234567890”.
ii. Turn on mobile phone Wi-Fi, search for
the AP hotspot “P3600_XXXXX” and
select Connect.
iii. When connected, the camera display screen will display the
picture shown below.
9
Activating the app: Activate the “SYVR360” app on the mobile phone
or tablet, then click “Search for Camera” on the upper right corner.
Download: Enter the camera folder, select the file to download and click
to download.
Play: Select the file on the mobile phone and click to play.
Important
It is recommended to follow the above steps in order to achieve the best
HD video or picture viewing effects.
Before connection, remember to make sure the SD card is properly
inserted into camera.
After connection, the 4G communication functions of the mobile phone
or tablet will not be affected.
10
Share:
Videos can be combined and shared after downloading from the camera
to your mobile device.
Click “START TO SHARE”, videos will begin to combine.After
combining, videos can be shared via Youtube, Facebook, WeChat, QQ
and etc.. The shared videos can be searched for on relevant websites or
webpages.
Note: The combined video file is in .mp4 format.
Panoramic viewing
The following effects are available if played on the app player
Tiny planet mode
11
Fisheye mode
Plane mode
VR mode
12
2. Use PC or notebook to view
You may use your PC to acquire a better playing experience, or
edit/share videos. This can be achieved by following the steps below.
Download and install player: Open your PC browser and install the
software in the CD ROM, or visit www.symax360.com to download and
install the SYMAX360 Player.
Reminder: If a dialog box like the below image appears during the
installation process, please choose YES and continue the installation.
Download video or pictures onto PC:
Use the USB data cable attached to this product to connect the
camera to the PC.After connection, the camera display screen
will display “MSDC”.
Open “My computer” and select the “VIDEO” OR “JPG” folder
under “Removable disks”. Select file to be downloaded and
download it into your specified location on the PC.
13
Run player: Open the downloaded video or picture in the player.
Playback video with player
Click the icon , choose the video which you want to play.
14
While the video is playing, moving the mouse to the upper right corner
will reveal some different mode options (Plane/Planet/Invert). Click the
options for different effects. To enjoy the video in full 360 degree, please
click and move the mouse.
Edit and share video:
The videos and photos taken by this device can be edited and shared,
as shown in the picture above. They can be shared on YouTube,
Facebook, Youku and other popular social websites.
15
Important:
Videos uploaded to these websites by users are automatically
compressed. This may lead to differences in the video between
websites and local videos.
Technical parameters:
Image sensor 4.0M (CMOS) × 2
Functional mode Recording & shooting
Lens F2.0 f = 1.1 mm
Video resolution 1920*960 (30fps)
Picture resolution 3008*1504
File format Video H.264 (MOV)
Image JPG
Storage medium TF card (supports 32GB max)
USB interface High-speed USB 2.0 interface
Power supply Built-in high voltage lithium battery 1500mAh
Size 60.4*49.8*47.8 mm
Instructions for use
The product is equipped with a built-in battery. Do not put it
directly into fire, or it may cause explosion or other dangers.
The product may radiate heat due to long-time use or exposure to
direct sunlight. This is normal.
If the camera stops working or fails to respond to any operation
during use, use a needle to press and hold the Reset button for
about 3 seconds to restart the product.
Do not use the camera in environments with temperatures lower
than 0°C or higher than 40°C, or else it may not tu rn on normally.
Do not use the camera in humid places, for humidity may damage
important parts of the camera.
Do not put the camera directly into water.
Do not use the camera while charging, for it may cause the
system to halt or other failures due to improper heat dissipation.
Keep the lens away from hard objects to avoid damage.
Thank you again for purchasing this product. Have fun with it!

Other Braun Digital Camera manuals

Braun MiniActionDV User manual

Braun

Braun MiniActionDV User manual

Braun Bodycam BCX2 User manual

Braun

Braun Bodycam BCX2 User manual

Braun Super Paxette II User manual

Braun

Braun Super Paxette II User manual

Braun MAVERICK User manual

Braun

Braun MAVERICK User manual

Braun BODYCAM BCX5 User manual

Braun

Braun BODYCAM BCX5 User manual

Braun Aesculap PV442 Manual

Braun

Braun Aesculap PV442 Manual

Braun Champion User manual

Braun

Braun Champion User manual

Popular Digital Camera manuals by other brands

Omron STC-MBS163POE user guide

Omron

Omron STC-MBS163POE user guide

Panasonic Lumix DMC-LX15 Operating instructions for advanced features

Panasonic

Panasonic Lumix DMC-LX15 Operating instructions for advanced features

Casio Exilim EX-FH100 user guide

Casio

Casio Exilim EX-FH100 user guide

Sony DSC-RX100M2 quick start guide

Sony

Sony DSC-RX100M2 quick start guide

NAC Image Technology SP-642 user manual

NAC Image Technology

NAC Image Technology SP-642 user manual

Canon PowerShot SX200 IS user guide

Canon

Canon PowerShot SX200 IS user guide

Kodak PRINTOMATIC Update manual

Kodak

Kodak PRINTOMATIC Update manual

Casio EXILIM EX-ZR20 user guide

Casio

Casio EXILIM EX-ZR20 user guide

Sony DSC-W350 Cyber-shot® instruction manual

Sony

Sony DSC-W350 Cyber-shot® instruction manual

Canon PowerShot SX1 IS user guide

Canon

Canon PowerShot SX1 IS user guide

Olympus E300 - 14-54mm f/2.8-3.5 Zuiko ED Digital SLR... Basic Manual

Olympus

Olympus E300 - 14-54mm f/2.8-3.5 Zuiko ED Digital SLR... Basic Manual

LEXIBOOK APPAREIL PHOTO NUMERIQUE SPIDER-MAN AVEC... instruction manual

LEXIBOOK

LEXIBOOK APPAREIL PHOTO NUMERIQUE SPIDER-MAN AVEC... instruction manual

Casio EX-Z330 - EXILIM Digital Camera user guide

Casio

Casio EX-Z330 - EXILIM Digital Camera user guide

Casio QV-30 owner's manual

Casio

Casio QV-30 owner's manual

WITHROBOT oCam-1CGN-U user manual

WITHROBOT

WITHROBOT oCam-1CGN-U user manual

Panasonic Lumix DMC-LX7 operating instructions

Panasonic

Panasonic Lumix DMC-LX7 operating instructions

Beeper H1RF User& installer's manual

Beeper

Beeper H1RF User& installer's manual

Sony DKC-CM30 operating instructions

Sony

Sony DKC-CM30 operating instructions

manuals.online logo
manuals.online logoBrands
  • About & Mission
  • Contact us
  • Privacy Policy
  • Terms and Conditions

Copyright 2025 Manuals.Online. All Rights Reserved.