9
Shaving
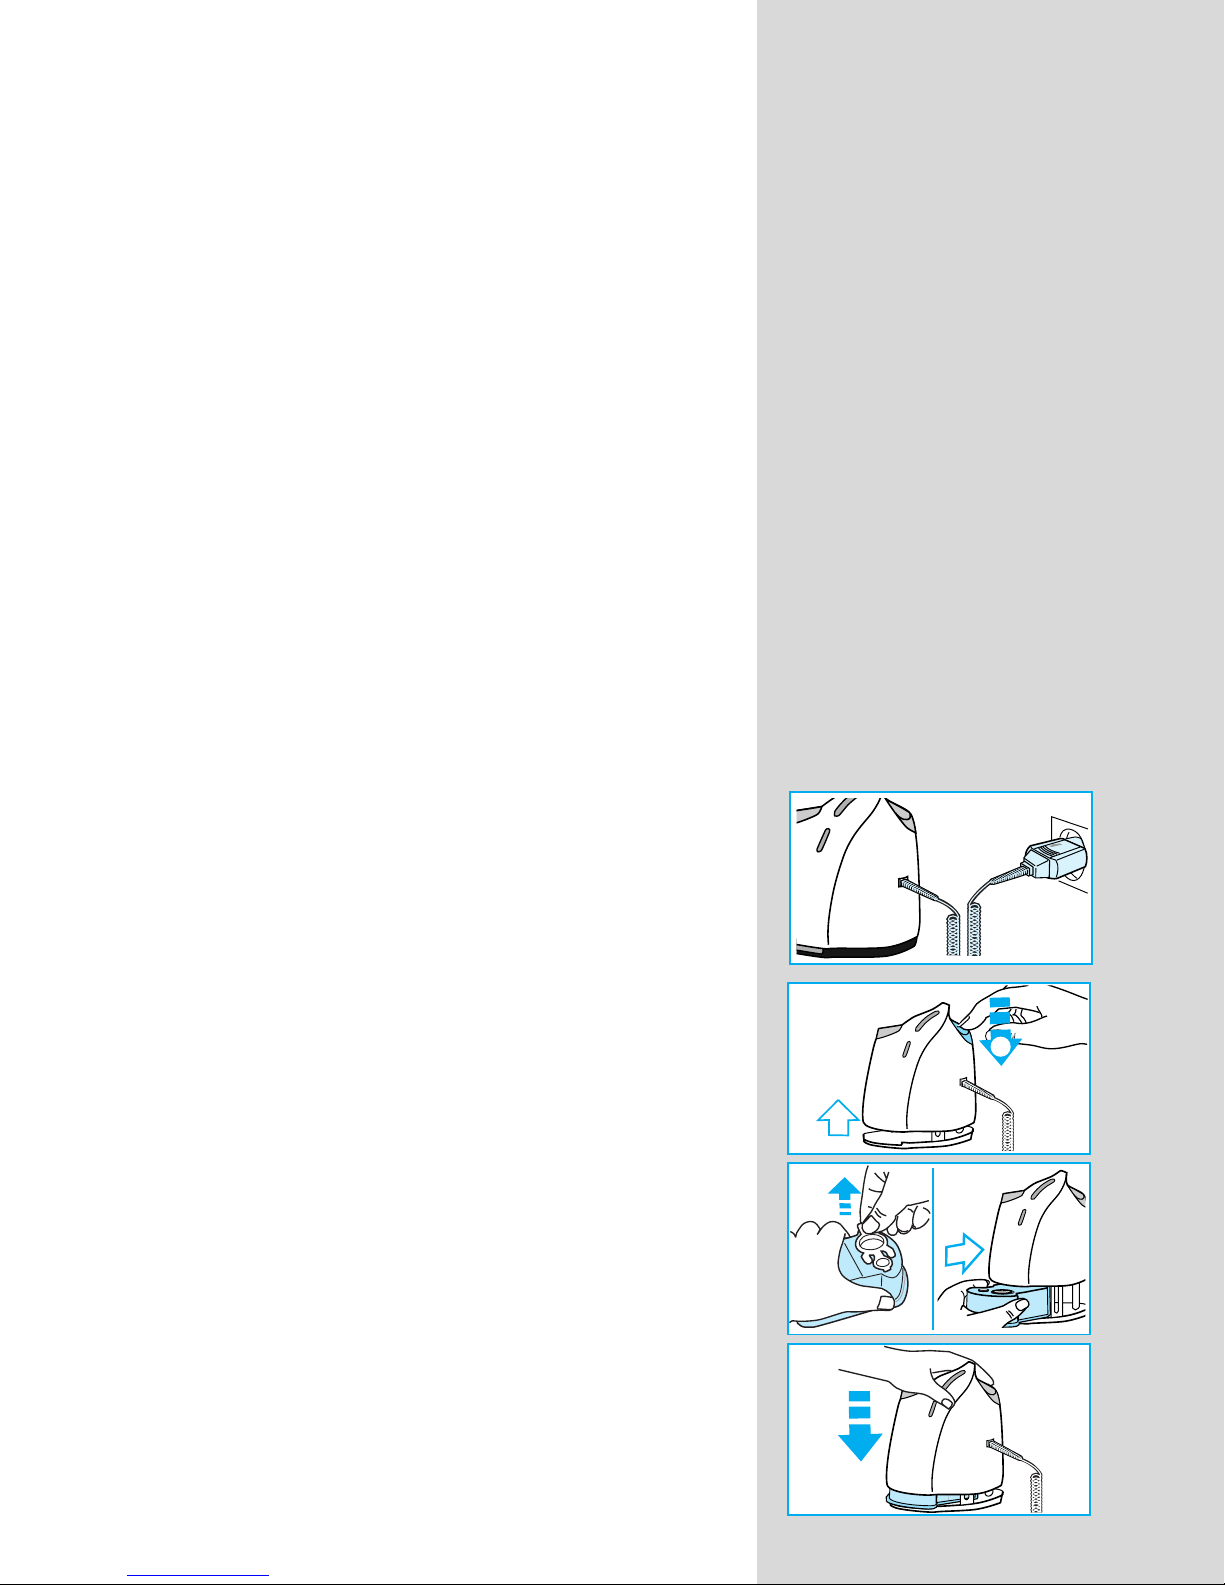
If the shaver is locked into the Clean&Renew™ station,
push the «start cleaning» button (2) to release the shaver
and take it out.
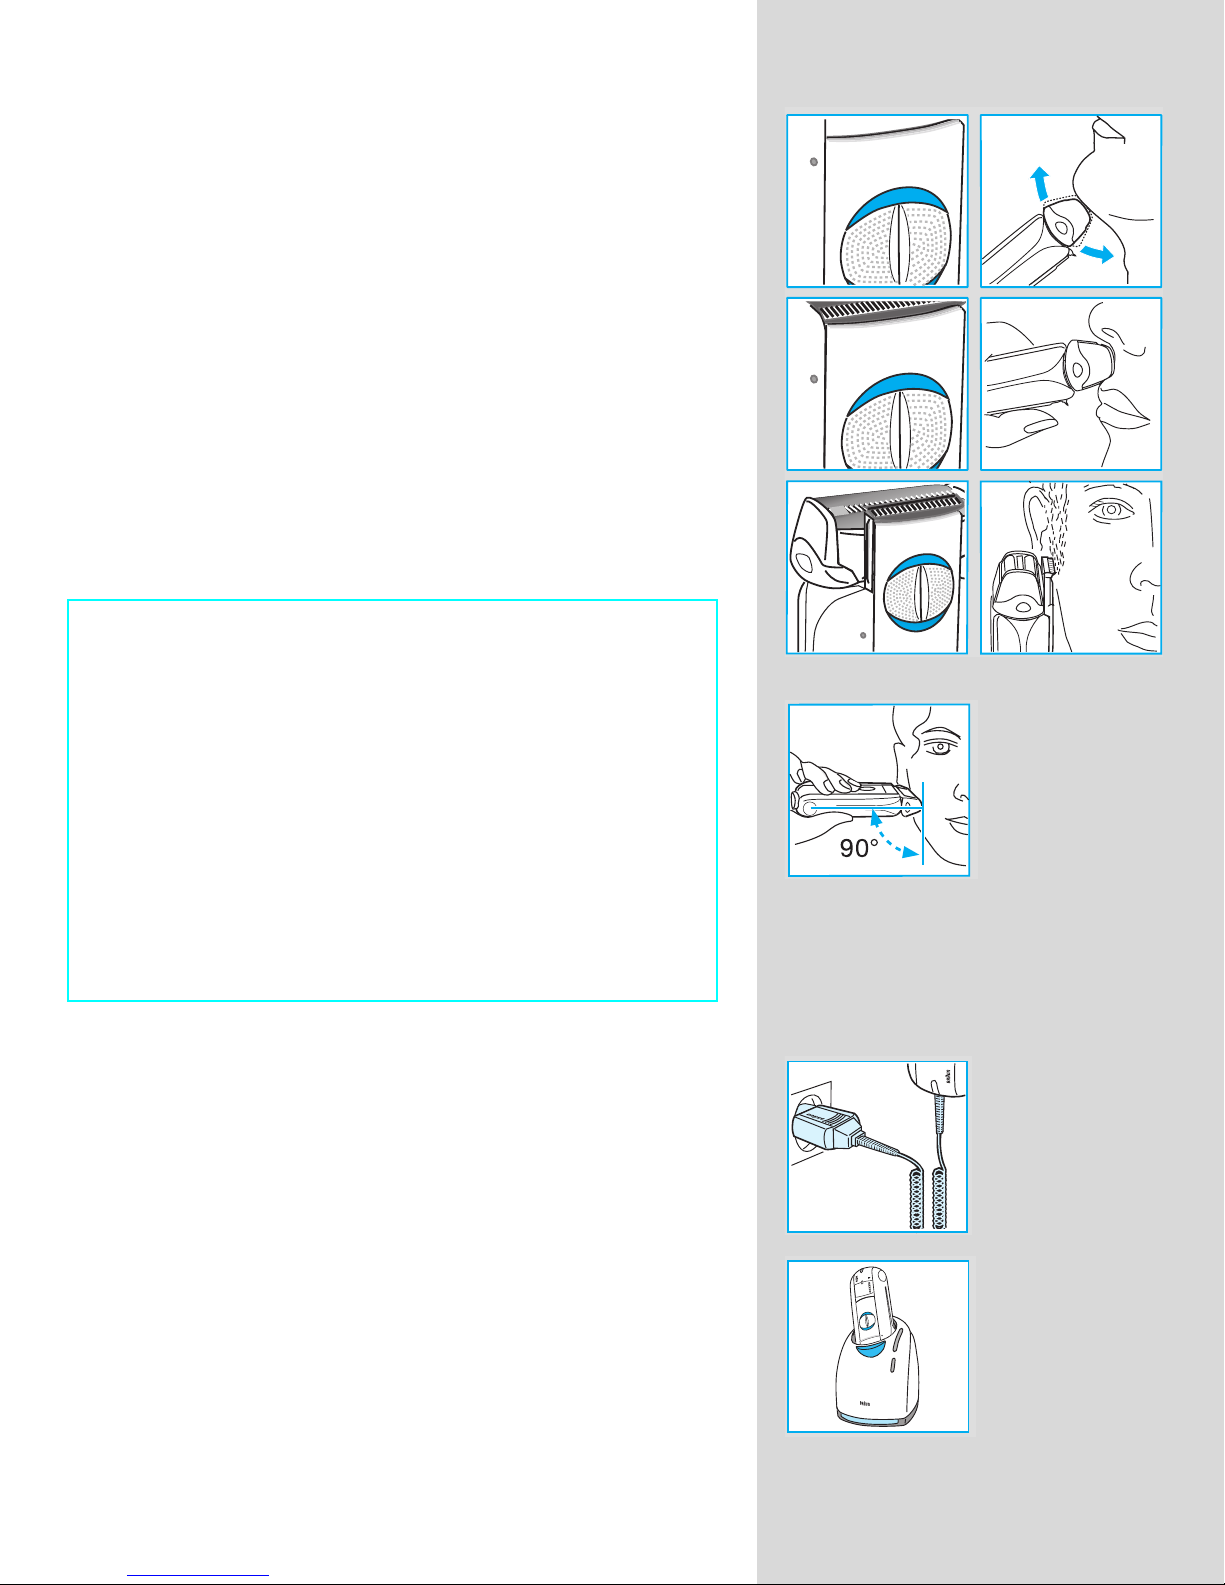
Switch positions
off = (switch is locked)
Press and push up the switch to operate the shaver.
on = Shaving with the pivoting head
(the pivoting cutting system automatically adjusts to
every contour of your face).
fix = Shaving with the pivoting head locked at an angle
(to permit shaving in difficult areas, e.g. under the
nose).
trim=The long hair trimmer is activated
(for trimming sideburns, moustache and beard).
Shaving with the cord
If the shaver is completely discharged and you do not
have the time to recharge in the Clean&Renew™ station,
you may also shave with the shaver connected to an
electrical outlet.
After shaving
Automatic cleaning
After each shave, return the shaver to the Clean&Renew™
station and proceed as described above in the section
«Before shaving». All charging and cleaning needs are
then taken care of. With daily use, a cleaning cartridge
should be sufficient for about 30 cleaning cycles.
The hygienic cleaning solution cartridge contains alcohol
which, once opened, will naturally evaporate slowly into
the surrounding air. Each cartridge, if not used daily,
should be replaced after approximately 8 weeks.
Tips for the perfect shave
• It can take up to 14-21 days for your beard to adjust
to the new shaving system.
• Shave before washing your face or taking a shower,
as skin tends to swell after washing.
• The drier the skin, the closer the shaving results will
be.
• Hold the shaver at right angles (90°) to the skin.
Stretch the skin and shave against the direction of
beard growth.
• To maintain 100% shaving performance, replace
your foil and cutter block at least every 18 months or
when worn.
full
cartridge
auto select
empty
s
t
a
r
t
c
l
e
a
n
i
n
g
eco
normal
intensive
clean
0..2060
4080100
8990
foilreplacel+cutter
reset
5647446_8990_86_S4-34 Seite 9 Freitag, 17. März 2006 8:56 08