brel-motors BG-980 User manual
MOT O R S
www.brel-home.com
Visit our website for more manuals and information
INSTALLATION
MANUAL
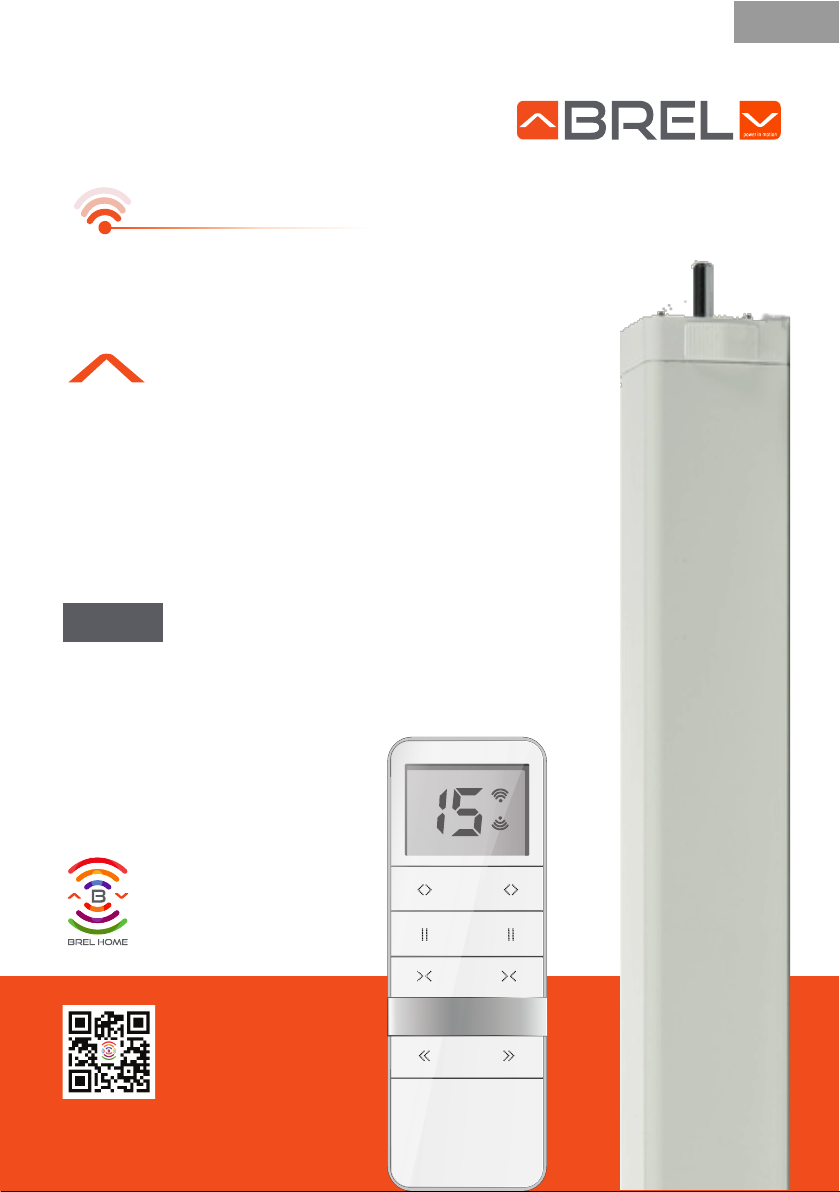
BG-980
Manual Brel Bi-directional Wifi Curtain Rail Motor
Scan the QR code here for the manual to
download & view instructional videos
Read the manual before you begin the
installation. If these instructions are not
followed, this may lead to defects and
injury in which warranty can’t be claimed.
EN NL DE FR
BG-980
CURTAIN
WiFi
RADIOMOTOR
Page 2
Table of Content
2gninraW
Switching installation of the curtain motor 3
Technical data of the motor 3
Functions remote control/Function/ Installation of the Motor 4
5sgnitteS
It is important to follow this instruction for your own safety.
Warning
Works with all BREL transmitters 3
The motor must be
protected from direct
moisture influences.
The motor must be
installed correctly.
BREL-Motors declares that this
motor has been manufactured
according to the guidelines of the
CE standard 1999/5/EC
Do not operate the motor
in humid surroundings.
Keep the antenna in a good
condition and do not shorten. The
antenna should not come into
contact with other metal parts
otherwise it will reduce the effect.
Children cannot recognize the
dangers of electrical equipment
and may therefore not work with it.
This product must not be disposed of with household waste.
Take the remote control and battery to the designated
collection points"

3
Technical data of the motor
Torque 1.2 nm
Open/Close Speed 14 cm per sec.
Voltage Motor AC 100-240V
Max. Curtain Weight 40 kg
Radiofrequency 433.925MHz
Moisture and Dust Protection IP20
Storage Capacity Transmitters Up to 20 Channels
Temperature range of the motor Normal Use : -5°C to +55°C
Frequency 433Mhz 2.4Ghz (wifi)
Page 3
Works with the BREL HOME app
NOTE
Switching installation of the curtain motor
3
BG-980
Common = Blue
Live line = Brown
Earth line = Green Yellow
Motor
Power
plug
The BG980 motor is easy to operate with the BREL HOME app. The motor connects to the
BREL HOME app via WiFi and then the motor can be set via the app. The steps are as followed:
Step 1: Go to settings -> Wifi network -> choose the connection to your home network ->
disable the “automatic connection” to your home network.
Step 2: Download the BREL HOME App and create an account (SIGN UP)
Step 3: Click on add product and choose the Wifi motor
Step 4: Go through all the steps as indicated in the app.
Step 5: Close the app completely -> restart the app -> click on ADD ROOM and create the room
where the product is located.
Step 6: Go to the WiFi motor and link the newly created room to the WiFi motor.
If you want to install the motor by emitter, follow the instructions on the next pages.
433MHZ
Motor Reverse
Motor Forward
Motor Stops
Common
LED Programm button P1
Connection for Switch

Page 4
Functions Remote control
DD-1852
a OPEN button
a Stop button
a CLOSE button
- Channel + Channel
CR2450
LITHIUM BATTERY
CR2450
LITHIUM BATTERY
3V
3V
b. PROGRAMM
Button P2
b OPEN button
b Stop button
b CLOSE button
a. PROGRAMM
Button P2
Scan the QR code to view the manual and instructional videos
BG980
QR-code
L2 = 20 meter
L1 = 100 meter
Reach
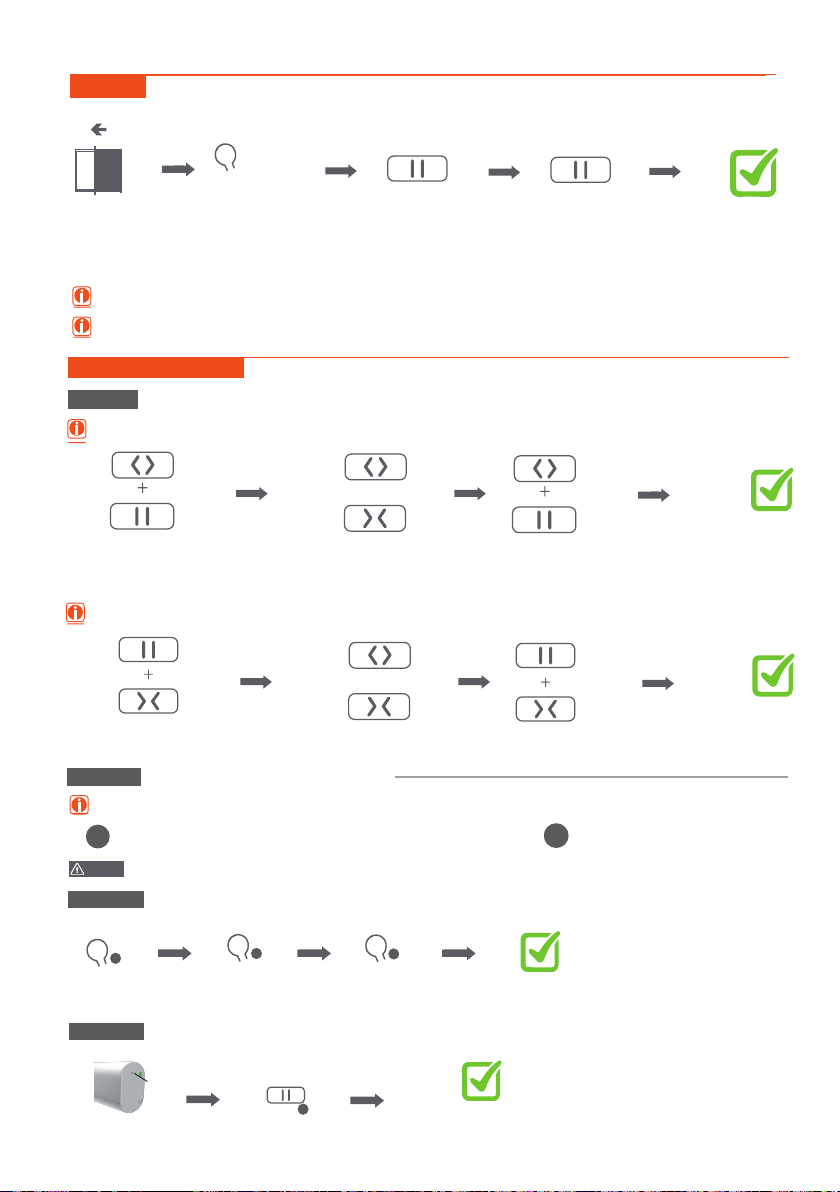
Step 1
The remote control can transmit 15 channels and therefore control multiple blinds.
First, select a channel for operating the relevant roller blind.
Make sure that you select a free channel (we recommend only 1 product per channel ).
Select the desired channel.
This remote has also channel 0. All blinds programmed in channel 1~15 are
automatically programmed in this channel 0 and can be operated all at once.
3
1
2
45
In case you have selected the wrong channel, go to Resetting factory settings.
Setting up the first remote/channel

If NO end positions are set, the product will move in the pulse / step operation. Go then to STEP 3.
If end positions are set, the product will continue to its end position. Go then to STEP 5.
WARNING: It is possible that the correct end positions have not been set. Go then to OPTION A.
Establishing connection
Step 2
In the procedures described here is a maximum interval of 10 seconds to complete each
subsequent action: if you wait any longer, the system will leave the edit mode.
Normally a button only needs to be pressed shortly. If you need to press and hold a button for
several seconds this will be state clearly.
The system will confirm each completed step with moving the blind up and down ( ).
If a procedure does not play out as described, wait for 20 seconds and start again
from the beginning of that step/procedure.
STOP
Press the P1 button Press the STOP button Transmitter/ channel
has been added
LED blinks
1x
Release the
button
LED blinks
5x
Page 5
Adjusting the direction of rotation (Only if the direction of rotation is not correct)
Step 3
Only possible if no end positions are set.
Press ±10 sec. P1 Release P1 when LED Flashes The direction of rotation is
changed successfully
LED Flashes
5x Beeps 3x
Setting the End Limits
Step 4
Press 1x
OPEN Button
The curtain opens and
will in the end automatically
stop and save the setting
The curtain
closes and stop.
LED Flashes
5x Beeps 3x
Press 1x
CLOSE Button End positions
are set
The curtains are now ready for use.
If you are not satisfied with the result of setting the end positions, go to Option A - adjusting positions
or Resetting factory settings.
Setting the favorite position (If desired)
Step 5
Press and hold STOP for 3 seconds to move to the favorite position.
Since the procedure is identical, to remove it repeat the steps.
Go to the
desired
favorite
position
Press P2 1x
P2
LED blinks
1x
Press STOP 1x
LED blinks
1x
Press STOP 1x
LED blinks
5x
Page 6
Adjusting the close position
If adjustment is not possible, go to Resetting factory settings.
Option A
If adjustment is not possible, go to Resetting factory settings.
Additional settings
Adjusting the open position
Press both buttons
for 2 seconds
LED blinks
1x
Press open/close for
the new open position
OR
Press both buttons
for 2 secondes
LED blinks
5x
Press both buttons
for 2 seconds
LED blinks
1x
OR
LED blinks
5x
Press open/close for
the new open position Press both buttons
for 2 seconds
Option B Learn Extra transmitter/channel
= Already existing transmitter/channel = New transmitter/channel
ab
b
P2
a
P2 aP2 b
Press P2a
The transmitter b
has been added.
To delete the transmitter / channel repeat the procedure.
NOTE
Make sure the new transmitter is in the desired channel.
Method 1
LED blinks
1x
LED blinks
1x
LED blinks
5x
Press P2a Press P2b
Press P1
Press 1xSTOP of b.
The new
transmitter b
has been added.
(In case the old transmitter is lost or broken)
b
STOP b
LED
blinks
Method 2
LED
blinks
Page 7
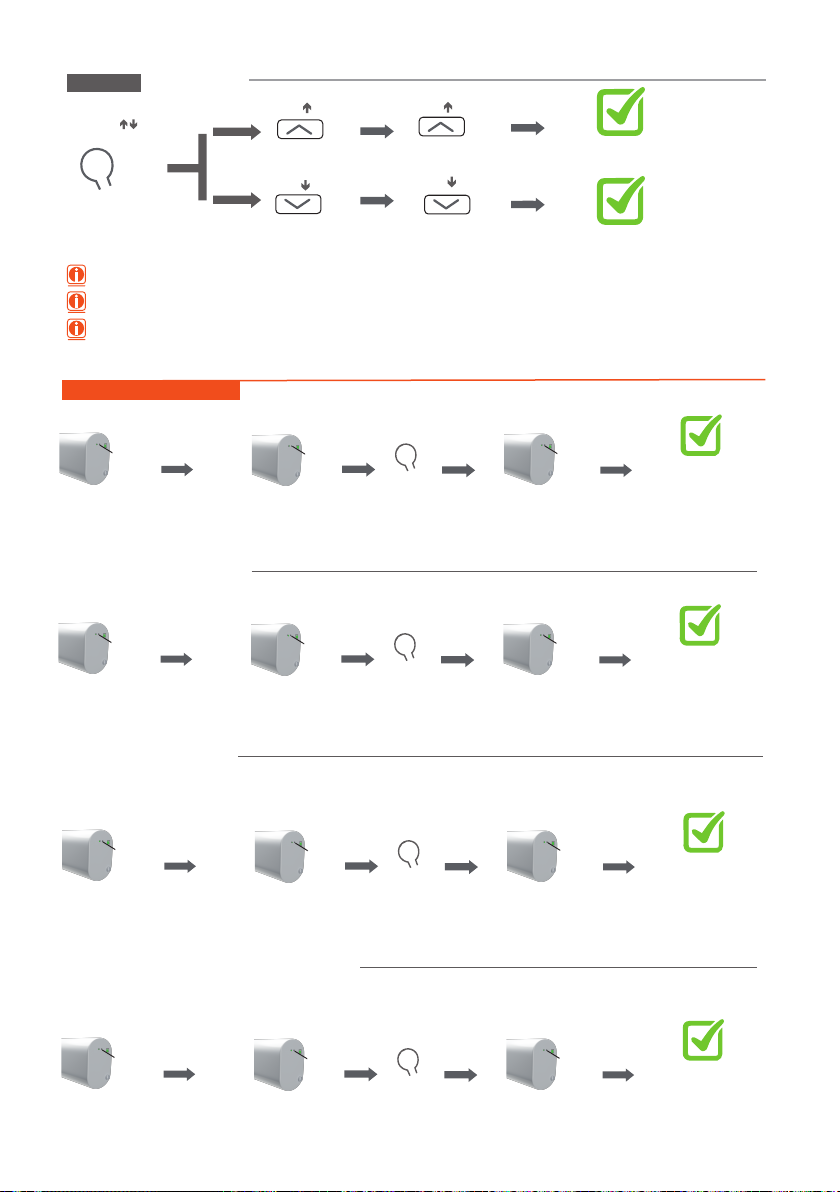
External Switch Mode Pushbutton switch mode (Factory default)
Switch mode
switched
successfully.
Single button pushbutton switch mode
Check both upper and lower limits are set, the motor is power-on (1 jog), within 10S.
Mechanical switch mode
Check both upper and lower limits are set, the motor is power-on (1 jog), within 10S.
Electronic switch mode
Check both upper and lower limits are set, the motor is power-on (1 jog), within 10S.
Press P1 button for
10 seconds
LED blinks
3x
Releas the
button Press P2
4x
P2
Press P1 button for
2 seconds
LED blinks
5x
Switch mode
switched
successfully.
Press P1 button for
10 seconds
LED blinks
3x
Releas the
button Press P2
3x
P2
Press P1 button for
2 seconds
LED blinks
5x
Switch mode
switched
successfully.
Press P1 button for
10 seconds
LED blinks
3x
Releas the
button Press P2
2x
P2
Press P1 button for
2 seconds
LED blinks
5x
Switch mode
switched
successfully.
Press P1 button for
10 seconds
LED blinks
3x
Releas the
button Press P2
1x
P2
Press P1 button for
2 seconds
LED blinks
5x
LED blinks
1x
LED blinks
2x
LED blinks
3x
LED blinks
4x
Press P2. The product
moves 1x up and down Press 1x down. Press 1x down. The motor speed
has been reduced.
1x P2
Speed Control
P2
1x 1x
1x 1x
The motor speed
has been increased
Press 1x up. Press 1x up.
If the motor does NOT react after this action, it is already at the highest or lowest speed.
Option C
There are 3 different speeds.
If the speed has been changed the slow stop is activated. To deactive the slow
stop you have to reset the motor.
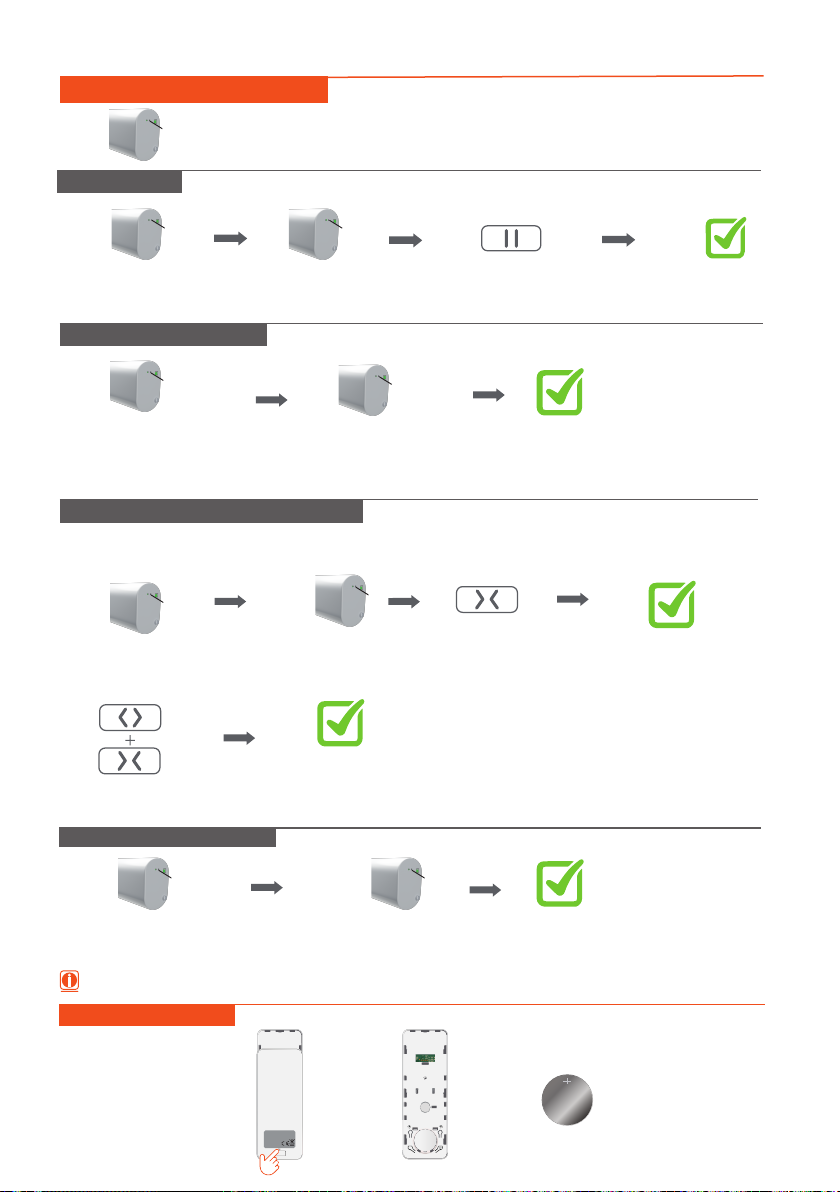
Changing Batteries
P2 P2
M
P2 P2
M
P2 P2
M
BREL
poweredby
Model:DD2702H
Fifteen-ChannelEmitter
433MHz
CR24503.0V
0.7276243084
Additional settings P1 button
The LED light blinks when pressed P1
Can be used without a transmitter as an operating button.
Switching off the receiver
Press and hold P1 until the LED light blinks 2x.
The Receiver
switched off.
To reactivate the receiver, briefly press P1 once.
Changing the direction of rotation
Press and hold P1 for 10s
The direction of
rotation has changed.
Resetting to factory settings
Resets to factory settings.
until
To apply new settings: go to step 1
CR2450
LITHIUM BATTERY
CR2450
LITHIUM BATTERY
3V
3V
Page 8
Press the P1 button
for 14 seconds
LED blinks 8x
Releas the P1 button
Method 1 (with end limits)
Method 2 (without end limits)
LED blinks
3x
Loosen button
Press 1 second
LED blinks
5x
Press both
buttons for 2 sec
LED blinks
5x
The direction of
rotation has changed.
Manual control
STOP
Press the P1 button
for 10s Press the STOP button Manual cotrol has been
(de) activated.
LED blinks
3x
Release the
button
LED blinks
5x
Table of contents
Other brel-motors Remote Control manuals


