8 9
4. Batterien
Achten Sie darauf, dass bei Batterien weder Korrosion noch Lecks auftreten, da dies das
Produkt dauerhaft schädigen kann. Beachten Sie beim Einlegen der Batterien die richtige
Polarität, wie innerhalb der Batteriefächer angezeigt. Kombinieren Sie keine neuen und
-
baren Batterien.
Leere Batterien sind über ein geeignetes Recyclingsystem zu entsorgen. Entsorgen Sie sie
nicht über Ihren normalen Hausmüll. NICHT VERBRENNEN.
5. Grenzen des Alarmsystems
Selbst die fortschrittlichsten Alarmsysteme können keinen 100-prozentigen Schutz gegen
Einbrüche oder Naturkatastrophen bieten. Alle Alarmanlagen können aus einer Vielzahl
von Gründen beeinträchtigt werden oder nicht auslösen.
Beachten Sie bitte, dass es bei Ihrem System Probleme geben kann, wenn:
Teile des Gebäudes platziert ist.
Zutritt verschaffen.
davon zu umgehen, blockieren oder abzuschalten.
beispielsweise zu nahe an einer Hitzequelle positioniert sind.
Hinweis:
Unzureichende Wartung ist der häugste Grund für Ausfälle bei einer Alarm-
anlage. Testen Sie Ihr System deshalb mindestens einmal pro Woche, um
sicherzustellen, dass die Sensoren und Alarmfunktionen richtig funktionieren.
Obwohl ein Alarmsystem möglicherweise dazu beiträgt, dass Ihre Versiche-
rungsprämien günstiger ausfallen, ist das System kein vollwertiger Ersatz für
eine Versicherung.
English
Please keep these instructions in a safe place for future reference.
Kit Contents:
1x Key Fob Remote Control
1x 12 V alkaline battery (included)
1. Introduction
The i.onik®remote control allows you to operate the systems Smart Panel remotely, from
and the siren can be activated instantly if required (using the panic function).
2. Operation
2.1 Powering up the Key Fob Remote Control
The remote control includes a 12 V alkaline battery. To acti-vate, unscrew and remove
the back of the remote control, and carefully remove the clear plastic insulation tab from
the battery. If the battery is dislodged, replace it noting the correct polarity shown inside
the battery compartment. Replace the battery cover.
2.2 Enrolling the Remote Control onto the Smart Panel
Before they can operate the system, new remote control devices need to be enrolled
(added to the system) as follows:
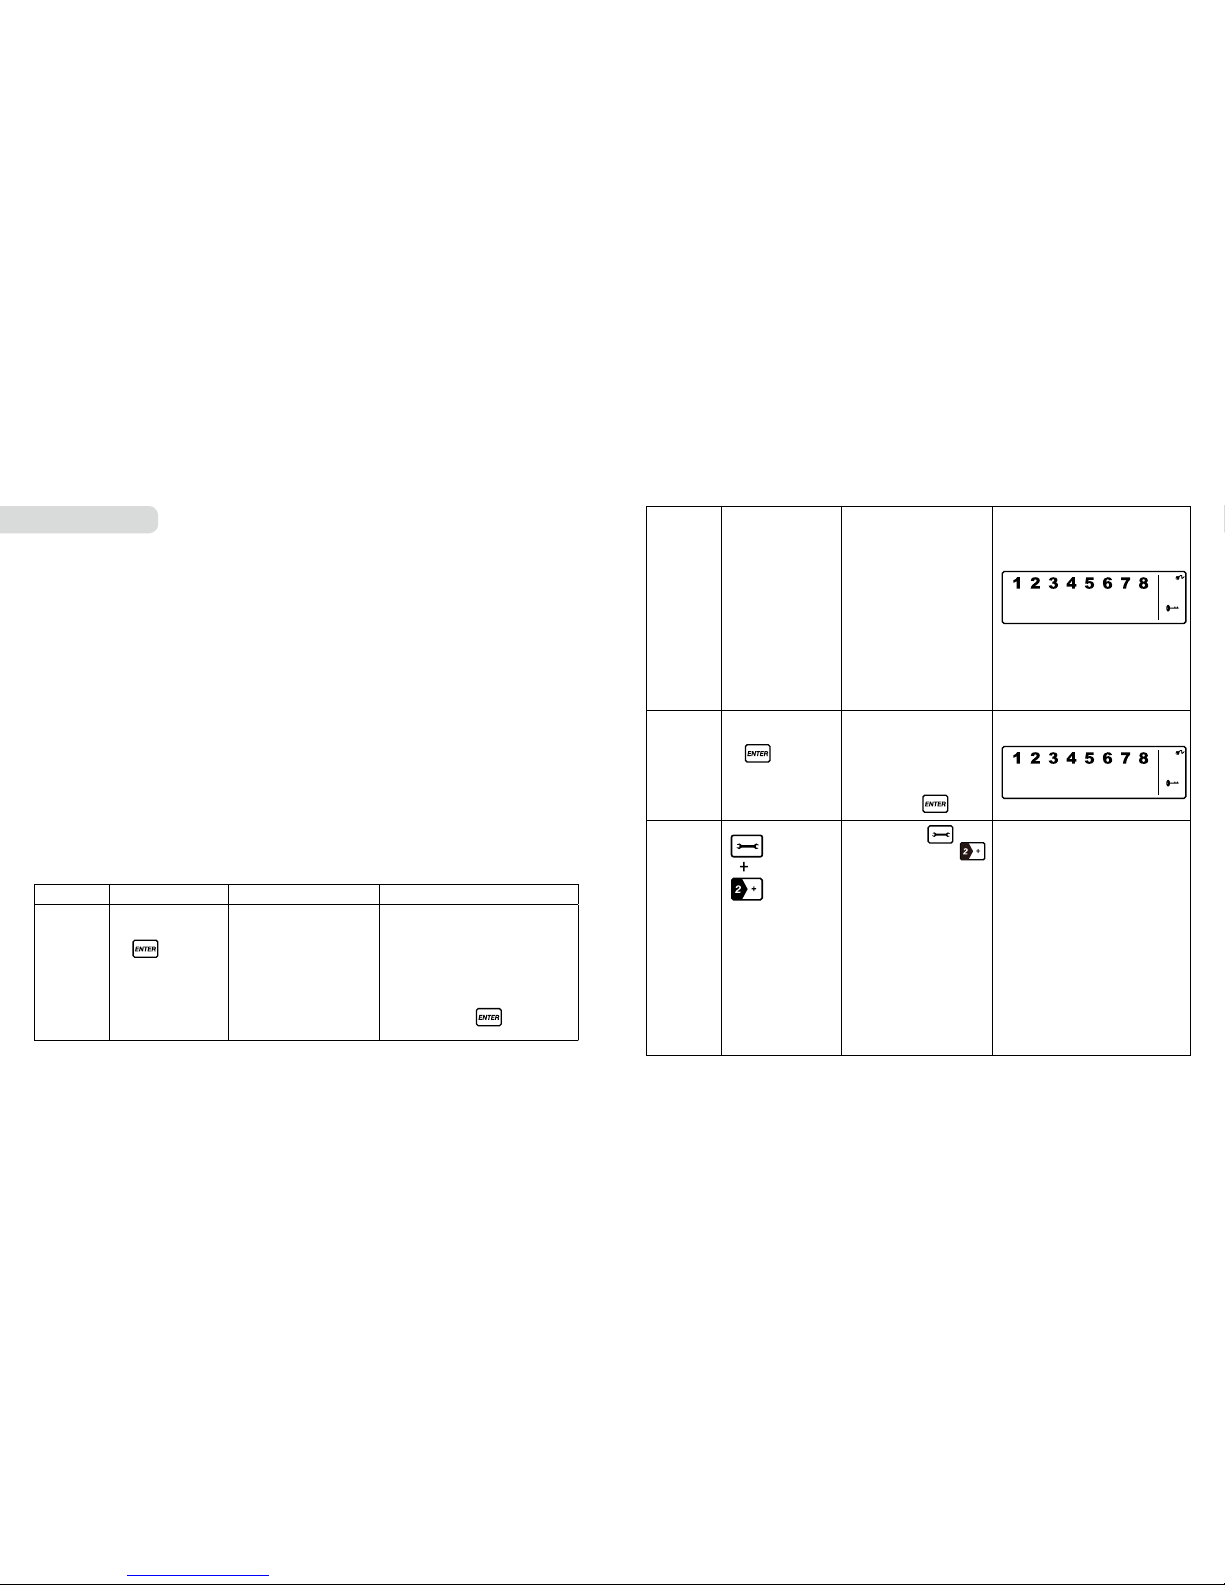
Step Keys Description Note
1 (1234/
4-digit PIN)
+
You must be in
STANDBY mode
before enrolling a
new remote control
onto the Smart
Panel.
To make sure you are in
STANDBY mode:
- Enter the default PIN
“1 2 3 4” OR your new
4-digit PIN
- Press