BREWFERM COBRA pH pen User manual
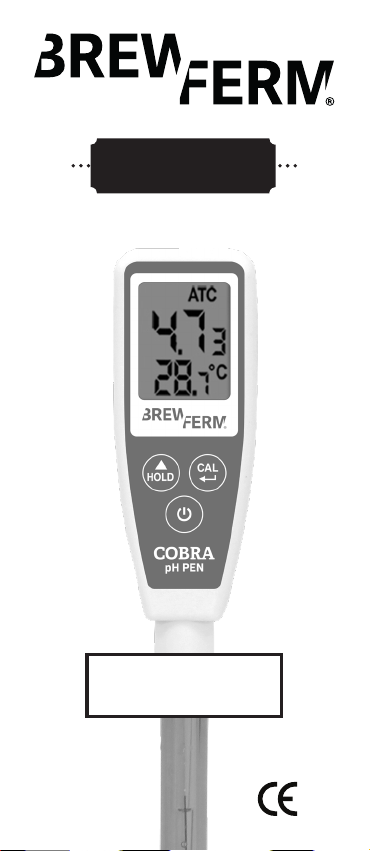
COBRA
pH pen
MANUAL

4
I. INTRODUCTION
Congratulations on your purchase of the
Cobra. Please read the manual completely
before first use. Keep the manual for fu-
ture reference. It is recommended to soak
the electrode for at least 30 minutes be-
fore use to make the electrode wet.
Features:
• IP65 Waterproof housing
• Dual display with ATC
• Data hold to freeze readings
• Compact size, easily fits in your pocket
• Low battery indicator
• Auto power off
• °C/°F unit switchable
• Power by 2 CR2032 batteries
• Multi point calibration
• One-touch-only for calibration
II. MATERIAL SUPPLIED
This package contains:
• The meter x 1
• CR2032 button battery x 2
• Manual
III. POWER SUPPLY
The meter is powered by 2 CR2032 bat-
teries. Check the battery:
1. before first use;
2. when the battery symbol appears on
the LCD screen;
3. when the meter can not be switched
on.

5
To install the batteries:
1. Turn off the meter.
2. Losen the battery cover in clockwise di-
rection with a coin (DON’T discard the
black washer!).
3. Replace the old batteries with 2 new
button cells CR2032.
4. Make sure the batteries are in place
and the polarity is correct.
5. Put back the battery cover and turn it
in counter-clockwise direction to lock.
NOTE:
1. Please re-calibrate the meters after
changing batteries.
2. Remove the battery from the Cobra if
you do not plan to use it for a month or
more.
6
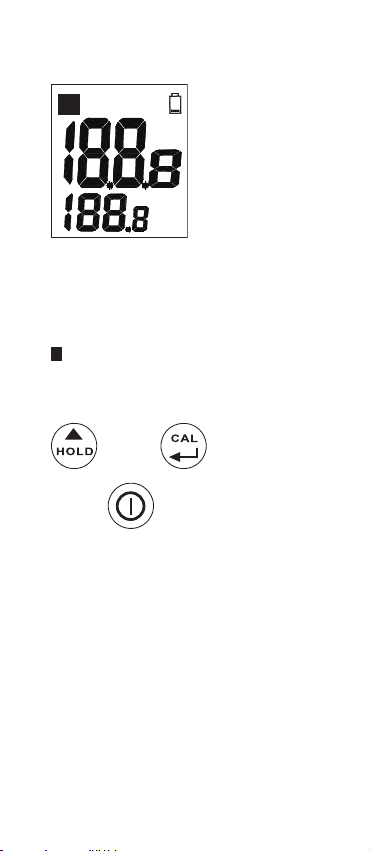
IV. LCD DISPLAY
• The 1st display shows the measured pH
reading.
• The 2nd display shows the temp.
• Cal = Calibration mode
• ATC = Auto Temp. Compensation
• H= Data hold
V. KEYPAD
VI. HOW TO OPERATE
1. Remove the probe storage bottle from
meter to expose the electrode. It is nor-
mal to find white crystals on the cap or
electrode assembly.
WARNING: always make sure the bottle
is filled with a storage buffer to keep
the electrode wet and in a good stor-
age condition.
CAL
H
ATC
F
C
O
O

7
2. Dip the electrode into the test solution.
Press “ ⌽” to switch on the meter and
stir it to get a stable reading.
3. A small dot “ .” flashes while the meter
is in measurement mode. The LCD not
only shows the measured pH value but
also displays the temperature.
4. Press “ HOLD ” to freeze current read-
ings. The “ H” icon will appear on the
LCD and the small dot will not flash.
Press “ HOLD ” again to release the hold
mode.
ATC
C
O
Rotate the
storage bottle in
counter-clockwise
direction and pull out the
bottle completely to expose the electrode.
Electrode
8
5. Turn off the meter by pressing “ ⌽”
button.
6. Once you have finished the measure-
ment, clean the electrode, put back the
bottle and store the meter below 50°C.
7. Please see page 9 for the calibration
procedures.
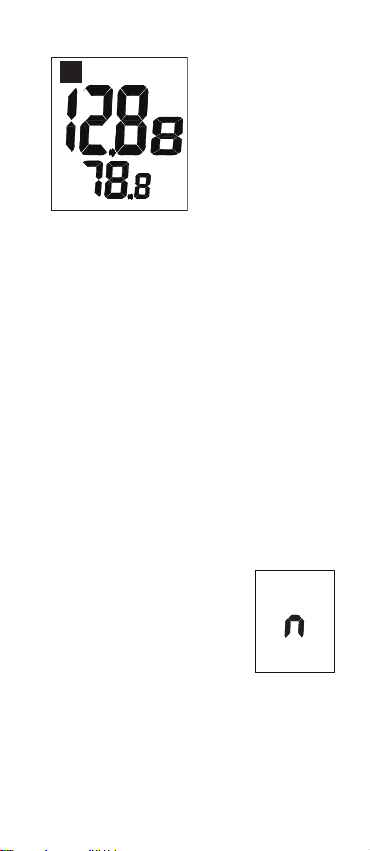
VII. AUTO POWER OFF (SLEEP FUNCTION)
This meter will turn off automatically af-
ter 20 minutes of inactivity. If you want to
operate for a longer time, you can disable
the sleep mode.
To disable the auto power off:
Before turning the power on,
press “ ⌽” + “ HOLD ” keys si-
multaneously until an “n” ap-
peares on the screen. Then
release the keys to return to
normal mode.
Note: This setting (sleep function off) will
be disabled when you switch the power
off.
H
ATC
F
O

9
VIII. AUTOMATIC TEMPERATURE COM-
PENSATION (ATC) & TEMP. UNIT SET-
TING
The Cobra is capable of measuring with
Automatic Temperature Compensation.
“ATC” will show in the middle top of the
LCD.
Temp. Unit Setting of the Cobra:
To select the temp. unit (°C or °F), turn
off the meter first. When the meter is off,
press “ ⌽” and “ CAL ” at the same time
until the C or F appears on the LCD. Press
“ HOLD ” to select the preferred unit and
then press “ CAL ” to save. “ SA ” will ap-
pear on the LCD for one second and then
the LCD screen will go back to normal.
IX. CALIBRATION MODE (CAL)
Calibration is necessary and should be
done regularly. It is recommended to cali-
brate every day if the meter is used often.
The unique calibration design of the me-
ter features an automatic buffer recogni-
tion to avoid errors.
o
C
10
The Cobra Calibration:
1. Switch on the meter.
2. Place the electrode into a 7pH buffer
solution (afterwards place the elec-
trode into a 4pH or a 10pH buffer solu-
tion for better accuracy).
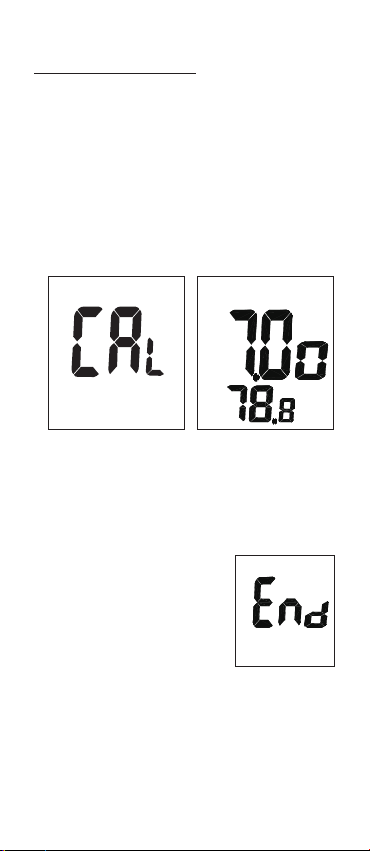
3. Press “ CAL ” to enter pH calibration
mode. The icon “ CAL ” will appear on
the LCD screen for one second and then
pH value (4, 7 or 10) will be displayed
on the LCD screen.
4. If the probe or buffer display an error:
• the buffer is incorrectly inserted;
• the probe is damaged
• the probe can not detect the buffer in
below voltage range.
The meter will exit calibration mode
automatically after 10
seconds. “ End ” will ap-
pear on the LCD screen
in one second and then
will go back to normal
status.
Acceptable voltage range of each point:
pH 4.00 : 97mV ... 250mV
pH 7.00 : - 60mV ... 60mV
pH 10.00 : - 250mV ... -97mV
5. If the probe recognizes the buffer:
If the probe successfully recognizes the
CALATC
F
O

11
buffer, the buffer pH value (4, 7 or 10)
will appear on the display in 2 seconds.
If the calibration buffer is not 4,7 or 10,
but another value, such as 7.01, just
press “ HOLD ” to change the value.
6. The adjustable cal. point range for
4.0pH is from 3.50 to 4.50. For 7.0pH
is from 6.50 to 7.50. For 10.0pH is from
9.50 to 10.50.
7. To save the calibration value:
When the electrode reads a stable
value and the user is not pressing any
key, the meter will automatically save
the value and then exit the calibration
mode.
8. Rinse the probe with de-ionised water
or a rinse solution (e.g. tap water) after
each measurement to prolong the me-
ter’s life.
9. Repeat the steps above until the point
calibration is finished.
CALATC
F
O

12
X. MAINTENANCE
• Always keep the pH glass bulb wet by
using the storage bottle to protect and
store the electrode.
• Always rinse the pH electrode in de-ion-
ised water or rinse solution (e.g. tap
water) before the next use.
• Never touch or rub the glass bulb in or-
der to prolong the pH electrode’s life.
• Make sure the electrode is clean. Be-
tween measurements, rinse the elec-
trode with de-ionised water. If the
eletrode has been exposed to a solvent
immiscible with water, clean it with a
solvent miscible with water (e.g. etha-
nol or acetone) and rinse carefully with
water.
• Store the electrode carefully.
XI. TROUBLESHOOTING
• Power on but no display
1. Make sure you press the power key
more than 100 mS.
2. Check for whether the batteries are
in place, they make contact and that
the polarity is correct.
3. Replace the batteries and try again.
4. Remove the batteries for one minute
and then put them back in again.
• Slow response
Clean the probe by immersing the elec-
trode in tap water for 10-15 minutes,
then rinse thoroughly with distilled wa-
ter or use a general purpose electrode
cleaner.
13
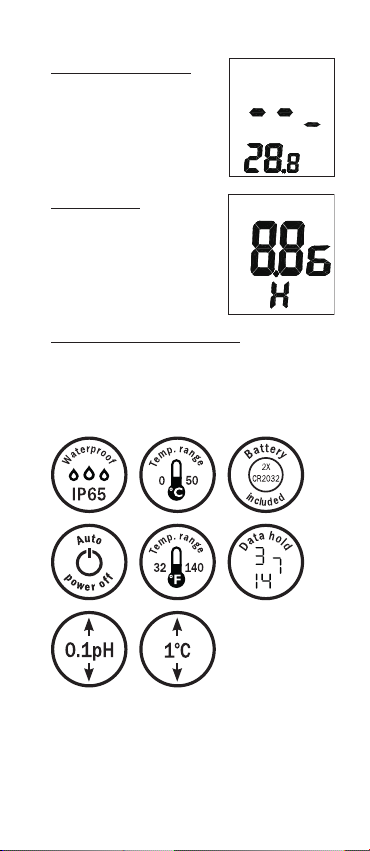
• LCD display “ - - - ”
Out of pH range, too
acidic/or too alkaline.
• “ H” or “ L”
Out of temp. range, too
cold or too hot.
• pH value fluctuate quickly
This is normal when the electrode is not
immersed in water, but exposed to air.
XII. SPECIFICATIONS
• Operating Temp.: 0°~50°C (32~122°F)
• Operating Humidity: 0~80% RH
• pH calibration buffer suggested:
ATC
C
O
ATC
C
O

14
• Standard USA buffers
• Standard NIST buffers
• Standard DIN buffers
• Battery Life: >100 hrs continuous use
XIII. WARRANTY
The meter is warranted to be free from
defects in material and workmanship for
a period of one year from the date of pur-
chase. This warranty covers normal oper-
ation but does not cover battery, misuse,
abuse, alteration, tampering, neglect, im-
proper maintenance, or damage resulting
from leaking batteries. Proof of purchase
is required for warranty repairs. Warranty
is void if the meter used has been taken
apart.
XIV. RETURN AUTHORIZATION
Authorization must be obtained from the
supplier before returning items for any
reason. When requiring an RA (Return Au-
thorization), please include data regard-
ing the defective reason. The meters must
be returned properly packaged to prevent
any damage in shipment and be insured
against possible damage or loss.

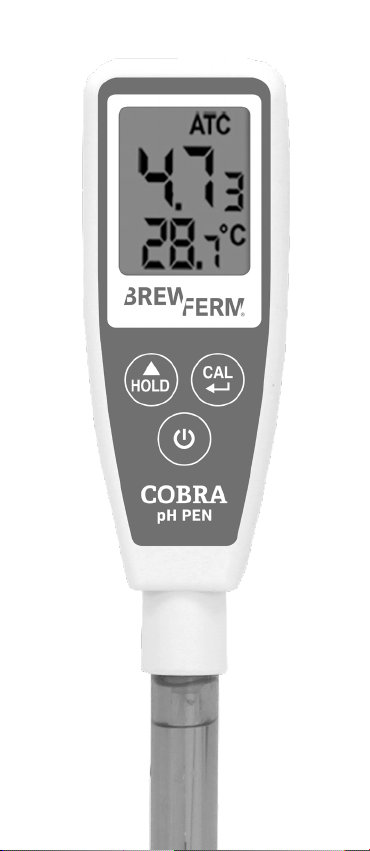
Table of contents
Other BREWFERM Measuring Instrument manuals

Popular Measuring Instrument manuals by other brands


Leviton
Leviton VerifEye 3300 Series Installation and user manual

PCB Piezotronics
PCB Piezotronics IMI SENSORS M621B41 Installation and operating manual

Hioki
Hioki CM3286-50 instruction manual
MADDALENA
MADDALENA ArrowEVO Instructions for installation, use and maintenance

Electrex
Electrex PLUS96 Y instructions

Techkon
Techkon SpectroDens manual


