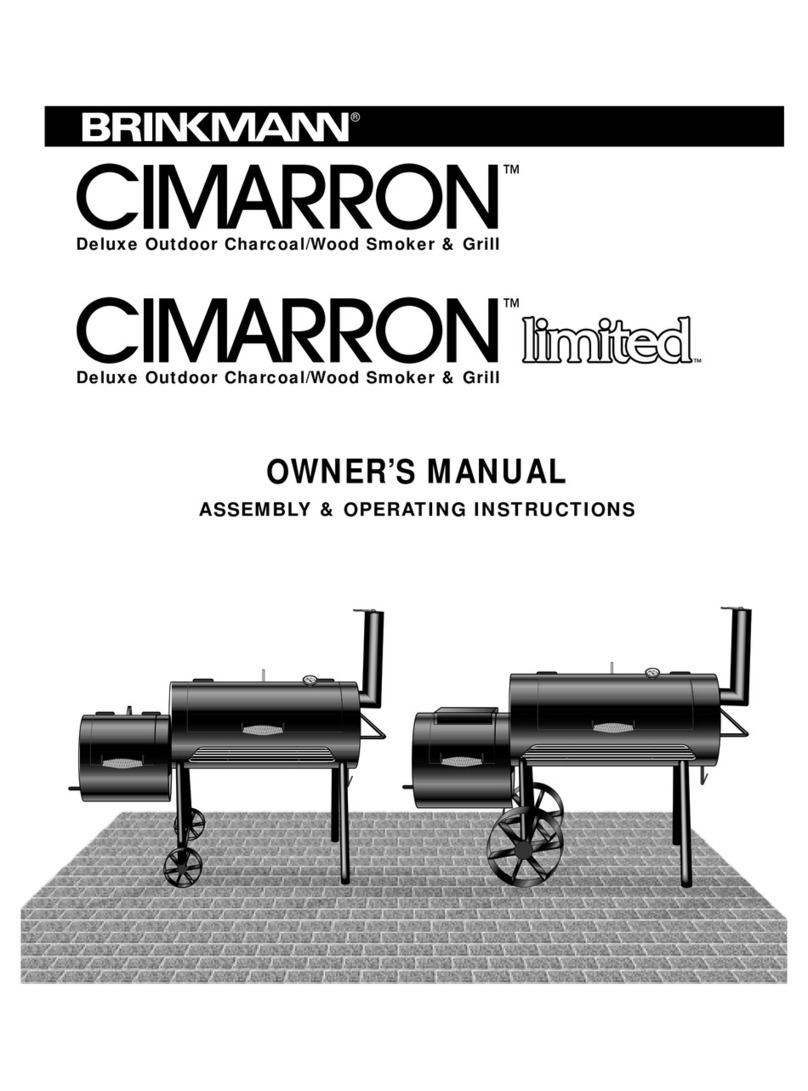
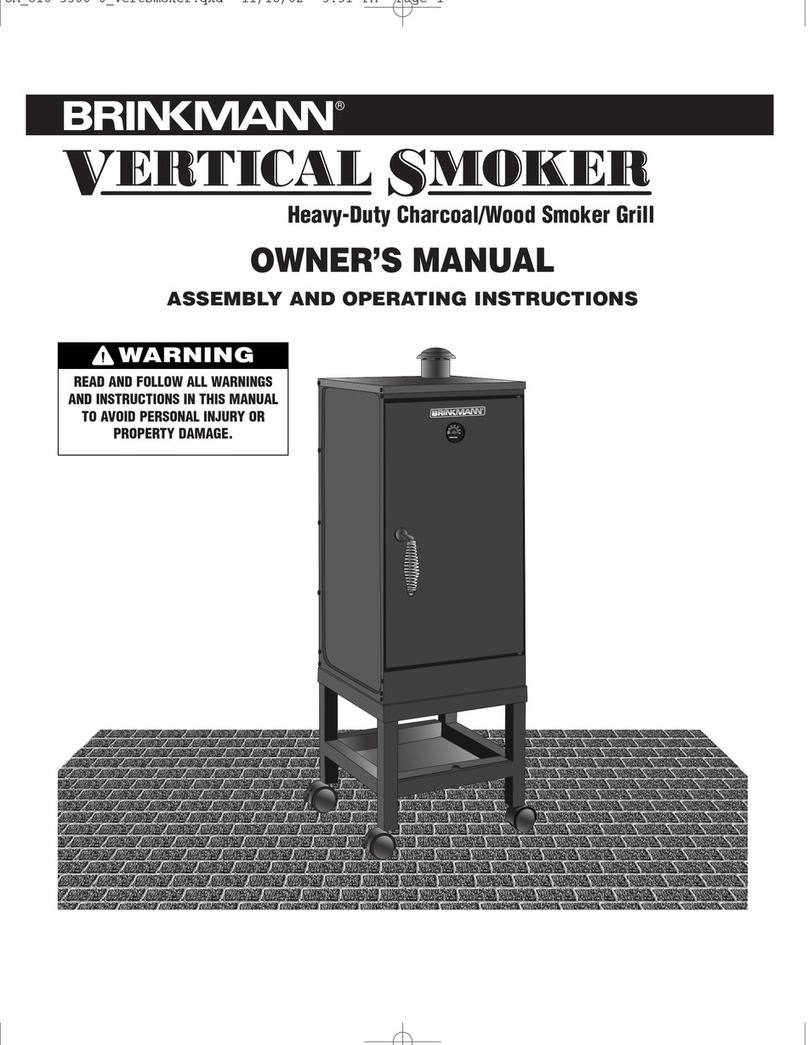
Brinkmann 810-3001-G User manual

HOT-CAUTION
PRECAUCION-CALIENTE
NOTICE TO INSTALLER:
LEAVE THESE INSTRUCTIONS
WITH THE GRILL OWNER FOR
FUTURE REFERENCE.
WARNING
READ AND FOLLOW ALL WARNINGS
AND INSTRUCTIONS IN THIS MANUAL
TO AVOID PERSONAL INJURY OR
PROPERTY DAMAGE.
OWNER’S MANUAL
ASSEMBLY AND OPERATING INSTRUCTIONS
SAVE THIS MANUAL FOR FUTURE REFERENCE
BARREL SMOKER

1
WARNING
• Onlyusethisgrillonahard,level,non-combustible,stablesurface(concrete,ground,etc.)capableofsupportingtheweightofthe
grill.Neveruseonwoodenorothersurfacesthatcouldburn.
• DONOTusegrillwithoutcharcoaltrayinplace.DONOTattempttoremovecharcoaltraywhiletraycontainshotcoal.
• Properclearanceof10feetbetweenthegrillandcombustiblematerial(bushes,trees,woodendecks,fences,buildings,etc.)or
constructionshouldbemaintainedatalltimeswhengrillisinuse.Donotplacegrillunderaroofoverhangorotherenclosedarea.
• Foroutdooruseonly.Donotoperategrillindoorsorinanenclosedarea.
• Forhouseholduseonly.Donotusethisgrillforotherthanitsintendedpurpose.
• WerecommendtheuseofaCharcoalChimneyStartertoavoidthedangersassociatedwithcharcoallightingfluid.Ifyouchoose
tousecharcoallightingfluid,onlyuselightingfluidapprovedforlightingcharcoal.Carefullyreadmanufacturer’swarningsand
instructionsonthecharcoallightingfluidandcharcoalpriortotheuseoftheirproduct.Storecharcoallightingfluidsafelyaway
fromgrill.
• Whenusingcharcoallightingfluid,allowcharcoaltoburnwithgrilllidanddoorsopenuntilcoveredwithalightash
(approximately20minutes).Thiswillallowcharcoallightingfluidtoburnoff.Failuretodothiscouldtrapfumesfromcharcoal
lightingfluidingrillandmayresultinaflashfireorexplosionwhenlidisopened.
• Neverusecharcoalthathasbeenpre-treatedwithlighterfluid.Useonlyahighgradeplaincharcoalorcharcoal/woodmixture.
• Donotusegasoline,keroseneoralcoholforlightingcharcoal.Useofanyoftheseorsimilarproductscouldcauseanexplosion
possiblyleadingtoseverebodilyinjury.
• Neveraddcharcoallightingfluidtohotorevenwarmcoalsasflashbackmayoccurcausingsevereburns.
• Placegrillinanareawherechildrenandpetscannotcomeintocontactwithunit.Closesupervisionisnecessarywhengrill
isinuse.
• Donotleavegrillunattendedwheninuse.
• Whenaddingcharcoaland/orwood,useextremecautionandfollowinstructionsin“AddingCharcoal/WoodDuringCooking”
sectionofthismanual.
• Donotstoreorusegrillneargasolineorotherflammableliquids,gasesorwhereflammablevaporsmaybepresent.
• Donotstorelighterfluidorotherflammableliquidsormaterialunderthegrill.
• Usecautionwhenadjustingcharcoalgrateheight.Handlemaybehotwheninuse.
• Neverraiseorlowercharcoalgratewhenwatersmokingashotwatermaysplashontocoalscreatingaburstofhotsteamand
coals.
Grillishotwheninuse.Toavoidburns:
• DONOTattempttomovethegrill.
• Bracegrillsotheunitdoesnotaccidentallymove.
• Wearprotectiveglovesorovenmitts.
• DONOTtouchanyhotgrillsurfaces.
• DONOTwearlooseclothingorallowhairtocomeincontactwithgrill.
IMPORTANT SAFETY WARNINGS
WE WANT YOU TO ASSEMBLE AND USE YOUR GRILL AS SAFELY AS POSSIBLE.
THE PURPOSE OF THIS SAFETY ALERT SYMBOL
IS TO ATTRACT YOUR ATTENTION TO POSSIBLE HAZARDS AS YOU ASSEMBLE AND USE YOUR GRILL.
WHEN YOU SEE THE SAFETY ALERT SYMBOL, PAY CLOSE ATTENTION TO THE INFORMATION WHICH FOLLOWS!
READ ALL SAFETY WARNINGS AND INSTRUCTIONS CAREFULLY
BEFORE ASSEMBLING AND OPERATING YOUR GRILL.
2
WARNING
• Whengrilling,greasefrommeatmaydripintothecharcoalandcauseagreasefire.Ifthisshouldhappencloselidtosuffocate
theflame.Donotusewatertoextinguishgreasefires.
• Usecautionsinceflamescanflare-upwhenfreshairsuddenlycomesincontactwithfire.Whenopeningthelid,keephands,face
andbodyasafedistancefromhotsteamandflameflare-ups.
• Donotexceedatemperatureof400°F.Donotallowcharcoaland/orwoodtorestonthewallsofgrill.Doingsowillgreatly
reducethelifeofthemetalandfinishofyourgrill.
• Usecautionwhenassemblingandoperatingyourgrilltoavoidscrapesorcutsfromsharpedgesofmetalparts.Usecaution
whenreachingintoorundergrill.
• Whenopeninglid,makesureitispushedallthewayopen.Iflidisnotfullyopen,itcouldfallbacktoaclosedpositionandcause
bodilyinjury.
• Inwindyweather,placegrillinanoutdoorareathatisprotectedfromthewind.
• Closelid,doorsandsmokestacktosuffocateflame.
• Neverleavecoalsandashesingrillunattended.Beforegrillcanbeleftunattended,remainingcoalsandashesmustberemoved
fromgrill.Usecautiontoprotectyourselfandproperty.Carefullyplaceremainingcoalsandashesinanon-combustiblemetal
containerandsaturatecompletelywithwater.Allowcoalsandwatertoremaininmetalcontainer24hourspriortodisposing.
• Extinguishedcoalsandashesshouldbeplacedasafedistancefromallstructuresandcombustiblematerials.
• Withagardenhose,completelywetthesurfacebeneathandaroundgrilltoextinguishanyashes,coalsoremberswhichmay
havefallenduringthecookingorcleaningprocess.
• Aftereachuse,cleanthegrillthoroughlyandapplyalightcoatofvegetableoiltointeriortopreventrusting.Coverthegrillto
protectitfromexcessiverusting.
• Usecautionwhenliftingormovinggrilltopreventstrainsandbackinjuries.
• Weadvisethatafireextinguisherbeonhand.Refertoyourlocalauthoritytodeterminepropersizeandtypeoffireextinguisher.
• AccessoryattachmentsnotmanufacturedbyTheBrinkmannCorporationforthisparticularproductarenotrecommendedand
mayleadtopersonalinjuryorpropertydamage.
• Storethegrilloutofreachofchildrenandinadrylocationwhennotinuse.
• Donotattempttoservicegrillotherthannormalmaintenanceasexplainedin“After-UseSafety”and“ProperCare&
Maintenance”sectionsofthismanual.
• Properlydisposeofallpackagingmaterial.
USE CAUTION AND COMMON SENSE WHEN OPERATING YOUR GRILL.
FAILURE TO ADHERE TO SAFETY WARNING AND GUIDELINES IN THIS MANUAL COULD RESULT
IN BODILY INJURY OR PROPERTY DAMAGE.
SAVE THIS MANUAL FOR FUTURE REFERENCE.

FOR COVERS, ACCESSORIES AND OTHER PRODUCTS, PLEASE VISIT US ONLINE AT:
3
HOT-CAUTION
PRECAUCION- CALIENTE
PARTS LIST - Barrel:
1 Lid
1 Smokestack
1 Smokestack Bracket
1 Temperature Gauge
1 Lid Handle with Heat Shield
2 Cooking Grills
1 Warming Rack
1 Fire Box
2 Charcoal Grate Adjusters
1 Charcoal Grate
1 Ash Tray
1 Ash Tray Handle
1 Right Upper Leg
1 Left Upper Leg
2 Left Lower Legs
2 Right Lower Legs
1 Axle Rod
2 Wheels
2 Wheel Caps
1 Shelf
1 Ash Tray Handle Heat Shield
15
2
3
14
13
12
11
10
9
8
7
6
5
4
1
ASSEMBLY INSTRUCTIONS
READ ALL SAFETY WARNINGS & ASSEMBLY INSTRUCTIONS CAREFULLY
BEFORE ASSEMBLING OR OPERATING YOUR GRILL.
FOR MISSING PARTS, PLEASE CALL CUSTOMER SERVICE AT 800-527-0717.
Inspect contents of the box to ensure all parts are included and undamaged.
Werecommendtwopeopleworktogether
whenassemblingthisunit.
Thefollowingtoolsarerequiredtoassemble
thisBarrel:
• Pliers
• Phillips&FlatheadScrewdrivers
• AdjustableWrench 12
3
4
5
6
15 8
10
11 12
17
9
7
16
21
18
19
20
17
18
19
16
20
21
13
14

4
Parts Bag Contents
6 M6X12mmBolts
10 M6X40mmBolts
2 M6X25mmShoulderBolts
16 M6Nuts
4 CotterPins
1 #8Self-TappingScrew
5
4
3
2
1
6
1
2
3
5
4
6

5
Chooseagood,clearedassemblyareaandgeta
friendtohelpyouputyourgrilltogether.Lay
cardboarddowntoprotectgrillfinishand
assemblyarea.Turnthegrillonitssidetobegin
assembly.
Step 1
Attachupperlegstofireboxofgrillusingsix
M6X40mmboltsandsixM6nuts.
Step 2
Insertlowerlegsintoupperlegs,makingsure
theholesfortheshelffaceinward.Attach
bottomshelfbyinsertingshelfpinsintoleg
holesasshown.Attachothertwolowerlegs
ontoshelfpins,theninsertintoupperlegs.
Step 3
SecurefourlegsusingfourM6X40mmbolts
andM6nuts.

Step 4
Attachaxlerodthroughrightsidelegsas
illustrated.
Step 5
Attachwheelsandwheelcapstoaxlerodas
illustrated.
6

7
Step 6
Attachsmokestackbrackettolidusingtwo
M6X12mmboltsandtwoM6nuts.
Step 7
ToInstallthetemperaturegaugeinsert
intocenterholeongrilllid,thenturn
itclockwisetouprightposition.Attach
smokestacktosmokestackbracketusing
a#8self-tappingscrewasshown.
Step 8
Securehandlesupportstogrilllidbyusing
twoM6X12mmboltsandtwoM6nuts.
HOT- CAUTION
PRECAUCION- CALIENTE
HOT- CAUTION
PRECAUCION- CALIENTE

8
Step 9
Attachlidtofireboxusingtwo
M6X25mmshoulderboltsand
cotterpins.
Step 10
Hangthecharcoalgrateinthefireboxas
shown.
WARNING: Neverhangcharcoalgrate
fromcharcoalgrateadjuster
handles.
Step 11
Insertwarmingrackthroughholesin
grilllidandtheninsertthewarmingrack
legsthroughtheholesinthegrillbottom.
Secureusingtwocotterpins.
Caliente - Hot
Precaución - Caution
HOT - CAUTION
PRECAUCION - CALIENTE
Caliente - Hot
Precaución - Caution
HOT - CAUTION
PRECAUCION - CALIENTE
Caliente - Hot
Precaución - Caution
HOT - CAUTION
PRECAUCION - CALIENTE
Caliente - Hot
Precaución - Caution
Caliente - Hot
Precaución - Caution
Charcoal Grate Adjuster Handles

9
HOT-CAUTION
PRECAUCION-CALIENTE
HOT-CAUTION
PRECAUCION-CALIENTE
Step 12
Placetwocookinggrillsintothefirebox.
Step 13
Attachtheashtrayhandleandtheash
trayhandleheatshieldwithtwo
M6X12mmboltsandtwoM6nuts.
Step 14
Inserttheashtrayintothebracketsas
illustrated.

10
HOT-CAUTION
PRECAUCION-CALIENTE
Barrel Smoker
(Assembled)

11
PREPARATION FOR USE
& LIGHTING INSTRUCTIONS
PLACE THE GRILL OUTDOORS ON A HARD, LEVEL, NON-COMBUSTIBLE SURFACE
AWAY FROM ROOF OVERHANG OR ANY COMBUSTIBLE MATERIAL. NEVER USE ON WOODEN OR OTHER SURFACES THAT COULD BURN.
PLACE THE GRILL AWAY FROM OPEN WINDOWS OR DOORS TO PREVENT SMOKE FROM ENTERING YOUR HOUSE. IN WINDY WEATHER,
PLACE THE GRILL IN AN OUTDOOR AREA THAT IS PROTECTED FROM THE WIND.
READ ALL SAFETY WARNINGS AND INSTRUCTIONS CAREFULLY BEFORE OPERATING YOUR GRILL.
Prior to your first use of the Brinkmann Barrel, follow the instructions below
carefully to cure your grill. Curing your grill will minimize damage to the
exterior finish as well as rid the grill of paint odor that can impart unnatural
flavors to the first meal prepared on your Brinkmann Barrel.
IMPORTANT: To protect your grill from excessive rust, the unit must
be properly cured and covered at all times when not in
use. A cover for your Barrel may be ordered directly from
Brinkmann by calling 800-468-5252.
Step 1
Lightly coat all interior surfaces of the Barrel including cooking grills
with vegetable oil or vegetable oil spray. Do not coat charcoal grate or
charcoal tray.
Step 2
Ash tray must be in place at all times.
Step 3
Follow the instructions below carefully to build a fire. You may use
charcoal and/or wood as fuel in the Barrel (see “Adding Charcoal/Wood
During Cooking” section of this manual).
WARNING: Never use charcoal that has been pre-treated with lighter
fluid. Use only a high grade plain charcoal or charcoal/wood
mixture.
If using a Charcoal Chimney Starter, follow all manufacturer’s warnings and
instructions regarding the use of their product. Start with 2 - 2 2 pounds
of charcoal. This should be enough charcoal to cook with, once the curing
process has been completed. When charcoal is burning strong, carefully place
hot coals in center of charcoal grate.
WARNING: DO NOT use grill without charcoal ash tray in place.
DO NOT attempt to remove charcoal ash tray while tray
contains hot coals.
NOTE: To extend the life of your grill, make sure that hot coals and wood
do not touch the walls of grill.
IF USING CHARCOAL CHIMNEY STARTER, PROCEED TO STEP 6
Curing Your Grill

Start with 2 - 2 2 pounds of charcoal. This should be enough charcoal to cook
with once the curing process has been completed. Open the smokestack
damper halfway. When charcoal is burning strong, carefully place the hot
coals in center of charcoal grate.
Step 4
Saturate charcoal with lighting fluid. With lid open wait 2 to 3 minutes
to allow lighting fluid to soak into charcoal. Store charcoal lighting fluid
safely away from the grill.
Step 5
Open the smokestack damper half way. With grill lid open, stand back
and carefully light charcoal and allow to burn until covered with a light
ash (approximately 20 minutes). Charcoal lighting fluid must be allowed
to completely burn off prior to closing grill lid.
WARNING: Charcoal lighting fluid must be allowed to completely burn
off prior to closing grill lid (approximately 20 minutes).
Failure to do this could trap fumes from charcoal lighting
fluid in grill and may result in a flash-fire or explosion when
lid is opened.
Step 6
With coals burning strong, close the lid. Allow the temperature to reach
250°F on heat indicator. Maintain this temperature for 2 hours.
Step 7
Increase the temperature to approximately to 400°F. This can be
achieved by opening the smokestack damper and adding more charcoal
and/or wood (see “Adding Charcoal/Wood During Cooking” section of
this manual). Maintain this temperature for 1 hour then allow unit to
cool completely.
NOTE: Never exceed a temperature of 400°F in cooking chamber. It is
important that the exterior of the smoker is not scraped or rubbed
during the curing process.
IMPORTANT: To protect your smoker from excessive rust, the unit
must be cured periodically and covered at all times when
not in use. A smoker cover can be ordered directly from
Brinkmann by calling 800-468-5252.
YOUR BRINKMANN BARREL IS NOW CURED AND READY FOR USE.
12

13
Step 1
Place cooking grills in cooking chamber, then follow instructions below
carefully to build a fire. You may use charcoal and/or wood as fuel in
the Barrel (see “Adding Charcoal/Wood During Cooking” section of this
manual).
WARNING: Never use charcoal that has been pre-treated with lighter fluid.
Use only a high grade plain charcoal or charcoal/wood mixture.
If using a Charcoal Chimney Starter, follow all manufacturer’s warnings and
instructions regarding the use of their product. Carefully place 2 - 2.5 pounds
of hot coals on charcoal grate.
NOTE: To extend the life of your grill, make sure that hot coals and wood
do not touch the walls of grill.
IF USING CHARCOAL CHIMNEY STARTER, PROCEED TO STEP 5
If you choose to use charcoal lighting fluid, ONLY use charcoal lighting fluid
approved for lighting charcoal. Do not use gasoline, kerosene, alcohol or other
flammable material for lighting charcoal. Follow all manufacturer’s warnings
and instructions regarding the use of their product. Place 2 - 2.5 pounds of
charcoal on charcoal grate.
Step 2
Ash tray must be in place at all times.
Step 3
Saturate charcoal with lighting fluid. With lid open wait 2 to 3 minutes
to allow lighting fluid to soak into charcoal. Store charcoal lighting fluid
safely away from the grill.
Step 4
Open the smokestack damper half way. With lid open, stand back and
carefully light charcoal and allow to burn until covered with a light ash
(approximately 20 minutes). Charcoal lighting fluid must be allowed to
completely burn off prior to closing lid.
WARNING: Failure to do this could trap fumes from charcoal lighting fluid in
grill and may result in a flash-fire or explosion when lid is opened.
Step 5
With coals burning well, carefully add wood chunks using long
cooking tongs (see “Flavoring Wood” and “Adding Charcoal/Wood
During Cooking” sections of this manual.)
Smoking
OPERATING INSTRUCTIONS
PLACE THE GRILL OUTDOORS ON A HARD, LEVEL, NON-COMBUSTIBLE SURFACE
AWAY FROM ROOF OVERHANG OR ANY COMBUSTIBLE MATERIAL. NEVER USE ON WOODEN OR OTHER SURFACES THAT COULD BURN.
PLACE THE GRILL AWAY FROM OPEN WINDOWS OR DOORS TO PREVENT SMOKE FROM ENTERING YOUR HOUSE. IN WINDY WEATHER,
PLACE THE GRILL IN AN OUTDOOR AREA THAT IS PROTECTED FROM THE WIND.
READ ALL SAFETY WARNINGS AND INSTRUCTIONS CAREFULLY BEFORE OPERATING YOUR GRILL.

14
Step 6
Place cooking grills on grill support lips. Use charcoal grate adjusters to
position charcoal grate to lowest level.
WARNING: Never hang charcoal grate from charcoal grate adjuster handles.
WARNING: Always wear oven mitts/gloves when adjusting cooking levels to
protect your hands from burns.
Step 7
Place food on cooking grills away from the coals and close lid.
Step 8
The ideal smoking temperature is between 175°F and 250°F. For large
cuts of meat, allow approximately one hour of cooking time per pound
of meat. Always use a meat thermometer to ensure food is fully
cooked before removing from grill.
Step 9
Allow grill to cool completely, then follow instructions in the “After-Use
Safety” and “Proper Care & Maintenance” sections of this manual.
During the smoking process, avoid the temptation to open lid to check food.
Opening the lid allows heat and smoke to escape, making additional cooking
time necessary.
Food closest to the coals will cook and brown faster. Rotate food midway
through the cooking cycle. If food is excessively browned or flavored with
smoke, wrap food in aluminum foil after the first few hours of smoking.
This will allow food to continue cooking without further browning or smoke
flavoring.
When cooking fish or extra lean cuts of meat, you may want to try water
smoking to keep the food moist. Before starting a fire, place charcoal grate
to lowest level. Use a flat bottom metal pan shallow enough to fit between
charcoal grate and cooking grills as a water pan. Set the metal pan on
charcoal grate under food and cooking grills. Fill with water or marinade until
3/4 full.
CAUTION: Always use oven mitts/gloves to protect your hands. Liquid in
water pan will be extremely hot and can scald or burn. Always
allow liquid to cool completely before handling. Do not allow
liquid to completely evaporate from water pan.
CAUTION: Charcoal grate must be set at lowest level. Never raise or lower
charcoal grate when water smoking as hot water may splash onto
coals creating a burst of hot steam and coals.
Smoke Cooking Tips
Charcoal Grate Adjuster Handles
WARNING:Neverhangcharcoal
gratefromcharcoal
grateadjusterhandles.

15
Step 1
Remove cooking grills from cooking chamber and set aside. Place charcoal
grate assembly to lowest level of cooking chamber.
Step 2
Ash tray must be in place at all times.
Step 3
Lightly coat all interior surfaces of the Barrel including cooking grills with
vegetable oil or vegetable oil spray. Do not coat charcoal grate or charcoal tray.
Step 4
Follow the instructions below carefully to build a fire. You may use charcoal
and/or wood as fuel in the Barrel (see “Adding Charcoal/Wood During
Cooking” section of this manual).
WARNING: Never use charcoal that has been pre-treated with lighter fluid.
Use only a high grade plain charcoal or charcoal/wood mixture.
If using a Charcoal Chimney Starter, follow all manufacturer’s warnings and
instructions regarding the use of their product. Start with 2 - 2.5 pounds of
charcoal. When charcoal is burning strong, carefully place hot coals in center
of charcoal grate.
WARNING: DO NOT use grill without charcoal ash tray in place. DO NOT
attempt to remove charcoal ash tray while tray contains hot coals.
NOTE: To extend the life of your grill, make sure that hot coals and wood do
not touch the walls of grill.
IF USING CHARCOAL CHIMNEY STARTER, PROCEED TO STEP 7
If you choose to use charcoal lighting fluid, ONLY use charcoal lighting fluid
approved for lighting charcoal. Do not use gasoline, kerosene, alcohol or other
flammable material for lighting charcoal. Follow all manufacturer’s warnings
and instructions regarding the use of their product. Start with 2 - 2.5 pounds
of charcoal. Place the charcoal in center of charcoal grate.
Step 5
Saturate charcoal with lighting fluid. With lid open wait 2 to 3 minutes to
allow lighting fluid to soak into charcoal. Store charcoal lighting fluid safely
away from the grill.
Step 6
Open the smokestack damper half way. Stand back and carefully light
charcoal. With cooking chamber lid open, allow charcoal to burn until
covered with a light ash (approximately 20 minutes). Charcoal lighting fluid
must be allowed to completely burn off prior to closing cooking chamber lid.
WARNING: Charcoal lighting fluid must be allowed to completely burn off
prior to closing grill lid (approximately 20 minutes). Failure to do
this could trap fumes from charcoal lighting fluid in grill and may
result in a flash-fire or explosion when lid is opened.
Grilling In Cooking Chamber

To increase heat and air circulation, fully open smokestack damper. If
increased air circulation does not raise temperature sufficiently, more wood
and/or charcoal may be needed. Follow instructions in “Adding Charcoal/Wood
During Cooking” section of this manual.
To maintain the temperature, more wood and/or charcoal may need to be
added during the cooking cycle.
NOTE: Dry wood burns hotter than charcoal, so you may want to increase
the ratio of wood to charcoal to increase the cooking temperature.
Hardwood such as oak, hickory, mesquite, fruit and nut wood are
an excellent fuel because of their burning rate. When using wood as
fuel, make sure the wood is seasoned and dry. DO NOT use resinous
wood such as pine as it will produce an unpleasant taste.
To obtain your favorite smoke flavor, experiment by using chunks, sticks
or chips of flavor producing wood such as hickory, pecan, apple, cherry, or
mesquite. Most fruit or nut tree wood may be used for smoke flavoring. Do
not use resinous wood such as pine as it will produce an unpleasant taste.
Wood chunks or sticks 3” to 4” long and 1” to 2” thick work best. Unless
the wood is still green, soak the wood in water for 30 minutes or wrap each
piece in foil and tear several small holes in the foil to produce more smoke
and prevent the wood from burning too quickly. A lot of wood is not required
to obtain a good smoke flavor. A recommended amount for the Barrel is 5 to
6 wood chunks or sticks. Experiment by using more wood for stronger smoke
flavor or less wood for milder smoke flavor.
Additional flavoring wood should not have to be added during the cooking
process. However, it may be necessary when cooking very large pieces of
food. Follow instructions and cautions in the “Adding Charcoal/Wood During
Cooking” section of this manual to avoid injury while adding wood.
16
Flavoring Wood
Step 7
Wearing oven mitts/gloves, place the cooking grills on support lips of
cooking chamber.
WARNING: Always wear oven mitts/gloves when adjusting cooking levels to
protect your hands from burns.
Step 8
Place food on cooking grills and close grill lid. Always use a meat
thermometer to ensure food is fully cooked before removing from
grill.
Step 9
Allow grill to cool completely, then follow instructions in the “After-Use
Safety” and “Proper Care & Maintenance” sections of this manual.
Regulating Heat

17
Additionalcharcoaland/orwoodmayberequiredtomaintainor
increasecookingtemperature.
Adding Charcoal/Wood in Cooking Chamber
Step 1
Standbackandcarefullyopencookingchamberlid.Usecaution
sinceflamescanflare-upwhenfreshairsuddenlycomesin
contactwithfire.
Step 2
Wearingovenmitts/gloves,removefoodandcookinggrills.
Step 3
Standbackasafedistanceanduselongcookingtongstolightly
brushasideashesonhotcoals.Usecookingtongstoadd
charcoaland/orwood,beingcarefulnottostir-upashesand
sparks.Ifnecessary,useyourCharcoalChimneyStartertolight
additionalcharcoaland/orwoodandaddtoexistingfire.
WARNING: Never add charcoal lighting fluid to hot or even warm coals as
flashback may occur causing severe burns.
Step 4
Whencharcoalisburningstrongagain,wearovenmitts/gloves
andcarefullyreplacecookinggrillandfood.
Step 5
Closethecookingchamberlidandallowfoodtocontinuecooking.
Adding Charcoal/Wood
During Cooking

18
• Alwaysallowsmokerandallcomponentstocoolcompletelybeforehandling.
• Neverleavecoalsandashesinsmokerunattended.Makesurecoalsandashesarecompletelyextinguishedbefore
removing.
• Beforegrillcanbeleftunattended,remainingcoalsandashesmustberemovedfromgrill.Usecautiontoprotectyourself
andproperty.Placeremainingcoalsandashesinanoncombustiblemetalcontainerandcompletelysaturatewithwater.
Allowcoalsandwatertoremaininmetalcontainer24hourspriortodisposing.
• Extinguishedcoalsandashesshouldbeplacedasafedistancefromallstructuresandcombustiblematerials.
• Withagardenhose,completelywetsurfacebeneathandaroundthegrilltoextinguishanyashes,coalsoremberswhich
mayhavefallenduringthecookingorcleaningprocess.
• Allowashtrayanditscontentstocoolcompletelybeforeremoving.Disposeofcontentsproperly.
• Coverandstoregrillinaprotectedareaawayfromchildrenandpets.
• Cureyourgrillperiodicallythroughouttheyeartoprotect
againstexcessiverust.
• Toprotectyourgrillfromexcessiverust,theunitmustbeproperly
curedandcoveredatalltimeswhennotinuse.ABarrelcovermaybe
ordereddirectlyfromBrinkmannbycalling800-468-5252.
• Washcookinggrillsandcharcoalgratewithhot,soapywater,
rinsewellanddry.Lightlycoatgrillsandgratewithvegetableoilor
vegetableoilspray.
• Cleaninsideandoutsideofgrillbywipingoffwithadampcloth.Apply
alightcoatofvegetableoilorvegetableoilspraytotheinteriorsurface
topreventrusting.
• Ifrustappearsontheexteriorsurfaceofyourgrill,cleanandbuffthe
affectedareawithsteelwoolorfinegritemerycloth.Touch-upwitha
goodqualityhigh-temperatureresistantpaint.
• Neverapplypainttotheinteriorsurface.Rustspotsontheinterior
surfacecanbebuffed,cleaned,thenlightlycoatedwithvegetableoilor
vegetableoilspraytominimizerusting.
AFTER-USE SAFETY
WARNING
Proper Care
& Maintenance

Table of contents
Languages:
Other Brinkmann Smoker manuals
Popular Smoker manuals by other brands

oklahoma joes
oklahoma joes WILD WEST TRADITION 10201600 Product guide

Mayer Barbecue
Mayer Barbecue RAUCHA MPS-300 PRO user guide

Barbeques Galore
Barbeques Galore BILLABONG OFFSET SMOKER instructions

Gasmate
Gasmate BQ2057 manual

Woodland
Woodland PK 50 Smoker 'N Roaster Instruction and recipe manual

Weber
Weber 18 inch owner's guide