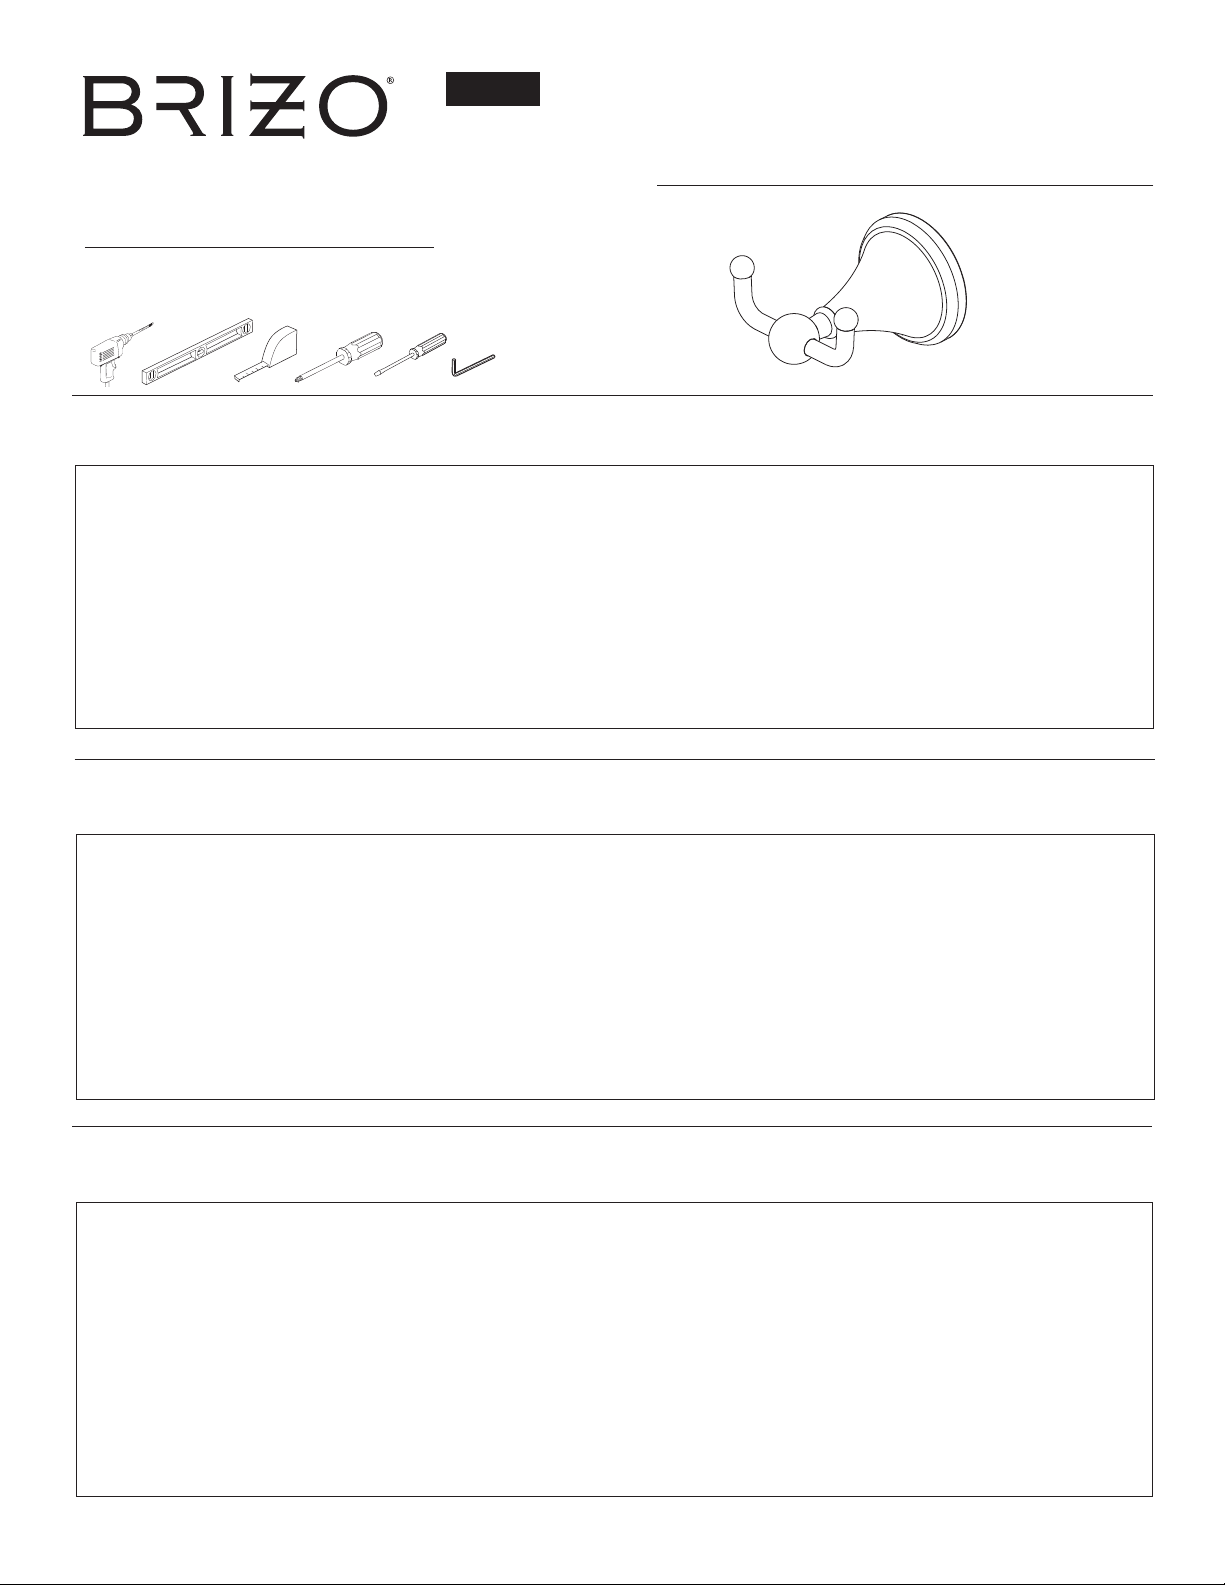
DOUBLE ROBE HOOK
GANCHO PARA EL ALBORNOZ
CROCHET À VÊTEMENTS
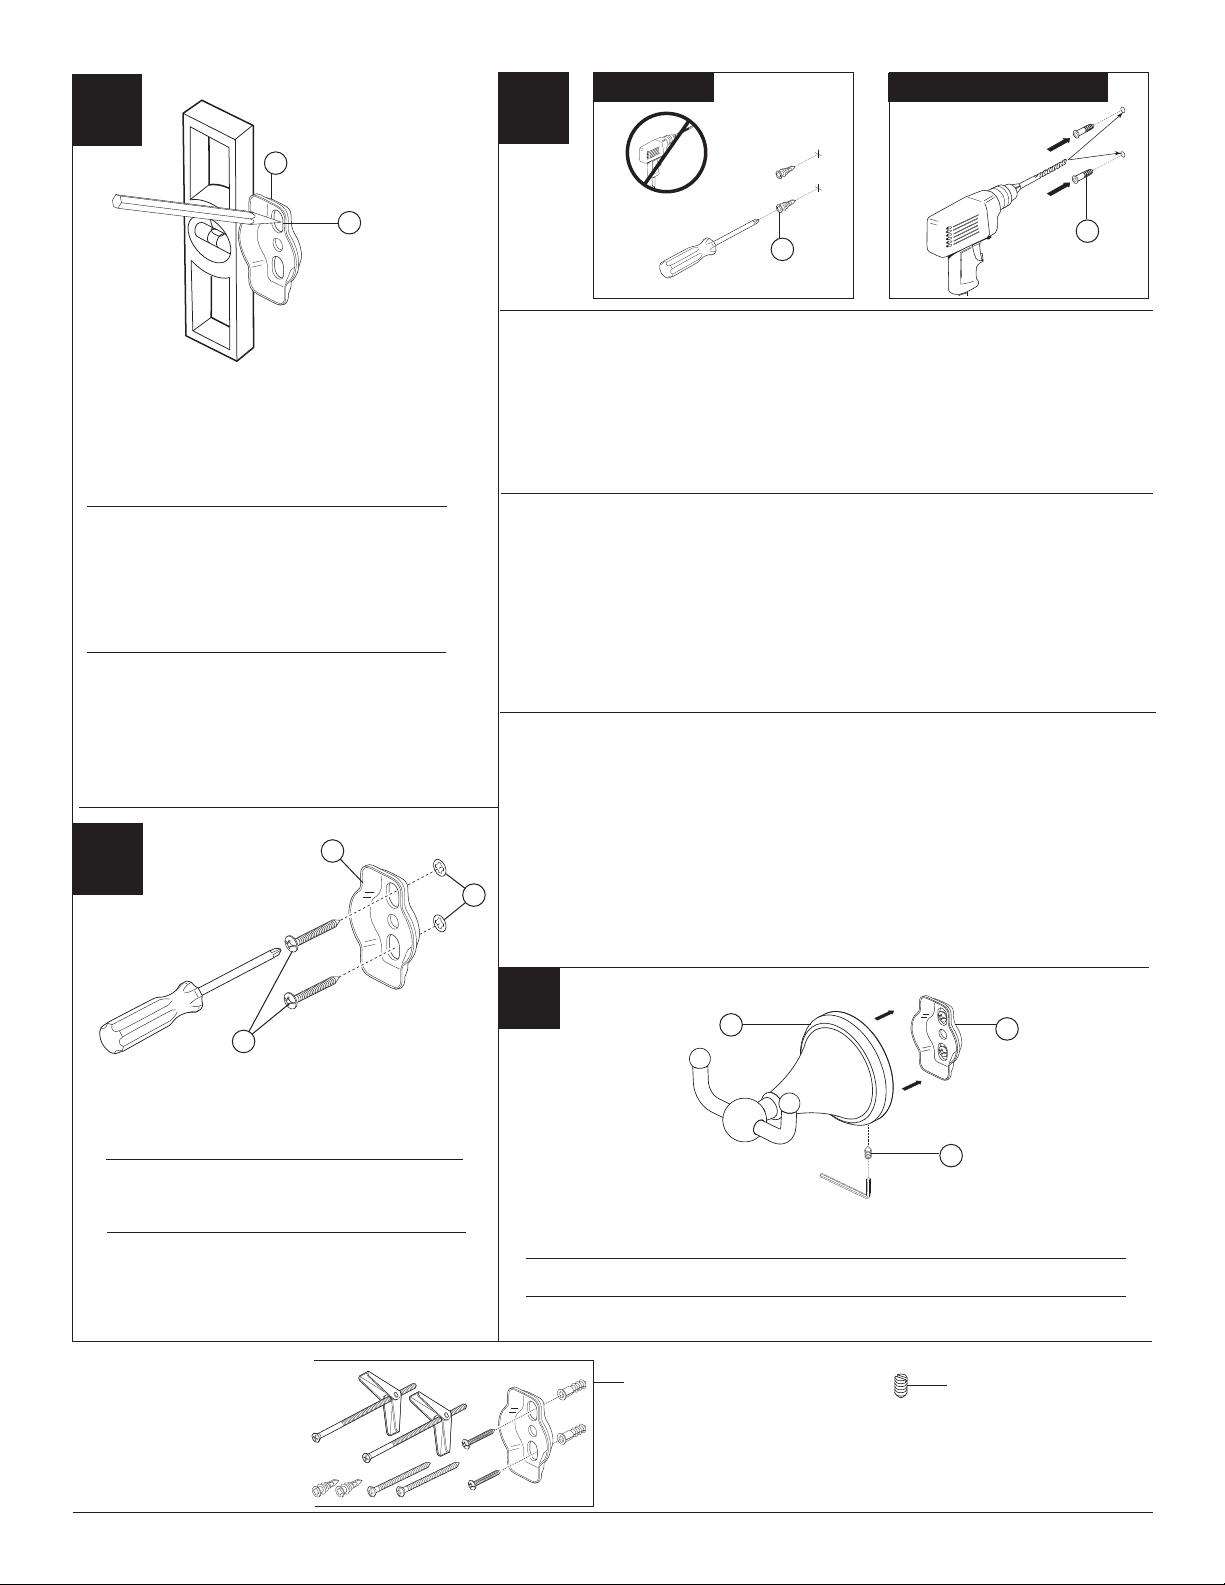
1
Model/Modelo/Modèle
69535V
Series/Series/Seria
1/24/14 Rev. Awww.brizo.com
You may need / Usted puede necesitar / Articles dont vous
pouvez avoir besoin:
VSpecify Finish / Especifíque el Acabado / Précisez le Fini
85607
© 2014, Division de Masco Indiana
Toutes les pièces et tous les finis des accessoires de salle de bain Brizo®sont protégés par une
Pendant la période de garantie, Delta remplacera GRATUITEMENT toute pièce ou tout fini,
présentant une défectuosité de matériau ou un vice de fabrication pour autant que l'appareil
ait été installé, utilisé et entretenu correctement. Pour obtenir des pièces de rechange, veuillez
communiquer par téléphone au numéro 1-877-345-BRIZO (2749)
Aux États-Unis et au Mexique : An Canada:
55 E. 111th Street 350 South Edgeware Road
1-877-345-BRIZO (2749) 1-877-345-BRIZO (2749)
Brizo®
fabriqués après le 1er janvier 1995.
l'égard des dommages indirects ou fortuits, les exclusions et les limites susmentionnées ne
que des pièces de rechange Delta®
Brizo®installés aux
GARANTIE À VIE LIMITÉE SUR LES ACCESSOIRES DE SALLE DE BAIN ET LEUR FINI
All parts and finishes of the Brizo®bath accessories are warranted to the original consumer pur-
chaser to be free from defects in material & workmanship for as long as the original consumer
purchaser owns their home.
Delta
defective in material and/or workmanship under normal installation, use and service. Replacement
In the United States: In Canada:
55 E. 111th Street 350 South Edgeware Road
1-877-345-BRIZO (2749) 1-877-345-BRIZO (2749)
This warranty is extensive in that it covers replacement of all defective parts and even finish,
from the original consumer purchaser must be made available to Delta for all warranty claims.
This warranty excludes all industrial, commercial & business usage, whose purchasers are
hereby extended a five year limited warranty from the date of purchase, with all other terms of
this warranty applying except the duration of the warranty. This warranty is applicable to
Brizo®bath accessories manufactured after January 1, 1995.
Some states/provinces do not allow the exclusion or limitation of incidental or consequential
damages, so the above limitation or exclusion may not apply to you. Any damage to this
bath accessory as a result of misuse, abuse, or neglect, or any use of other than genuine Delta®
This warranty gives you specific legal rights, and you may also have other rights which vary from
state/province to state/province. It applies only for Brizo®bath accessories installed in the United
LIFETIME BATH ACCESSORIES AND FINISH LIMITED WARRANTY
GARANTÍA LIMITADA DE POR VIDA DE LOS ACCESORIOS DE BAÑO Y SU ACABADO
Todas las piezas y acabados de los accesorios de baño de Brizo®están garantizados al comprador
el comprador consumidor original sea propietario de su casa.
Delta
servicio. Piezas de repuesto pueden ser obtenidas llamando al 1-877-345-BRIZO (2749) (en los
En los Estados Unidos En Canada:
55 E. 111th Street 350 South Edgeware Road
1-877-345-BRIZO (2749) 1-877-345-BRIZO (2749)
Esta garantía es extensiva en lo que cubre el reemplazamiento de todas las piezas defectuosas
y hasta el acabado, pero éstas son las únicas dos cosas que están cubiertas.
original debe de ser disponible a Delta
Esta garantía excluye todo uso industrial, comercial y de negocio, cuyos compradores se les
da una garantía limitada extendida de cinco años desde la fecha de compra, con todos los otros
accesorios de baño de Brizo®fabricados después del 1ro de enero de 1995.
-
quier uso de piezas de repuesto que no sean las genuinas de Delta®
Esta garantía le da derechos legales específicos, y usted puede, también tener otros derechos
Brizo®
CLEANING AND CARE
simply wipe gently with a damp cloth and blot dry with a soft towel.
LIMPIEZA Y CUIDADO DE SU LLAVE
Tenga cuidado al ir a limpiar este producto. Aunque su acabado es sumamente durable, puede ser afectado por agentes de limpieza o para pulir
INSTRUCTIONS DE NETTOYAGE
Il faut le nettoyer avec soin. Même si son fini est extrêmement durable, il peut être abîmé par des produits fortement abrasifs ou des produits de