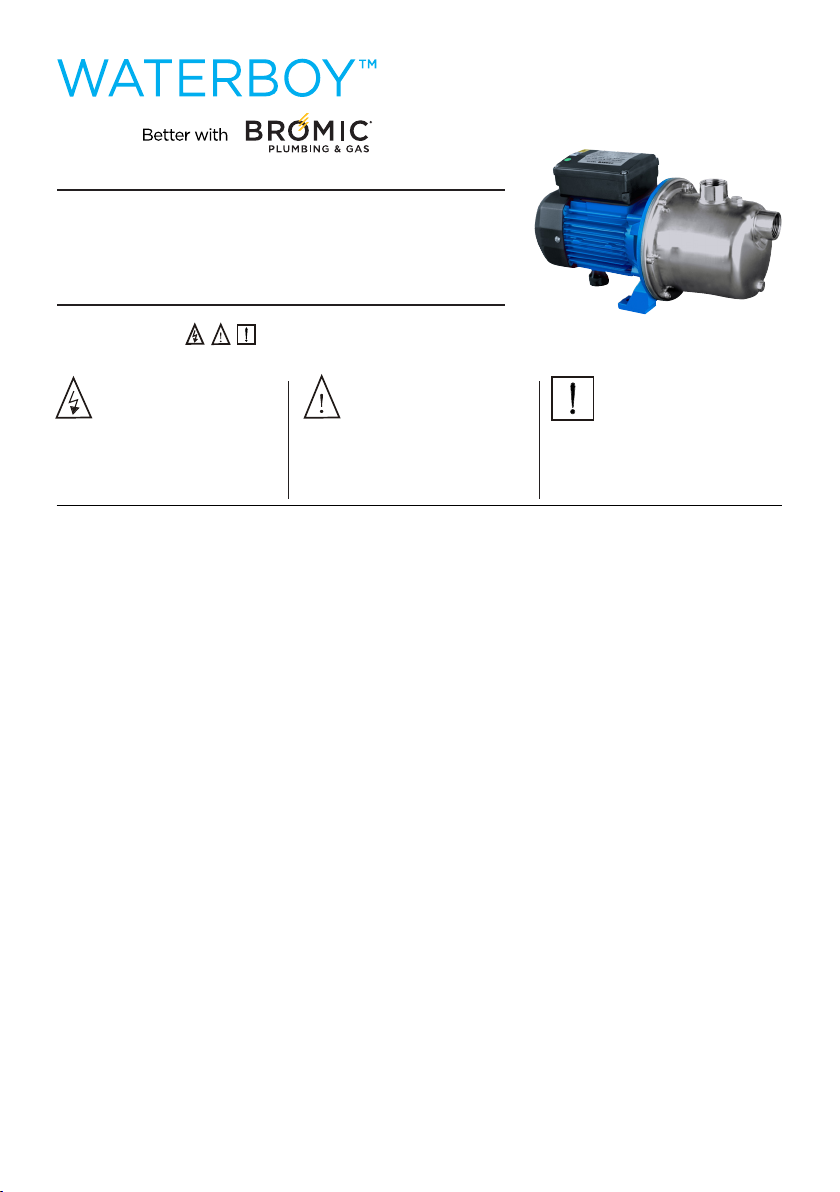
4. ELECTRICAL CONNECTION OVERALL DIMENSION
Electrical installation must only be completed by an authorised and trained technician in
line with Australian safety regulations. The electric installation should be provided by a
system of multiple separations with contact openings of at least 3 mm. The protection
of the system will be made by a dierential switch (1fn=30mA.) The electric cable must
correspond with Australian standards and be sucient for the load generated. The single
phase motors have a built-in thermal protection. Look at the schematic drawing on Fig(1)
for a correct electrical connection. KEEP AWAY FROM CHILDREN.
5. CONTROLS PRIOR TO THE INITIAL STARTING
Check that the voltage and frequency of the electric supply correspond to that indicated
on the technical characteristics label. Make sure that the shaft rotates freely. Fill pump
body with water, unscrewing slightly the priming plug. Verify the motor sense of rotating as
indicated on the fan cover. THIS PUMP SHOULD NEVER BE DRY OPERATED.
6. STARTING
Open all gate valves installed in the suction ( LINE ), connect to the electric supply switch,
wait for the priming to be completed. If a foot valve has been installed, the priming will be
instantaneous. If the motor fails to start, or does not deliver water. Refer to our trouble-
shooting guide with the possible problems and subsequent actions to take.
7. MAINTENANCE
Bromic electro pumps do not require special maintenance. The pump body must be
drained during periods of low temperatures (temperatures below 1°C) or long period of
inactivity. If the pump is inactive for over 60 days, the pump should be cleaned and stored
in a dry and ventilated place.
PERFORMANCE CURVE
2AU 1300 276 642 NZ 0508 276 642 | W BROMICPLUMBING.COM | E PLUMBING@BROMIC.COM
MM
L N
Line in Line in
Fig1
Black
Blue
Brown
Z1
Z2
U2U1
U
VW
SYSTEMPROBLEM POSSIBLEPROBLEM SOLUTIONS
The moto r does start.
Motorstartsand
stops continuously.
Disconnectit andtakeit
to the Official
TechnicalService.
Flow is insufficient Foot valve clogged Cleanit orreplaceby newone
Thereis nosuction.
Flow is insufficient
Totalmanometrichead
higherthanexpected.
Verify geometricheadandloss
of head.
The motordoesnot start.
Motorover-heating.
Motorstartsandstops
continuously.
Wrongtension.
Checkthatthetensionis the
same as thaton the technical
characteristicslabel.
Thereis nosuction.
Motorrunsbutit gives
no pression.
Flow is insufficient.
Waterlevel in well or
tankhas comedown. Verify suctionhead.
The motordoesnot start. Fuse or thermalrelar
disconnected. Changefuse orthermalrelar.
Motorrunsbutit gives
no pressure.
Flow is insufficient.
Impellersarewornout. Disconnectpumpandtakeit to
yourService Dealer.
Pumpblocked.
Thereis nosuction.
Motorrunsbutit gives
no pressure.
Foot valve not
submerged. Be suresuctionpipe is submerged.
Possible faults causes and solutions
Overall dimension
4.Electrical connection
The electric installation should be provided by a system of multiple separations with contact openings of at
least 3 mm.
The protection of the system will be made by a differential switch (1fn=30mA.) The electric cable must
correspond to the EEC(2) norm or to the type H07 RN-F according to VDE 0250.
The single phase motors have a built-in thermal protection.
Look at the schematic drawing on Fig(1) for a correct electrical connection.
5.Controls prior to the initial starting
Check that the tension and frequency of the electric supply correspond to that indicated on the technical
characteristics label.
Make sure that the shaft rotates freely.
Fill pump body with water, unscrewing slightly the priming plug.
Verify the motor sense of rotating as indicated on the fan cover.
THIS PUMP SHOULD NEVER BE DRYOPERATED.
6.Starting
Open all gate valves installed in the suction and connect the electric supply switch and wait for the priming
to be completed. If a foot valve has been installed. the priming will be instantaneous.
If motor fails to start or does not deliver water.
Refer to our trouble Shooting list with the possible problems and consequent actions to take. This
information will be found on the next pages.
7.Maintenance
Our electro pumps do not need any special maintenance.
Pump body should be drained during periods of low temperatures or long period of inactivity. If this inactivity
last longer, pump should be cleaned and kept in a dry and aired place.
3
m/h
l/min
150
125
100
75
50
25
H
(ft)
IMP.GPM
U.S.GPM
BJZ900-B
48
010203040506070 80
00.6 1.21.8 2.43.0 3.64.2 4.8
H
(psi)
H
(m)
BJZ075-B
0
8
40
32
24
16
0
10
20
30
40
50
60
BJZ100-B
Flow
BJZ037-B
0246810 12 14 16
02468101214161820
Head
100 170 197 128
90
358 177 178 88
G1 G1
98 184 155 148 80 357 200 202 98
9.5
10.5
11
ABDEFLHH1 H2 (Kg)
SIZE(mm)
7.5
BJZ075-B
BJZ100-B
BJZ900-B
BJZ037-B
B
A9
L
D
H
H2
H1
E
DNA
DNMF
Model
DNA DNM
10 20 30 40 50 60 70 80 90 100
60
50
40
30
20
10
0
Head (m)
Flow (l/min)
80L 60L 40L
10 20 30 40 50 60 70 80
60
50
40
30
20
10
0
Head (m)
Flow (l/min)
60L 40L
0 10 20 30 40 50 60 70 80 90 100
40
30
20
10
0
Head (m)
Flow (l/min)
SUBMERSIBLE
80L