CLEAN CHANNEL
The clean channel, RHYTHM, has a great touch response, an incredible dynamic, with a very versatile sound.
The tone controls are very efficient and selective in their own work frequencies.
With the control you can get different tones possibility:
only EL34 for a sound thick and wrapping.
only 6L6 to obtain a bright and definite clean.
Setting on EL34+6L6 the sound becomes compact and compressed, and pass from 50 to 75 W, combining
together both tube characteristics.
Controls PRE Preamp volume
BASS / MID / TREBLE Tone controls
BRIGHT Brilliant control
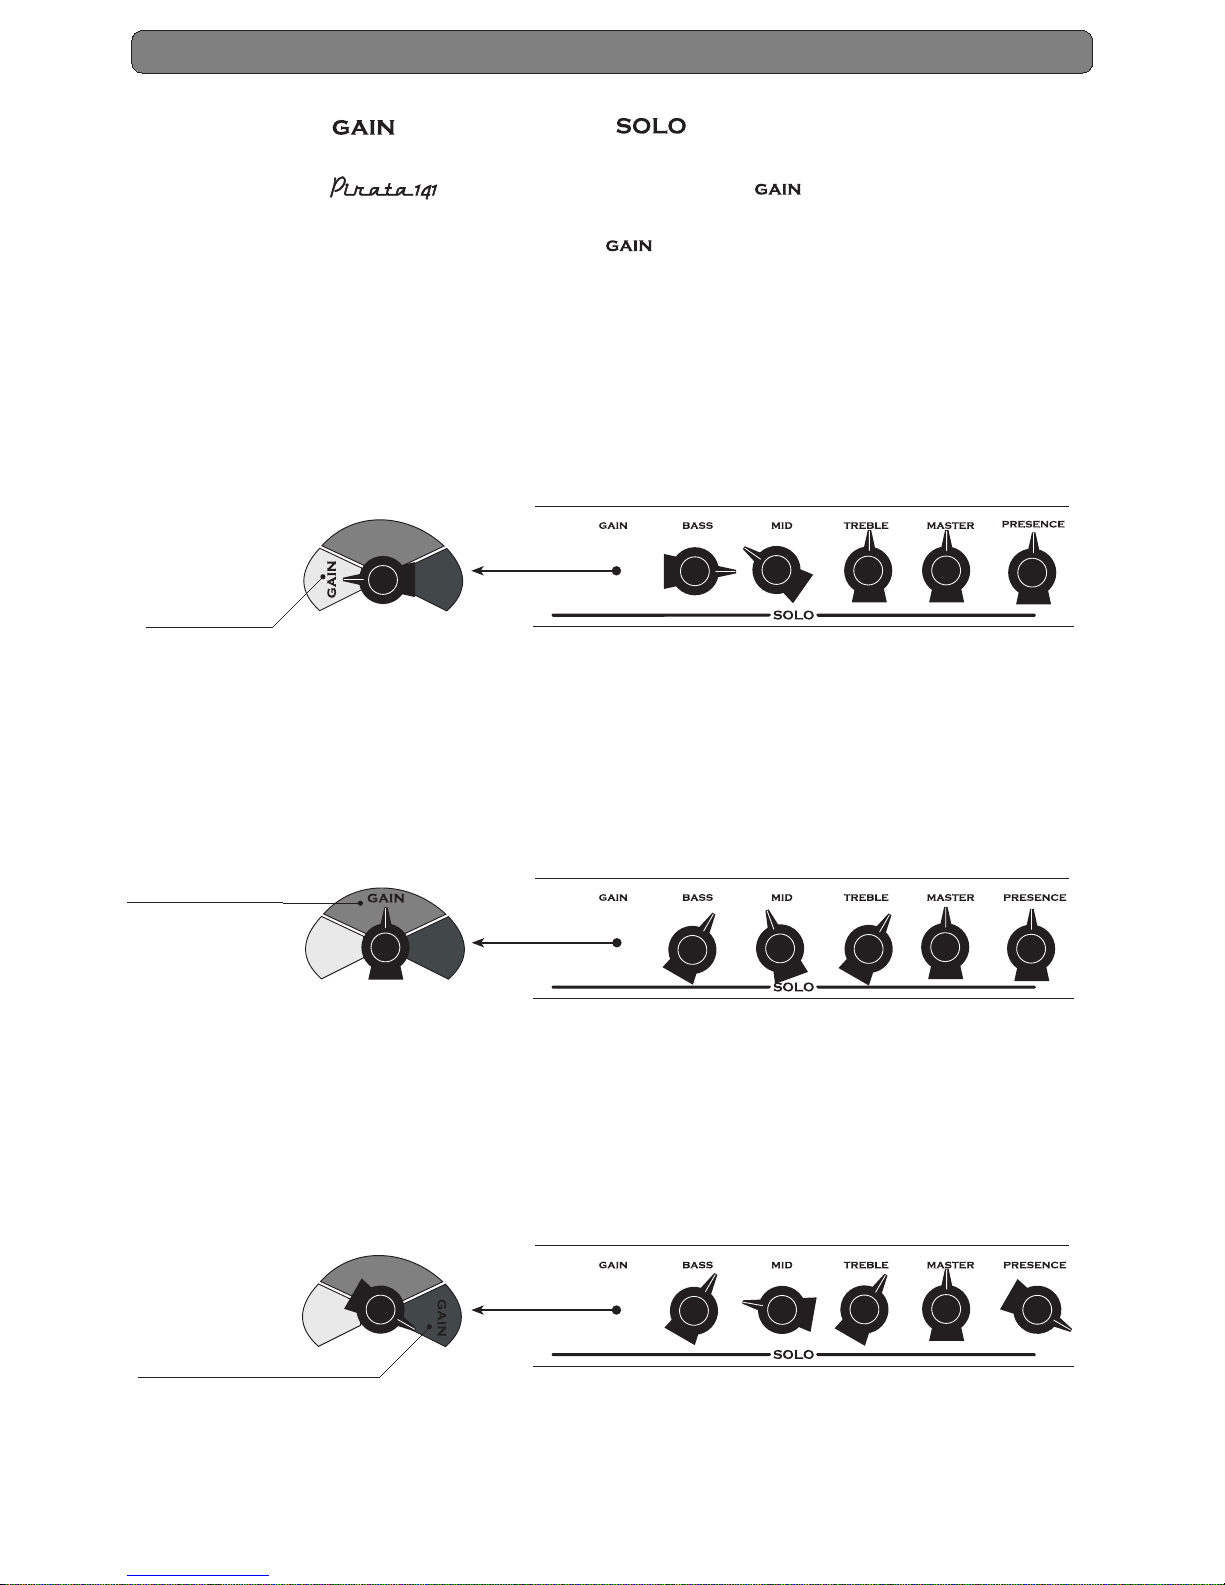
DISTORTION CHANNEL
is an Hi Gain channel with a great dynamic.
The Gain level may be set from a good crunch to a distortion level, with an impact similar to a crash wave.
If your guitar is fitted with an humbucker pickup on bridge or neck, the result on the channel will be
optimum.
But anyway you 'll discover that also a single coil pickup can play how you have never imaged!
With the control you can achieve all the timbre benefits of the two kinds of tubes.
EL34 to obtain a round and compact sound, recommended with neck pickup too .
6L6 to obtain a sharp but not ''fuzzy'' sound, recommended with bridge pickup.
Using the control set on EL34+6L6, will come out all the head's character, with a punch without
comparison!
You can get an incisive and powerful sound in any codition:
open chords with 6 ot 7 strings; from open tunes to one or two tones detuned; from palm muting till your
favourite solo. You will be satisfy to have chosen the guitar as your instrument.
Controls GAIN Gain control
BASS / MID / TREBLE Tone controls
VOLUME Volume control
PRESENCE Presence control
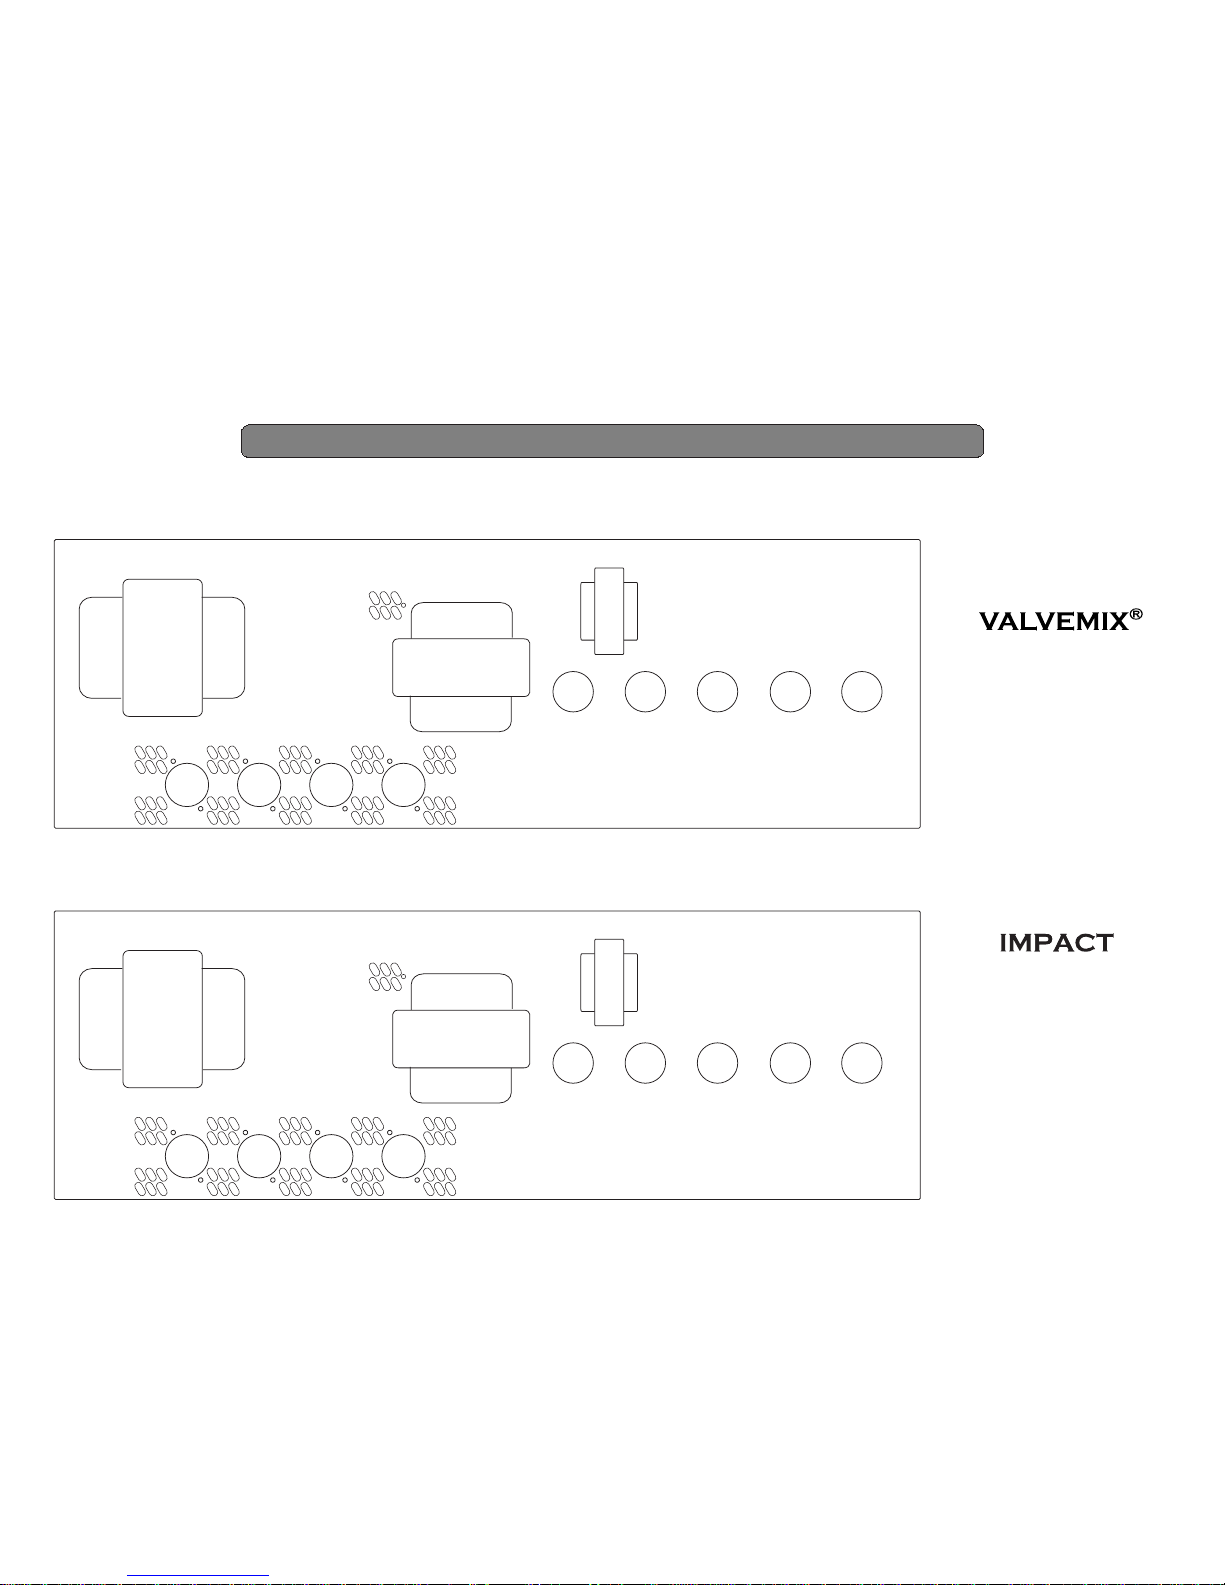
On version with 4x 6L6, instead of Valvemix there's
the control. It allows you to obtain a
smooth sound (SMOOTH) or a sharp sound (SHARP).
Rotating through all the different shades of these two
tones .
FRONT PANEL
7