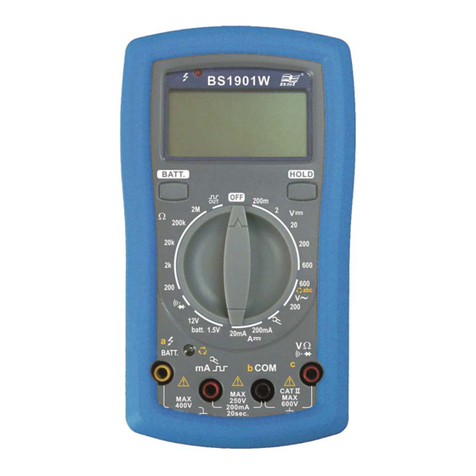
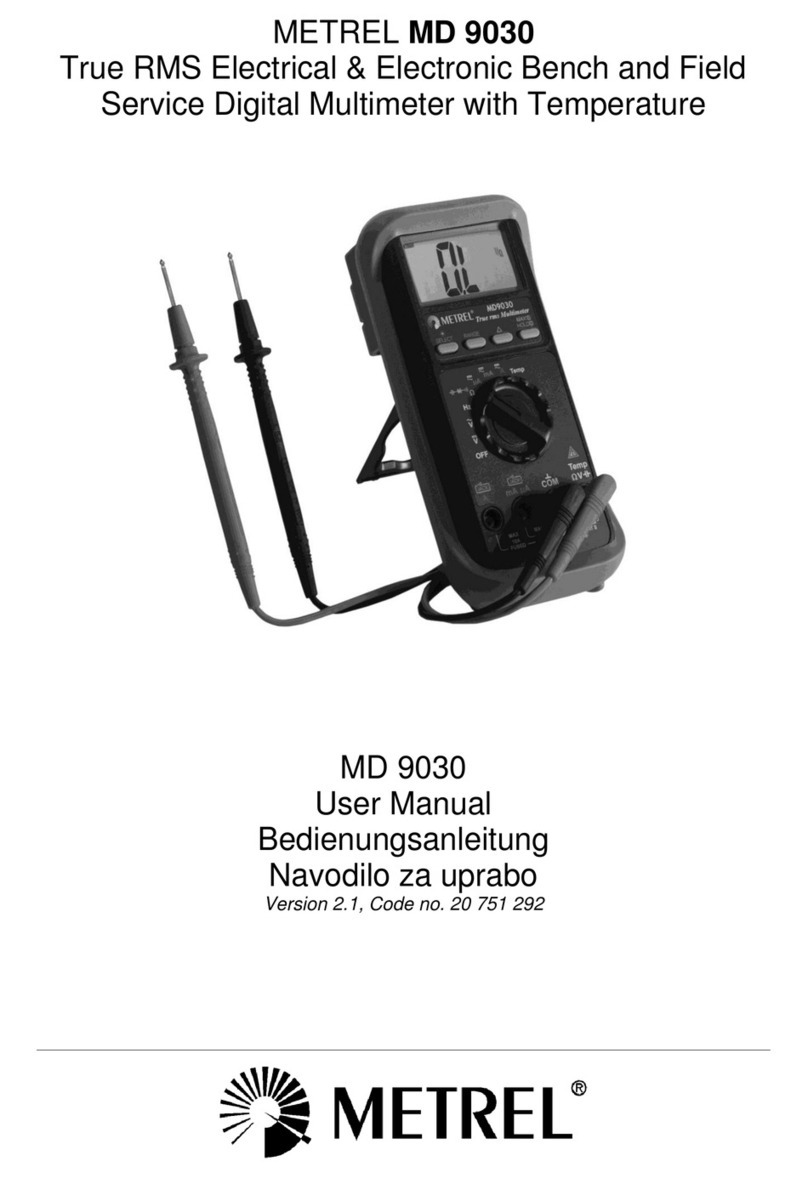
BST BS1801 User manual

3 1/2 Digits Unbeatable Best Buy Multimeters with All-Ranges Protection
OPERATION MANUAL
1. SAFETY RULES
This meter is designed and tested in accordance with EN publication 61010-1, pollution
degree II and installation category (overvoltage category) II 600V.
This meter has been tested according to the following EC Directives
♦89/336/EEC Electromagnetic Compatibility, EN61326
♦73/23/EEC Product safety law of Low Voltage Directive, EN61010-1
This meter is designed to be indoor use at temperature 5°C to 40°C and altitude up to
2,000m.
To ensure that the meter is used safely, follow all safety and operating instructions in
this operation manual. If the meter is not used as described in this operation manual,
the safety features of this meter might be impaired.
2. INTERNATIONAL SYMBOLS
Important information
Diode
see manual
Continuity
AC
Ground
DC
Double insulation
3. SPECIFICATIONS
3.1 General Specifications
Display
:
3 1/2 digit LCD with max. reading of 1999.
Polarity
:
Automatic, (-) negative polarity indication.
Zero adjustment
:
Automatic.
Over range indication
:
Only the MSD “1” is displayed.
Power
:
1.5V AAA battery x 3
Dimension
:
85 (W) x 155 (H) x 40 (D) mm.
Net Weight
:
Approx. 250g. (Including battery).
3.2 Electrical Specifications
Accuracies are ±(% of reading + number of least significant digits) at 23°C ±5°C, <75% RH.
DC Voltage
Range Resolution Accuracy
Input
Impedance
Overload
Protection
200mV
0.1mV
±(1.0%+3) 10MΩ
600V DC/ACrms
2V
1mV
20V
0.01V
200V
0.1V
600V
1V
AC Voltage
Range Resolution Accuracy
Frequency
(Hz)
Overload
Protection
200V
0.1V
±(1.2%+3d) 40~400 600V DC/ACrms
600V
1V
DC Current
Range Resolution Accuracy
Overload
Protection
20mA
0.01mA
±(1.2%+3d) 250V DC/ACrms
200mA
0.1mA
10A*
0.1A
±(5.0%+3d)
Resistance
Range Resolution Accuracy
Open circuit
voltage
Overload
Protection
200Ω
0.1Ω
±(1.2%+3d) <1.0V 250V DC/AC rms
<30 sec.
2kΩ
0.001kΩ
20kΩ
0.01kΩ
200kΩ
0.1kΩ
2MΩ
0.001MΩ
Capacitance
(BS1902/03)
Range Resolution Accuracy
Test
Volt/Freq
Overload Protection
20µF
0.01µF
±(2.5% + 3d) <3V/2.5Hz
250V DC/AC rms
<30 sec
200µF
0.1µF
Temperature
(BS1903)
Range
Resolution
Accuracy
Overload Protection
-20°C to
+400°C
1°C ±(2.5% + 4°C)
250V DC/AC rms <30 sec.
Diode Test
Test Voltage
Test Current
Overload Protection
<3V Approx. 1.6mA
250V DC/AC rms
<30 sec.
Continuity
Test
Test range
Open circuit
Voltage
Overload
protection
Buzzer sounds when
resistance value
<30Ω
<3V 250V DC/AC rms
<30 sec.
Transistor Test
(NPN-PNP)
(BS1901/02/03)
range hFE Value
Overload
protection
hFE 0 – 1000
250V DC/AC rms
<30 sec.
Phase Sequence
Indication
Range
Phase Sequence Indication
380ACV ±10%
Correct Phase Sequence
– Phase Sequence Light “ON”
Live Wire
Verification Voltage
Tested Voltage Range
100~250V
Battery Test
(BS 1901)
Range
Load Resistance
Overload Protection
1.5V load
150Ω
250V DC/AC rms
<30 sec.
12V load
900Ω
Square
Waveform Output
(BS 1901W)
Output Voltage
Frequency
Wave Form
Overload Protection
Approx. 3V 50Hz
Square
Wave
250V DC/AC rms
<30 sec.
* for BS1903 only, use 10A fused current adaptor at 200mV range
4. PANEL DESCRIPTIONS
1. Live wire verification indication light
(BS1901/01W)
2. LCD display
3. Transistor testing socket
(BS1901/02/03); Battery test key
(BS1901W)
4. Multifunction selector
5. HOLD key / Battery test key
6. Phase verification indication light
7. Input terminal
5. OPERATION
!
WARNING
1) When measuring voltage ensure that the instrument is not connected or switched to a
current or resistance, or battery test, or diode/ continuity check range. Always ensure that
the correct terminals are used for the type of measurement to be made.
2) Use extreme care when measuring voltage above 50V, especially from sources where
high energy exists.
3) Avoid making connections to “live” circuits whenever possible.
4) When performing current measurements ensure that the circuit is not “live” before opening
it in order to connect the test leads.
5) Before performing resistance/capacitance measurements or diode test, ensure that the
circuit under test is de-energised.
6) Always ensure that the correct function and range is selected. If in doubt about the correct
range, start with the highest and work downwards.
7) Extreme care should be taken when using the instrument to conjunction with a current
transformer connected to the terminals. High voltage may be produced at the terminals if
an open circuit occurs.
8) Ensure that the test leads and prods are in good condition with no damage to the
insulation.
9) Take care not to exceed the overload limits as given in the specifications.
5.1 DC and AC voltage measurement
1. Connect the black test lead to the “COM” terminal and red test lead to the “V” terminal.
2. Set the multifunction selector to desired DC V or AC V position and connect the test leads
across the source or load under measurement.
5.2 DC current measurement
1. Connect the black test lead to the “COM” terminal and red test lead to the “mA” terminal
for measurement up to 200mA.
2. Set the multifunction selector to desired current range position.
3. Connect the test leads in series with the current source to be measured.
4. When the tested current is above 100mA, the input voltage drop might above 1V; hence,
the test duration cannot exceed 15 seconds!
!
CAUTION: Max. input overload: 250V rms < 20sec.
5.3 Resistance measurement
1. Connect the black test lead to the “COM” terminal and red test lead to the “Ω” terminal.
2. Set the multifunction selector to desired resistance (Ω) range position.
3. Connect the test leads across the circuit to be tested.
!
CAUTION: Ensure that the circuit to be tested is “dead”.
Max. input overload : 250V rms < 20sec.
5.4 Capacitance Measurement (BS1902/03)
1. Connect the black test lead to the “COM” terminal and red test lead to the “ ” terminal.
2. Set the multifunction selector to desired Capacitance (C) range position.
3. Connect the test leads across the capacitance to be tested.
!
CAUTION: Ensure that the capacitance to be tested is discharged.
Max. input overload : 250V rms < 20sec.
5.5 Temperature Measurement (with K-Type
Thermocouple) (BS1903)
1. Connect the K-Type Thermocouple cathode (-) to
the “COM” terminal and the anode (+) to “°C”
terminal.
2. Set the multifunction selector to “°C” range
position.
3. Use the K-Type Thermocouple’ probe contact the
object to be tested (Liquid)
4. If the temperature of the environment is sudden
changed or the resettable fuse is in active mode,
the temperature measurement should continue
after 30 minutes; otherwise, the measurement is
not accurate.
5.6 Diode test
1. Connect the black test lead to the “COM” terminal and red test lead to the “ ” terminal.
2. Set the multifunction selector to (same as ) position.
3. Connect the black and red test leads to the cathode (-) and anode (+) ends of the diode
to be tested respectively.
4. Read the forward voltage drop (junction) value from the display. When the forward biased
is open, the display will shows overload ‘1’ .
!
CAUTION: Max. input overload: 250V rms < 20sec.
5.7 Transistor (NPN/PNP) Test (BS1901/02/03)
1. Set the multifunction selector to hFE position, the meter will display 000
2. Connect the transistor’s pin to the testing socket according to the type of the transistor,
the meter will display transistor’s hFE value, if display abnormal value, it mean wrong
connection is made or the transistor is damage.
!
CAUTION: Max. input overload: 250V rms < 20sec.
!

5.8 Phase Sequence Verification
1. Connect the red test lead to the “c” terminal, black
test lead to “b” terminal and yellow test lead to “a”
terminal
2. Set the multifunction selector to “600V~/abc”
range.
3. Connect yellow/black/red test lead to three-phase
contact point, If the phase sequence indicator
lights on, indicating the connection is in correct
phase sequence.
4. If the phase sequence indicator lights off, please
swap black (b) and red (c) test leads, if the
indicator remains off which means that there is a
missing phase or wrong connection, please use
Live Wire Verification function to verify each phase
again.
5.9 Live Wire Verification (BS1901/1W)
1. Connect the red test lead to the “ ” terminal, black test lead to “COM” terminal and hold
the black test lead (please note: do not touch the test pin and keep your hands away
from the finger guard of the test lead!)
2. Set the multifunction selector to “600V~/abc” range.
3. Use the red test lead to contact the live wire to be tested. When there is a live wire, the
Live Wire Verification lights will turn on.
5.10 Continuity test
1. Connect the black test lead to the “COM” terminal and red test lead to the “ ” terminal.
2. Set the multifunction selector to (same as ) position.
3. Connect the test leads across the circuit to be tested, if the resistance less than 30Ω,
buzzer will be activated.
!
CAUTION: Max. input overload: 250V rms < 20sec.
5.11 Battery test (BS1901/01W)
1. Connect the black test lead to the “COM”
terminal and red test lead to the “batt.”
terminal.
2. Set the multifunction selector to battery
“1.5V or 12V” range
3. To measure the battery voltage without
loading (V1), connect the test leads to
the battery, red test lead to the battery
cathode (+), back test lead to the battery
anode (-). If the display shows ‘−’ which
means the red test lead is connected to
the anode (-).
4. To measure the battery voltage with
loading (V2), press the “HOLD/batt.” key.
The meter presets the internal loading R0
=900Ωfor 12V and R0 =150Ωfor 1.5V.
5. To find the internal impedance (Ri) of the battery, the following formula can be used.
Ri=
Voltage without loading - Voltage with loading
Internal loading
=
(V1 - V2)×R0
V2
For example: V1=1.550V; V2=1.450V; R0=150Ωfor 1.5V battery measurement
5.12 Square waveform output (BS1901W)
1) Connect the black test lead to the “COM” socket and red test lead to the “
mA
” socket.
2) Set the function selector to “
OUT
“position.
3) connect test leads across device under test.
5.13 Measuring AC current with an add-on clamp
(optional)
1. Connect an add-on clamp anode (-) to “COM”
terminal and cathode (+) to terminal
2. Clamp the tested wire with the clamp head and the
AC current value will be shown on the display.
6. MAINTENANCE
CAUTION
BEFORE ATTEMPTING BATTERY REMOVAL OR REPLACEMENT, DISCONNECT
TEST LEADS OR PROBES FROM ANY ENERGISED CIRCUITS TO AVOID SHOCK
HAZARD.
6.1 Fitting and replacing the battery
1. Ensure that the instrument is not connected to any external circuit, set the Multifunction
selector to OFF position and remove the test leads from the terminals.
2. Remove the screw of the battery compartment on the bottom of the back case.
3. Replace the spent battery with the same type and rating.
4. Reinstate the battery compartment, tighten and securing screw.
6.2 Cleaning
Periodically wipe the case with a soft damp cloth and mild household cleanser. Do not use
abrasives or solvents. Ensure that no water gets inside the equipment to prevent possible
shorts and damage.
7. ACCESSORIES
The accessories contained inside the packaging are the following:
Pair of test leads
English instruction manual
3 Phases 3rd test lead with clip
K-Type Thermocouple (for BS1903 only)
10A Current Adaptor (for BS1903 only)
1.5V AAA battery x 3
Certificate of test
Optional: 10A DC current Adaptor 3700- 10A
AC current add-on clamp BS- 06
8. SERVICE
8.1 Warranty Conditions
This meter is guaranteed against any material fault or manufacturer’s defect, in accordance
with the general conditions of sale. During the warranty period (one year), faulty parts may be
replaced, with the manufacturer reserving the right to decide either to repair or replace the
product.
In the event of returning the meter to the after-sales service or to a regional branch, the
outward transport is payable by the customer. The delivery must be agreed in advance with
consignee.
For delivery indicate, by means of an enclosed note, as clear as possible, the reasons for
returning it. Use only the original packing.
Any damage caused by shipment using NOT the original packaging will be charged in any
case to the consignor.
The manufacturer will not be responsible for any damage to persons or things.
The warranty does not apply to the following cases:
Accessories and battery are not included in warranty.
Repairs following unsuitable use of the meter or by combining the latter with incompatible
meter or accessories.
Repairs resulting from incorrect shipping.
Repairs resulting from servicing carried out by a person not approved by the company.
Modifications to the meter without explicit authorisation from our technical department.
Adaptation to a particular application not provided for by the definition of the meter or by
the instruction manual.
The contents of this manual may not be reproduced in any form whatsoever without the
manufacturer’s authorization.
Our products are patented. The logotypes are registered. We reserve the right to
modify specifications and prices as part of technological developments which might
be necessary.
8.2 Service
If the meter should not work properly, before contacting the DEALER OR THE SERVICE
CENTRE, check the battery condition, the test leads, etc., Change them if necessary.
If the meter still does not work, check if your operating procedure agrees with the description
in this manual.
In the event of returning the meter, it must be re-sent to the after-sales service (at address or
to a regional branch), the outward transport is payable by the customer. The delivery must be
agreed in advance with consignee.
For delivery indicate the reasons for returning it. (By means of an enclosed note, as clear as
possible). Use only the original packing.
Any damage caused by delivery with NO original packaging will be charged in any case to the
consignor.
FOR TECHNICAL ASSISTANCE,
PLEASE CONTACT:
Ri=
(1.550 – 1.450)×150
≈10.34Ω
1.450
1901/1901W/1902/1903
REV1/DEC 06
!
Remarks: Due to our policy of continual product development, we reserve the
right to amend the specifications of the mentioned products without notice.
Other BST Multimeter manuals
