4
On-Air 1250 Classic user guide ~ 1st Edition ~ 7th August ’01 ~ 4073
Introduction
For your records
For guarantee purposes proof of purchase is
required so please keep your receipt.
Enter your System Code here.
The pre-set System Code number is 0000. See
page 14 for information on your System Code.
Enter your Remote Access Code here.
The pre-set Remote Access Code is 0000. See
page 22 for more information.
Date of purchase:
Place of purchase:
Serial number:
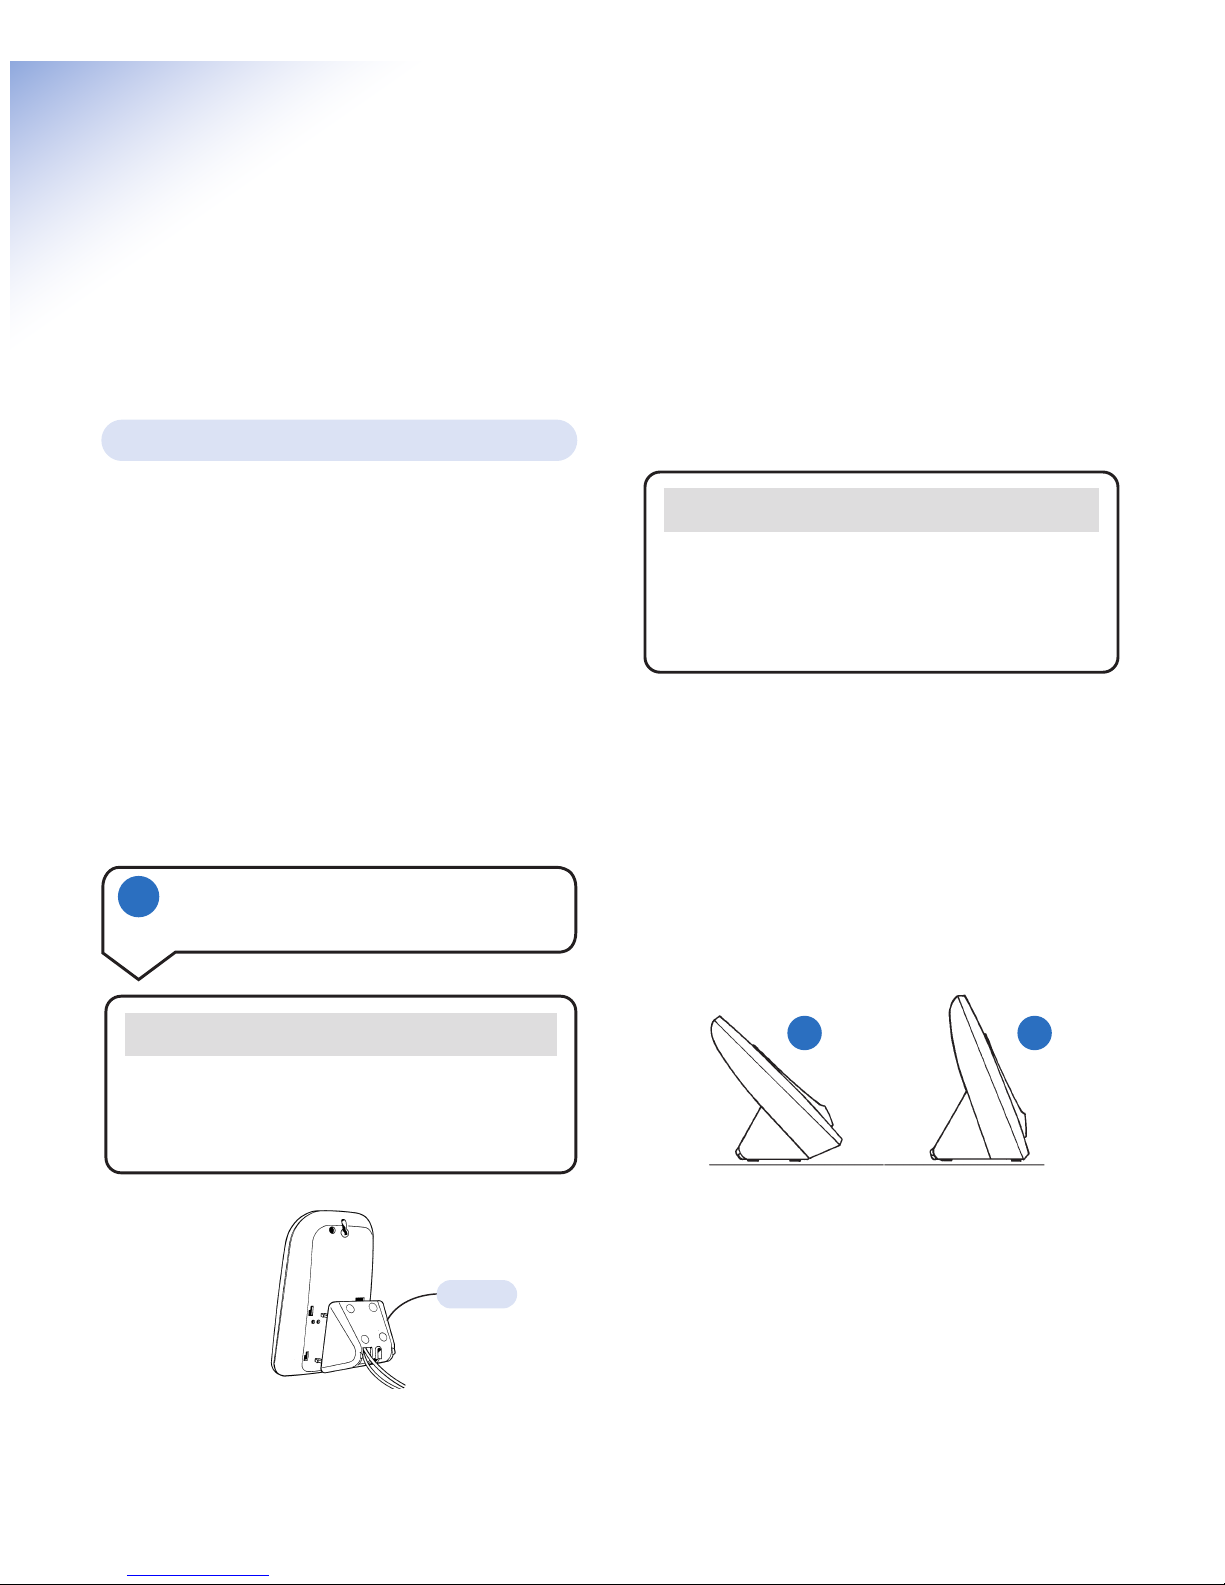
Unpacking your BT On-Air
1250 Classic
If anything is missing, please contact your
place of purchase immediately.
One BT On-Air 1250 base.
One BT On-Air 1000 Classic handset.
One power supply for base station.
One telephone line cord.
One NiMH rechargeable battery pack (installed)
and battery compartment cover.
One handset belt clip.
Three removable handset fascias.
Self adhesive label.
Four rubber feet.
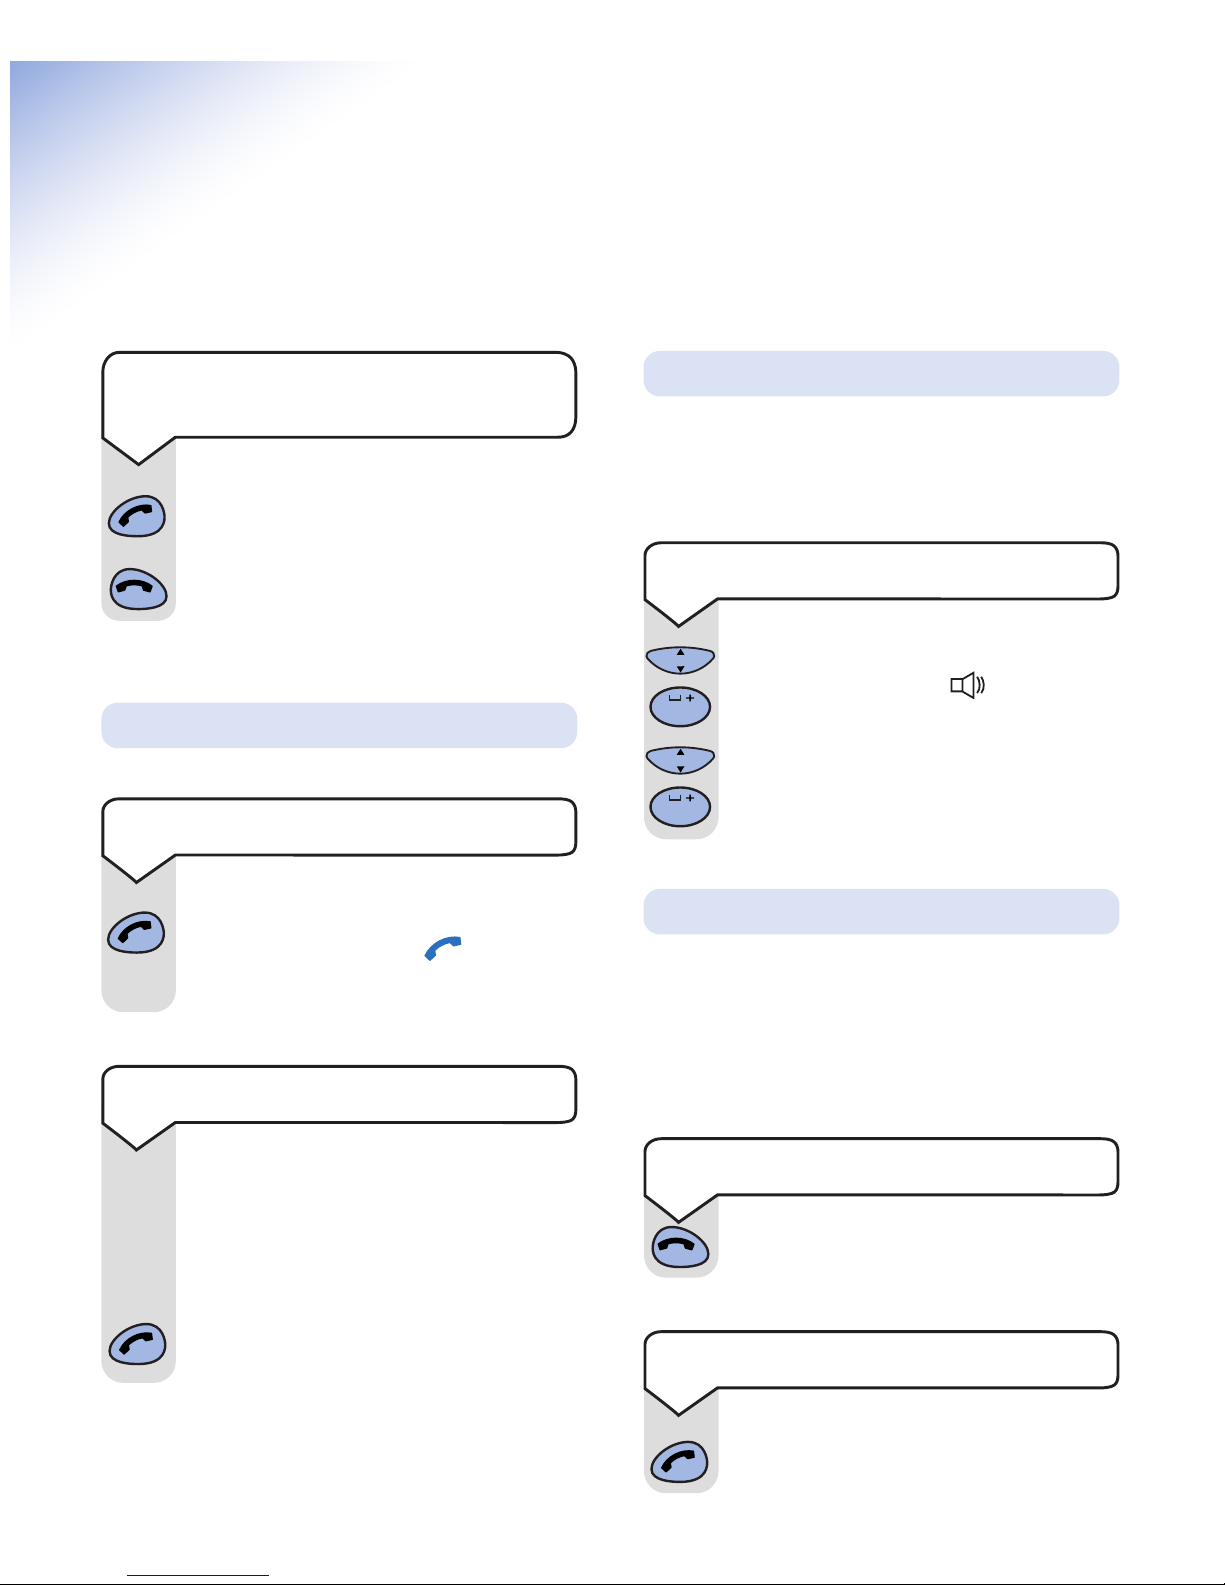
Safety infor ation
General
Only use the power supply included with the product. Using
an unauthorised power supply will invalidate your guarantee
and may damage the telephone. The item number for the
mains power supply is 872101.
If Keyguard is active, it is still possible to make emergency
calls to 999 and 112.
Do not open the handset or base station. This could expose
you to high voltages or other risks. Contact the Helpline for
all repairs.
Radio signals transmitted between the handset and base may
cause interference to hearing aids.
This product should not be used near emergency/intensive
care medical equipment and should not be used by people
with pacemakers.
Never dispose of batteries in a fire. There is a serious risk of
explosion and/or the release of highly toxic chemicals.
Cleaning
Simply clean the handset and base station with a damp
(not wet) cloth, or an antistatic wipe. Never use
household polish as this will damage the product.
Never use a dry cloth as this may cause a static shock.
Environ ental
Do not expose to direct sunlight.
The product may heat up when the batteries are being
recharged. This is normal. However, we recommend that
you do not place the product on antique/veneered wood to
avoid damage.
Do not stand your product on carpets or other surfaces
which generate fibres, or place it in locations preventing free
flow of air over it’s surfaces.
Do not submerge any part of your product in water and
do not use it in damp or humid conditions, such as in
bathrooms.
Do not expose your product to fire, explosive or other
hazardous conditions.
There is a slight chance that your phone could be damaged
by an electrical storm. We recommend that you unplug the
power and telephone line cord for the duration of the storm.