manuals.online logo
Brands
  1. Home
  2. •
  3. Brands
  4. •
  5. Buffalo
  6. •
  7. Storage
  8. •
  9. Buffalo WS-QV4TL/R5 Operating and safety instructions

Buffalo WS-QV4TL/R5 Operating and safety instructions

Computer
Computer
Remote Desktop
If a drive in the TeraStation fails, the Error LED will glow red. Open the front cover and check the Status
LEDs. The malfunctioning drive's Status LED will be glowing red. This drive may be hot-swapped. Replace
with a Buffalo OP-HD series drive of the same size.
・Only failed drives may be hot-swapped. If you need to remove a drive that has not failed and
whose Status LED is not glowing red, either shut down the TeraStation, or dismount the drive in
RAID Builder. Once the TeraStation is shut down, or the drive is dismounted, then it is safe to
replace the drive.
・If the TeraStation is off, drives may be replaced without dismounting them first.
・Installing or removing a hard drive while the system is still running is referred to as a hot-swap.
Status LEDs
1 ~ 4
Error LED
Enter the username and password,
then click [OK].
The default settings are:
Username: Administrator
Password: password
Right-click the TeraStation icon (in
Mac OS, click while holding down
the Control key), then select
[Open Remote Desktop].
Windows Storage Server will open in a Remote Desktop window.
2
3
5
・The TeraStation is fragile. Handle it with care. Do not drop or bump the TeraStation.
・Use caution when handling the unit in order to avoid personal injury.
・Never disassemble any parts while you are replacing a hard drive unless instructed to do so in this manual. Any malfunction or damage caused by
disassembling the TeraStation will void your warranty.
・To avoid damaging the TeraStation with static electricity, ground yourself by touching something made of metal before handling any sensitive
electronic parts.
・Replacement drives should be Bualo OP-HD drives of the same capacity as the originals. These drives are available from www.bualotech.com.
・Do not use any hard drive that has been used in another TeraStation/LinkStation or another computer as a replacement drive. If you do, data on
the unit may be damaged or lost.
・Do not change the order of the hard drives in the TeraStation. For example, pulling out drive 1 and replacing it with drive 2 may cause data to be
corrupted or lost.
・In a RAID 1 conguration, the boot drive (C:) consists of the rst and second hard drives from the top. Do not replace both of these hard drives at
the same time.
・If a hard drive is replaced while saving a le, the le can be corrupted. Be sure that the saving operation is completed before replacing the hard
drive.
6
>> Please read the back of this sheet
Open NAS Navigator2.
・In Windows, double-click the Bualo NAS Navigator2 icon on the
Desktop.
・In Mac OS, click NAS Navigator2 icon in the Dock.
1In Windows Storage Server, navigate to [Start] - [All Programs] -
[BUFFALO] - [RAID Builder] - [Launch RAID Builder].
4
with cover opened
Drive Failures
Hard Drive Replacement Examples
When the message “The Hard Disk is ready to remove.” is
displayed, click [OK].
If the TeraStation is on, begin from step 1. If the TeraStation is off, begin from step 7 on the back side.
Select [Remove Hard Disk], then
select the hard drive to be
removed and click [OK].
In this example, drive 3 is being
dismounted.
35012034 ver.01
Hard Drive Replacement Procedure
English
Remote Desktop
Remote Desktop
Remote Desktop
Remote Desktop
①
②
③
Hard Drive Replacement Examples
Push the locking tab of the failed
hard drive to the left and swing the
lock around to the left.
The photo here shows an example of replacing
drive 3.
Open the front cover with the included key.
Insert the OP-HD series hard drive into the
empty slot from Step 9.
Slide the drive in with the locking mechanism open.
7
8
10
13
12
Slide the drive into the TeraStation, then
swing the lock back down until it clicks
into place.
11
Pull out the hard drive cartridge and remove
it from the TeraStation.
9
You have now completed the hard drive replacement process.
>>Continued from front page
Click [Detect attached Hard
Disk], select the new drive, and
click [OK].
Previously detected drives are grayed out.
When “Detected Hard Disk” is displayed, click [OK].
Click [Disk Management].
Right-click the initialized hard
drive and select [Convert to
Dynamic Disk].
A RAID array cannot be built unless the
hard drive is converted to a dynamic
disk.
Follow the instructions on the
screen to convert to a
dynamic disk.
To create a new volume:
Right-click the new dynamic disk and select [New Volume].
Follow the instructions on the screen to create a new volume.
To restore a RAID 5 volume (RAID resynchronization):
(1) Right-click the volume labeled “Failed Redundancy”, then click
[Restore Volume].
(2) When “Select the disk from the following list” is displayed,
select the drive to restore and click [OK].
Note: Perform steps (1) to (2) once for each volume that requires
RAID resynchronization.
(3) Right-click the volume labeled “Missing”and select [Delete
Disk].
To restore a Mirrored volume (RAID resynchronization):
(1) Right-click the volume labeled “Failed Redundancy”, then click
[Remove Mirror].
(2) When “Remove Mirror” is displayed, select the drive where the
mirror will be removed (Missing status), then click [OK].
Note: Perform steps (1) to (2) once for each volume that requires
RAID resynchronization.
(3) Select the new volume where mirroring will be performed,
then select [Add Mirror].
(4) When [Add Mirror] is displayed, select the drive where
mirroring will be performed with the selected volume, then
click [Add Mirror].
(5) When [Disk Management] is displayed, click [OK].
Right-click the new drive
and select [Initialize Disk].
Follow the on-screen instructions to
initialize the drive.
14
In Windows Storage Server, navigate to [Start] - [All Programs] -
[Administrative Tools] - [Computer Management].
15
16
17
18
19
Replace the front cover.
If the hard drive was replaced while the TeraStation power was turned off,
press the power button on the TeraStation to turn on the power and start
RAID Builder by performing steps 1 to 4 on the front page.
Tab
Tab
Other Buffalo Storage manuals

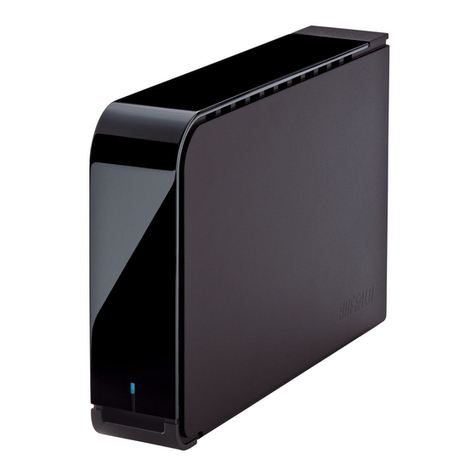
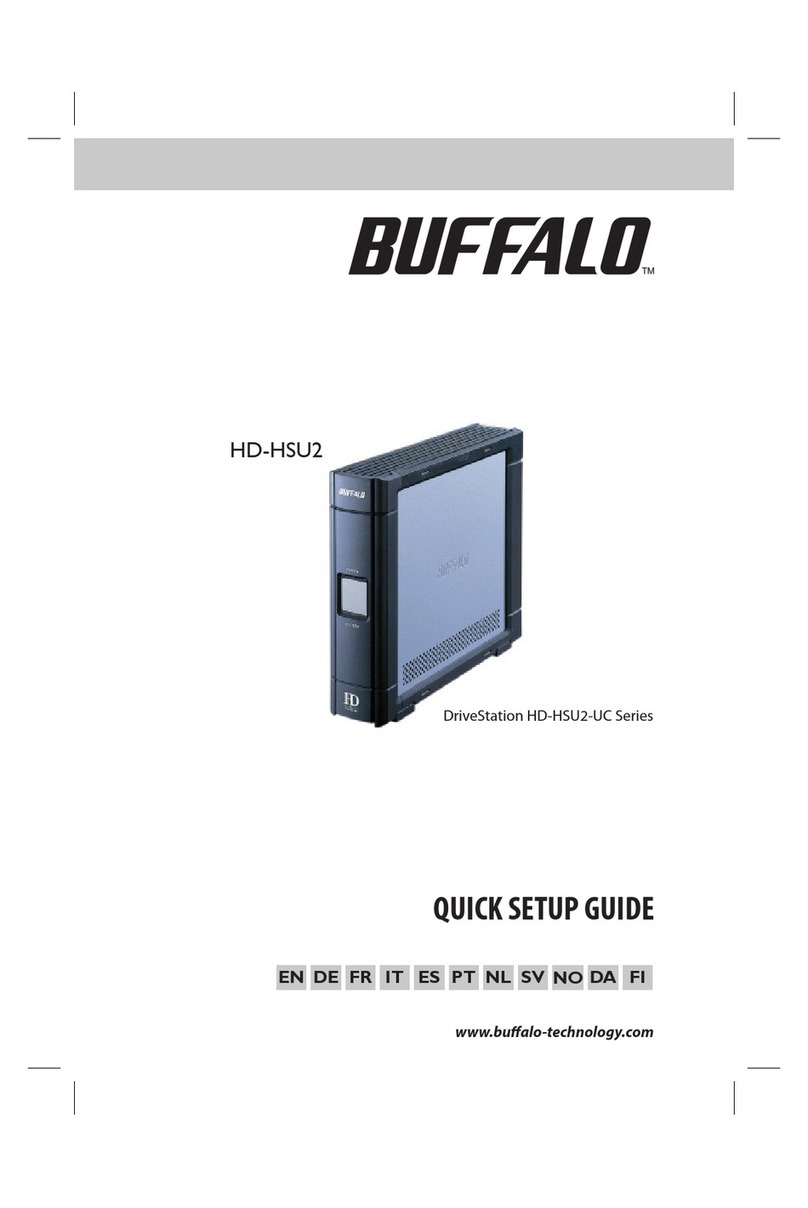
Buffalo DriveStation HD-HS1.0TQ User manual

Buffalo

Buffalo DriveStation HD-HS1.0TQ User manual

Buffalo TeraStation 5200DS User manual

Buffalo

Buffalo TeraStation 5200DS User manual

Buffalo MiniStation Cobalt 320GB User manual

Buffalo

Buffalo MiniStation Cobalt 320GB User manual

Buffalo DriveStation HD-CEIU2 User manual

Buffalo

Buffalo DriveStation HD-CEIU2 User manual

Buffalo HD-LBU3 User manual

Buffalo

Buffalo HD-LBU3 User manual

Buffalo HD-HCU2 DriveStation User manual

Buffalo

Buffalo HD-HCU2 DriveStation User manual

Buffalo HD-LBU3 User manual

Buffalo

Buffalo HD-LBU3 User manual

Buffalo MiniStation HD-PCTU3 User manual

Buffalo

Buffalo MiniStation HD-PCTU3 User manual

Buffalo Cloudstor CS-X series User manual

Buffalo

Buffalo Cloudstor CS-X series User manual

Buffalo HD-QLU3R5 User manual

Buffalo

Buffalo HD-QLU3R5 User manual

Buffalo TS-XEL Series Use and care manual

Buffalo

Buffalo TS-XEL Series Use and care manual

Buffalo TeraNavigator none User manual

Buffalo

Buffalo TeraNavigator none User manual

Buffalo HD-PHS40U2 User manual

Buffalo

Buffalo HD-PHS40U2 User manual

Buffalo DriveStation HD-HS1.0TQ User manual

Buffalo

Buffalo DriveStation HD-HS1.0TQ User manual

Buffalo TeraStation 7000 User manual

Buffalo

Buffalo TeraStation 7000 User manual

Buffalo SSD-PUSU3 User manual

Buffalo

Buffalo SSD-PUSU3 User manual

Buffalo MiniStation DataVault HDS-PH160U2 User manual

Buffalo

Buffalo MiniStation DataVault HDS-PH160U2 User manual

Buffalo DriveStation HD-CE320U2 User manual

Buffalo

Buffalo DriveStation HD-CE320U2 User manual

Buffalo HD-LEMU2 User manual

Buffalo

Buffalo HD-LEMU2 User manual

Buffalo MiniStation HD-PCU2 User manual

Buffalo

Buffalo MiniStation HD-PCU2 User manual

Buffalo LinkStation Quad LS-QL/R5 User manual

Buffalo

Buffalo LinkStation Quad LS-QL/R5 User manual

Buffalo LS421DE-EU User manual

Buffalo

Buffalo LS421DE-EU User manual

Buffalo TeraStation iSCSI TS-ITGL/R5 User manual

Buffalo

Buffalo TeraStation iSCSI TS-ITGL/R5 User manual

Buffalo LinkStation LS410D Series User manual

Buffalo

Buffalo LinkStation LS410D Series User manual

Popular Storage manuals by other brands

Style selections LWSSSS manual

Style selections

Style selections LWSSSS manual

Legend USB Flash Disk user manual

Legend

Legend USB Flash Disk user manual

Freecom ToughDrive Pro UF Specifications

Freecom

Freecom ToughDrive Pro UF Specifications

HP HDD troubleshooting guide

HP

HP HDD troubleshooting guide

Keter 150 US GAL 570L user manual

Keter

Keter 150 US GAL 570L user manual

Huawei FusionModule2000 V500R003C10 installation guide

Huawei

Huawei FusionModule2000 V500R003C10 installation guide

Monument 312 Owner's Manual & Installation Instructions

Monument

Monument 312 Owner's Manual & Installation Instructions

Compaq ProLiant user guide

Compaq

Compaq ProLiant user guide

Rocstor Rocpro P33 Quick installation guide

Rocstor

Rocstor Rocpro P33 Quick installation guide

Seagate NL35.2 ST3250624NS installation guide

Seagate

Seagate NL35.2 ST3250624NS installation guide

Stardom SOHOTANK MS2-TB3 Quick installation guide

Stardom

Stardom SOHOTANK MS2-TB3 Quick installation guide

Ross VAC-100 user manual

Ross

Ross VAC-100 user manual

HP StorageWorks 2000s user guide

HP

HP StorageWorks 2000s user guide

Kingston Technology Flash Memory Guide

Kingston Technology

Kingston Technology Flash Memory Guide

IBM Portable 40 GB user guide

IBM

IBM Portable 40 GB user guide

Ryonet X Series Assembly instructions

Ryonet

Ryonet X Series Assembly instructions

Fortinet FortiLog FortiLog-2000 quick start guide

Fortinet

Fortinet FortiLog FortiLog-2000 quick start guide

HP StorageWorks MSL2024 Quickspecs

HP

HP StorageWorks MSL2024 Quickspecs

manuals.online logo
manuals.online logoBrands
  • About & Mission
  • Contact us
  • Privacy Policy
  • Terms and Conditions

Copyright 2025 Manuals.Online. All Rights Reserved.