©2003 JBS Technologies, LLC ©2003 JBS Technologies, LLC
22 7
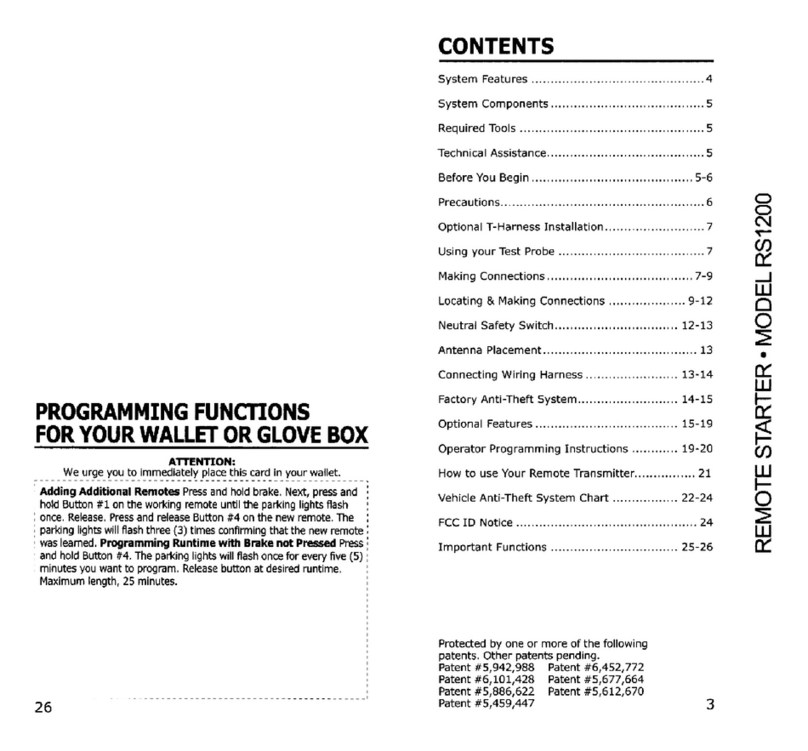
PRECAUTIONS
This system is designed to be used with fuel-injected and diesel
vehicles with automatic transmissions only.
SAFETY FIRST!
Never remote start the vehicle if it is indoors or if the keys are in the ignition.
Always be sure that the vehicle is in park.
DO NOT use mechanical wiring connections, such as crimp or snap together
taps.
DO NOT disconnect the battery if the vehicle has an anti-theft-coded radio
or is equipped with an airbag. Doing so may cause a warning light to be
displayed.
DO NOT leave the interior or exterior lights on for an extended period of time
as it may cause battery drain. Remove the dome light fuse from the vehicle’s
fuse box. NOTE: Starter systems do not work well with a partially discharged
battery.
DO NOT mount the control module until all connections have been made and
tested. Using wire ties or double sided tape, MOUNT THE MODULE UNDER
THE DRIVER’S DASH. Place the warning sticker under the hood.
PLEASE USE CAUTION: DO NOT CUT, PROBE OR DISCONNECT THE
VEHICLE’S AIRBAG WIRES. THESE WIRES WILL ALMOST ALWAYS
BE INSIDE A BRIGHT YELLOW TUBE LOCATED NEAR THE
STEERING COLUMN HARNESS.
WARNING! – GENERAL MOTORS REAR WHEEL DRIVE VEHICLES AND
DODGE DAKOTAS All General Motors rear wheel drive vehicles and Dodge
Dakotas built prior to 1996 do not have an electrical Neutral Safety switch.
They have a mechanical neutral safety switch. The mechanical neutral safety
switch operates as follows.
a) The key will only turn to start position when the gear selector is in park
or neutral.
b) The key can only be removed from the ignition switch when the gear
selector is in the park position.
You must use special precautions with this system. (See Neutral Safety Switch,
page 8.)
PROGRAMMING INSTRUCTIONS
Programming Hot Start
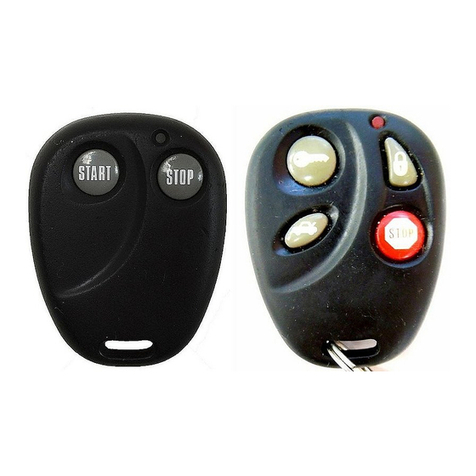
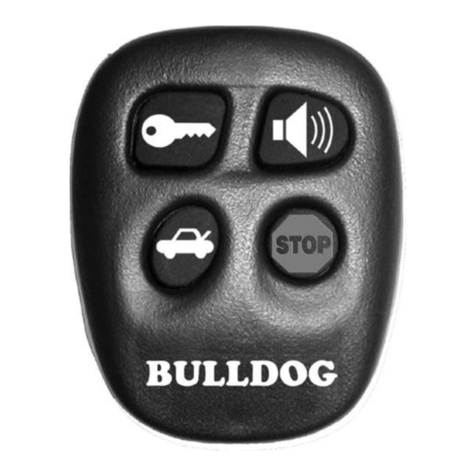
Press and hold the brake, then press and hold Button #2 (Arm/Disarm) until the parking lights
flash twice. Release Button #2. Press and hold Button #3, the parking lights will flash once.
Each continuous flash represents a progression in degrees: one (1) flash = 150ºF, two (2)
flashes = 140ºF, three (3) flashes = 130ºF, four (4) flashes = 120ºF, five (5) flashes = 110ºF,
six (6) flashes 100ºF. To disable Hot Start, press and hold Button #3 until the parking lights
flash six (6) times, then two (2) quick flashes for 7 and 8. The Hot Start is now disabled. Release
the brake, the parking lights will flash three (3) times, the programming is now entered. NOTE:
The factory setting is Hot Start off. NOTE: Only Cold and Hot Start functions can be enabled
at the same time. If button #1 is pressed for programming, Cold/Hot Start is disabled. When
Buttons #2 and #3 are pressed, then the Automatic and Low Voltage Starts are disabled.
Programming Tach/Tachless Start
Press and hold the brake, then press and hold Button #3 (Trunk) until the parking lights flash
three (3) times. Release Button #3. Press and release Button #4, the parking lights will flash
once. The unit is now in Tach Start Mode. Press and release Button #4, the parking lights will
flash twice. The unit is now in Tachless Start Mode. Release the brake, the parking lights will
flash three (3) times. The programming is now entered. NOTE: Factory setting is Tachless Start
Mode.
Programming Diesel Start
Press and hold the brake, then press and hold Button #4 (Stop) until the parking lights flash
four (4) times. Release Button #4. Press and release Button #1, the parking lights will flash
once. The unit is now programmed for Diesel Start Mode. Press and release Button #1, the
parking lights will flash twice, Diesel Start Mode is now off. Release the brake, the parking lights
will flash three (3) times. The programming is now entered. NOTE: Factory setting is Diesel
Start off. When programming Diesel Start, the unit will automatically program for Tach Start.
Programming Glow Plug Timer
Press and hold the brake, then press and hold Button #4 (Stop) until the parking lights flash
four (4) times. Release Button #4 and press again.
One (1) parking light flash = 5 second start delay.
Two (2) parking light flashes = 10 second start delay.
Three (3) parking light flashes = 15 second start delay.
Four (4) parking light flashes =Timer off. (must use sense wire)
NOTE: You must first program Diesel Start On.
SPECIAL PROGRAMMING MODE:
Valet Mode On
Press and hold the brake, turn Ignition Key to the Run position. Within five (5) seconds, press
and release Button #4 (Stop). The horn will sound or the siren will chirp once, the parking
lights once and the LED will flash once. Valet is now on. Release the brake, turn the ignition
key off. The LED will remain lit in valet mode.
