Bundle WNJ380 User manual

Manual
of
Simple Swing Arm Helper

I
Warranty Manual
I. Warranty period: one year.
II. Within one year since the purchase date, any fault occurred under normal working condition
can be maintained with the invoice or receipt issued by the distributor.
III. Within warranty period, the maintenance of following conditions will be charged:
1. The damage of the machine caused by natural disasters including but not limited to thunder
and lightning, fire, flood and earthquake.
2. The damage caused by negligence, deliberate destruction or arbitrary modification.
3. The damage of the machine caused by incorrect usage, movement or fall-off.
4. The damage caused by disassembly, maintenance, modification or additional product, which
are implemented by the people without authorization of our company.
5. Without receipt or warranty card even in the warranty period.
6. The model number on warranty card is different from that of the machine to be repaired.
IV. Precautions:
1. Rubber or plastic parts are wearing parts, which are not under warranty.
2. Please keep this warranty card properly. It will be not replaceable in case of loss.
3. Please fill in the receipt card carefully and send the receipt card together with the purchase
receipt (copy) to our company. If the receipt card and the purchase receipt are not sent back, our
company has the right not to make warranty commitments of the machine.
For your interest, please fill in the receipt card carefully and send it back in time.

II
Contents
Foreword
Warning
Technical data
I. Equipment Installation............................................................................................................... 4
1. Installation of helper arm.......................................................................................................... 4
2. Connection of air supply............................................................................................................ 6
II. User Instruction......................................................................................................................... 6
III. Maintenance and Troubleshooting........................................................................................... 7

3
Foreword
Swing arm helper is a kind of accessory equipment developed by our company applied to swing
arm tire changer. The main features of this product is as follows:
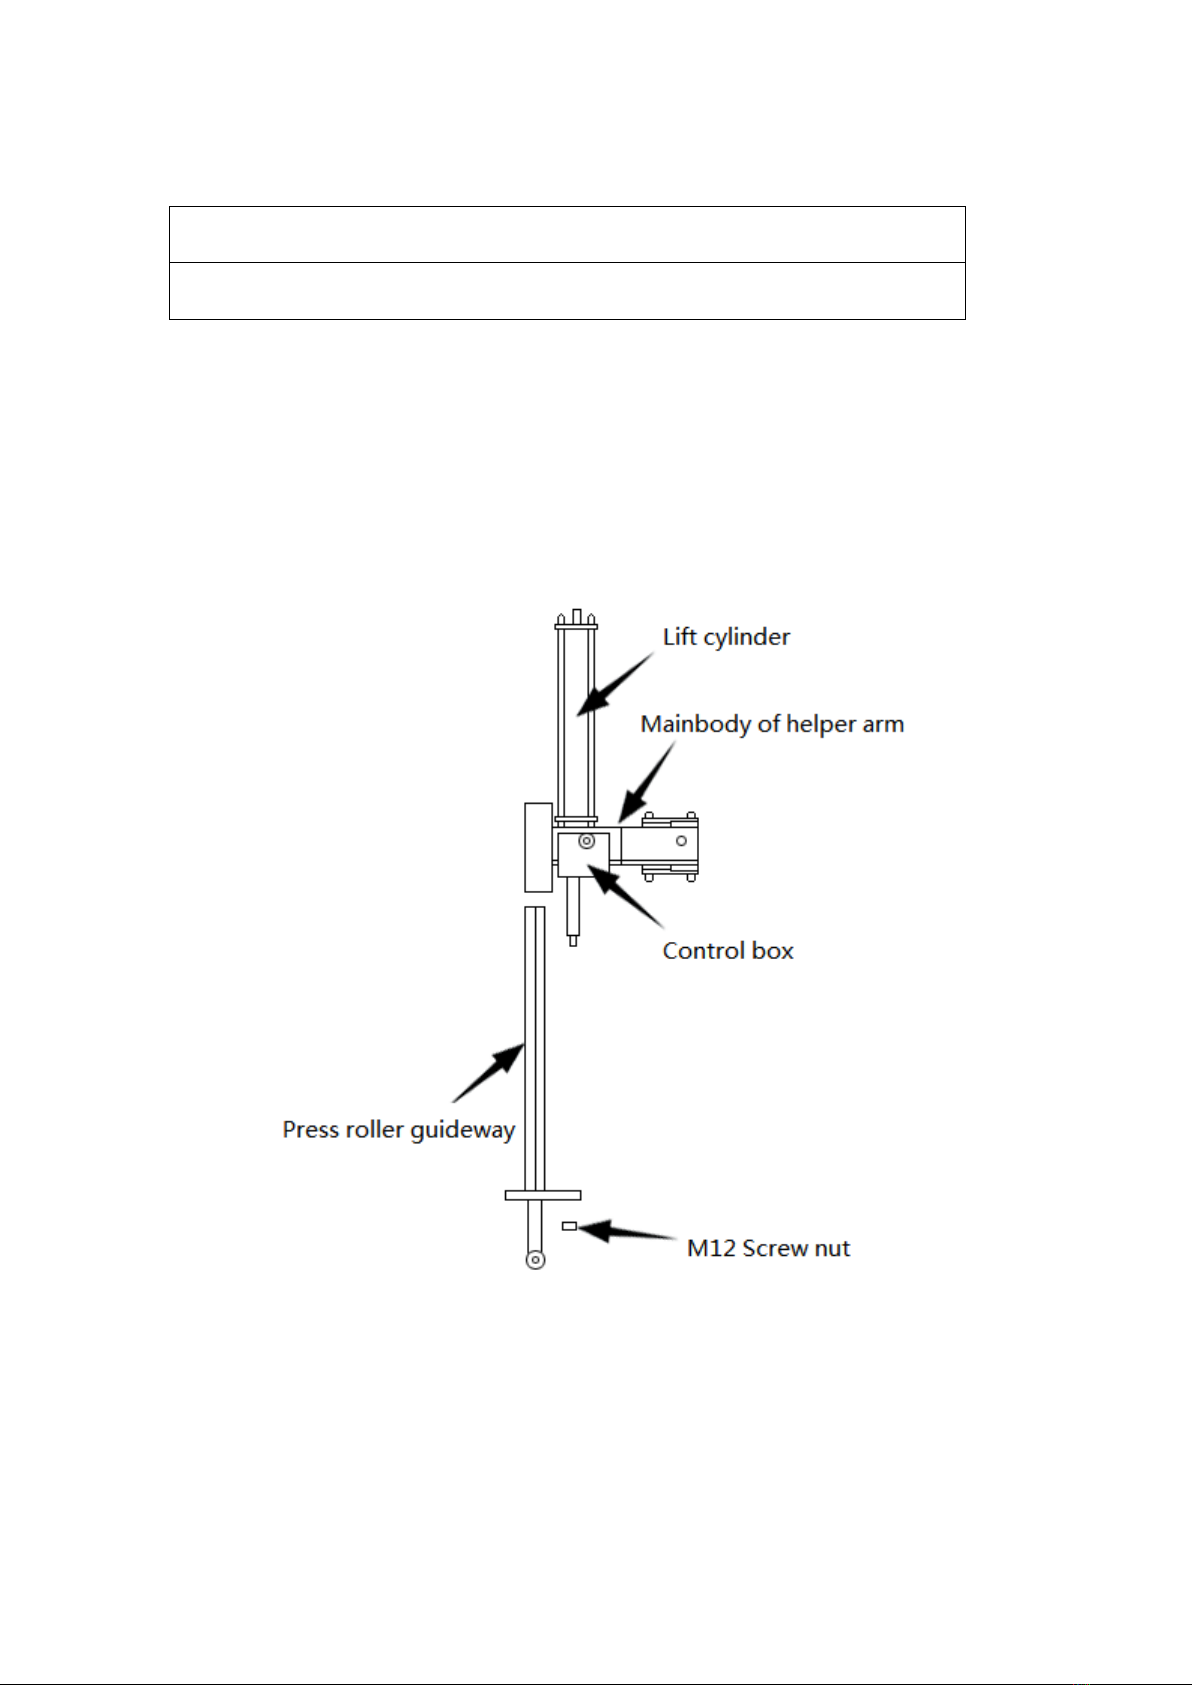
1. This helper arm is universal adjustable, it can match with swing arm tire changer of any brand.
The auto-lift cylinder and positioning device of the helper arm can reduce the labor intensity,
improve the functional reliability and repeatability, guarantee the tire quality after changing and
make the operation easy and time-saving.
2. The model type applicable to this helper arm: swing arm tire changer.
a. Applicable outer diameter of swing arm: 100mm x 80mm, 100mm x 60mm, 80mm x 60mm.
b. Data of applicable tire: tire rim 11’’-24’’; Max. tire diameter 1000mm.
c. Advantage: suitable for run stability control.
【The selected tire changer must meet the specifications above.】
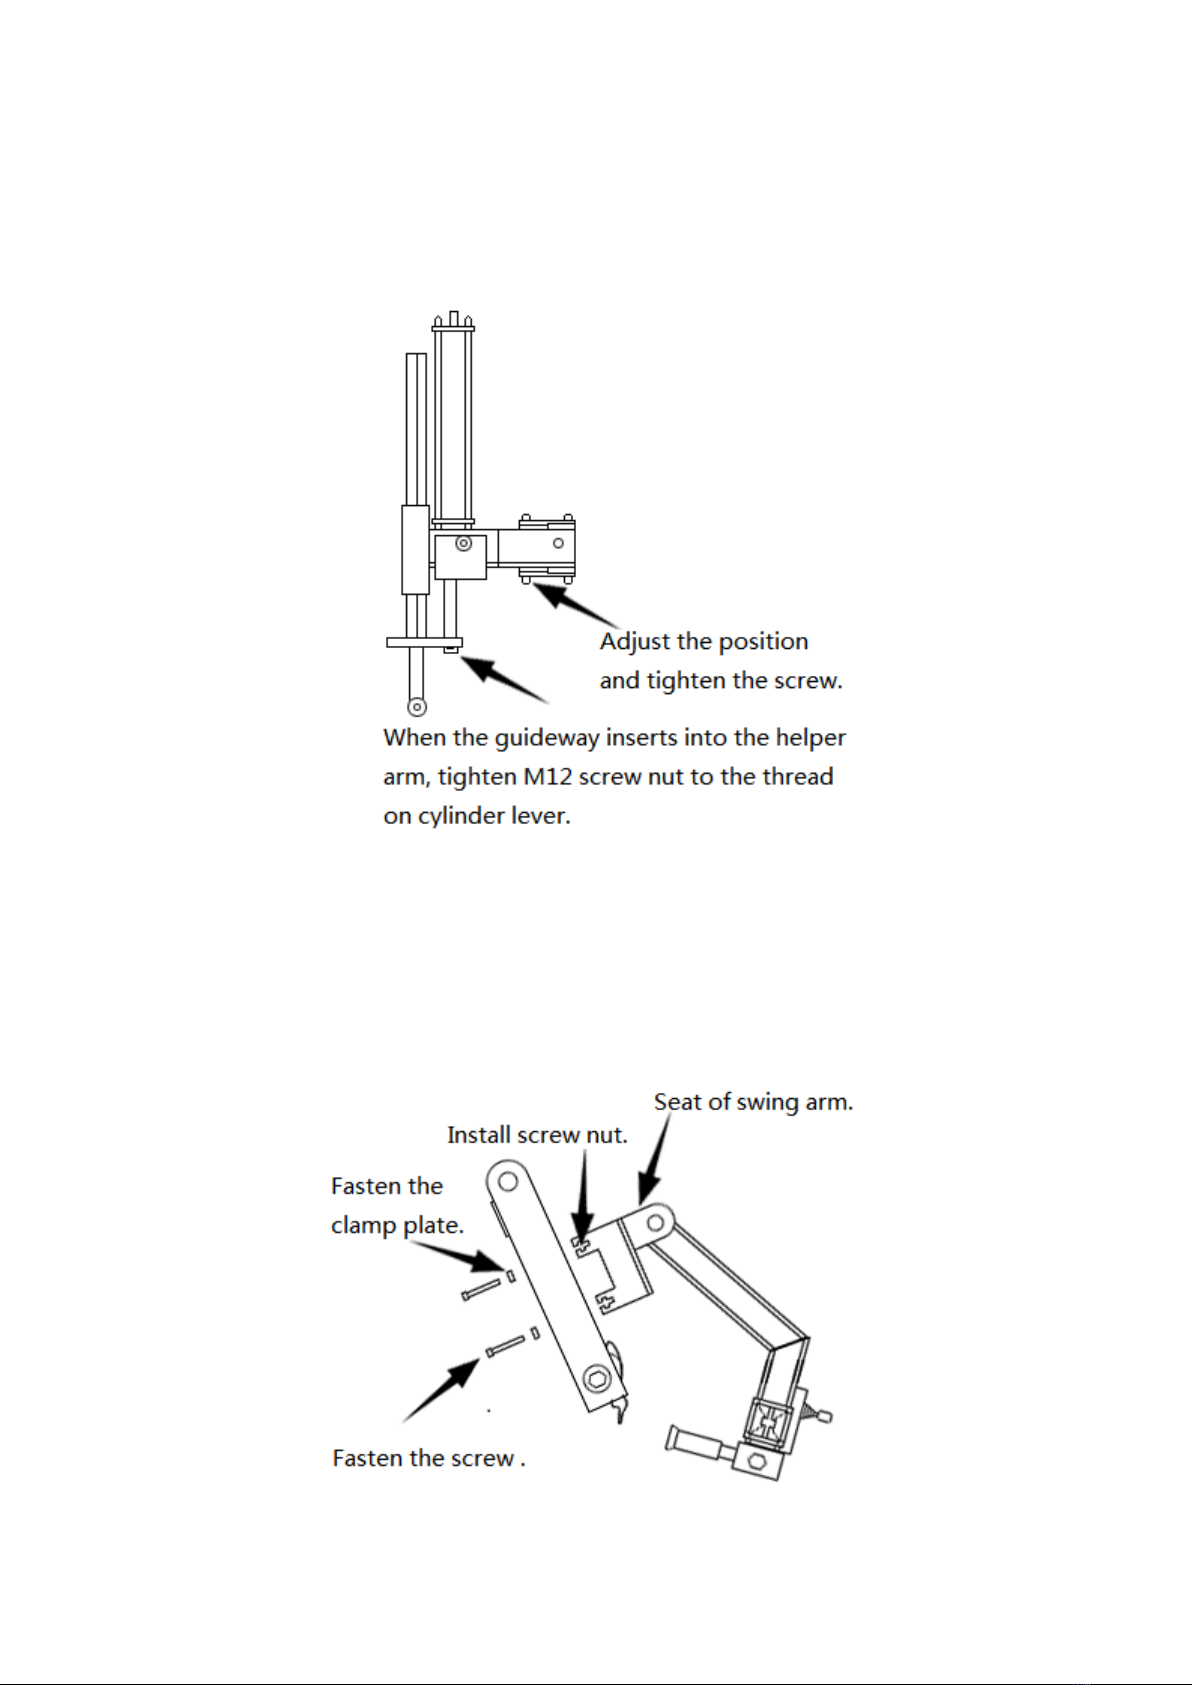
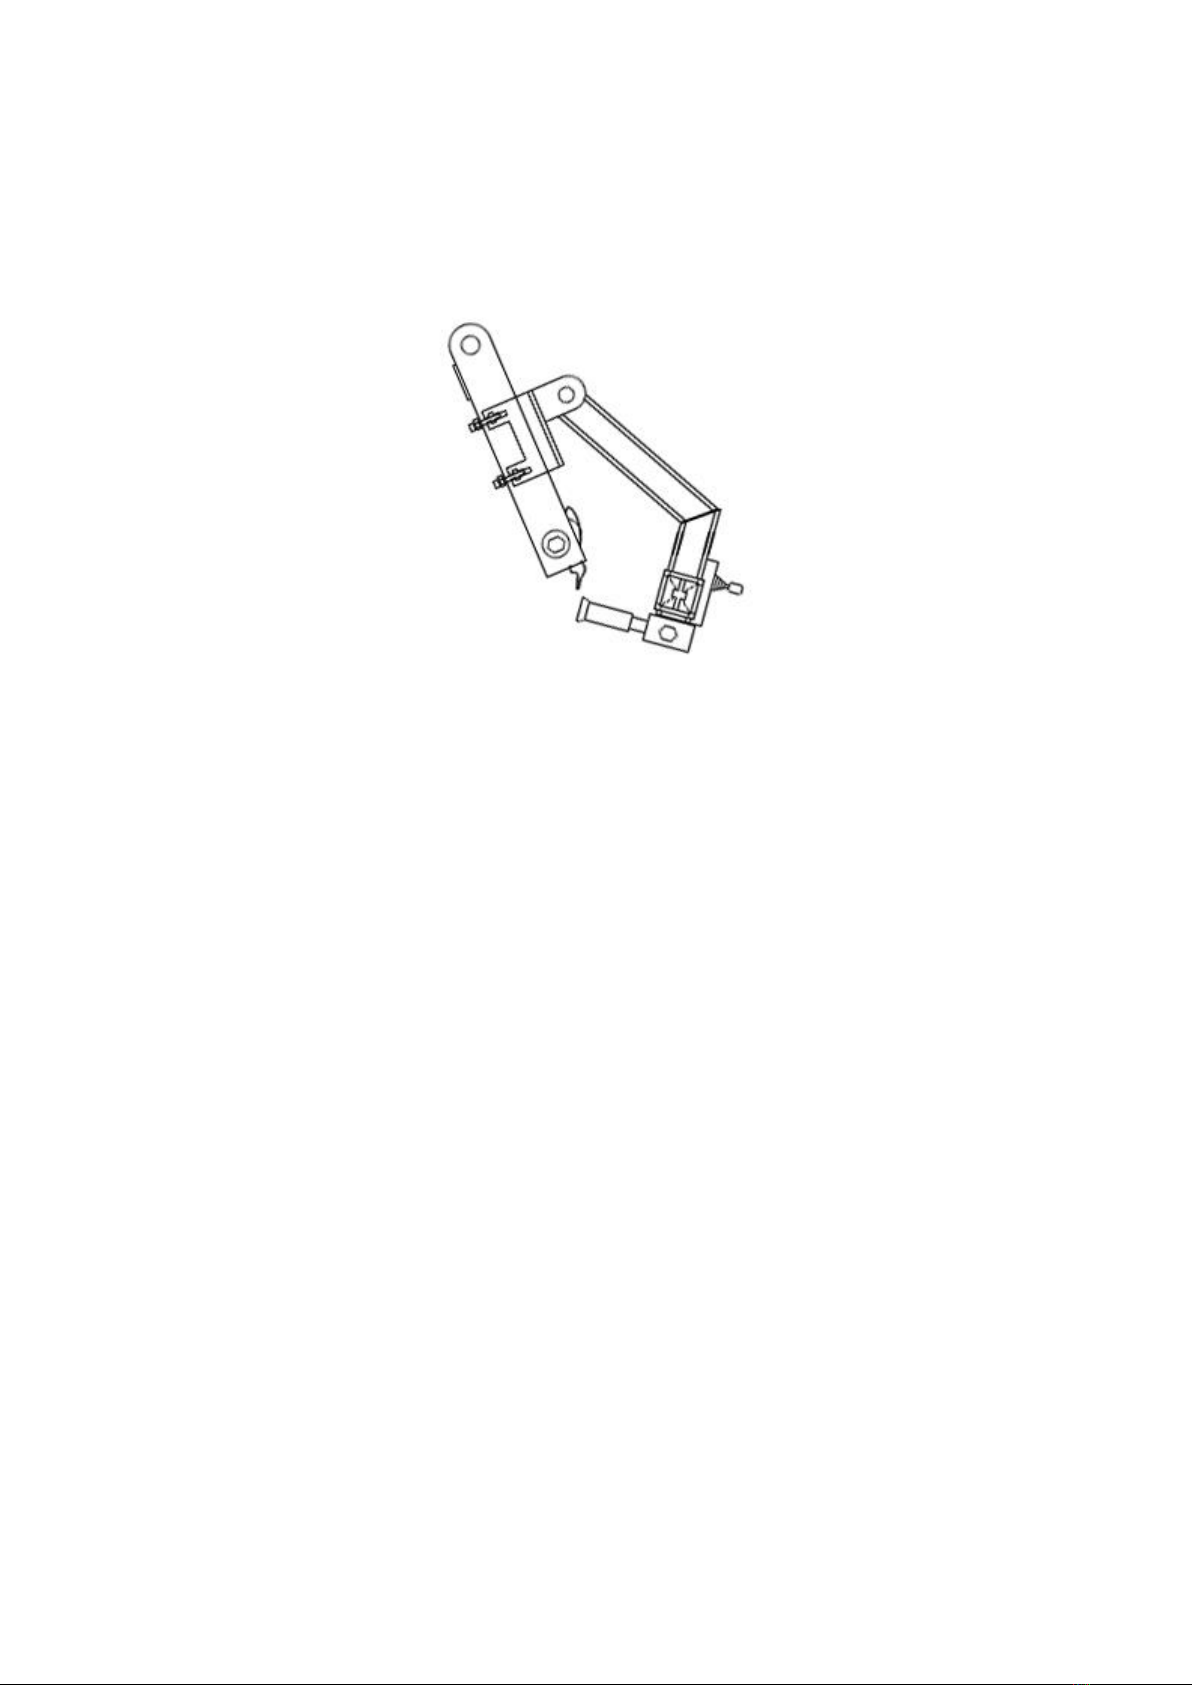
3. This helper arm is easy to install, simple to operate, practical and free of tire and rim damage.
4. Improved equipment may have different specifications with that on this manual without prior
notice, please take the real equipment as standard.
Warning
1. Please read this manual carefully before use and operate accordingly.
2. This product should be operate based on this manual or under the guidance of the company.
3. This product is designed only for particular purpose. For the damage of the machine caused by
inappropriate use or unauthorized modification, the company shall bear no liabilities.
4. If any fault occurred in the equipment running, switch off the electricity and air supply first
before repair.
5. Take safety precautions such as wearing protection clothing during operation.
6. Connect air supply before use, step on the control pedal of bead breaker blade, make the
cylinder work repeatedly (about ten strokes), do not power on until the air lubricator of oil-water
separator dripping oil making sure the pneumatic system lubricated fully.
7. The helper arm should be lubricated twice a day to keep it work normally.
Technical Data
Working pressure
8-10bar
Working temperature
0℃--45℃
Max. Width of wheel
320mm
Max. Wheel diameter
1000mm
Net weight
20kg

4
I. Equipment Installation
Notes:1. The minimum mounting distance should be 750mm from the wall.
2.Do not put the equipment in the place with open air or with high humidity.
1. Installation of helper arm
Every helper arm must be installed and commissioned before delivery. So the swing arm, cylinder,
control box and arm seat are already installed, for the rest procedures of installation, please
complete as shown on figures below.
Installation figures:
Figure 1

5
Aim the press guideway to the installation hole of the hex bar of helper arm and then insert from
bottom up.
Figure 2
With all single parts installed, the helper arm can be installed to tire changer.
The procedures are as shown on Figure 3 and Figure 4.
It is advised that two people complete the installation together because of the weight.

6
Figure 3
It is advised that two people complete this procedure together.
Figure 4
Notes:
The inner side edge of the press roller should align to the forefront of the demount head when
installed, as shown below.
During installation and commission, please make sure that the helper arm can not collide with
the demount head when it swings.
2. Connection of air supply
Connect air supply after completing all the procedures above. Connect the end with Tee Fitting of
the protrudent air pipe to the air supply adjuster.
Connection method: Clip the pipe connected to the inside of tire changer from air supply adjuster
in a appropriate position and insert both ends of the Tee Fitting.
Notes: It is convenient for maintenance to clip the air pipe in the middle between the adjuster
and the cabinet access.
II. User Instruction
Move the direction switch of the helper arm, adjust the press roller with spiral handle to 1 cm
from the wheel rim. Press the tire with press roller and stop until the tire is 3 cm under the rim.
Lubricate the demount head and edge of the tire.
1. Insert the crowbar in the position of demount head and move the helper arm away, then get
the first pressed edge of the tire unseated from the rim.
2. Move the direction switch of the helper arm and adjust the press roller to the bottom of tire,

7
insert the crowbar, then move the direction switch to lift the tire until the crowbar turn the tire
bead up to the demount head, turn the turntable and get the tire unseated from the rim.
3. Fit the tire: the helper arm is not needed for the first pressed edge of the tire. For the second
pressed edge of the tire, put the edge at the end of demount head, move the direction switch
and stop the tire until it is 3 cm under the tire rim. Put the plastic clamp of the helper at about 10
cm on the rim from the press roller. Turn the turntable and complete tire changing. The operation
is simple, convenient and reliable.
III. Maintenance and troubleshooting
Inspect and tighten all the bolts in the joint.
Keep the vertical guideway clean and dry (clean with diesel and spread with lubricating oil to
make the guideway free from resistance.)
The joint faces of displacement and friction should be lubricated with lithium-based grease
each week.
Common Method of Troubleshooting
Fault
Inspection
Troubleshooting
The hand valve has
no action.
Inspect whether the pipe is folded.
Take out one end of the inlet Tee Fitting
and inspect whether there is intake
pressure.
Reset the folded part or
change the air pipe.
If there is intake pressure, try
to change the hand valve.
The air pipe can not
be fastened and
move up and down.
Inspect the air pipe, hand valve and joints
to see whether there is any leakage.
Inspect whether there is any pipe folded
in control box.
Judge the fault based on the
cause. It is advised to
communicate with
professional people to make
a correct maintenance plan.
Table of contents
Popular Industrial Equipment manuals by other brands

Siemens
Siemens SIRIUS 3RH2914-1GP11 Series operating instructions

Allen-Bradley
Allen-Bradley Bulletin 2364F troubleshooting guide

DeWalt
DeWalt DXCM072-0030 instruction manual

Siemens
Siemens SIMATIC RF662A operating instructions

Bison
Bison 2502 Series instruction manual

Amber
Amber api SmartScan V5.0 quick start guide