CONTROL ELEMENTS AND DISPLAYS
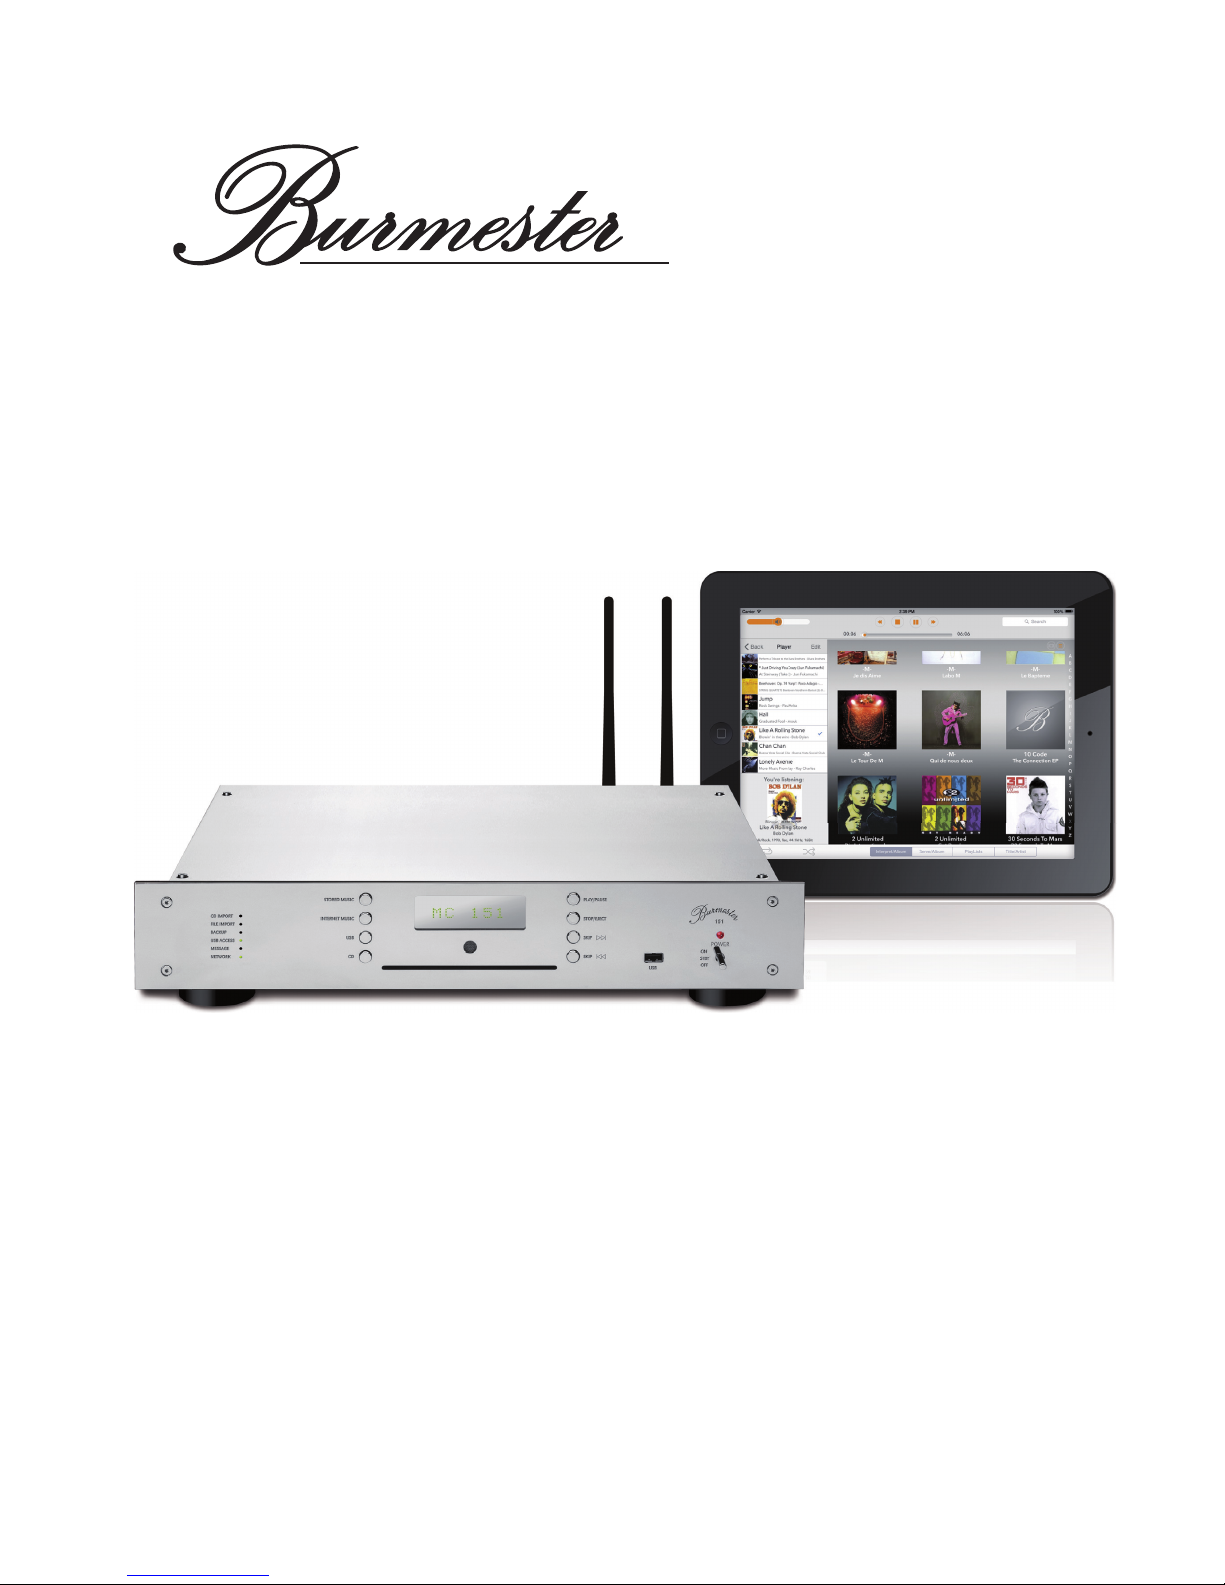
151 Musiccenter 9
1 Left bank of buttons for signal source selection
The selected signal source is shown on the display.
• STORED MUSIC: Playback of internally stored music.
• INTERNET MUSIC: Playback of music from the Internet.
• USB: Playback of music stored on a device connected to a USB port.
• CD: Playback of music from a CD.
2 Display
3 Infrared receiver
The IR receiver receives the remote control signals.
Do not place objects in front of the receiver.
4 Right bank of buttons to operate all sources
• PLAY/PAUSE: Starts or pauses playback at the current position.
• STOP/EJECT: Stops playback.
• SKIP >>I: Playback skips to the next title.
• SKIP I<<: Playback skips to the previous track or the beginning of the track
currently playing. With Internet radio, playback skips to the next or previous
station on the list.
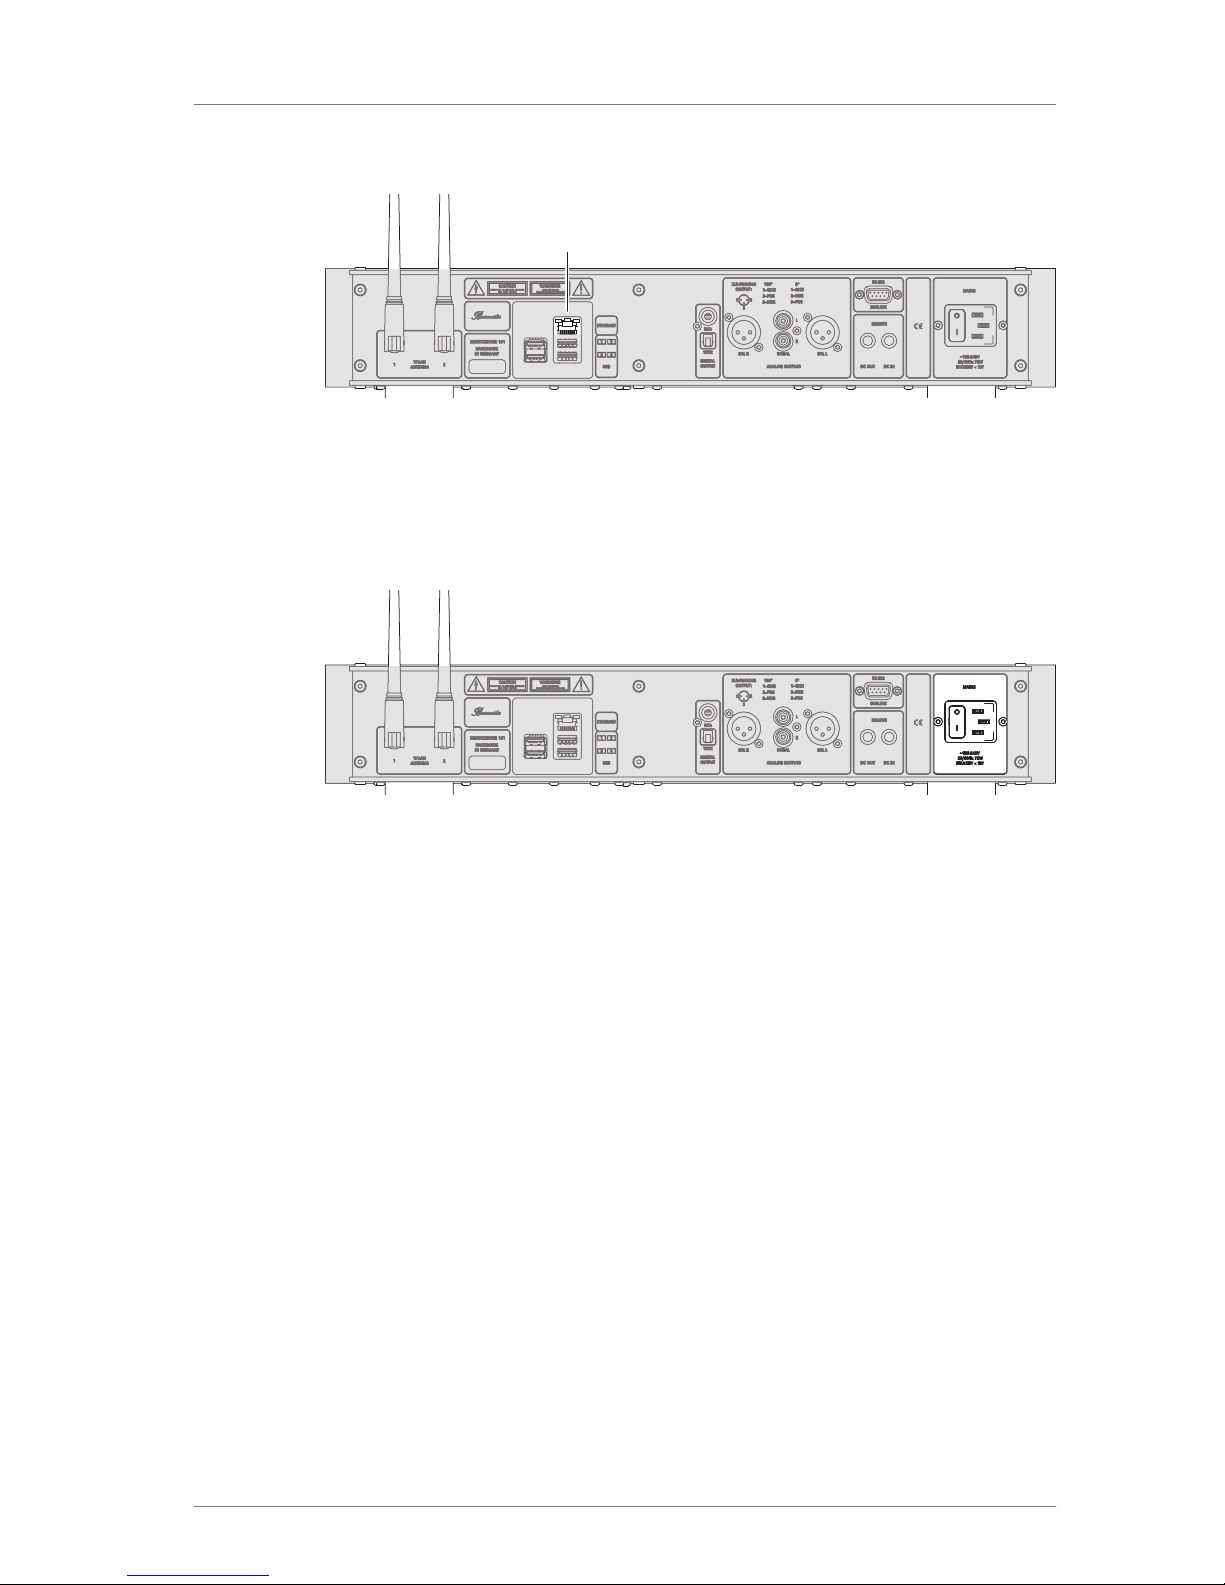
5 Wi-Fi antennas
6 LED display
• CD IMPORT: Indicating transfer of data from CD to hard disk.
• FILE IMPORT: Indicating import of file via web interface.
• BACKUP: Your music data is being backed up or restored.
NOTICE: Do not switch the device off if any of these 3 LEDs is lit.
• USB ACCESS: A USB device is connected and has been detected.
• MESSAGE: A message is present. Messages can be called up via the
web interface or an iPad®.
• NETWORK: A connection to the network has been established.
The colors indicate:
– Red = No network available.
– Orange = The device has been assigned an IP address or is in
stand-alone mode.
– Green = A connection to the Internet has been established.
7 CD drive
8 USB port
9 ON/OFF switch (POWER)
• ON: Briefly pushing the switch upward turns the Musiccenter on. The switch
returns to the center position. The LED lights up in red. Pushing the switch
upward again returns the device to standby mode.
• STBY: The switch is in the center position The device is in stand-by mode and
can be switched on using the remote control. The LED lights up in orange.
• OFF: The switch is in the down position. The device is switched off. It cannot
be switched on with the remote control. The LED is not lit.
10 LED (operation/standby)
• LED lights up in orange: the device is in standby mode.
• LED lights up in red: the device is turned on.