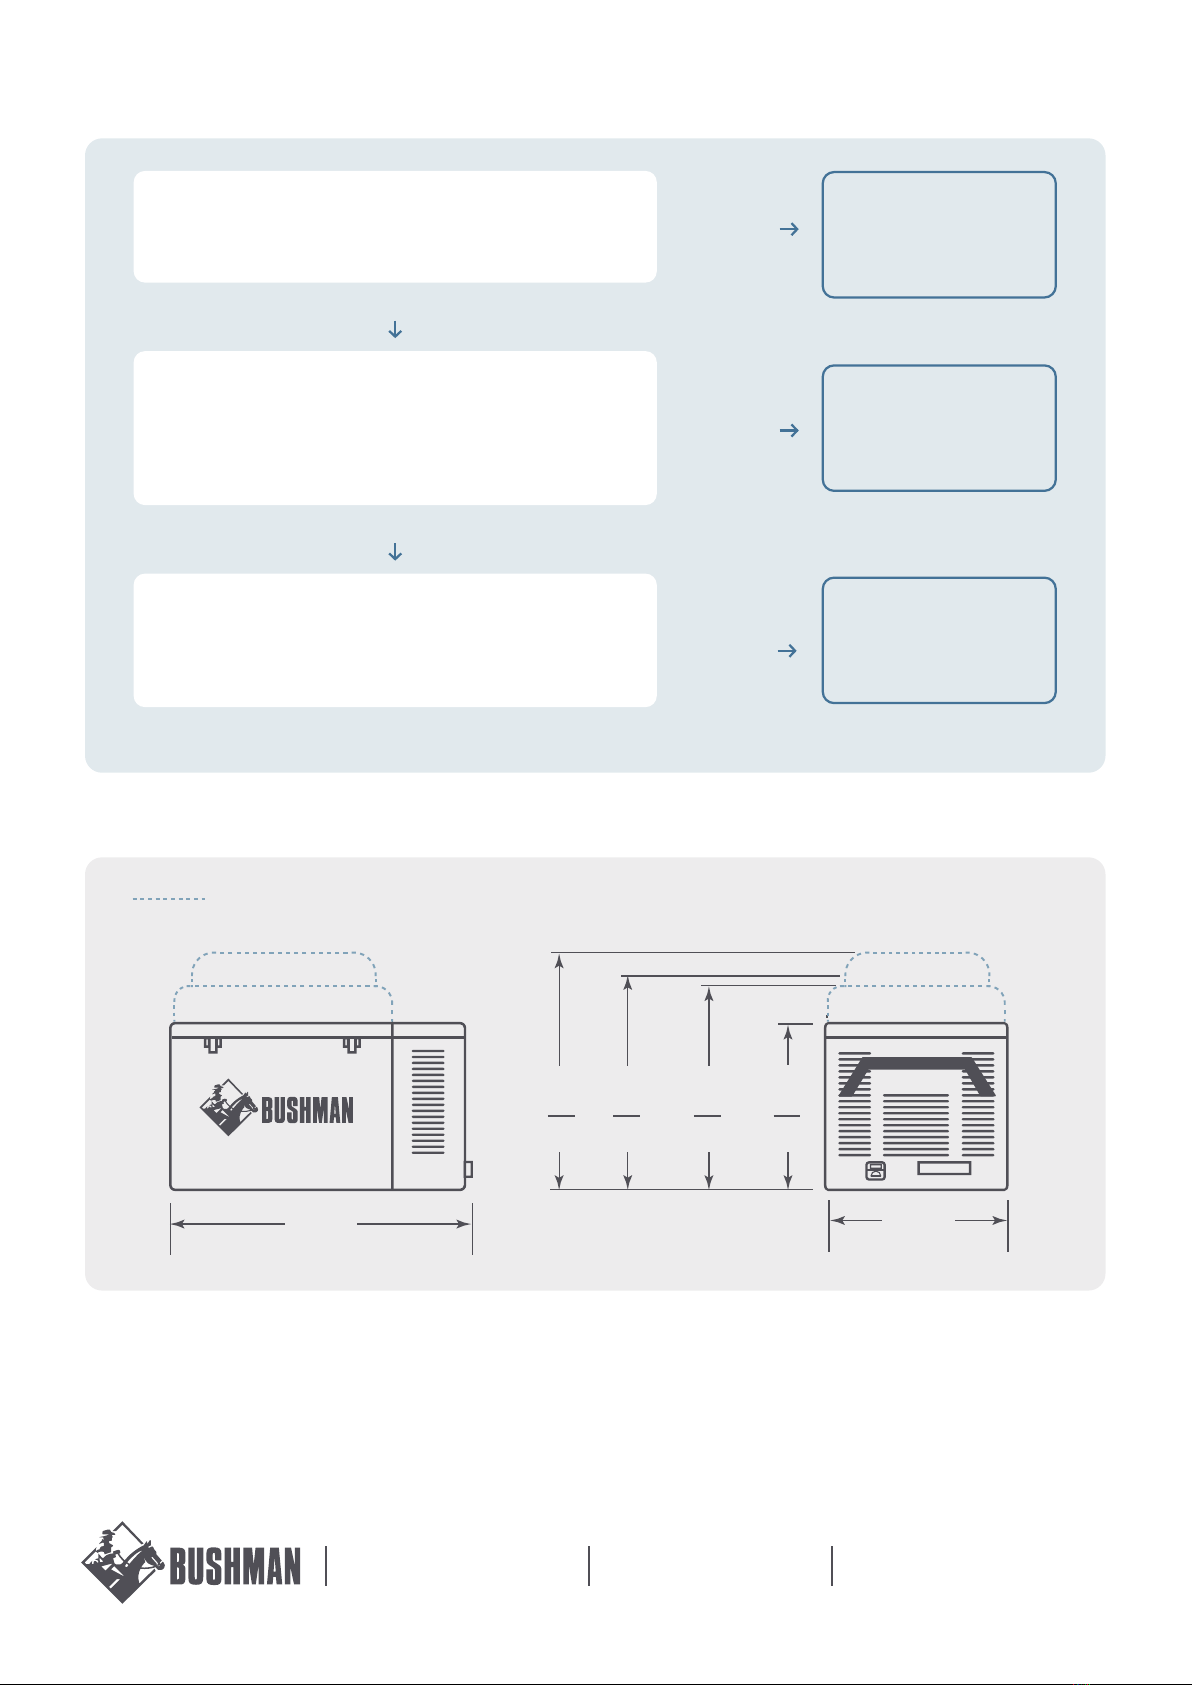
Fitting the Extension Collar and
High Lid
When you rst t your extension collar and high lid,
adjustment to the hinges may be necessary if they do not
sit at. If required, please adjust your hinges as follows:
1. Remove the at lid.
2. Fit the extension collar followed by the high lid but do
not latch them down.
3. Release the tension on all rear hinge screws by 1 turn
each. There are 24 screws in total.
4. Latch down the extension collar and high lid. The latches
only need a snug t. If they are overly stiff or loose, you
can raise or lower each latch using their 2 adjustment
screws. Apply moderate pressure by pushing down on
the high lid.
5. Once the extension collar and high lid are latched down
nicely, tighten the 24 rear hinge screws.
6. Do not over tighten any screws.
Fitting the Handles and tie down
brackets
The handles, tie-down brackets and 8 screws are included
inside the fridge cabinet. Please position the handles on
the cabinet rst, followed by the tie-down brackets on top.
Do not over tighten the screws.
12V Installation
6MM WIRING DIRECT TO BATTERY
Having a good power supply is key to your Bushman
operating at its best. For optimum results, we recommend
using minimum 6mm automotive wire directly from your
12V power outlet to your cars battery through a 10 Amp
fuse. Ensure the earth is wired back to your battery, not
to the chassis. If your wiring is not minimum 6mm or is not
direct to your battery, your Bushman may cut out early due
to power drop in your wiring.
240V Installation
Plug your 12V lead into the 240V adaptor and then direct
to mains power.
Never run direct from the refrigerator to mains power
without a 240V adaptor, irreversible damage can occur.
Efcient Operation
VENTILATION
Always allow sufcient air ventilation around the rear, sides
and top of the compressor compartment. This will ensure
heat can escape easily from the compressor and condensor.
TRANSIT COVER
Your transit cover is designed to protect your Bushman from
scratches, minor dints and direct sunlight.
EQUALISING FRIDGE TEMPERATURE
If you run your Bushman using the 240V adapter for 4 or 5
hours before placing in your vehicle, this will ensure that the
internal air temperature, condensor and insulation has had time
to equalise. Doing this will result in shorter cycle times and
more efcient operation once you run your Bushman on 12V.
NORMAL OPERATING SOUNDS
You may hear faint gurgling, bubbling or whirring sounds
when your Bushman is running. This is normal as the
refrigerant is being pumped through the refrigerant coils.
Using a Generator
Only use a high quality pure sine wave generator to operate
your Bushman. Fluctuations in generator current will damage
the refrigerator and / or the 240V adaptor.
For fail safe operation with a generator we recommend running
a battery charger from your generator outlet to a 12V battery,
and then running your Bushman directly from the battery.
Using the Control Panel
ADJUSTING THE SET TEMPERATURE
1. Flick the power switch to the ON position. The red power
light and blue screen will light up.
2. To display the set temperature, hold down the SET button.
3. To adjust the set temperature, hold down the SET button
whilst pressing either the UP or DOWN button until the
desired set temperature is displayed.
4. Pressing MAX COOL will set the temperature to -18°C
CYCLE TIMES
When your Bushman is running it will operate at 2°C either
side of set temperature. For example, with your Bushman
set at 0°C it will run until reaches –2°C and then stop. The
green energy saving light illuminates when the compressor
Important Information
– Do not lay your Bushman on its back or sides or at any angle exceeding 30º.
– Never operate your Bushman directly from 240V mains power without using a 240V – 12V adapter.
– Never place items on top of the vents above the compressor, heat will not be able to escape and overheating
could occur.
– Do not remove the rubber feet.