- 2 -
Overview ....................................................................................................................................................................................................2
Acknowledgments................................................................................................................................................................ 2
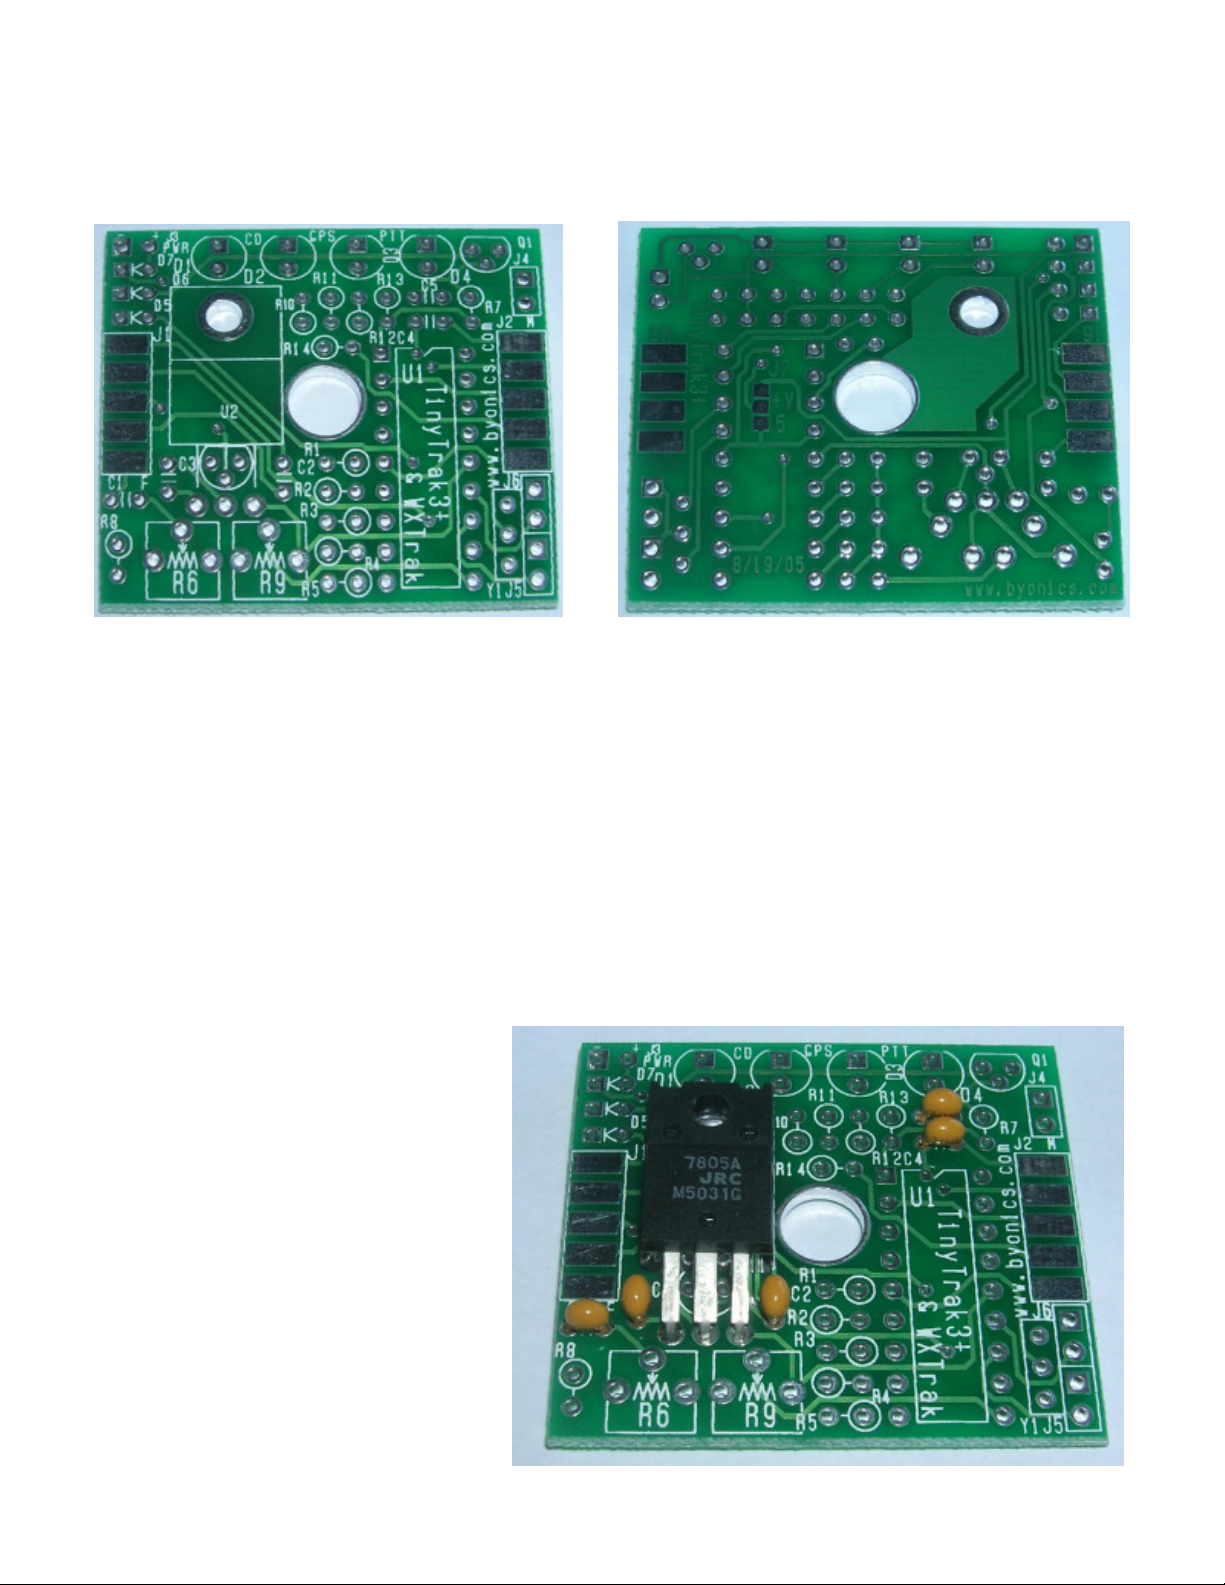
Construction ............................................................................................................................................................................................... 3
Schematic ............................................................................................................................................................................ 3
Parts List.............................................................................................................................................................................. 3
Printed Circuit Board............................................................................................................................................................ 4
Upgrading from an older TinyTrak....................................................................................................................................... 4
Assembly Instructions.......................................................................................................................................................... 4
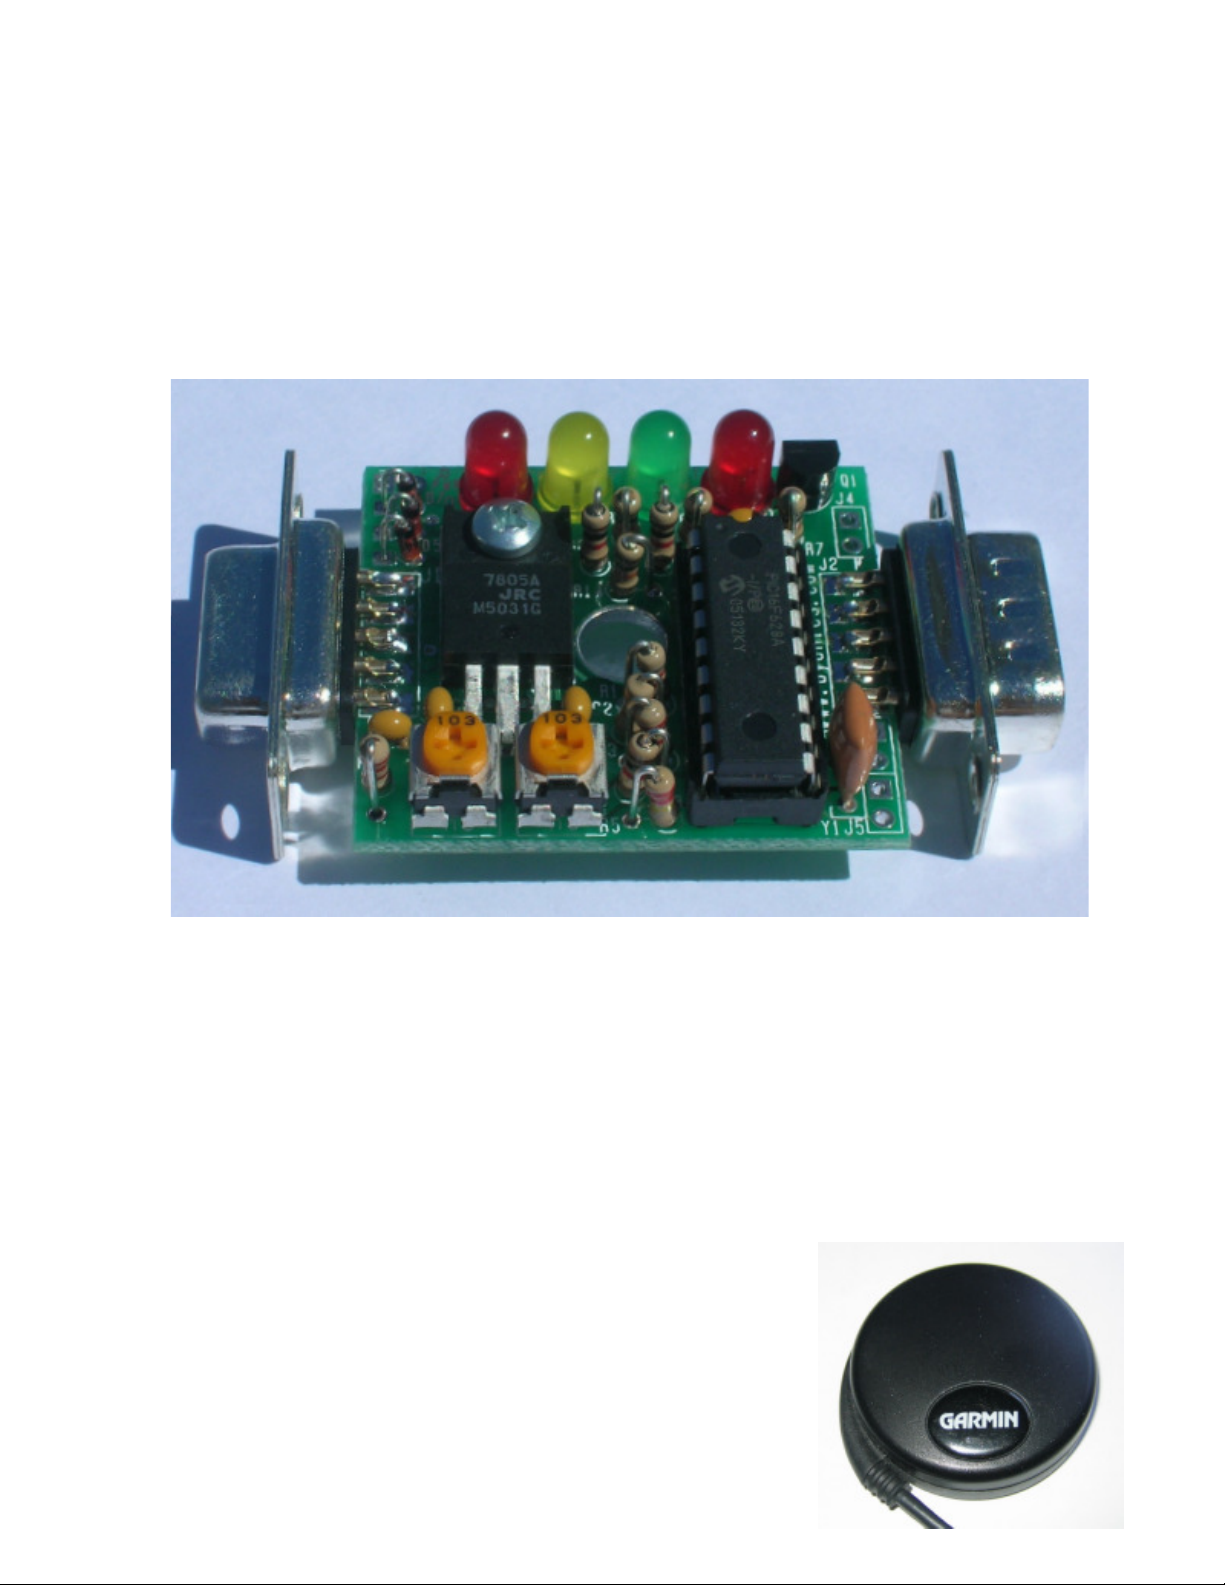
Assembly Completion .......................................................................................................................................................... 7
Interfacing ............................................................................................................................................................................ 7
Radio – J1 ........................................................................................................................................................................ 8
Serial – J2 ........................................................................................................................................................................ 8
Power – J3 (also J1 and J2)............................................................................................................................................. 9
LED Control – J4.............................................................................................................................................................. 9
Primary/Secondary Switch SW 1 – J5 ............................................................................................................................. 9
Power Switch – J6............................................................................................................................................................ 9
Serial Power Enable – J7................................................................................................................................................. 9
Operations.................................................................................................................................................................................................. 9
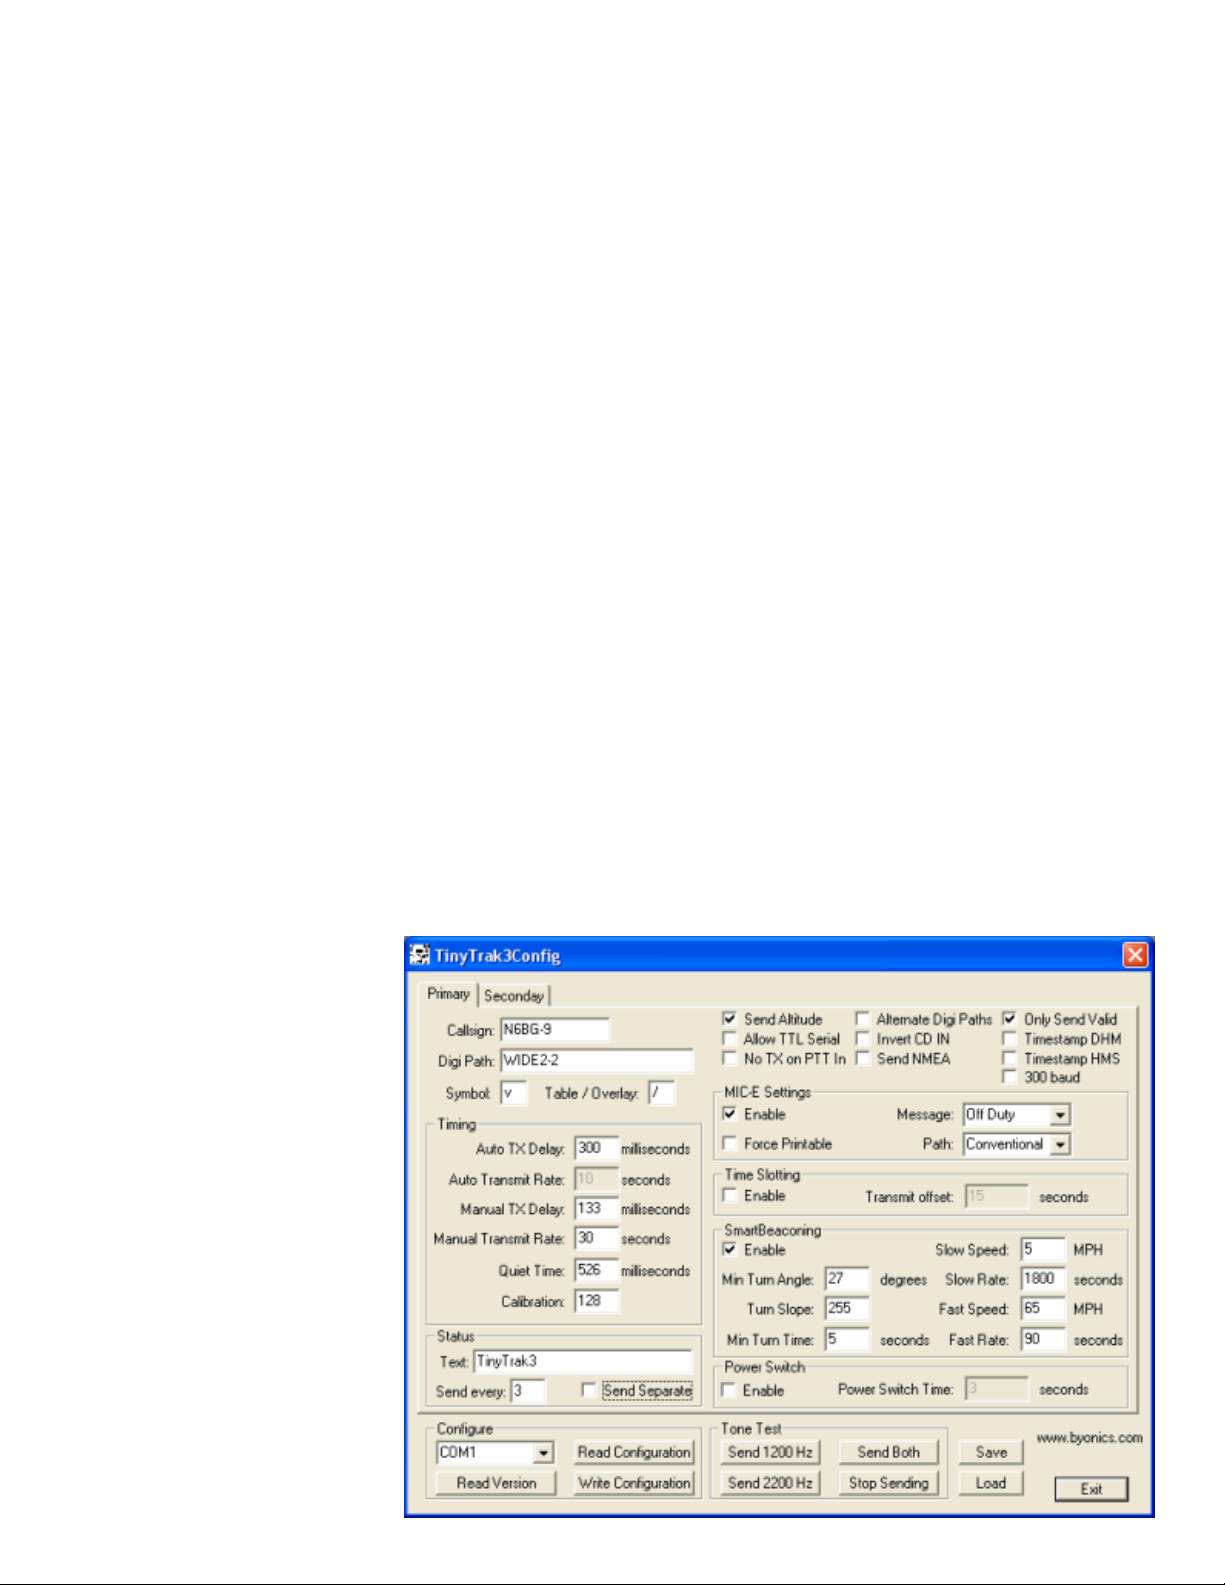
Configuration Software ...................................................................................................................................................... 9
Primary / Secondary....................................................................................................................................................... 10
Callsign .......................................................................................................................................................................... 10
Digi Path......................................................................................................................................................................... 10
Symbol & Symbol Table / Overlay..................................................................................................................................10
Timing ............................................................................................................................................................................ 10
Status ............................................................................................................................................................................. 11
Checkbox Options.......................................................................................................................................................... 11
MIC-E Settings ............................................................................................................................................................... 12
Time Slotting .................................................................................................................................................................. 12
SmartBeaconing............................................................................................................................................................. 13
Power Switch ................................................................................................................................................................. 13
Configure........................................................................................................................................................................ 13
Tone Test....................................................................................................................................................................... 14
Save / Load .................................................................................................................................................................... 14
Windows XP Issue ......................................................................................................................................................... 14
TinyTrak3 Adjustment........................................................................................................................................................ 14
Troubleshooting .......................................................................................................................................................................................15
Frequently Asked Questions ....................................................................................................................................................................16
Hints, Tricks, & Notes...............................................................................................................................................................................17
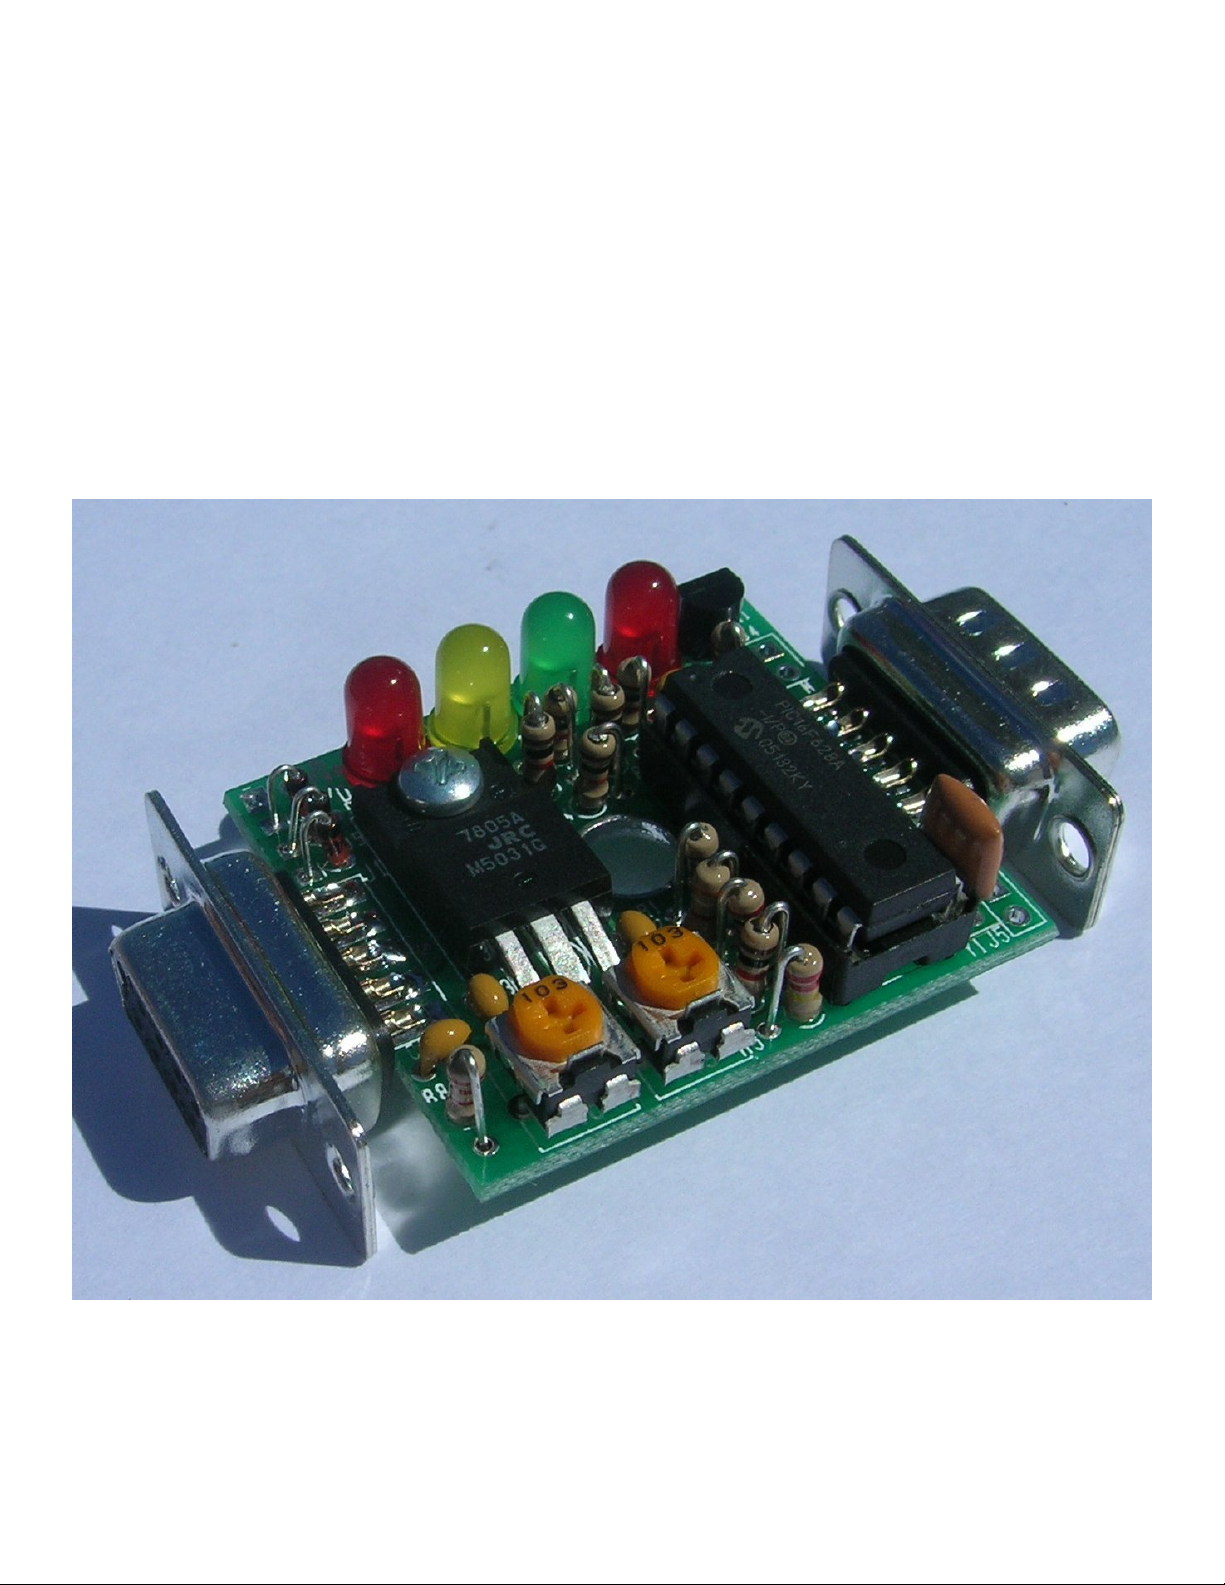
Overview
TinyTrak3Plus is a small, inexpensive radio controller designed to receive and broadcast position reports from a GPS
receiver. It removes the need for a full TNC (terminal node controller) in an APRS tracker. When combined with an
NMEA-0183 compatible serial GPS receiver, and a radio transmitter, TinyTrak3Plus will key the radio at user-defined
intervals, and transmit the GPS’s current position. The position can be sent as text, or in the compact binary MIC-E
format, and can include position with altitude, speed, heading, a status message, and a timestamp. TinyTrak3Plus can be
configured for time slotted reporting, or the dynamic reporting rate of SmartBeaconing. TinyTrak3Plus can conserve radio
battery use by turning the radio on just before a transmission will be sent, and can be configured to transmit a 1/3 sec
position burst after unkeying after voice traffic, or to send positions on command. It supports most RS-232 and TTL GPS
receivers, and can provide power to many 5 volt and 12 volt receivers. All TinyTrak3Plus operating parameters are stored
in the internal EEPROM, and will persist even when power is removed. TinyTrak3Plus is the same as TinyTrak3 except
for a different circuit board which can power a GPS, and a larger voltage regulator to do so. This TinyTrak3Plus manual is
a copy of the TinyTrak3 manual with the assembly section re-written for the TinyTrak3Plus. The two units use the exact
same microcontroller and configuration software. TinyTrak3 and TinyTrak3Plus were created by Byon Garrabrant, N6BG.
More information can be found at the Byonics web site at http://www.byonics.com/tinytrak.
Acknowledgments
Thank you to Tony Barrett, N7MTZ, and all the other beta testers and users of the TinyTrak3, TinyTrakII, and TinyTrak. Without your
suggestions and support, TinyTrak3Plus could not have been created.