manuals.online logo
Brands
  1. Home
  2. •
  3. Brands
  4. •
  5. Cablematic
  6. •
  7. Adapter
  8. •
  9. Cablematic BLE RS-232 Series User manual

Cablematic BLE RS-232 Series User manual

 
Bluetooth V4.2 BLE RS-232 Serial Adapter
Model: BLE-232D-E
1. Package content:
BLE RS-232 adapter
White Box: 11 x 6 x 5 (cm)
otal Package Weight: 105 g
Package Contents:
BLE RS-232 adapter x 1
A4 User manual x 1
Mini USB Cable x 1
2. Pro ile:
2.1 Top view:
LED Status Description
Data LED flash Data transmission
Data LED solid on No data transmission
Link LED solid on BLE Link
Link LED flash No Link
Data & Link LED solid on DFU/O A Mode
DB9 (Female)
Reset to Default
2 dBi Antenna
▲+ (5~27 VDC)
▼ GND
Mini USB (Power)
LED:
Link: Blue
PWR/Data: Red

 
2.2 Rear Side:
Switch con iguration:
Setup C S/R S Stop Bit Parity Role Baud Rate
9 8 7 6-5 4 3-2-1
0: Switch
1: Command
0: Disable
1: Enable
0: 1
1: 2
00: None
01: Odd
10: Odd
11: Even
0:Slave
1:Master
110:2400
111:4800
000:9600
001:19200
010:38400
011:57600
100:115200
101:23040
0
Remark:
1. 000000000 by default, in red bold character
2. he GA service and A command will support more settings than the DIP switch,
please check the page 4 section 5 and page 5 section 6.
2.3 DB9 connector (Male)
▲ DCE
▼ D E
DIP Switch

 
Pin Signal DTE Direction DCE Direction Description
1 N/A
2 RxD Output Input ransmitted data
3 xD Input Output Received data
4 N/A
5 GND Ground
6 N/A
7 R S Input Output Clear to send
8 C S Output Input Request to send (Default)
9 VCC Power Input (5~27 VDC)
3. Power supply:
3.1 Voltage: 5~27 VDC, Don’t exceed the limit.
3.2 here’re 3 ways to power the adapter: Mini USB, 2P erminal Block (Blue) and pin9
of DB9, please choose one. Don’t power the adapter by more than one source.
3.3 he mini USB to type A cable is inside the standard package.
4. Speci ications:
4.1 Default value:
Baud rate: 9,600 bps
Data bit: 8
Parity: none
Stop bit: 1
Flow control: none
Device Name: BLE 232
Pin code:“123456” if necessary
4.2 Serial Port:
Baud Rate: 1.2/2.4/4.8/9.6/19.2/38.4/57.6/115.2/230.4/460.8/921.6 Kbps
Parity: none/even/odd
Stop bit: 1/1.5/2
Data bit: 7/8
2: RX 7: RTS
3: TX 8: CTS
5: GND 9: VCC

 !"!
#$!%
&'(#)
*
+,'&#
-
&
&
.+/%

,0"&!"1"!2,03
,0"&!"1"!2,03
,0"&!"1"!2,03
$,0"2,03
$,0"2,03
$,0"2,03
$,0"2,03
$,0"2,03
$,0"2,03
-!45..
5
 
Remark: he GA service and A command will support all the functions, please
check the page 4 section 5 and page 5 section 6.
4.3 Range: max. 50 m in open space ( he range is depend on the real environment)
4.4 X Power: Max. 3 dBm
4.5 RX Sensitivity: -89 dBm typical
4.6 X current consumption of 15.6 mA (radio only, 0 dbm)
4.7 Operation emperature: –40 °C to +70 °C
4.8 Dimensions: 87 mm (L) x 34 mm (W) x 18 mm (H)
4.9 Antenna Gain: max. 2 dB
Remark: All contents are subject to change without notice.
5. GATT Service:
5.1 Architecture:
5.2 Programming Interfaces:
GA UUID
UUID_Device Information 0000180A-0000-1000-8000-00805F9B34FB
UUID_Firmware Revision String 00002A26-0000-1000-8000-00805F9B34FB
6
 
UUID_NO IFY (~20 bytes) 00031234-0000-1000-8000-00805F9B0130
UUID_RxData (~20 bytes) 00031234-0000-1000-8000-00805F9B0131
UUID_MacID (6 bytes) 00031234-0000-1000-8000-00805F9B0133
UUID_DeviceName (15 bytes) 00031234-0000-1000-8000-00805F9B0134
UUID_Reboot (1 bytes) 00031234-0000-1000-8000-00805F9B0135
UUID_PinID_Setting (6 bytes) 00031234-0000-1000-8000-00805F9B0136
UUID_BLE_CONF (7 bytes) 00031234-0000-1000-8000-00805F9B0132
Byte0 Byte1 Byte2 Byte3
Data bit Hwfc Stop Bit Parity Bit
7,8 0x01:on
0x00:off
2:1
3:1.5
4:2
0x02 : No Parity
0x01 : Odd Parity
0x00 : Even Parity
Byte4 Byte5 Byte6
Baud Rate Device Mode Reset o Default
00:9600
01:19200
02:38400
03:57600
04:115200
05:230400
06:2400
07:4800
08:1200
09:460800
10:921600
0x01:on
0x00:off
0x01: Reset
6. Command set via COM port:
Command Value Description
A Check the connection status between control terminal and the RS-232
adapter. Response: “OK” when the connection is ok. Response:
“ERROR” when the connection is not ok.
A est the RS-232 status when first connect the adapter with the
controller.
(Default) N he command will disable the auto link function.
? Inquire the current setting.
BAUD= his command is used to specify the baud rate of COM port.
he command will need 200 ms delay.
1200 1200 bps

 
2400 2400 bps
4800 4800 bps
9600 9600 bps
(Default) 19200 19200 bps
38400 38400 bps
57600 57600 bps
115200 115200 bps
230400 230400 bps
460800 460800 bps
921600 921600 bps
? Inquire the current baud rate.
BI =
7 7 data bit
8 8 data bit
? Inquire the current data bit
DEFAUL = his command is used to restore the default settings and originate a
warm start.
Y Restore the default settings (e.g. 19200 bps).
he command will re-start the system for 1 second.
DFU= Device Firmware Upgrade via PC software. O A (Over the air) is
available to upgrade the firmware by APP
Y
ECHO= his command is used to specify whether the adaptor echoes
characters received from the UAR back to the D E/DCE.
N Command characters received from the UAR are not echoed back to
the D E/DCE.
(Default) Y Command characters received from the UAR are echoed back to the
D E/DCE.
? Inquire the current setting.
FLOW= his command enable or disable flow control signals (C S/R S) of the
UAR port. Note, the setting is not affected by DEFAUL .
he command will need 1 second delay.
(Default) N Disable flow control.
Y Enable flow control.
? Inquire the current setting
NAME= his command is used to specify a device name for the adaptor.
You can specify a friendly name using 0 to 9, A to Z, a to z, space and
–, which are all valid characters. Note that “first space or -, last space or
– isn’t permitted”. he default name is “Serial Adaptor”.
(Default) BLE232 Default device name
xx….xx “xx….xx” is a character string with the length from 2 to 30.
R Restore the default settings name=“BLE Serial”.
? Inquire the name of the local adaptor.
PARI Y= his command is used to specify parity bit setting of COM port.
he command will need 200 ms delay.
7
 
(Default) N None parity bit
O Odd parity
E Even parity
? Inquire the current setting.
PIN= his command is used to specify a PIN code. he default is simple
paiing w/o PIN code. he format is 6 number only.
xx….xx “xx….xx” is a 0~9 number
? Inquire the current PIN.
PROMP = he command is used to decide whether result messages are prompted
when Setup commands are executed. he result messages are:
OK/ERROR for command execution.
(Default) Y Prompt result messages.
N Not prompt result messages.
? Inquire the current setting.
ROLE= his command is used to specify whether the adaptor is in the central
or peripheral role. If the device role is changed, the adaptor will reboot
and all paired addresses will be cleared.
C Set the adaptor to the central role.
(Default) P Set the adaptor to the peripheral role.
? Inquire the current role of the adaptor.
S A US= Inquire all the current setting of the adapter.
Inquire the inner temperature of the IC in centigrade
? Display the current setting of the adapter
S OP= his command is used to specify one or two stop bits of COM port.
he command will need 200ms delay.
(Default) 1 One stop bit.
2 wo stop bits.
? Inquire the current setting.
VERSION= his command is used to inquiry the firmware version.
? Inquire the version codes.
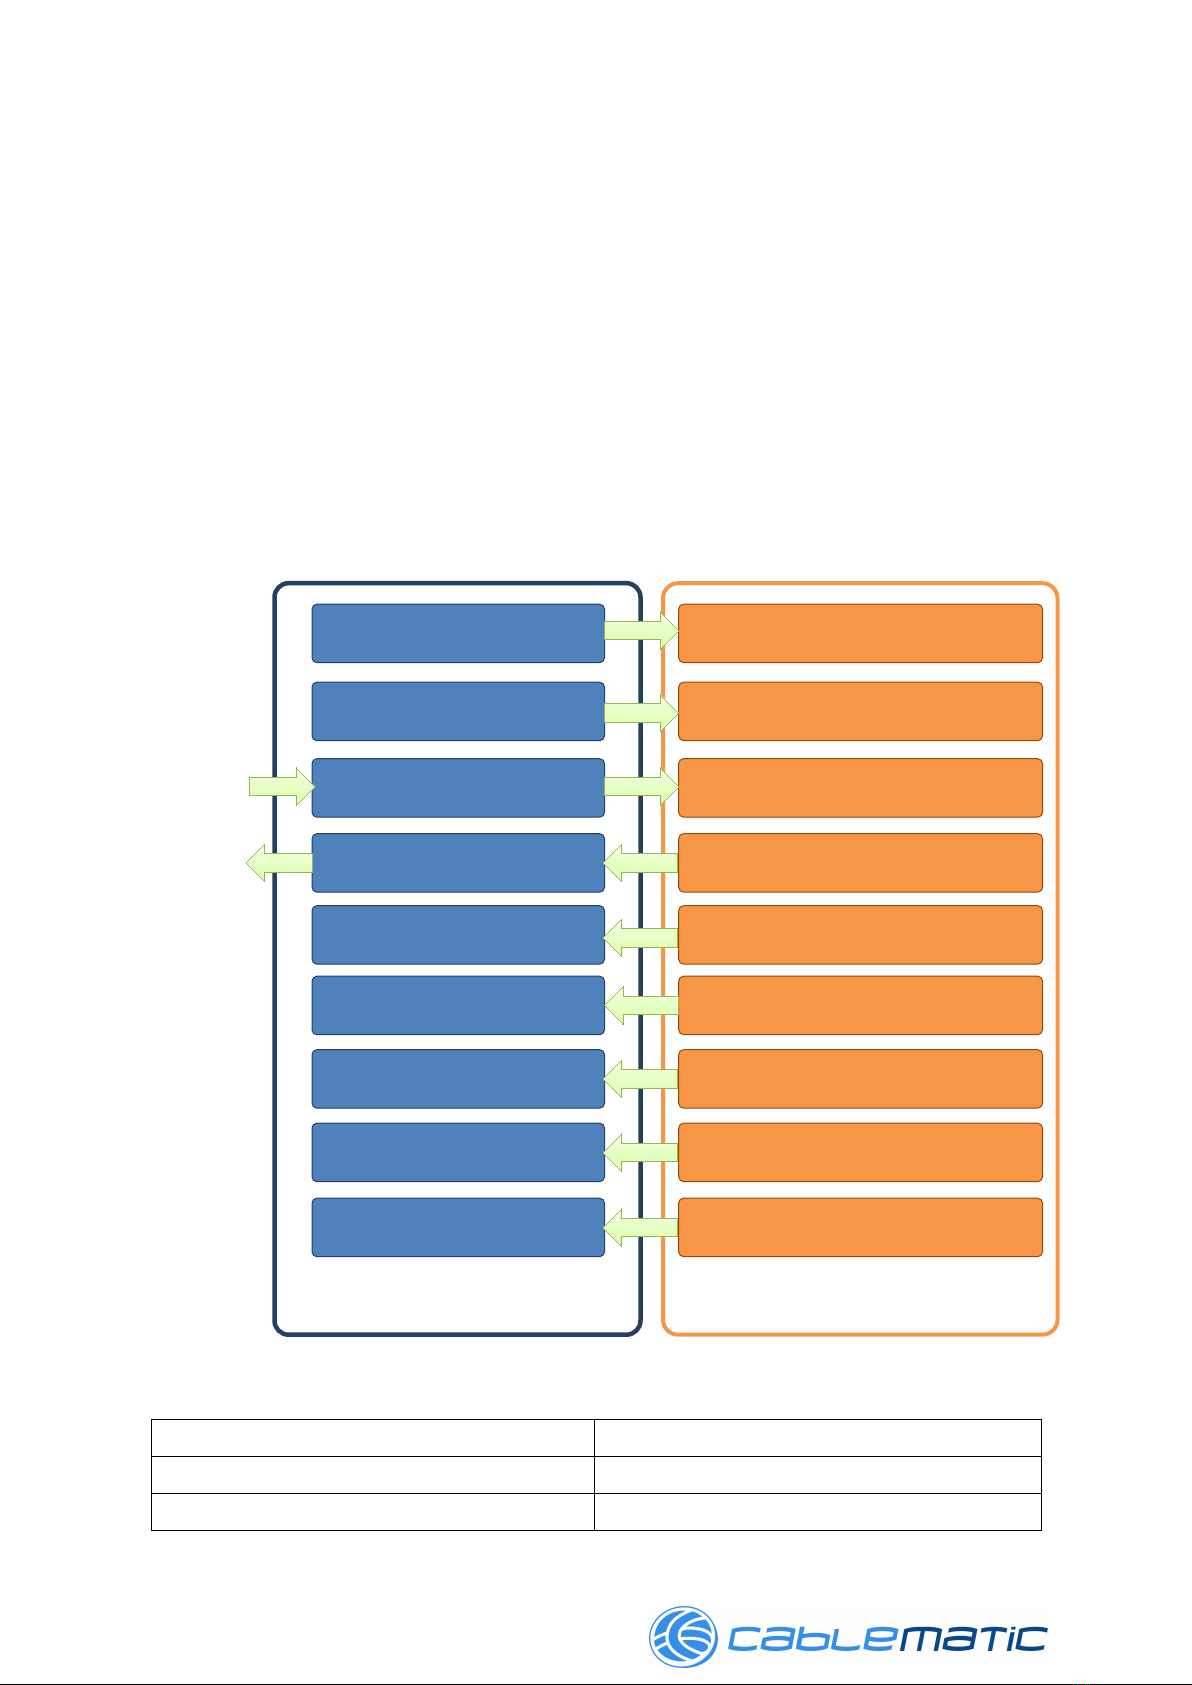
7. Central and Peripheral: (Similar like the Master and Slave roles)
7.1 DIP switch setting: he central will pair the slave automatically, please refer to page
2 section 2.3.
Switch DIP-9 to 0 (Switch)
Switch DIP-4 to 1 (Master)
he central will link with the neighboring peripheral automatically. he blue
LED will be solid on. he central will link with the paired peripheral on next time
when power on.
Please reset to the default and follow the above procedures if you want to link
with other same BLE serial adapter.
If there’re several pairs in the same space, please set the different PIN code by
pairs.
8
 
7.2 A command: Please refer to page 5 section 6.
Set “role=c” or “ROLE=C” in one adapter.
he central will link with the neighboring peripheral automatically. he blue
LED will be solid on. he central will link with the paired peripheral on next time
when power on.
Please reset to the default and follow the above procedures if you want to link
with other BLE devices.
7.3 APP setup: Please contact the supplier to for the test APP.
he APP will search the BLE and select one as the central.
hen select the other one as the peripheral and link.
he central will link with the neighboring peripheral automatically. he blue
LED will be solid on. he central will link with the paired peripheral on next time
when power on.
Please reset to the default and follow the above procedures if you want to link
with other BLE devices.
8. APP: he APP is used for the configuration and the data transmission test.
Scan and select one. Connect and configure Data transmission test.
Download: Please contact the supplier for the APP download or the sample code.
Android: iOS:
Setup mode
Scan BLE
Reset
Default
Setup
Enable
Central
Device list
Select one
Clear data
and log
Data mode
X area
RX area
Disconnect
Serial Port setting: Baud rate, Data
bit, Stop bit, Parity, flow control.

 
9

This manual suits for next models

1

Other Cablematic Adapter manuals

Cablematic BLE-485C User manual

Cablematic

Cablematic BLE-485C User manual

Cablematic RW13 User manual

Cablematic

Cablematic RW13 User manual

Cablematic USB 3.0 DISPLAY ADAPTER User manual

Cablematic

Cablematic USB 3.0 DISPLAY ADAPTER User manual

Popular Adapter manuals by other brands

VOLTCRAFT SNG 12/1500-OW quick start guide

VOLTCRAFT

VOLTCRAFT SNG 12/1500-OW quick start guide

Gossen MetraWatt USB HIT operating instructions

Gossen MetraWatt

Gossen MetraWatt USB HIT operating instructions

LevelOne PLI-4052 user manual

LevelOne

LevelOne PLI-4052 user manual

Konig & Meyer 23881B INFORMATION FOR USE

Konig & Meyer

Konig & Meyer 23881B INFORMATION FOR USE

Connective Peripherals USB2-H-6002 quick start guide

Connective Peripherals

Connective Peripherals USB2-H-6002 quick start guide

Linksys WUSBF54G Quick installation guide

Linksys

Linksys WUSBF54G Quick installation guide

Tascam CA-XLR2d Reference manual

Tascam

Tascam CA-XLR2d Reference manual

Chicco GOODY XPLUS manual

Chicco

Chicco GOODY XPLUS manual

Siemens PS791-2AC operating instructions

Siemens

Siemens PS791-2AC operating instructions

Hawking HAWNU1 Quick installation guide

Hawking

Hawking HAWNU1 Quick installation guide

TRENDnet TEW-229UB user guide

TRENDnet

TRENDnet TEW-229UB user guide

Daikin BRP072B42 installation manual

Daikin

Daikin BRP072B42 installation manual

Sensio 6W Titan+ quick start guide

Sensio

Sensio 6W Titan+ quick start guide

Inateck TCV1001 instructions

Inateck

Inateck TCV1001 instructions

Philips 22ER9153 operating instructions

Philips

Philips 22ER9153 operating instructions

Warpia StreamHD quick start guide

Warpia

Warpia StreamHD quick start guide

Boca Systems Turbo1x1 installation manual

Boca Systems

Boca Systems Turbo1x1 installation manual

Midian TRA instruction manual

Midian

Midian TRA instruction manual

manuals.online logo
manuals.online logoBrands
  • About & Mission
  • Contact us
  • Privacy Policy
  • Terms and Conditions

Copyright 2025 Manuals.Online. All Rights Reserved.