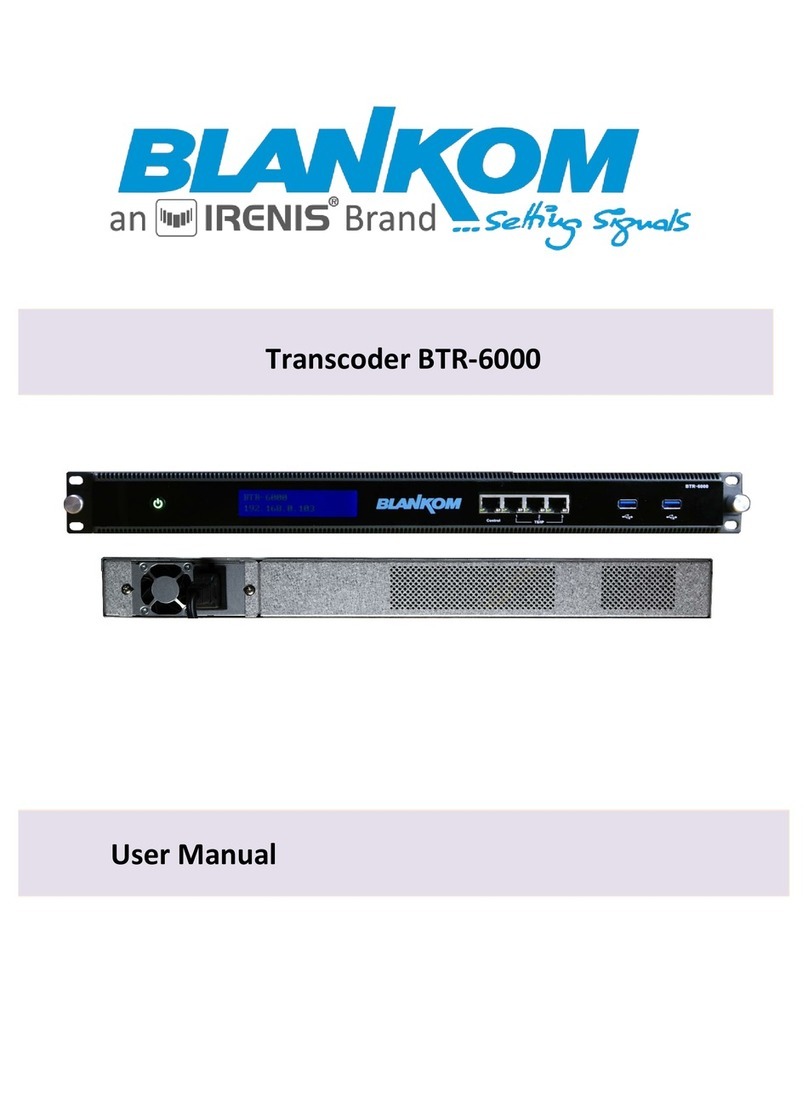
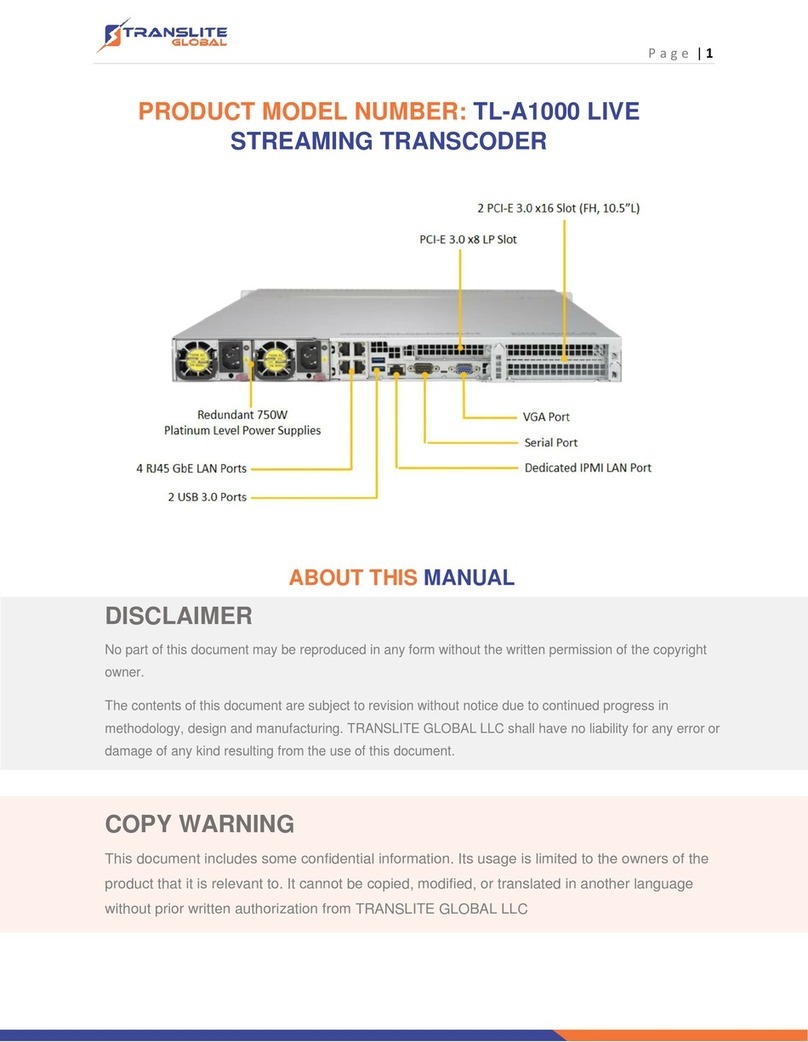
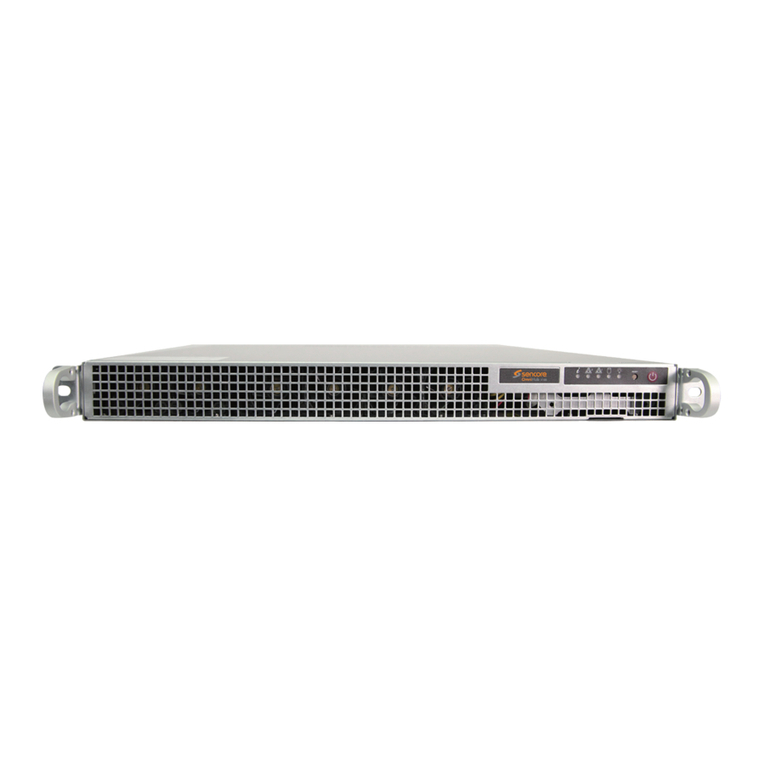
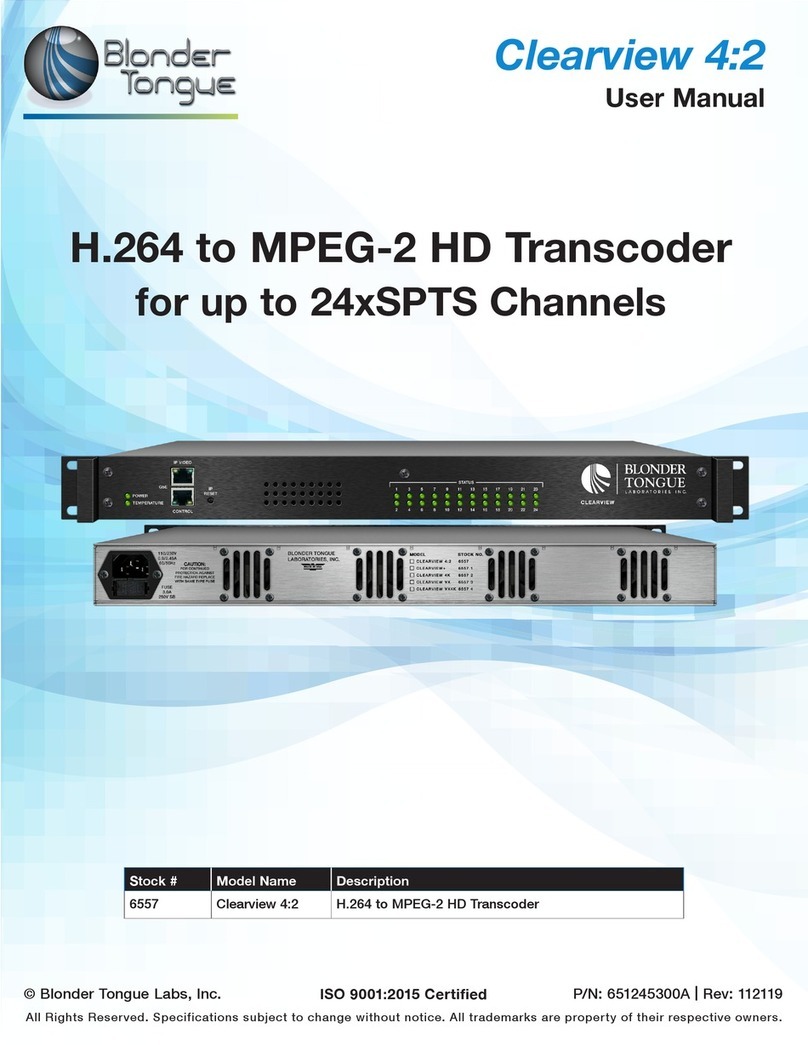
Cabletime MediaStar 700-485 User manual

Quick Start Guide
200-2491 v1
1/12
QUICK START
GUIDE
MediaStar 700-485 Transcoder Installation
Guide
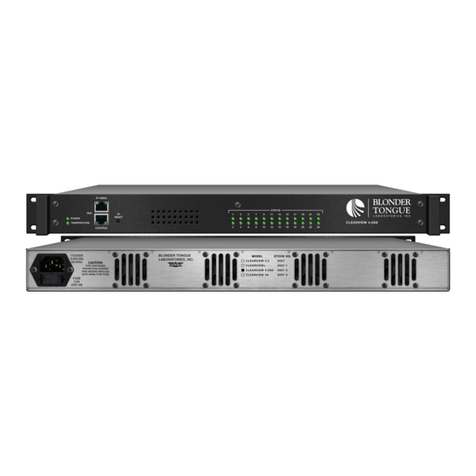
The MediaStar Multistream Transcoder
(700-485) is a dedicated 1RU
processing unit for transcoding multiple
live IPTV streams. It provides video
and audio format and picture resolution
conversion, with bitrate-controlled
stream transmission on a multicast
LAN.
The Transcoder can take a range of off-air and
internally generated IPTV streams and convert
them all to a common picture resolution, video
standard and bitrate, for consistent distribution
across a corporate LAN or WAN.
It will accept up to 20 single-program, unicast
or multicast, UDP MPEG2 transport streams with
MPEG2, H264 or H265 encoded video and
MPEG, AAC or digitally encoded audio. The
incoming video can be transcoded to either
H264 or H265 and the audio is converted to
stereo AAC.
The incoming stream picture resolution may be
changed to any setting in the standard 480p to
1080p range, although high upscaling is not
recommended for picture quality reasons.
H265 encoded video provides a picture of equal
quality to MPEG2 or H264, but at significantly
lower stream data rates. It should be noted
though, that 780 units do not play H265 video
streams.
What’s in the
box:
•
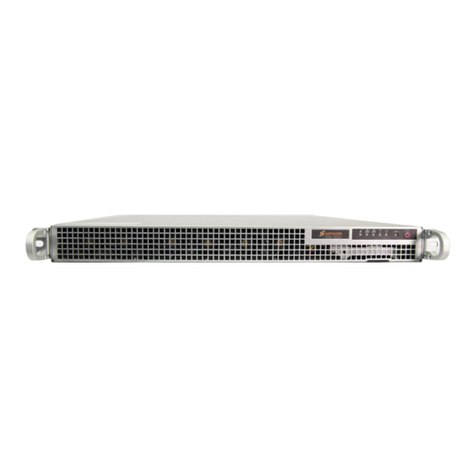
700-485 1RU Transcoder
•
Rack Mounting Kit
•
AC mains power leads
The Transcoder can also produce a separate G711
network audio stream of the TV audio, for
transmission to third party audio distribution
systems. The phasing of the G711 audio stream
can be adjusted so playback through a third-party
system can be synchronized with large screen
video playout using MediaStar 782 or 780 units.
The Transcoder is a full depth, 1RU unit, with dual
redundant, hot swappable power supplies. The
unit is supplied with a rack mounting kit and dual
AC mains supply leads.
Configuration is via web page menus provided by
the Transcoder itself. The unit can be used
standalone or with Media Manager software which
will monitor the unit and provide drag and drop
media icons for all the transcoded streams.

Quick Start Guide
700-485 Transcoder Installation Guide
2
/12
Important Safety Instructions
1. Read these instructions.
2. Keep these instructions.
3. Heed all warnings.
4. Follow all instructions.
5. Do not use this apparatus near water.
6. Clean only with a dry cloth.
7. Do not block any ventilation openings.
Install in accordance with the
manufacturer’s instructions.
8. Do not install near any heat sources such
as radiators, heat registers, stoves or other
apparatus (including amplifiers) that
produce heat.
9. This unit must be installed using mains (AC
supply) plugs and sockets that contain a
protective earth (ground) connection. The
mains socket(s) must; be located near the
equipment, remain operable, and be easily
accessible to disconnect the unit in the
case of an emergency.
10. Do not defeat the safety purpose of the
polarized or grounding-type plug. A
polarized plug has two blades with one
wider than the other. A grounding type
plug has two blades and a third grounding
prong. The wide blade or the third prong
are provided for your safety. If the
provided plug does not fit into your outlet,
consult an electrician for replacement of
the obsolete outlet.
11. Protect the power cord(s) from being
walked on or pinched particularly at
plugs, convenience receptacles, and the
point where they exit from the apparatus.
12. Only use attachments/accessories specified
by the manufacturer.
13. Use only with the cart, stand tripod,
bracket, or table specified by the
manufacturer, or sold with the apparatus.
When a cart is used, use caution when
moving the cart/apparatus combination to
avoid injury from tip-over.
14. Unplug this apparatus during lightning
storms or when unused for long periods of
time.
15. Refer all servicing to qualified service
personnel. Servicing is required when the
apparatus has been damaged in any way,
such as power-supply cord or plug is
damaged, liquid has been spilled or objects
have fallen into the apparatus, the
apparatus has been exposed to rain or
moisture, does not operate normally, or
has been dropped.
Quick Start Guide
700-485 Transcoder Installation Guide
3
/12
Installation
Before installing the MediaStar 700-485 Transcoder, ensure that the Regulatory Requirement
Notices and Important Safety Instructions at the beginning of this guide have been read.
Ensure that the mains supply has an adequate capacity and a reliable protective earth
connection, particularly when power distribution strips are used in equipment racks. Ensure
the mains supply on each Transcoder PSU module is independent so the unit will continue to
operate if one mains supply fails. If connecting the Transcoder to the mains supply overloads
a mains fuse or over-current trip, all the equipment on that mains supply will be shut down.
The mains power required for the Transcoder can be found in the Technical Specification
section of this document.
NOTE: Hazardous mains voltages will still be present inside the Transcoder until BOTH mains
supply cables have been removed.
If there is any doubt whatsoever about these installation requirements, a qualified electrician
must be consulted.
All MediaStar equipment has a maximum operating temperature of 40°C. When mounting inside an
enclosed 19” rack tower, ensure there is sufficient cool free ventilation airflow to keep MediaStar
equipment below its maximum operating temperature. When mounting the Transcoder unit, ensure that
the ventilation and fan grills in front and back of the units remain un-obstructed.
Follow the installation instructions below:
1. Use the 19” rack mounting kit provided to securely fit the Transcoder into the rack. The Rack
mounting kit comes with its own installation guide.
2. Connect a monitor to the VGA connector on the rear of the unit (not supplied).
3. Connect a USB keyboard and mouse to the USB ports on the rear of the unit (not supplied).
4. Connect the unit to the mains with the TWO IEC mains cables provided.
5. Power on the unit using the on/off switch on the front right-hand side. The unit will start booting
and the fans will come on at full power until the unit has booted. You will see the Linux boot
process on the monitor.

Quick Start Guide
700-485 Transcoder Installation Guide
4
/12
Configuration on first use
Before the Transcoder can be used for the first time, it is essential to configure it for use on the network
and change the local account passwords from their defaults. Automatic login is configured by default,
but this should be changed for platform security reasons. If the local account passwords are lost, they
cannot be reset so the Transcoder will need to returned to Cabletime for a full system re-install.
The default passwords for user ‘cabletime’and user ‘root’are: cabletime
Use the local monitor, keyboard and mouse for the following actions:
1. Determining/Setting the IP Address
The unit is initially configured to gain IP addresses via DHCP (IPv4) and RA or DHCPv6 (IPv6). To
determine the address of the machine:
a. At the login prompt, login as user ‘cabletime’ (if automatic login is not configured).
b. Double click the Firefox icon on the desktop. The device’s web interface will be displayed.
c. Click on the ‘Status’ entry in the menu on the left-hand side. The unit’s information will be
displayed, which will include any IPv4 and IPv6 addresses assigned to the unit.
If the IP address of the machine needs to be changed, then:
a. Click the ‘Network Setup’ entry in the menu on the left-hand side.
b. Change the IPv4 and IPv6 parameters as required.
c. Click ‘Apply’.
2. Changing Passwords
Cabletime User
a. At the login prompt, login as user ‘cabletime’ (if automatic login is not configured).
b. Double click the ‘Terminal’ icon on the desktop.
c. Enter the command ‘passwd’.
d. Enter the current password for the ‘cabletime’ user when prompted.
e. Enter the new password for the ‘cabletime’ user when prompted.
f. Confirm the new password for the ‘cabletime’ user when prompted.
Root User
a. At the login prompt, login as user ‘cabletime’ (if automatic login is not configured).
b. Double click the ‘Terminal’ icon on the desktop.
c. Enter ‘su‘.
d. Enter the current password for the ‘root’ user when prompted.
e. Enter the command ‘passwd’.
f. Enter the new password for the ‘root’ user when prompted.
g. Confirm the new password for the ‘root’ user when prompted.
3. Enabling and Disabling Automatic Desktop Login
By default, automatic login to the Transcoder desktop is enabled. This can be changed as follows:
Enabling
a. At the login prompt, login as user ‘cabletime’ (if automatic login is not configured).
b. Double click the ‘Terminal’ icon on the desktop.
c. Enter ‘sudo enable-autologin’.
d. Enter the password for the ‘cabletime’ user if prompted.

Quick Start Guide
700-485 Transcoder Installation Guide
5
/12
Disabling
a. At the login prompt, login as user ‘cabletime’ (if automatic login is not configured).
b. Double click the ‘Terminal’ icon on the desktop.
c. Enter ‘sudo disable-autologin’.
d. Enter the password for the ‘cabletime’ user if prompted.
4. Enabling and Disabling Remote Access via SSH
By default, SSH access to the Transcoder is disabled. This can be changed as follows:
Enabling
a. At the login prompt, login as user ‘cabletime’ (if automatic login is not configured).
b. Double click the ‘Terminal’ icon on the desktop.
c. Enter ‘su‘.
d. Enter the current password for the ‘root’ user.
e. Enter ‘systemctl enable sshd’
f. Enter ‘systemctl start sshd’
Disabling
a. At the login prompt, login as user ‘cabletime’ (if automatic login is not configured).
b. Double click the ‘Terminal’ icon on the desktop.
c. Enter ‘su‘.
d. Enter the current password for the ‘root’ user.
e. Enter ‘systemctl disable sshd’
f. Enter ‘systemctl stop sshd’

Quick Start Guide
700-485 Transcoder Installation Guide
6
/12
Browser based Configuration Menus
The Transcoder’s web page configuration menus allow the full range of operational parameters to be
set. When using the web pages, full contextual help is provided on the right side of the screen.
When changes have been made, press the APPLY button at the bottom of the page to ensure these
take effect.
Specification - The specification page includes details of the capabilities of the product. Please note
that this unit may not have all the options mentioned. The Status page shows all the optional
features currently enabled.
Status - Shows the current status of the Transcoder, including the Part number, Serial Number, Unit
name (used as a DHCP name identifier), CPU Load, GPU Load, Memory Load, Network Load, V4 & V6
IP Address details, Software Version, network Link Status and Current Status.
Transcoder Config –This is where all the stream transcoding parameters are configured.
Network Setup - Allows specification of the Network Connection; Static or DHCP addressing, device
Hostname, IP Address, Subnet Mask, and Gateway settings. Confirm these with the network
administrator before configuring.
Update Locations –This is the URL of the MediaStar http server and folder that the Re-Caster will
look at for software updates and configuration files. It will normally automatically be set by the
Media Manager server. The Re-Caster will only accept new software that has been digitally signed by
Cabletime.
Enablement Code –Enter enablement codes here to reconfigure or expand the capabilities of your
unit. Details can be obtained from your reseller or Cabletime. Reset checkboxes are located here.
Set Password - A password may be set to prevent the unauthorised modification of the unit’s
configuration. A password consists of up to 1000 digits and can be administered centrally from the
Media Manager software. If the password gets lost, contact Cabletime for assistance, quoting the
serial number of the unit affected.

Quick Start Guide
700-485 Transcoder Installation Guide
7
/12
Transcoder Configuration
Connect to the Transcoder’s configuration web pages using a PC/MAC and Web browser software (e.g.
Edge, Chrome or Firefox), by entering the Transcoder’s IP address into the browser’s address bar. Click
through any warnings and the Transcoder’s specification page will then be shown.
Click on the Transcoder Config page link on the left-hand side panel and configure the Transcoder for
use. Each of the 20 simultaneous Transcoding processes are shown. Context sensitive Help can be
shown on the right-hand side of the screen if required.
Set up the transcoder process in the following way:
1. Check the Enabled box to enable the transcoder process.
2. Set the name of the TV channel in the Label field. This channel name will be used for transcoder
stream media icons automatically created in Media Manager.
3. Set the IP stream details of the incoming stream in the Source Address field. If a Multicast IP
address is set, the Transcoder will ‘pull’the stream off the network using IGMP commands. If an
incoming unicast stream is being directed at the IP address of the Transcoder, enter the port
number here.
4. Set the Destination Address of the outgoing transcoded stream. This can be a multicast or
unicast address.
5. If a separate G711 RTP audio stream is required for input into a third-party audio distribution
system, set the outgoing multicast or unicast address in the G711 Audio Destination field. If no
G711 stream is required, leave this field blank.

Quick Start Guide
700-485 Transcoder Installation Guide
8
/12
6. The G711 Delay field can be set to delay the G711 audio stream in relation to the outgoing
transcoded IPTV stream. This delay can be set to synchronise low latency audio system playout
with screens being fed from 780 or 782 units decoding the main transcoded stream. The units
specified are milli-seconds (mS).
7. Set the Resolution field to determine the output resolution of the Transcoded stream. Set to Auto
to keep the outgoing picture resolution the same as the incoming one. If you set an output picture
resolution from the drop-down list, and the output picture will be scaled to that resolution,
regardless of the original incoming picture resolution. Ensure low resolution incoming pictures are
not scaled up too far, or ‘grainy’pictures will result.
8. Select the Video Codec to be used for the outgoing stream. H265 will only work with 782 Settops
and PC/MAC software players (not 780 settops) but does give a good quality pictures at low
bitrates.
9. Set the average Bitrate for the outgoing transcoded stream (in Mbps). Higher bit rates give better
quality pictures but use more network bandwidth.
10. Press the Apply button at the bottom of the page to start the transcoding process. After a few
seconds the output data rate on the right-hand side of the screen will be updated to show the full
bitrate of the transcoded stream. This will vary a little.
Clicking the download link on the right-hand side of the transcoder process will download a SDP (session
Description Protocol) file onto your PC. Some audio systems use this SDP file to tell them the IP address
of the G711 audio stream.
If you go to the Status page (left hand menu link) you will then see the processing load on the
transcoder and the total incoming and outgoing data rates in the indicator bars. The maximum recorded
levels can be reset using a checkbox action on the Enablement Code menu.

Quick Start Guide
700-485 Transcoder Installation Guide
9
/12
Technical Specification
PHYSICAL
1RU Rack mounting full rack depth
437 x 43 x 894 mm, 17.2” x 1.6” x 35.2”
16 Kg, 35.2 Lbs.
ENVIRONMENTAL
0°C to 40°C, 32°F - 104°F (enclosure ambient).
POWER
100–240 VAC, 50–60Hz, 12.5–9.8A, 2000W Hot swappable Dual
Redundant PSUs
LAN
RJ45 802.3 100/1000/1000 Base-T Auto MDIX
Static or DHCP IP Address
IPv4, IPv6
NETWORK
PROTOCOLS
UDP, TCP, ARP, DHCP, ICMP, IGMP V2/V3, HTTP, HTTPS
INPUT STREAMS
Unicast or multicast UDP MPEG2 transport streams
MPEG2, H264 or H265 video formats
MPEG, AAC or digitally encoded audio
OUTPUT STREAMS
Unicast or multicast UDP MPEG2 transport streams (TTL = 16)
H264 or H265 video formats (1 –10 Mbps ABR)
AAC stereo audio (48-192 kbps)
G711 (64 Kbps) RTP unicast or multicast streams with TV picture audio,
with up to 10000mS synchronisation delay
STREAM HANDLING
CAPACITY
Simultaneous transcoding of 20 IPTV streams, including video & audio
format conversion, picture resolution conversion and simultaneous
output of separate G711 audio streams
Video resolution conversion from 480p to 1080p resolutions
USB
2 off USB 3.0 host ports used for keyboard/Mouse
VGA PORT
Monitor connection for local terminal session.
PLATFORM
Dual Intel Xeon Bronze Processor, 16 GB RAM 240 GB SSD
Linux OS V4.19 LTS.
Integration with Media Manager software or standalone operation
WEB PAGE SETUP
Configuration web pages for easy setup.
APPROVALS
FCC, CE, CSA (UL) Approved

Quick Start Guide
700-485 Transcoder Installation Guide
10
/12
Notes

Quick Start Guide
700-485 Transcoder Installation Guide
11
/12
Notes

Quick Start Guide
700-485 Transcoder Installation Guide
12
/12
European Union
United States of America
Cabletime Limited declares this equipment has been tested and found to comply with the limits for a
Class
A
digital device, pursuant to Part 15 of the
FCC
Rules Subpart B (15.107,
15.109).
These limits
are designed to provide
reasonable
protection against harmful
interference
when the equipment is
operated
in a commercial
environment.
This equipment
generates,
uses, and can radiate radio frequency energy and, if not installed and
used in
accordance
with the instruction manual, may cause harmful
interference
to radio
communications.
Operation of this
equipment
in a residential area is
likely
to cause harmful
interference
in which case the user
will
be required to correct
the
interference
at his own
expense.
This device complies with part 15 of the
FCC
Rules.
Operation
is subject to the following
conditions:
•
This device may not cause harmful
interference, and
•
This device must accept any
interference
received, including
interference
that may cause undesired
operation.
Correct Disposal of this Product
This marking on the product,
accessories
or literature, indicates that the product
and its
electronic
accessories
should not be disposed of with other household
waste at the end of its working life.
To prevent possible harm to the environment or human health from uncontrolled
waste
disposal,
please
separate
these items from other types of waste and
recycle them responsibly to
promote
the
sustainable
reuse of material
resources.
Whilst all
reasonable
care has been taken to ensure the accuracy of this publication, the
publishers and
authors
cannot accept responsibility for any errors and omissions. Cabletime
Limited reserves the right to revise
this
publication and to make changes in the content from
time to time without
notice.
Copyright © Cabletime 2019.
All
rights reserved. No part of this guide may be reproduced,
stored in a
retrieval
system or
transmitted
in any form or by any means (electronic, mechanical,
photocopying, recording or
otherwise)
without the prior written permission of Cabletime Ltd.
Head
Office
Cabletime Ltd
64 Greenham Road
Newbury,
Berkshire
RG14 7HX
United Kingdom
USA
Office
Cabletime USA
100
Valley
Road
Mt. Arlington
NJ
07856
United States
Asia
Office
Cabletime Asia
Room 2503, 25/F, Westin
Centre
26 Hung To Road
Kwun
Tong, Kowloon
Hong Kong
T: +44 1635
35111
E:
sales@cabletime.com
www.cabletime.com
T: 973 770
8070
E:
usa@cabletime.com
T: +852 3101
2650
E:
asia@cabletime.com
Table of contents