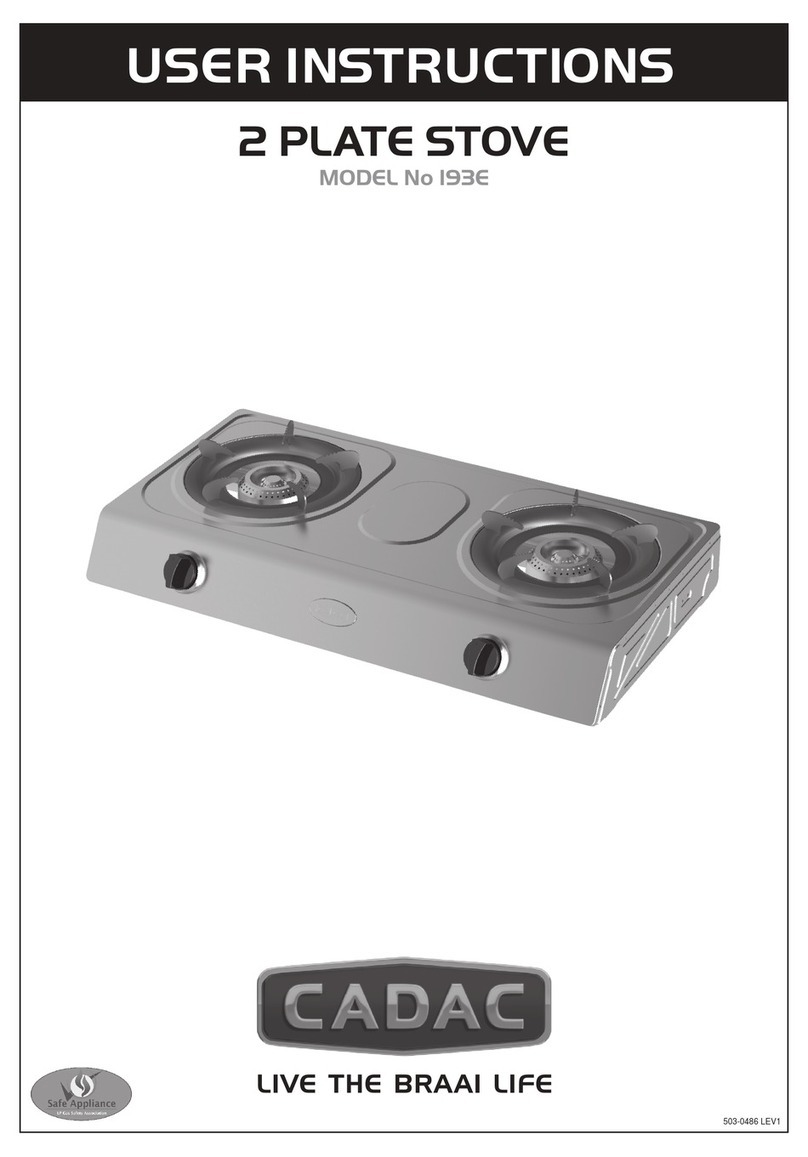
Cadac 184F User manual

2 COOK TWO PLATE STOVE
MODELS 184F, 185F, 186F & 187F
IMPORTANT
READ THESE INSTRUCTIONS CAREFULLY SO AS TO FAMILIARISE YOURSELF WITH THE
APPLIANCE BEFORE USE.
RETAIN THESE INSTRUCTIONS FOR FUTURE REFERENCE.
GB
503-0020 LEV5
0063
0558CL1170

1. TECHNICAL SPECIFICATIONS
COUNTRY NAME ABBREVIATIONS
MODELS 184F, 185F, 186F & 187F
PT = Portugal
SE = Sweden
AT = Austria DE = Germany FI = Finland IE = Ireland NO = Norway
BE = Belgium
CH = Switzerland
DK = Denmark
ES = Spain
FR = France
GB = United Kingdom
IT = Italy
NL = Netherlands
An approved hose and regulator connected to a refillable gas container not exceeding 11kg and complying with local
regulation in force.
Gas Supply Sources
DK, FI, NO, NL, SE, AT, DE
Country of Use DE, AT
BE, ES, FR, IE, IT, PT, GB, CH
I
3B/P (30)
Appliance Categories I
3B/P (50)
I
3+ (28-30/37)
Butane@50mBar
Propane@50mBar
Butane/Propane Mixtures@50mBar
Allowable Gases and Operating
Pressure
Butane@28-30mBar
Propane@28-30mBar
Butane/Propane Mixtures@28-30 Bar
Butane@28-30mBar
Propane@37mBar
Jet Number
Nominal Usage
Gross Nom. Heat Input
68H 64H
Butane-228grams/hour Butane-228grams/hour Butane-333grams/hour
3,13kW 3,13kW 4,6kW
GB
184F
MODEL 187F MODEL 186F
Wire Grid
Burner
Venturi Stove Body
Valve Contro
Knob

2. GENERAL
3. SAFETY INFORMATION
This appliance complies with BS EN 484: 1998 and SANS 1539: 2003.
The hose and seal on the regulator must be checked for wear or damage before every use and before connecting to the gas cylinder.
Ensure that the gas cylinder is fitted or changed in a well ventilated location, preferably outdoors, away from any source of ignition, such as naked flames
The appliance should only be used with an approved hose and regulator.
Gas appliances require ventilation for efficient performance and to ensure the safety of users and other persons in close proximity.
Do not use the appliance if it has a damaged or worn hose. Replace the hose.
Do not use an appliance that is leaking, damaged or which does not operate properly.
and away from other people.
Keep gas cylinders away from heat and flames. Do not place on a stove or any other hot surface.
Do not try to move the cylinder whilst the unit is in operation.
The gas cylinder must be disconnected from the appliance after use or when in storage.
Not for use with a remote gas supply.
Hose
Gas Container
This product will only be used with refillable cylinder complying with local regulation in force.
Fig. 1
Fig. 3
Fig. 2
Fig. 4
GB

4. ASSEMBLYINSTRUCTIONS
Assembly and Use
Light Back
Leaks
Model 186Fand 187F
Models 184Fand 185F
Use Outdoors Only.
indoubt. Also check that there is no foreign material inside the venturi. Re-light the appliance as described in Section 5 below. Should the
flame persistently light back return the product to your authorised
Ensure the appliance is used away from flammable materials. Minimum safe distances are; above the appliance 1.2m, at the rear and sides 600mm
(See Fig.1).
Ensure that the assembled product is stable and does not rock.
Never leave the appliance unattended when lit.
This appliance consumes oxygen and needs ventilation for optimum performance and for the safety of those in close proximity.
Do not modify the appliance. Do not use it for anything for which it has not been designed.
During use, parts of the appliance will become hot (particularly the burner). Avoid touching hot parts with bare hands, the use of gloves is
recommended.
Keep young children away from the appliance at all times.
Do not twist or pinch the hose.
Do not move the appliance while in use.
In the event of light back (where the flame burns back and ignites at the jet) immediately turn OFF the gas supply by firstly closing the control valve
on the gas cylinder and then the appliance valve. After the flame is extinguished remove the regulator and check the condition of its seal, replace the
seal if
CADAC repairagent.
If there is a leak on your appliance (smell of gas), turn OFF the gas supply, firstly at the gas cylinder and then on your appliance by turning the respective
knobs fully clockwise. Take both the cylinder and the appliance outside immediately into a well ventilated flame-free location where the leak may be
detected and stopped.
If you wish to check for leaks on your appliance, do it outside. Do not try to detect leaks using a flame. The correct way is to smear the joints with soapy
water, if bubbles form then there is a gas leak. Immediately turn OFF the gas supply, firstly by closing the control valve on the gas cylinder
and then the appliance valve. Check that all the connections are properly fitted. Re-check with soapy water.
If a gas leak persists return the product to your CADAC dealer for inspection / repair.
The hose length should be no less than 800mm and should not exceed 1.5m, check the expiry date on the hose and replace when necessary.
Do not twist or pinch the hose. Ensure that it is routed away from the stove body so as to prevent deterioration / damage to the hose caused by heat.
Fit the one end of the low-pressure hose onto the regulator nozzle and the other end onto the stove nozzle, by pushing it on firmly until fully seated against
the back shoulder on the nozzle (See Fig. 2).
Ensure that the connections are secure and do not allow gas to leak.
Ensure that the appliance valves are in the OFF position by turning the knobs fully clockwise to the stop (See Fig. 3).
Fit the wire grid to the stove body by aligning the legs on the wire grid with the corresponding holes in the stove body. The wire grid simply rests on the
stove body.
Fit the pot stands to the stove body by aligning the tags underneath the pot stand with the corresponding slots on the stove body. Take note that the pot stand
only fits in one way. Make sure that the notch on the pot stand ring is aligned with the dimple on the stove body.
Fit the grill plate to the body by first aligning the outer two (2) lugs with the corresponding pot stands.
Lower the grill plate onto the pot stand ensuring that all the location lugs align with the pot stands.
Make sure that the grill plate is properly fitted before using it.
The pot stands and grill plates can be used in any configuration, (i.e. two pot stands, two grills or one pot stand and one grill).
NOTE: The hose and regulator are not supplied. For details contact your local stockist.
GB
Fig. 5
Bottom view of aluminium grill plates
located to pot stands

5. FITTINGAND CHANGING THE GAS CYLINDER
6. USINGTHEAPPLIANCE
WARNING: IF THE BURNER FAILS TO IGNITE WITHIN 10 SECONDS, TURN THE CONTROL KNOB OFF
(CLOCKWISE). WAIT THREE MINUTES BEFORE ATTEMPTING TO RE-LIGHT WITH
IGNITION SEQUENCE.
7. GENERALMAINTENANCE
8. TROUBLESHOOTING
9. CLEANING
Before connecting the appliance to a gas cylinder, ensure that the rubber seal on the regulator is in position and in good condition. Carry out this
check each
The appliance is designed for use with cooking vessels of not less than 150mm in diameter and not greater than 250mm in diameter.
This appliance does not require scheduled maintenance.
A normal flame is blue and may have a yellow tip. If the flame is completely yellow, it may be that the jet is not securely fitted. Re-tighten the jet
The pot stand is removed by lifting it from the stove top and can be washed in a detergent solution.
time you fit the appliance to a gas cylinder.
Blow out any dust from the cylinder opening to prevent possible blockage of the jet.
Ensure that the appliance valves are in the OFF position by turning the knobs fully clockwise to their stop (See Fig. 3).
Ensure that the gas cylinder is fitted or changed in a well ventilated location, preferably outdoors, away from any source of ignition, such as naked flames
and away from other people.
Make sure that the gas cylinder is kept upright at all times while screwing the connection to the cylinder, hand tighten until fully engaged.
Ensure that a complete gas seal has been made (check for the smell of gas around the connection joint). If there is a leak on your appliance (smell of gas),
take it outside immediately into a well ventilated flame free location where the leak may be detected and stopped. To check for leaks on your appliance,
do it outside using warm soapy water only, which is applied to the joints and connections of the appliance.A formation of bubbles will indicate the gas
leak.
Do not check for leaks with a naked flame.
If you cannot rectify the gas leak, do not use the appliance, contact your local CADAC stockist for assistance.
When changing a gas cylinder, close the cylinder valve (if fitted) and then the appliance valve. Make sure the flame is extinguished before unscrewing
the regulator. Re-fit the regulator to a full cylinder following the same precautions as described above.
The pot stands and aluminium grill plates can be used in any configuration (i.e. one pot stand and one grill, two grills or two pot stands).
After lighting, do not move the gas cylinder and the appliance around, as liquefied gas may enter the appliance from the gas cylinder, causing it to
flare (large yellow flames).
Always operate the appliance on a firm level surface with the gas cylinder in an upright position.
Turn the control knob clockwise to the 'OFF' position.
Turn the gas supply 'ON' at the cylinder.
Turn the control knob anti-clockwise until a hissing sound is heard, press the piezo button. This should ignite the burner.
If the burner does not stay alight, repeat as above.
To turn the stove 'OFF', turn the cylinder valve to the 'OFF' position and then turn the control knob on the appliance clockwise to the‘OFF' position.
To light the appliance, ignite a match or barbecue lighter, turn ON the appliance valve after connecting to and opening the cylinder valve, by turning
the control knob in an anti-clockwise direction. Light the appliance burner.
Use the control knob to adjust the flame intensity to the desired level by turning the knob clockwise to decrease the flame and anti-clockwise to
increase it (See Fig. 3).
After use, close valve on gas cylinder. When the flame has extinguished close the valve on the appliance by turning knob fully clockwise.
It is dangerous to use an appliance with a cracked or perished seal and / or tubing. Inspect both seals and tubing regularly and replace if they are
not in order, before using the appliance.
If the appliance was in use, it will be hot. Allow to cool sufficiently before attempting any maintenance.
The stove is fitted with jets to regulate the correct amount of gas.
Should the hole in the jet become blocked this may result in a small flame or no flame at all. Do not attempt to clean the jet with a pin or other such
device as this may damage the orifice, which could make the appliance unsafe.
Ensure that the cylinder valve is closed, and then disconnect the appliance from the gas cylinder.
Remove the self tapping screw which holds the venturi in place.
Move the burner assembly back slightly so as to expose the valve and the jet.
Unscrew the blocked jet with a suitable spanner and replace it with a new jet.
Do not over tighten as this may damage the jet. To re-assemble, reverse the above procedure.
Do not use pliers on the jet as this may damage the jet making it unusable or impossible to remove.
Fitting of a hose is described in Section 4.
to give a gas tight seal. An overfilled gas cylinder can also cause large yellow flames. The cylinder should be returned to filling station and checked
by weight.
Check that the inlet to the venturi is clear and free of obstructions.
If the flame power drops or the gas will not light, check that the gas cylinder still contains gas (shake to hear the noise made by the liquefied gas). If
there is still gas, the jet might have become blocked or partially blocked.
If you suspect a blocked jet, follow the instructions above.
To clean the stove body, simply wipe with a damp cloth using a little detergent, if necessary.
DO NOT IMMERSE IN WATER as this will allow water to get into the mixing tube causing the appliance to malfunction.
Do not use abrasive cleaners or scourers as this will cause permanent damage to the painted surface.
To avoid ignition failure, keep the burners clean.
Lighting the Appliance using the Piezo (Not Applicable to Model 186F & 187F)
Lighting the Appliance with a Match
Replacing a Blocked Jet
Replacement of Hose
GB

The non-stick grill plate is coated with a tough durable non-stick coating that has been used with great success on some of the best cookware
in the world. Nevertheless, taking care of it can help you to enjoy extra years of healthy, easy, non-stick cooking.
Use only low or medium heat settings to help retain the valuable nutrients in the food and maintain the non-stick surface.
Whilst the non-stick coating is very durable, it can easily be damaged by the use of metal cooking utensils. It is therefore recommended that only
plastic or wooden utensils be used when cooking.
Do not overheat the non-stick grill plate and always add a little cooking oil to the surface before use.
Always allow the non-stick reversible grill plate to cool before immersing in water.
The non-stick coating is perfectly safe in the dishwasher, but the non-stick surface is so easy to clean that a quick hand-wash does the trick. The use
of abrasive detergents is not recommended, as this will permanently damage the non-stick surface.
After cleaning recondition the surface with a light wipe of oil.
After use, wait until the appliance has cooled down, disconnect it from the gas cylinder and store them in a cool dry place. Store your cylinder in a
well ventilated area.
Should the appliance operate abnormally after storage and all checks referred to in Sections 5 and 8 have not isolated any problem, the venturi may be
blocked. A blocked venturi would be indicated by a weaker yellowish flame or no flame at all in extreme cases. Under these circumstances it will be
necessary to remove the burner as described under Section7-GeneralMaintenance,andtocheckandthoroughly clean out any foreign matter which
may have gathered in the venturi.
It helps to place the appliance in a plastic bag when not in use as this will prevent the ingress of dirt and insects, which may affect the gas flow.
Always allow the unit to cool down before packing into carry bag.
Keep the lid closed when not in use as this will prevent the ingress of dirt, which may affect the gas flow.
Any modifications will render the CADAC warranty null and void.
If you cannot rectify any fault by following these instructions, contact your local CADAC distributor for inspection / repair.
Caring for the Non-Stick Aluminium Grill Plates
Models 185F, 186F and 187F
Model 184F
10. STORAGE
11. SPARES AND ACCESSORIES
12. RETURNINGTHEAPPLIANCE FOR REPAIR OR SERVICE
Handle the appliance with care. Do not drop it.
Always use genuine CADAC spares as they have been designed to give optimum performance.
Do not modify the appliance. This may cause the appliance to become unsafe.
GB
SPARES AND ACCESSORIES
Description Description
Jet 64H (50m/bar)
Pot Stand
Carry Bag
Aluminium Grill Plate Flat
Part No. Part No.
501-0230
182-1
182-4
182-2
Jet 68H 501-0237
Wire Grid Aluminium Grill Plate Ribbed
182S1 182-3
CADAC CADAC SCANDINAVIA
PO Box 43196 Camp Aps Ratio 26
Industria Gasværksvej 6921 RW
2042 9000 Aalborg Duiven
South Africa Scandinavia The Netherlands
Tel: ++27 11 473 8600 Phone: +4572183280 Tel: ++31 26 319 7740
Fax: ++27 11 474 3875 Fax:++31 26 319 7743
Web site: www.cadac.co.za
Customer care: 0860 223 220 (RSA Only)
CADAC EUROPE BV
This manual suits for next models
3
Table of contents
Other Cadac Stove manuals
Popular Stove manuals by other brands

Pkm
Pkm SH7-60GK instruction manual

FAB
FAB MARIE Instruction book

Bartscher
Bartscher FAE92M00 Installation, operating and maintenance instructions

SCAN
SCAN 1001 Assembly and instruction manual

WANDERS
WANDERS Oak Steel User guide and installation manual

Stanley
Stanley Lismore Installation and operating instructions

Nordica
Nordica EVOLUTION manual

PSG
PSG PHENIX owner's manual

Electrolux
Electrolux ICON Professional E36DF76GPS Use & care guide

Morso
Morso S12-43 Instructions for installation and use

Inca
Inca Tasman 40 Operating & installation instructions

Dimplex
Dimplex Optiflame 3D Laverton LVT20 Operating instructions manual