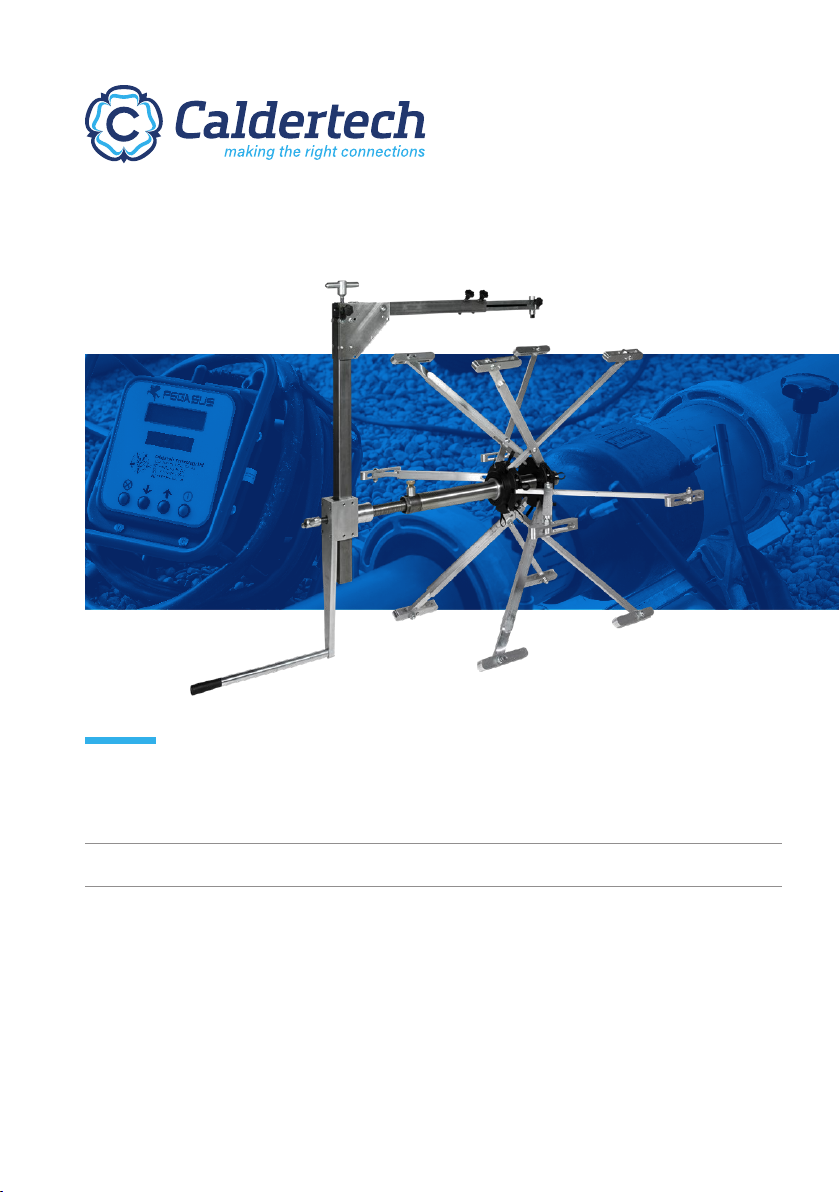
Operating Instructions Uniprep 7 Rotary Scraping Tool
06
6. Loosen the two arm extension wing nuts, extend the scraper arm
until it reaches the witness marking and lock in position.
7. Ensure the angle relief wing nut is tightened and does not allow the
tool tip cartridge to pivot then release the cutting arm release knob
and lower the spring-loaded scraper arm and blade onto the pipe.
8. Use the cutting arm T screw to adjust the spring tension until the
load indicator is set on top of the cutting tip (top of the cap head
screw is flush with the round boss).
9. Slowly turn the crank handle clockwise to rotate the cutter once
round the pipe whilst continually keeping an eye on the load
indicator, adjust the spring tension if required to apply the correct
load at the pipes lowest spot.
10. Double check the Feed screw driver is engaged on the shaft then
begin scraping until the mark made earlier is reached.
11. At the point where the mark is reached release the blade tension
(with the cutting arm T screw), lift and lock the arm (using the
cutting arm release knob).
12. Disengage the feed screw drive knob and slide the feed screw back
in to the start position. Re-engage the feed screw drive knob.
13. Loosen the two wing nuts, retract the arm to line up with the end of
the scrape and lock in position.
14. Release the arm using the cutting arm release knob and adjust the
spring tension until the load indicator is set. Continue to scrape
keeping an eye on the load indicator on the first rotation; adjust
tension as necessary to set it for any pipe lowest spot.
15. If the pipe being scraped has any pipe end regression the Cutting
Tip Angle Relief Wingnut needs to be loosened to allow the cutting
tip to remain in full contact with the pipe and give a good scrape.
Note: keeping an eye on the load indicator at this stage is
essential to a good scrape
16. Continue until the scrape is complete.cutter on to the pipe wall
surface and the correct pressure will be applied to the tip (6) via the
tool tip spring.
03. Operation