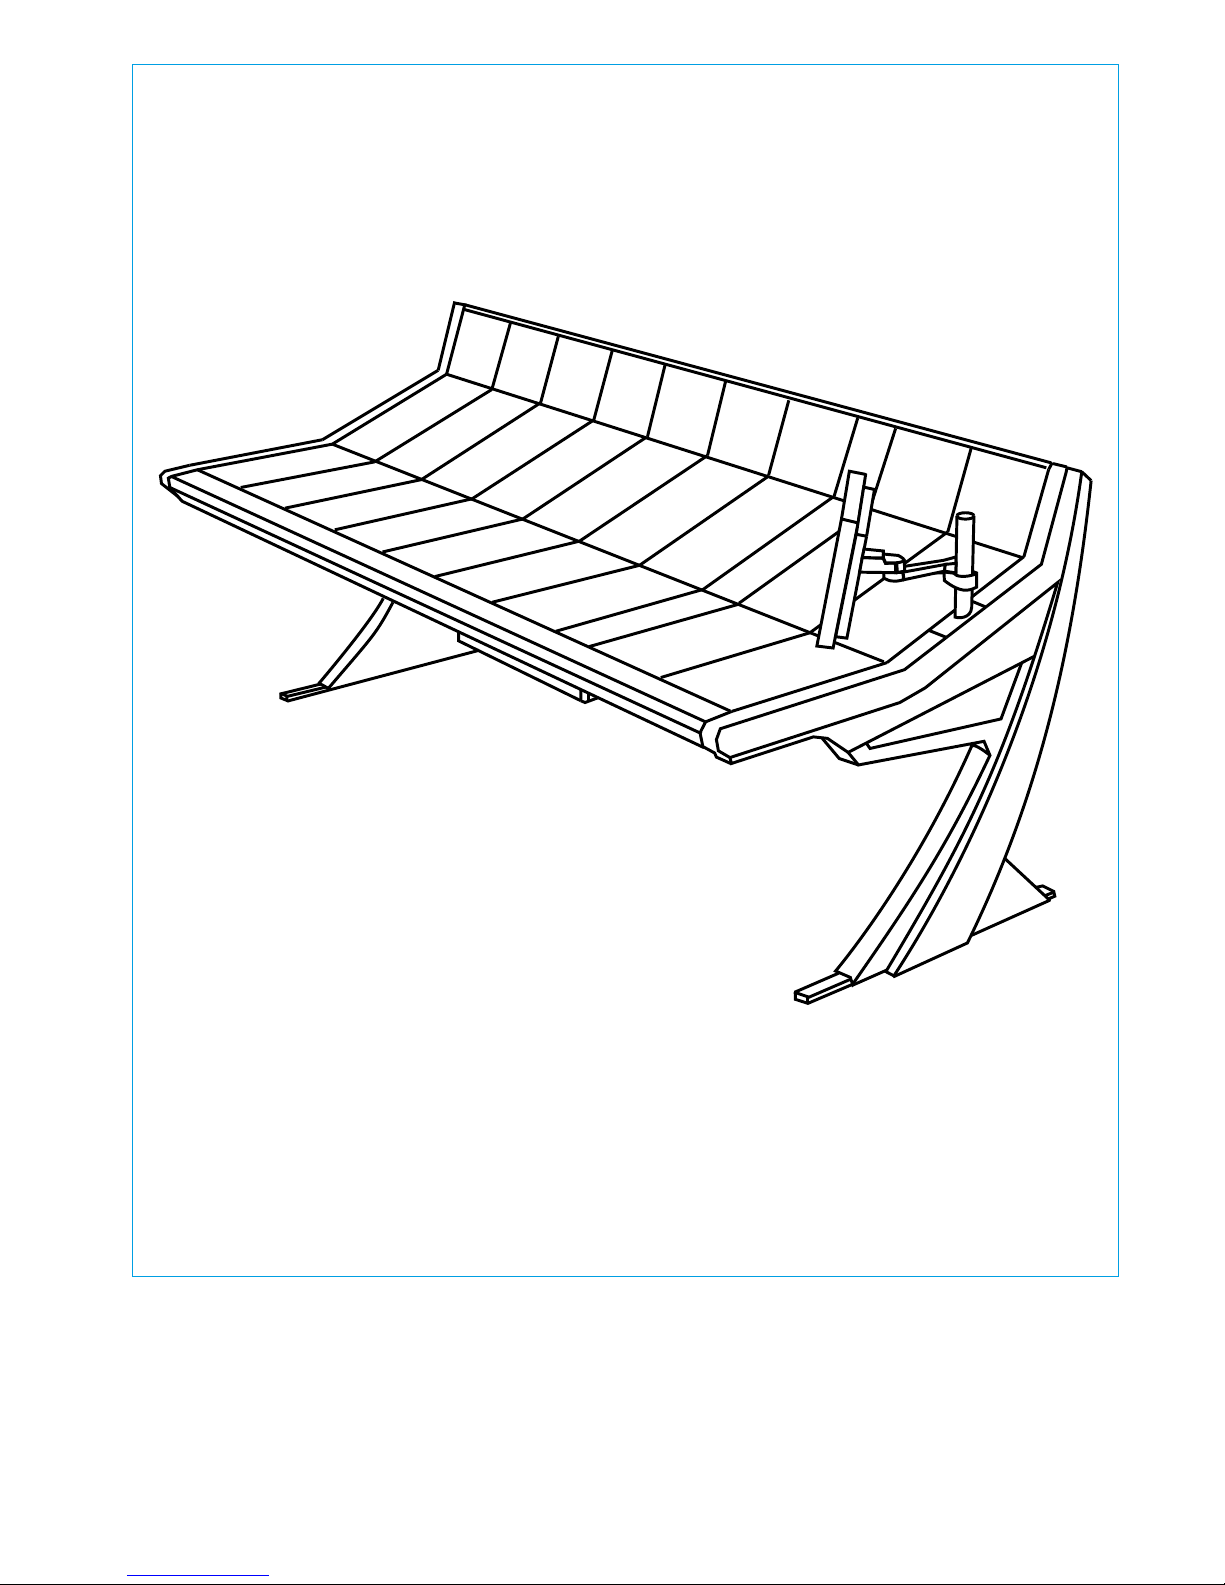
6 APOLLO Digital Broadcast Production Console
IMPORTANT INFORMATION
After Sales Modifications
Please be aware that any modifications
other than those made or approved by
Calrec Audio Limited or their agents, may
invalidate the console’s warranty. This
includes changes to cabling provided by
Calrec and variations to the recommended
installation as detailed in Calrec
documentation.
Modifications to this equipment by any
party other than Calrec Audio Limited
may invalidate EMC and safety features
designed into this equipment. Calrec
Audio Limited can not be liable for any
legal proceedings or problems that may
arise relating to such modifications.
If in doubt, please contact Calrec Audio
Limited for guidance prior to commencing
any modification work.
Third Party Equipment
Integrating third party equipment into
a Calrec system may compromise the
product's ability to comply with the
radiated emission limits set in the EMC
(Electro Magnetic Compatibility) standard
EN55022.
Calrec Audio Limited can not be
responsible for any non-conformities
due to use of third party equipment. If
in doubt, please contact Calrec Audio
Limited for guidance prior to integrating
any third party equipment.
Installation
In many installations the AC power
connectors will not be readily accessible,
effectively making the equipment
permanently connected. The installation
should be carried out in accordance
with all applicable installation rules and
regulations.
Service Personnel
The AC power disconnect devices are
the 2 x IEC (IEC60320-1 C13/C14)
couplers located at the rear of each unit.
WARNING: The apparatus has a dual
power system. It is essential that BOTH
AC power IEC couplers are disconnected
to prevent exposure to hazardous voltage
within the unit.
ESD (Static) Handling Procedures
In its completed form, this equipment has
been designed to have a high level of
immunity to static discharges. However,
when handling individual boards and
modules, many highly static sensitive
parts are exposed. In order to protect
these devices from damage and to protect
your warranty, please observe static
handling procedures, for example, use an
appropriately grounded anti-static wrist
band. Calrec will supply an electrostatic
cord and wrist strap with all of it’s digital
products.
All modules and cards should be returned
to Calrec Audio Limited in anti-static
wrapping. Calrec Audio Limited can
supply these items upon request, should
you require assistance.
This applies particularly to digital products
due to the types of devices and very
small geometries used in their fabrication,
analogue parts can however still be
affected.
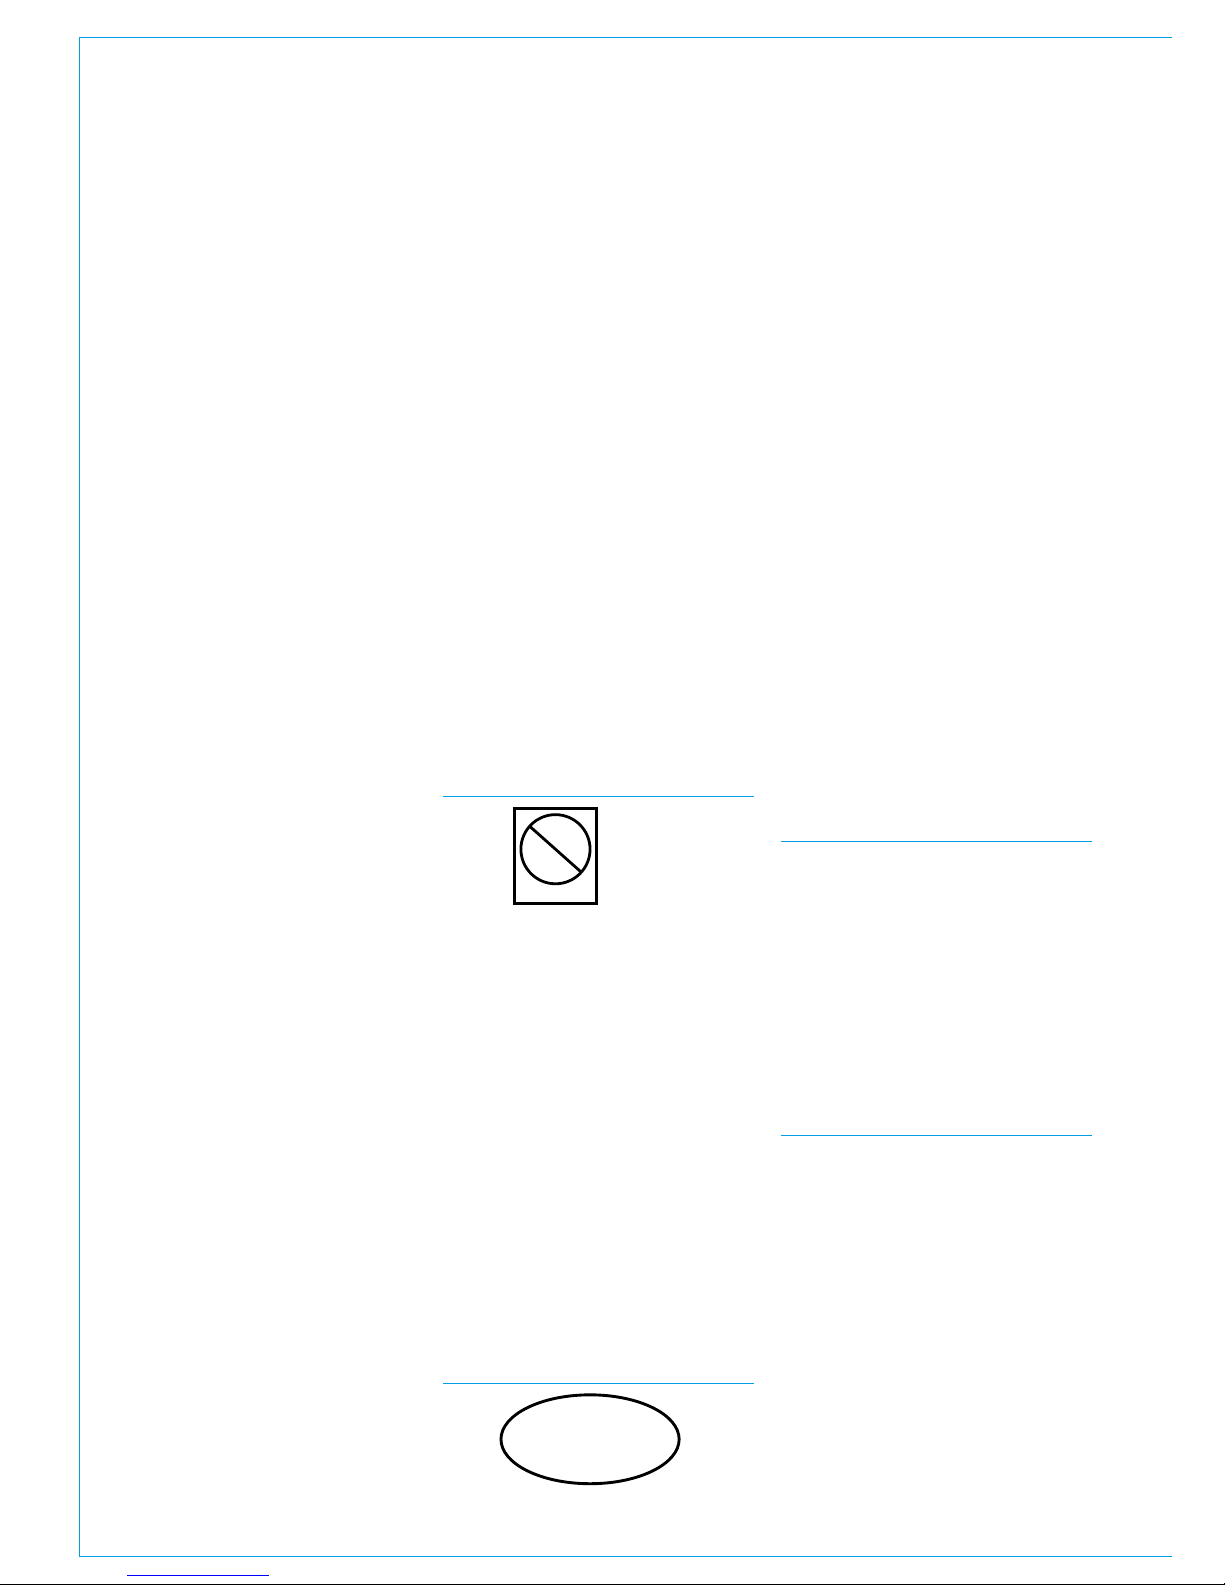
RoHS Legislation
In order to comply with European RoHS
(Reduction of Hazardous Substances)
legislation, Calrec PCB and cable
assemblies are produced with lead-free
(tin/copper/silver) solder instead of tin/
lead solder. See Figure 1.
In the unlikely event of a customer
having to carry out any re-soldering on
Apollo, Artemis or Hydra2 hardware,
it is imperative that lead-free solder is
used; contaminating lead-free solder with
leaded solder is likely to have an adverse
effect on the long-term reliability of the
product. Circuit boards assembled with
lead-free solder can be identified (in
accordance with IPC/JEDEC standards)
by a small oval logo (see Figure 2) on the
top-side of the circuit board near the PCB
reference number (8xx-xxx). The same
logo is used on the connector hoods of
soldered cable assemblies.
If in doubt, please check with a Calrec
customer support engineer before
carrying out any form of re-soldering.
ISO 9001 and RAB Registered
Calrec Audio Ltd has been issued
the ISO9001: 2008 standard by the
Governing Board of ISOQAR.
The award, for both UKAS (Figure 3)
and RAB (Figure 4) registration, is the
most comprehensive of the ISO9000
international standards. Granted in
recognition of excellence across design,
development, manufacture and after-
sales support, the certification follows a
rigorous and thorough review of Calrec’s
internal and external communication and
business procedures.
FIGURE 1 - LEAD FREE
Pb
Pb-Free
Lead
Free
FIGURE 3 - UKAS REGISTRATION
FIGURE 4 - RAB REGISTRATION
FIGURE 2 - LEAD FREE STICKER
e1