manuals.online logo
Brands
  1. Home
  2. •
  3. Brands
  4. •
  5. Camlink
  6. •
  7. Camera Accessories
  8. •
  9. Camlink CL-LED48 User manual

Camlink CL-LED48 User manual

Other Camlink Camera Accessories manuals

Camlink CL-TPCARB2500 User manual

Camlink

Camlink CL-TPCARB2500 User manual

Camlink CL-LED256 User manual

Camlink

Camlink CL-LED256 User manual

Camlink CL-STUDIO20 User manual

Camlink

Camlink CL-STUDIO20 User manual

Camlink CL-LED320 User manual

Camlink

Camlink CL-LED320 User manual

Camlink CL-RL80 User manual

Camlink

Camlink CL-RL80 User manual

Popular Camera Accessories manuals by other brands

CamRanger CamRanger user manual

CamRanger

CamRanger CamRanger user manual

Custom Brackets HDV CAGE KIT Instructions for use

Custom Brackets

Custom Brackets HDV CAGE KIT Instructions for use

Aegis ABL052010P user manual

Aegis

Aegis ABL052010P user manual

Saft SRA Series Installation and operating instructions

Saft

Saft SRA Series Installation and operating instructions

Kodak TIB5200 technical information

Kodak

Kodak TIB5200 technical information

Videotec HEG instruction manual

Videotec

Videotec HEG instruction manual

Ikelite 6171.11 manual

Ikelite

Ikelite 6171.11 manual

Pentax Auto Bellows Slide Copier K user manual

Pentax

Pentax Auto Bellows Slide Copier K user manual

Nikon UT-1 user manual

Nikon

Nikon UT-1 user manual

dji RONIN 4D quick start guide

dji

dji RONIN 4D quick start guide

SLIK ABLE 300DX user manual

SLIK

SLIK ABLE 300DX user manual

Rebelcell 36V70 user manual

Rebelcell

Rebelcell 36V70 user manual

Trojan GC2 48V quick start guide

Trojan

Trojan GC2 48V quick start guide

Calumet 7100 Series CK7114 operating instructions

Calumet

Calumet 7100 Series CK7114 operating instructions

Ropox 4Single Series User manual and installation instructions

Ropox

Ropox 4Single Series User manual and installation instructions

Cambo Wide DS Digital Series Main operating instructions

Cambo

Cambo Wide DS Digital Series Main operating instructions

Samsung SHG-120 Specification sheet

Samsung

Samsung SHG-120 Specification sheet

Ryobi BPL-1820 Owner's operating manual

Ryobi

Ryobi BPL-1820 Owner's operating manual

manuals.online logo
manuals.online logoBrands
  • About & Mission
  • Contact us
  • Privacy Policy
  • Terms and Conditions

Copyright 2025 Manuals.Online. All Rights Reserved.

Type: CL-LED48 Document version: 1
• GB - Photography LED Light - User manual 3
• DE - Fotografie LED-Licht - Bedienungsanleitung 4
• FR - Photographie Lampe LED - Manuel de l’utilisateur 5
• NL - Fotografie LED-verlichting - Gebruikershandleiding 7
• ES - Fotografía Luz LED - Manual de Usuario 8
• IT - Fotografia Luce LED - Manuale Utente 9
• FI - Valokuvaus LED-valo - Käyttöopas 11
• SE - Fotografi LED-lampa - Bruksanvisning 12
• NO - Fotografi LED-lys - Brukermanual 13
• DK - Fotografi LED lampe - Brugervejledning 14
• CZ - Fotografie LED osvětlení - Návod k použití 16
• HU - Fényképészeti LED fényforrás - Használati útmutató 17
• GR - Φωτογραφία Λυχνία LED - Εγχειρίδιο Χρήστη 18
• RO - Fotografiere LampăbliţLED - Manual de instrucţiuni 20
• RU - Фотографирование LED лампа - Руководство пользователя 21
2
©2012 NEDIS BV. Camlink is a registered trademark of NEDIS BV. Although every effort has been made
to ensure the accuracy of the information contained in this manual specifications are subject to change
and therefore NEDIS BV cannot guarantee its correctness and completeness at all times.
Nedis B.V., part of the Nedis Group
De Tweeling 28
5215 MC ‘s-Hertogenbosch
The Netherlands
Tel: +31 73 599 1055
Fax: +31 73 599 9699
Web: www.nedis.com or www.nedis.nl
© Any unauthorised use of the information in this manual is prohibited. No part of this manual may be reproduced, stored in a
database or retrieval system, or published, in any form or in any way, electronically or mechanically, by print, photocopy,
microfilm or by any other means without the express written permission of NEDIS.
3
©2012 NEDIS BV. Camlink is a registered trademark of NEDIS BV. Although every effort has been made
to ensure the accuracy of the information contained in this manual specifications are subject to change
and therefore NEDIS BV cannot guarantee its correctness and completeness at all times.
GB – English
Technical specifications
Light source: 48 high power LEDs
Colour temperature white filter: 5400 K
Colour temperature orange filter: 3200 K
Colour temperature pink filter: 3200 K
Light intensity: 440 lm
Battery: 2x AA
Safety precautions
To reduce risk of electric shock, this product should ONLY be opened by an authorised
technician when service is required. Disconnect the product from mains and other
equipment if a problem should occur. Do not expose the product to water or moisture.
Installation instructions
1. Diffuser and filter:
Without the diffuser and filter the light has a spotlight effect and is suitable for shooting at a relatively long-distance
range.
With the diffuser the light will have a soft light effect.
Slots are installed on the front surface of the frame to fix the diffuser and filter.
2. Hot shoe adapter:
The hot shoe adapter connects the lamp with the camcorder.
3. Select On to switch the lamp on and Off to switch the lamp off.
4. Battery holder cover:
To secure the battery.
5. Battery: 2x AA
6. Gel holder: to store the diffuser and filter.
User instructions
1. Install the AA batteries. Please make sure the positive and negative poles are positioned according to the “+” and “-”
symbols. Place the battery holder cover after the batteries are installed.
2. Mount the LED lamp on a camcorder. Insert the hot shoe adapter into the hot shoe of the camcorder and screw in the
hot shoe knob to place the LED lamp on the camcorder.
3. Switch the lamp on to use it.
4. Switch the lamp off after use.
Maintenance
1. Please turn off the power after use to avoid long time heat generation and a waste of the battery and service life of
the LED bulbs.
2. Remove the batteries when you are not using the LED lamp.
3. Please install the batteries carefully to avoid damage to the battery holder.
Battery holder
Switch
4
©2012 NEDIS BV. Camlink is a registered trademark of NEDIS BV. Although every effort has been made
to ensure the accuracy of the information contained in this manual specifications are subject to change
and therefore NEDIS BV cannot guarantee its correctness and completeness at all times.
Warranty
No guarantee or liability can be accepted for any changes and modifications of the product or damage caused due to
incorrect use of this product.
Disclaimer
Designs and specifications are subject to change without notice.
All logos, brands and product names are trademarks or registered trademarks of their respective holders and are hereby
recognised as such. Keep this manual and packaging for future reference.
Disposal
•This product is designated for separate collection at an appropriate collection point. Do not dispose of
this product with household waste.
•For more information, contact the retailer or the local authority responsible for waste management.
DE-Deutsch
Technische Daten
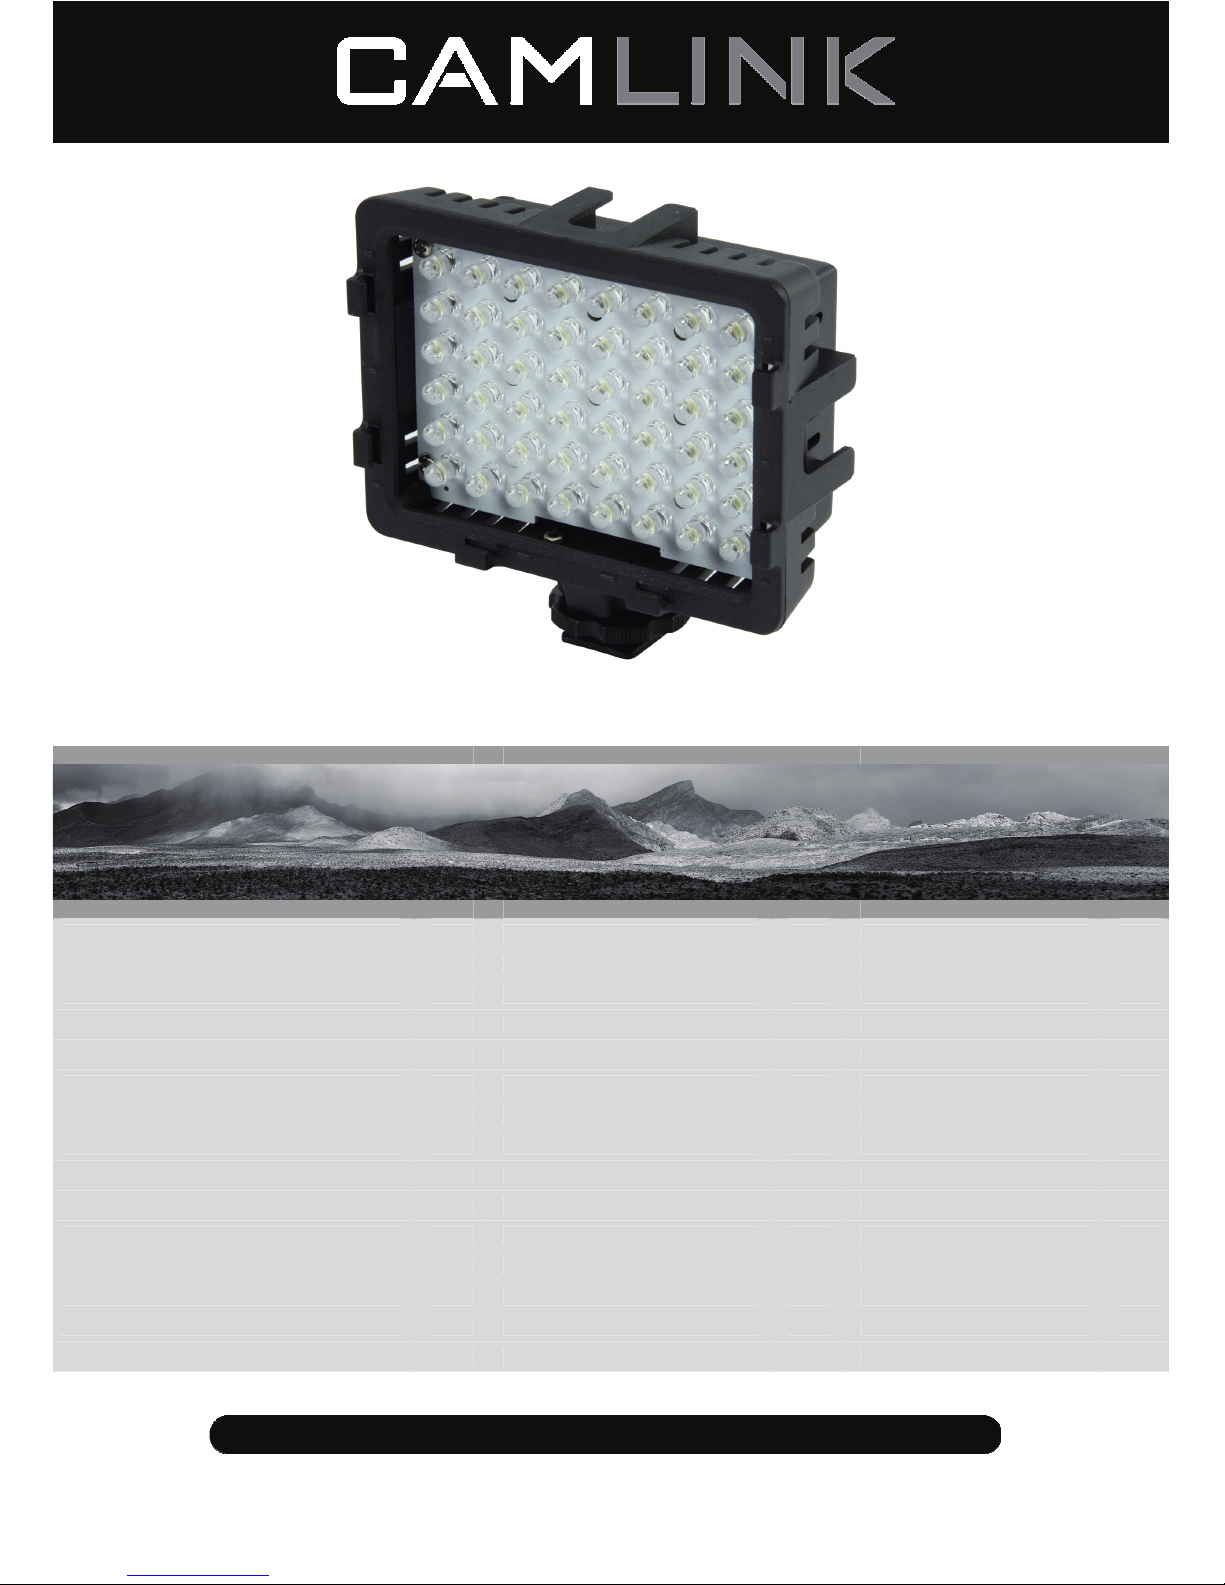
Lichtquelle: 48 Hochleistungs-LEDs
Farbtemperatur mit Filter: 5400 K
Farbtemperatur Orangefilter: 3200 K
Farbtemperatur Pinkfilter: 3200 K
Lichtstrom: 440 lm
Batterie: 2 x AA
Sicherheitsvorkehrungen
Um das Risiko eines elektrischen Schlags zu verringern, sollte dieses Produkt
AUSSCHLIESSLICH von einem autorisierten Techniker geöffnet werden. Bei
Problemen trennen Sie das Gerät bitte von der Spannungsversorgung und von
anderen Geräten ab. Stellen Sie sicher, dass das Gerät nicht mit Wasser oder
Feuchtigkeit in Berührung kommt.
Installationsanleitungen
1. Diffusor und Filter:
Ohne den Diffusor und Filter hat das Licht einen Scheinwerfer-Effekt. Es können Aufnahmen aus einem relativen
großen Abstand gemacht werden.
Mit dem Diffusor bekommt das Licht einen weichen Effekt.
Auf der vorderen Oberfläche befinden sich Aussparungen, um den Diffusor und den Filter zu befestigen.
2. Blitzschuhadapter:
Der Blitzschuhadapter verbindet die Lampe mit dem Camcorder.
3. Wählen Sie On, um die Lampte einzuschalten und Off, um die Lampe auszuschalten.
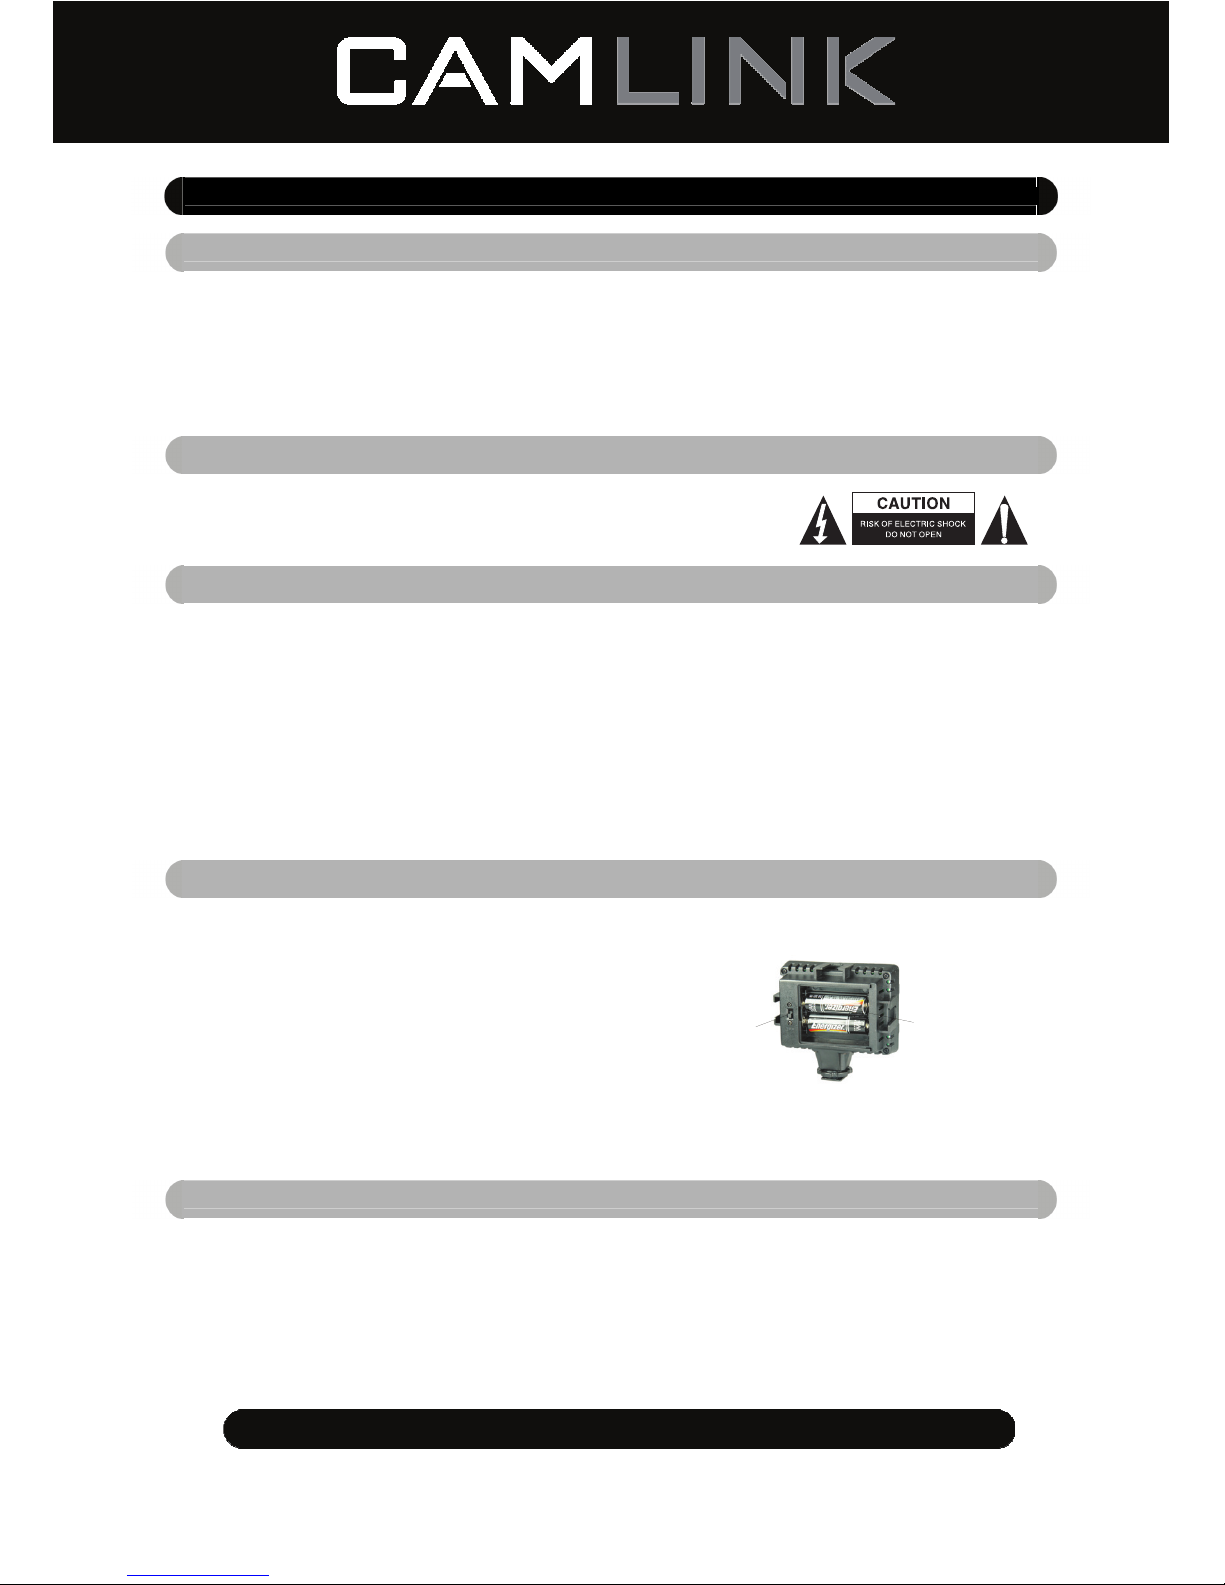
4. Abdeckung des Batteriefachs:
Zur Befestigung der Batterie.
5. Batterie: 2 x AA
6. Gel-Halter: Diffusor und Filter aufbewahren.
Benutzerhinweise
1. Legen Sie die AA-Batterien ein. Stellen Sie bittte sicher, dass Sie die Polarität beachten. Beachten Sie dabei die
Symbole „+“ und „-“. Verschließen Sie die Abdeckung des Batteriefaches, nachdem Sie die Batterie eingelegt haben.
5
©2012 NEDIS BV. Camlink is a registered trademark of NEDIS BV. Although every effort has been made
to ensure the accuracy of the information contained in this manual specifications are subject to change
and therefore NEDIS BV cannot guarantee its correctness and completeness at all times.
2. Befestigen Sie die LED-Lampe auf einem Camcorder. Setzen Sie den Blitzschuhadapter in den Blitzschuh des
Camcorders und schrauben Sie ihn daran fest, um die LED-Lampe auf dem Camcorder zu befestigen.
3. Schalten Sie die Lampe an, um sie zu nutzen.
4. Schalten Sie die Lampe nach Gebrauch aus.
Wartung
1. Schalten Sie die Lampe nach der Benutzung bitte aus, um eine Hitzeentwicklung zu vermeiden und die Batterie und
LEDs zu schonen.
2. Entnehmen Sie die Batterien, wenn Sie die LED-Lampe nicht verwenden.
3. Setzen Sie die Batterien bitte sorgfältig ein, um Schäden an der Batteriehalterung zu vermeiden.
Garantie
Es kann keine Garantie oder Haftung für irgendwelche Änderungen oder Modifikationen des Produkts oder für Schäden
übernommen werden, die aufgrund einer nicht ordnungsgemäßen Anwendung des Produkts entstanden sind.
Haftungsausschluss
Design und technische Daten können ohne vorherige Ankündigung geändert werden.
Alle Logos, Marken und Produktnamen sind Marken oder eingetragene Marken ihrer jeweiligen Eigentümer und werden
hiermit als solche anerkannt. Bitte bewahren Sie Bedienungsanleitung und Verpackung für spätere Verwendung auf.
Entsorgung
•Dieses Produkt muss an einem entsprechenden Sammelpunkt zur Entsorgung abgegeben werden.
Entsorgen Sie dieses Produkt nicht mit dem Haushaltsmüll.
•Weitere Informationen erhalten Sie beim Verkäufer oder der für die Abfallwirtschaft verantwortlichen
örtlichen Behörde.
FR – Français
Caractéristiques techniques
Source d'éclairage : 48 diodes à haute puissance
Filtre de température de couleur blanc : 5400 K
Filtre de température de couleur orange : 3200 K
Filtre de température de couleur rose : 3200 K
Intensité lumineuse : 440 lm
Piles : 2 piles AA
Consignes de sécurité
Pour réduire le risque de choc électrique, ce produit ne doit être ouvert que par un
technicien qualifié si une réparation s’impose. Débranchez l’appareil et les autres
équipements du secteur s’il y a un problème. Ne pas exposer l’appareil à l’eau ni à
l’humidité.
Batteriefach
Schalter
6
©2012 NEDIS BV. Camlink is a registered trademark of NEDIS BV. Although every effort has been made
to ensure the accuracy of the information contained in this manual specifications are subject to change
and therefore NEDIS BV cannot guarantee its correctness and completeness at all times.
Notice de montage
1. Diffuseur et filtre :
Sans diffuseur ni filtre, la lampe produit un effet de projecteur et convient à la prise de vue à relativement longue
portée.
Grâce au diffuseur, la lampe produit un effet de lumière douce.
La face avant du cadre dispose de rainures qui permettent la fixation du diffuseur et du filtre.
2. Griffe porte-accessoires :
La griffe porte-accessoires relie la lampe au caméscope.
3. Placez l'interrupteur sur On pour allumer la lampe, et sur Off pour l'éteindre.
4. Porte du logement de piles :
Pour fixer les piles.
5. Piles : 2 piles AA.
6. Porte-filtre couleur : permet de poser le diffuseur et le filtre.
Mode d'emploi
1. Mettez en place les piles AA. Vérifiez soigneusement que les pôles positif et négatif correspondent aux signes
« + »et « - ». Refermez le couvercle du logement de piles après avoir mis les piles en place.
2. Installation de la lampe LED sur un caméscope. Insérez l'adaptateur de griffe porte-accessoires dans la griffe porte-
accessoires du caméscope et vissez le bouton rotatif de la griffe porte-accessoire afin d'installer la lampe LED sur le
caméscope.
3. Allumez la lampe pour l'utiliser.
4. Eteignez la lampe après utilisation.
Entretien
1. Veillez à bien éteindre après utilisation afin d'éviter de générer de la chaleur pendant un long moment, et pour éviter
le gaspillage des piles ainsi que la réduction de la durée de vie des ampoules LED.
2. Enlevez les piles lorsque vous ne vous servez pas de la lampe LED.
3. Veillez à installer les piles avec soin afin d'éviter d'endommager le logement de piles.
Garantie
Aucune garantie ou responsabilité ne sera acceptée en cas de modification et/ou de transformation du produit ou en cas
de dommages provoqués par une utilisation incorrecte de l’appareil.
Avis de non responsabilité
Le design et les caractéristiques techniques sont sujets à modification sans notification préalable.
Tous les logos de marques et noms de produits sont des marques déposées ou immatriculées dont leurs détenteurs
sont les propriétaires et sont donc reconnues comme telles dans ce documents. Conservez ce manuel et l’emballage
pour toute référence ultérieure.
Elimination
•Ce produit doit être jeté séparément des ordures ménagères dans un point de collecte approprié. Ne
jetez pas ce produit avec les ordures ménagères ordinaires.
•Pour plus d'informations, contactez le distributeur ou l'autorité locale responsable de la gestion des
déchets.
Logement de piles
Interrupteur
7
©2012 NEDIS BV. Camlink is a registered trademark of NEDIS BV. Although every effort has been made
to ensure the accuracy of the information contained in this manual specifications are subject to change
and therefore NEDIS BV cannot guarantee its correctness and completeness at all times.
NL - Nederlands
Technische specificaties
Lichtbron: 48 hoog vermogen Leds
Kleurtemperatuur van de witfilter: 5400 K
Kleurtemperatuur van de oranjefilter: 3200 K
Kleurtemperatuur van de rozefilter: 3200 K
Lichtsterkte: 440 lm
Batterij: 2x AA
Veiligheidsvoorschriften
Om het risico op elektrische schokken te voorkomen mag dit product ALLEEN worden
geopend door een erkende technicus wanneer er onderhoud nodig is. Koppel het
product los van de elektrische voeding en van andere apparatuur als zich problemen
voordoen. Stel het product niet bloot aan water of vocht.
Installatie-instructies
1. Diffuser en filter:
Zonder de diffusor en filter heeft het licht het spotlighteffect en is geschikt voor het fotograferen op een relatief lang
afstandsbereik.
Met de diffuser zal het licht een zacht lichteffect hebben.
Sleuven zijn op de voorzijde van het frame geïnstalleerd om de diffusor en filter te bevestigen.
2. Hot shoe-adapter:
De hot shoe-adapter verbindt de lamp met de camcorder.
3. Selecteer “On” (Aan) om de lamp in te schakelen en “Off” (Uit) om de lamp uit te schakelen.
4. Batterijklep:
Om de batterij te borgen.
5. Batterij: 2x AA
6. Gelhouder: om de diffuser en filter te bewaren.
Gebruiksaanwijzing
1. Plaats de AA-batterijen. Zorg ervoor dat de positieve en negatieve polen volgens de “+”- en “-”-symbolen zijn
geplaatst. Plaats de klep van de batterijhouder nadat de batterijen zijn geïnstalleerd.
2. Monteer de LED-lamp op een camcorder. Plaats de hot shoe-adapter in de hot shoe van de camcorder en schroef de
hot shoe-knop erin om de LED-lamp op de camcorder te plaatsen.
3. Schakel de lamp in voor gebruik.
4. Schakel de lamp uit na gebruik.
Onderhoud
1. Schakel de voeding na gebruik uit om langdurige warmteontwikkeling en verspilling van de batterij en de levensduur
van de LED-lampen te voorkomen.
2. Verwijder de batterijen wanneer u de LED-lamp niet gebruikt.
3. Installeer de batterijen zorgvuldig om schade aan de batterijhouder te voorkomen.
Batterijhouder
Schakelaar
8
©2012 NEDIS BV. Camlink is a registered trademark of NEDIS BV. Although every effort has been made
to ensure the accuracy of the information contained in this manual specifications are subject to change
and therefore NEDIS BV cannot guarantee its correctness and completeness at all times.
Garantie
Voor wijzigingen en veranderingen aan het product of schade veroorzaakt door een verkeerd gebruik van dit product,
kan geen aansprakelijkheid worden geaccepteerd. Tevens vervalt daardoor de garantie.
Disclaimer
Wijziging van ontwerp en specificaties zonder voorafgaande mededeling onder voorbehoud.
Alle logo’s, merken en productnamen zijn handelsmerken of geregistreerde handelsmerken van de respectievelijke
eigenaren en worden hierbij als zodanig erkend. Bewaar deze gebruiksaanwijzing voor latere raadpleging.
Afvoer
•Dit product is bestemd voor gescheiden inzameling bij een daartoe aangewezen verzamelpunt. Gooi dit
product niet weg bij het huishoudelijk afval.
•Neem voor meer informatie contact op met de detailhandelaar of de lokale overheid die
verantwoordelijk is voor het afvalbeheer.
ES – Español
Especificaciones técnicas
Fuente lumínica: 48 LED de alta potencia
Filtro blanco de temperatura del color: 5400 K
Filtro naranja de temperatura del color: 3200 K
Filtro rosa de temperatura del color: 3200 K
Intensidad lumínica: 440 lm
Pila: 2x AA
Medidas de seguridad
Para reducir el peligro de descarga eléctrica, este producto SÓLO lo debería abrir un
técnico autorizado cuando necesite reparación. Desconecte el producto de la toma de
corriente y de los otros equipos si ocurriera algún problema. No exponga el producto
al agua ni a la humedad.
Instrucciones de instalación
1. Difusor y filtro:
Sin el difusor y el filtro la luz presenta un efecto reflector y es apta para disparar a una distancia de un largo alcance
relativo.
Con el difusor, la luz presenta un efecto lumínico suave.
Se encuentran instaladas ranuras en la superficie frontal de la carcasa para fijar el difusor y el filtro.
2. Adaptador de zapata:
EL adaptador de zapata conecta la lámpara con la videocámara.
3. Seleccione On para encender la lámpara y Off para apagarla.
4. Cubierta del soporte de la pila:
Para asegurar la pila.
5. Pila: 2x AA
6. Soporte de gel: para guardar el difusor y el filtro.
Instrucciones del usuario
1. Instale todas las pilas AA. Rogamos se asegure que los polos positivo y negativos se encuentran colocados según
los símbolos “+” y “-”. Coloque la cubierta del soporte de las pilas una vez que las pilas se encuentren instaladas.
9
©2012 NEDIS BV. Camlink is a registered trademark of NEDIS BV. Although every effort has been made
to ensure the accuracy of the information contained in this manual specifications are subject to change
and therefore NEDIS BV cannot guarantee its correctness and completeness at all times.
2. Monte la lámpara LED en la videocámara. Inserte el adaptador de la zapata en la zapata de la videocámara y
atorníllelo en el botón de la zapata para colocar la lámpara LED en la videocámara.
3. Encienda la lámpara para usarla.
4. Apague la lámpara después de usarla.
Mantenimiento
1. Por favor, apague la alimentación tras su uso para evitar una generación de calor durante un periodo prolongado de
tiempo y un desgaste de las pilas y de la vida útil de las lámparas LED.
2. Retire las pilas cuando no use la lámpara LED.
3. Por favor, instale las pilas con cuidado para evitar causar daños al soporte de las pilas.
Garantía
No se aceptará ninguna garantía o responsabilidad derivada de cualquier cambio o modificaciones realizadas al
producto o daños provocados por un uso incorrecto del producto.
Exención de responsabilidad
Las ilustraciones y las especificaciones podrán sufrir cambios sin previo aviso.
Todas las marcas de logotipos y nombres de productos constituyen patentes o marcas registradas a nombre de sus
titulares correspondientes, reconocidos como tal. Conserve este manual y el embalaje en caso de futura necesidad.
Eliminación
•Este producto está diseñado para desecharlo por separado en un punto de recogida adecuado. No se
deshaga de este producto con la basura doméstica.
•Para obtener más información, póngase en contacto con el vendedor o la autoridad local responsable
de la eliminación de residuos.
IT – Italiano
Specifiche tecniche
Sorgente luminosa: 48 LED ad alta intensità
Filtro bianco di temperatura colore: 5400 K
Filtro arancione di temperatura colore: 3200 K
Filtro rosa di temperatura colore: 3200 K
Intensità luminosa: 440 lm
Batteria: 2x AA
Precauzioni di sicurezza
Per ridurre il rischio di shock elettrico, questo prodotto dovrebbe essere aperto SOLO
da un tecnico autorizzato quando è necessario ripararlo. Scollegare il prodotto
dall’alimentazione e da altri apparecchi se dovesse esserci un problema. Non esporre
il prodotto ad acqua o umidità.
Soporte de las pilas
Conmutador
10
©2012 NEDIS BV. Camlink is a registered trademark of NEDIS BV. Although every effort has been made
to ensure the accuracy of the information contained in this manual specifications are subject to change
and therefore NEDIS BV cannot guarantee its correctness and completeness at all times.
Istruzioni di installazione
1. Diffusore e filtro:
Senza il diffusore ed il filtro la luce ha un effetto puntatore ed è adatta per lo sparo ad una distanza relativamente
lunga.
Con il diffusore la luce avrà un effetto di luce soffusa.
Sono installate delle fessure sulla superficie frontale della cornice per installare il diffusore ed il filtro.
2. Adattatore presa a caldo:
L'adattatore presa a caldo connetta la lampada con il videoregistratore.
3. Selezionare On per accendere la lampada o Off per spegnerla.
4. Coperchio porta batteria:
Per sostituire la batteria
5. Batteria: 2x AA
6. Contenitore a gel: per conservare il diffusore ed il filtro.
Istruzioni utente
1. Installare le batterie AA. Assicurarsi che i poli positivo e negativo siano posizionati rispettando i simboli “+” e “-”. Vi
preghiamo di posizionare il coperchio del porta batterie dopo che le stesse sono state installate.
2. Montare la lampada LED sulla videocamera. Inserire l'adattatore presa a caldo sulla presa a caldo della videocamere
ed avvitare la manopola della presa a caldo per posizionare la lampada a LED sulla videocamera.
3. Accendere la lampada per usarla.
4. Spegnere la lampada dopo l'uso.
Manutenzione
1. Vi preghiamo di spegnere l'alimentazione dopo l'uso per evitare la generazione di calore a lungo termine e lo spreco
della batteria e della durata della vita dei LED.
2. Rimuovere le batterie quando non state usando la lampada LED.
3. Vi preghiamo di installare le batterie con attenzione per evitare di danneggiare il porta batterie.
Garanzia
Non sarà accettata alcuna garanzia o responsabilità in relazione a cambiamenti e modifiche del prodotto o a danni
determinati dall’uso non corretto del prodotto stesso.
Disclaimer
Il design e le caratteristiche tecniche sono soggetti a modifica senza necessità di preavviso.
Tutti i marchi a logo e i nomi di prodotto sono marchi commerciali o registrati dei rispettivi titolari e sono riconosciuti
come tali in questo documento Tenere questo manuale e la confezione per riferimento futuro.
Smaltimento
•Questo prodotto è progettato per la raccolta differenziata nei punti di raccolta appropriati. Non smaltite il
prodotto con la spazzatura domestica.
•Per maggiori informazioni, contattate il rivenditore o l'autorità locale responsabile per la gestione dei
rifiuti.
Porta batteria
Interruttore