manuals.online logo
Brands
  1. Home
  2. •
  3. Brands
  4. •
  5. Camlink
  6. •
  7. Camera Accessories
  8. •
  9. Camlink CL-RL80 User manual

Camlink CL-RL80 User manual

Other Camlink Camera Accessories manuals

Camlink CL-LED256 User manual

Camlink

Camlink CL-LED256 User manual

Camlink CL-LED48 User manual

Camlink

Camlink CL-LED48 User manual

Camlink CL-LED320 User manual

Camlink

Camlink CL-LED320 User manual

Camlink CL-TPCARB2500 User manual

Camlink

Camlink CL-TPCARB2500 User manual

Camlink CL-STUDIO20 User manual

Camlink

Camlink CL-STUDIO20 User manual

Popular Camera Accessories manuals by other brands

CamRanger CamRanger user manual

CamRanger

CamRanger CamRanger user manual

Custom Brackets HDV CAGE KIT Instructions for use

Custom Brackets

Custom Brackets HDV CAGE KIT Instructions for use

Aegis ABL052010P user manual

Aegis

Aegis ABL052010P user manual

Saft SRA Series Installation and operating instructions

Saft

Saft SRA Series Installation and operating instructions

Kodak TIB5200 technical information

Kodak

Kodak TIB5200 technical information

Videotec HEG instruction manual

Videotec

Videotec HEG instruction manual

Ikelite 6171.11 manual

Ikelite

Ikelite 6171.11 manual

Pentax Auto Bellows Slide Copier K user manual

Pentax

Pentax Auto Bellows Slide Copier K user manual

Nikon UT-1 user manual

Nikon

Nikon UT-1 user manual

dji RONIN 4D quick start guide

dji

dji RONIN 4D quick start guide

SLIK ABLE 300DX user manual

SLIK

SLIK ABLE 300DX user manual

Rebelcell 36V70 user manual

Rebelcell

Rebelcell 36V70 user manual

Trojan GC2 48V quick start guide

Trojan

Trojan GC2 48V quick start guide

Calumet 7100 Series CK7114 operating instructions

Calumet

Calumet 7100 Series CK7114 operating instructions

Ropox 4Single Series User manual and installation instructions

Ropox

Ropox 4Single Series User manual and installation instructions

Cambo Wide DS Digital Series Main operating instructions

Cambo

Cambo Wide DS Digital Series Main operating instructions

Samsung SHG-120 Specification sheet

Samsung

Samsung SHG-120 Specification sheet

Ryobi BPL-1820 Owner's operating manual

Ryobi

Ryobi BPL-1820 Owner's operating manual

manuals.online logo
manuals.online logoBrands
  • About & Mission
  • Contact us
  • Privacy Policy
  • Terms and Conditions

Copyright 2025 Manuals.Online. All Rights Reserved.

Type: CL-RL80 Document version: 1
• GB - Close-up Flash LED Ring Light - User manual 3
• DE - Nahbereichsblitz LED-Ringlicht - Bedienungsanleitung 4
• FR - Flash pour plan rapproché Flash annulaire LED - Manuel de l’utilisateur 5
• NL - Close-up Flash LED-ringverlichting - Gebruikershandleiding 6
• ES - Flash de primer plano Anillo de luz LED - Manual de Usuario 7
• IT - Flash primo piano Luce Anello LED - Manuale Utente 8
• FI - Lähisalama LED-rengasvalo - Käyttöopas 9
• SE - Närbildsblixt LED-ringlampa - Bruksanvisning 10
• NO - Nærbilde-blits LED-ringlys - Brukermanual 11
• DK - Blitz til nærbillede LED ring lampe - Brugervejledning 12
• CZ - Blesk pro detailní záběr LED světelný kroužek - Návod k použití 13
• HU - Közelfelvételi vaku Gyűrűs LED fényforrás - Használati útmutató 14
• GR - Φα  πυ Φ α LED - Ε Χ 15
• RO - Bliţpentru prim-plan LampăbliţLED circulară- Manual de instrucţiuni 16
• RU -   LED   -   17
2
©2012 NEDIS BV. Camlink is a registered trademark of NEDIS BV. Although every effort has been made
to ensure the accuracy of the information contained in this manual specifications are subject to change
and therefore NEDIS BV cannot guarantee its correctness and completeness at all times.
Nedis B.V., part of the Nedis Group
De Tweeling 28
5215 MC ‘s-Hertogenbosch
The Netherlands
Tel: +31 73 599 1055
Fax: +31 73 599 9699
Web: www.nedis.com or www.nedis.nl
© Any unauthorised use of the information in this manual is prohibited. No part of this manual may be reproduced, stored in a
database or retrieval system, or published, in any form or in any way, electronically or mechanically, by print, photocopy,
microfilm or by any other means without the express written permission of NEDIS.
3
©2012 NEDIS BV. Camlink is a registered trademark of NEDIS BV. Although every effort has been made
to ensure the accuracy of the information contained in this manual specifications are subject to change
and therefore NEDIS BV cannot guarantee its correctness and completeness at all times.
GB – English
Technical specifications
Light source: 80 high power LEDs
Colour temperature: 5400 K
Light intensity: 380 lm
Guide number: 33 (100 ISO)
Range: 4 ft
Battery: 4x AA
Safety precautions
To reduce risk of electric shock, this product should ONLY be opened by an authorised
technician when service is required. Disconnect the product from mains and other
equipment if a problem should occur. Do not expose the product to water or moisture.
Installation instructions
1. Insert 4 AA Alkaline or Ni-MH rechargeable batteries into the battery compartment. Check that the batteries are
installed according to the symbols shown inside the battery compartment.
2. Mount the power pack onto the camera.
3. Select the correct mounting ring and slide the power pack into the grooves on the back of the ring light until it snaps
into position.
4. Screw the ring light onto the filter threads of the lens and adjust it horizontally.
5. Attach the power cord from the power pack to the ring light.
User instructions
1. Use the dimmer on the power pack to adjust the intensity.
2. Select between F (Flash) mode and L (LED) mode by using the switch on the rear of the power pack.
Note: this flash works only with cameras which have a hot shoe.
3. To test the flash, press the “test” button.
4. When you are done using the ring light, remove the power cord first and then unscrew the ring light.
Maintenance
1. Please turn off the power after use to avoid long term heat generation and a waste of the battery and service life of
the LED bulbs.
2. Remove the batteries when you are not using the LED lamp.
3. Please install the batteries carefully to avoid damage to the battery holder.
Warranty
No guarantee or liability can be accepted for any changes and modifications of the product or damage caused due to
incorrect use of this product.
Disclaimer
Designs and specifications are subject to change without prior notice.
All logos, brands and product names are trademarks or registered trademarks of their respective holders and are hereby
recognized as such. Keep this manual and packaging for future reference.
Disposal
•This product is designated for separate collection at an appropriate collection point. Do not dispose
of this product with household waste.
•For more information, contact the retailer or the local authority responsible for waste management.
4
©2012 NEDIS BV. Camlink is a registered trademark of NEDIS BV. Although every effort has been made
to ensure the accuracy of the information contained in this manual specifications are subject to change
and therefore NEDIS BV cannot guarantee its correctness and completeness at all times.
DE-Deutsch
Spécifications techniques
Lichtquelle: 80 hochleistungs-LEDs
Farbtemperatur: 5400 K
Lichtintensität: 380 lm
Leitzahl: 33 (100 ISO)
Reichweite: 4 ft
Batterie: 4 x AA
Sicherheitsvorkehrungen
Um das Risiko eines elektrischen Schlags zu verringern, sollte dieses Produkt
AUSSCHLIESSLICH von einem autorisierten Techniker geöffnet werden. Bei
Problemen trennen Sie das Gerät bitte von der Spannungsversorgung und von
anderen Geräten ab. Stellen Sie sicher, dass das Gerät nicht mit Wasser oder
Feuchtigkeit in Berührung kommt.
Installationsanleitungen
1. Legen Sie 4 AA Alkali- oder Ni-MH-Akkus in das Batteriefach ein. Stellen Sie sicher, dass die Batterien richtig
eingelegt werden, siehe Symbole im Inneren des Batteriefachs.
2. Befestigen Sie das Netzteil auf der Kamera.
3. Wählen Sie den korrekten Einbauring und schieben Sie das Netzteil bis es einschnappt auf die Rillen auf der
Rückseite des Ringlichtes.
4. Schrauben Sie das Ringlicht auf die Filtergewinde der Linse und stellen Sie es horizontal ein.
5. Befestigen Sie das Netzkabel vom Netzteil an das Ringlicht.
Benutzerhinweise
1. Benutzen Sie den Dimmer am Netzteil, um die Lichtstärke einzustellen.
2. Wählen Sie mit dem Schalter auf der Rückseite des Netzteils zwischen dem Modus F (Flash) und L (LED).
Hinweis: Dieser Blitz funktioniert ausschließlich mit Kameras, die über einen Zubehörschuh verfügen.
3. Drücken Sie die Taste „test“, um den Blitz zu testen.
4. Wenn Sie das Ringlicht nicht mehr benötigen, entfernen Sie zuerst das Netzkabel und schrauben Sie dann das
Ringlicht ab.
Wartung
1. Schalten Sie das Ringlicht nach der Benutzung bitte aus, um eine Hitzeentwicklung zu vermeiden und die Batterie
und LEDs zu schonen.
2. Entnehmen Sie die Batterien, wenn Sie die LED-Lampe nicht verwenden.
3. Setzen Sie die Batterien bitte sorgfältig ein, um Schäden an der Batteriehalterung zu vermeiden.
Garantie
Es kann keine Garantie oder Haftung für irgendwelche Änderungen oder Modifikationen des Produkts oder für Schäden
übernommen werden, die aufgrund einer nicht ordnungsgemäßen Anwendung des Produkts entstanden sind.
Haftungsausschluss
Design und technische Daten können ohne vorherige Ankündigung geändert werden.
Alle Logos, Marken und Produktnamen sind Marken oder eingetragene Marken ihrer jeweiligen Eigentümer und werden
hiermit als solche anerkannt. Bitte bewahren Sie Bedienungsanleitung und Verpackung für spätere Verwendung auf.
5
©2012 NEDIS BV. Camlink is a registered trademark of NEDIS BV. Although every effort has been made
to ensure the accuracy of the information contained in this manual specifications are subject to change
and therefore NEDIS BV cannot guarantee its correctness and completeness at all times.
Entsorgung
•Dieses Produkt muss an einem entsprechenden Sammelpunkt zur Entsorgung abgegeben werden.
Entsorgen Sie dieses Produkt nicht mit dem Haushaltsmüll.
•Weitere Informationen erhalten Sie beim Verkäufer oder der für die Abfallwirtschaft
verantwortlichen örtlichen Behörde.
FR – Français
Caractéristiques techniques
Source lumineuse : 80 diodes à haute puissance
Température de couleur : 5400 K
Intensité lumineuse : 380 lm
Nombre guide : 33 (100 ISO)
Portée : 4 ft
Piles : 4 piles AA
Consignes de sécurité
Pour réduire le risque de choc électrique, ce produit ne doit être ouvert que par un
technicien qualifié si une réparation s’impose. Débranchez l’appareil et les autres
équipements du secteur s’il y a un problème. Ne pas exposer l’appareil à l’eau ni à
l’humidité.
Notice de montage
1. Installez 4 piles alcalines AA ou des piles rechargeables Ni-MH dans le logement prévu à cet effet. Vérifiez que les
piles sont bien installées conformément aux signes inscrits à l'intérieur du logement.
2. Installez le bloc d'alimentation sur l'appareil photo.
3. Choisissez la bague de montage qui convient, et faites glisser le bloc d'alimentation dans les rainures situées sur la
face arrière du flash annulaire jusqu'à ce qu'il s'enclenche.
4. Vissez le flash annulaire sur le filetage du filtre des lentilles, et réglez-le horizontalement.
5. Reliez le flash annulaire au cordon d'alimentation en provenance du bloc d'alimentation.
Mode d'emploi
1. Servez-vous du variateur situé sur le bloc d'alimentation pour régler l'intensité de la lumière.
2. Choisissez le mode F (Flash) ou le mode L (LED) à l'aide de l'interrupteur situé au dos du bloc d'alimentation.
Remarque : cette lampe flash ne fonctionne qu'avec les appareils munis d'une griffe porte-accessoires.
3. Pour tester le flash, appuyez sur la touche « test ».
4. Après avoir fini de vous servir du flash annulaire, débranchez d'abord le cordon d'alimentation, puis dévissez le flash
annulaire.
Entretien
1. Veillez à bien couper la source d'alimentation afin d'éviter de générer de la chaleur pendant un long moment, et pour
éviter le gaspillage des piles ainsi que la réduction de la durée de vie des ampoules LED.
2. Enlevez les piles lorsque vous ne vous servez pas de la lampe LED.
3. Veillez à installer les piles avec soin afin d'éviter d'endommager le logement de piles.
Garantie
Aucune garantie ou responsabilité ne sera acceptée en cas de modification et/ou de transformation du produit ou en cas
de dommages provoqués par une utilisation incorrecte de l’appareil.
6
©2012 NEDIS BV. Camlink is a registered trademark of NEDIS BV. Although every effort has been made
to ensure the accuracy of the information contained in this manual specifications are subject to change
and therefore NEDIS BV cannot guarantee its correctness and completeness at all times.
Avis de non responsabilité
Le design et les caractéristiques techniques sont sujets à modification sans notification préalable.
Tous les logos de marques et noms de produits sont des marques déposées ou immatriculées dont leurs détenteurs
sont les propriétaires et sont donc reconnues comme telles dans ce documents. Conservez ce manuel et l’emballage
pour toute référence ultérieure.
Elimination
•Ce produit doit être jeté séparément des ordures ménagères dans un point de collecte approprié.
Ne jetez pas ce produit avec les ordures ménagères ordinaires.
•Pour plus d'informations, contactez le distributeur ou l'autorité locale responsable de la gestion des
déchets.
NL - Nederlands
Technische specificaties
Lichtbron: 80 hoog vermogen Leds
Kleurtemperatuur: 5400 K
Lichtsterkte: 380 lm
Richtgetal: 33 (100 ISO)
Bereik: 1,22 m
Batterij: 4x AA
Veiligheidsvoorschriften
Om het risico op elektrische schokken te voorkomen mag dit product ALLEEN worden
geopend door een erkende technicus wanneer er onderhoud nodig is. Koppel het
product los van de elektrische voeding en van andere apparatuur als zich problemen
voordoen. Stel het product niet bloot aan water of vocht.
Installatie-instructies
1. Plaats 4 AA Alkaline of Ni-MH oplaadbare batterijen in het batterijvak. Controleer of de batterijen volgens de
aangegeven markeringen in het batterijvak zijn geplaatst.
2. Monteer de power pack op de camera.
3. Selecteer de juiste montagering en schuif de power pack in de groeven op de achterkant van de ringverlichting
totdat deze op zijn plaats vastklikt.
4. Schroef de ringverlichting op de filterschroefdraad van uw lens en stel het horizontaal in.
5. Sluit het voedingsnoer vanaf de power pack op de ringverlichting aan.
Gebruiksaanwijzing
1. Gebruik de dimmer op de power pack om de lichtintensiteit aan te passen.
2. Kies tussen F (Flash)-modus en L (LED) -modus met behulp van de schakelaar op de achterkant van de power
pack.
Opmerking: deze flitser werkt alleen met camera’s die een hot shoe hebben.
3. Om de flitser te testen, drukt u op de “Test”- knop.
4. Wanneer u klaar bent met het gebruik van de ringverlichting, verwijder eerst het voedingssnoer en draai vervolgens
de ringverlichting los.
Onderhoud
1. Schakel de voeding na gebruik uit om langdurige warmteontwikkeling en verspilling van de batterij en de levensduur
van de LED-lampen te voorkomen.
2. Verwijder de batterijen wanneer u de LED-lamp niet gebruikt.
3. Installeer de batterijen zorgvuldig om schade aan de batterijhouder te voorkomen.
7
©2012 NEDIS BV. Camlink is a registered trademark of NEDIS BV. Although every effort has been made
to ensure the accuracy of the information contained in this manual specifications are subject to change
and therefore NEDIS BV cannot guarantee its correctness and completeness at all times.
Garantie
Voor wijzigingen en veranderingen aan het product of schade veroorzaakt door een verkeerd gebruik van dit product,
kan geen aansprakelijkheid worden geaccepteerd. Tevens vervalt daardoor de garantie.
Disclaimer
Wijziging van ontwerp en specificaties zonder voorafgaande mededeling onder voorbehoud.
Alle logo’s, merken en productnamen zijn handelsmerken of geregistreerde handelsmerken van de respectievelijke
eigenaren en worden hierbij als zodanig erkend. Bewaar deze gebruiksaanwijzing voor latere raadpleging.
Afvoer
•Dit product is bestemd voor gescheiden inzameling bij een daartoe aangewezen verzamelpunt.
Gooi dit product niet weg bij het huishoudelijk afval.
•Neem voor meer informatie contact op met de detailhandelaar of de lokale overheid die
verantwoordelijk is voor het afvalbeheer.
ES – Español
Especificaciones técnicas
Fuente lumínica: 80 LED de alta potencia
Temperatura del color: 5400 K
Intensidad lumínica: 380 lm
Número de guía: 33 (100 ISO)
Alcance: 4 ft
Pilas: 4x AA
Medidas de seguridad
Para reducir el peligro de descarga eléctrica, este producto SÓLO lo debería abrir un
técnico autorizado cuando necesite reparación. Desconecte el producto de la toma de
corriente y de los otros equipos si ocurriera algún problema. No exponga el producto al
agua ni a la humedad.
Instrucciones de instalación
1. Inserte las 4 pilas recargables alcalinas o Ni-MH AA en el compartimento de las pilas. Compruebe que las pilas
están instaladas según los símbolos que se muestran en el interior del compartimento de las pilas.
2. Monte el pack de alimentación en la cámara.
3. Seleccione el anillo de montaje correcto y deslice el pack de alimentación en los surcos del anillo de luz hasta que
se ajuste en su posición.
4. Atornille el anillo de luz en los hilos de las lentes y ajústelo horizontalmente.
5. Fije el cable de alimentación del pack de alimentación al anillo de luz.
Instrucciones de usuario
1. Use el potenciómetro del pack de alimentación para ajustar la intensidad.
2. Seleccione entre el modo F (Flash) y el modo L (LED) usando el interruptor situado en la parte posterior del pack de
alimentación.
Nota: este flash funciona únicamente con cámaras que disponen de zapata.
3. Para probar el flash, pulse el botón “test”.
4. Cuando haya acabado de usar el anillo de luz, retire el cable de alimentación primero y posteriormente desatornille
el anillo de luz.
8
©2012 NEDIS BV. Camlink is a registered trademark of NEDIS BV. Although every effort has been made
to ensure the accuracy of the information contained in this manual specifications are subject to change
and therefore NEDIS BV cannot guarantee its correctness and completeness at all times.
Mantenimiento
1. Por favor, apague la alimentación tras su uso para evitar una generación de calor durante un periodo prolongado de
tiempo y un desgaste de las pilas y de la vida útil de las lámparas LED.
2. Retire las pilas cuando no use la lámpara LED.
3. Por favor, instale las pilas con cuidado para evitar causar daños al soporte de las pilas.
Garantía
No se aceptará ninguna garantía o responsabilidad derivada de cualquier cambio o modificaciones realizadas al
producto o daños provocados por un uso incorrecto del producto.
Exención de responsabilidad
Las ilustraciones y las especificaciones podrán sufrir cambios sin previo aviso.
Todas las marcas de logotipos y nombres de productos constituyen patentes o marcas registradas a nombre de sus
titulares correspondientes, reconocidos como tal. Conserve este manual y el embalaje en caso de futura necesidad.
Eliminación
•Este producto está diseñado para desecharlo por separado en un punto de recogida adecuado. No
se deshaga de este producto con la basura doméstica.
•Para obtener más información, póngase en contacto con el vendedor o la autoridad local
responsable de la eliminación de residuos.
IT – Italiano
Specifiche tecniche
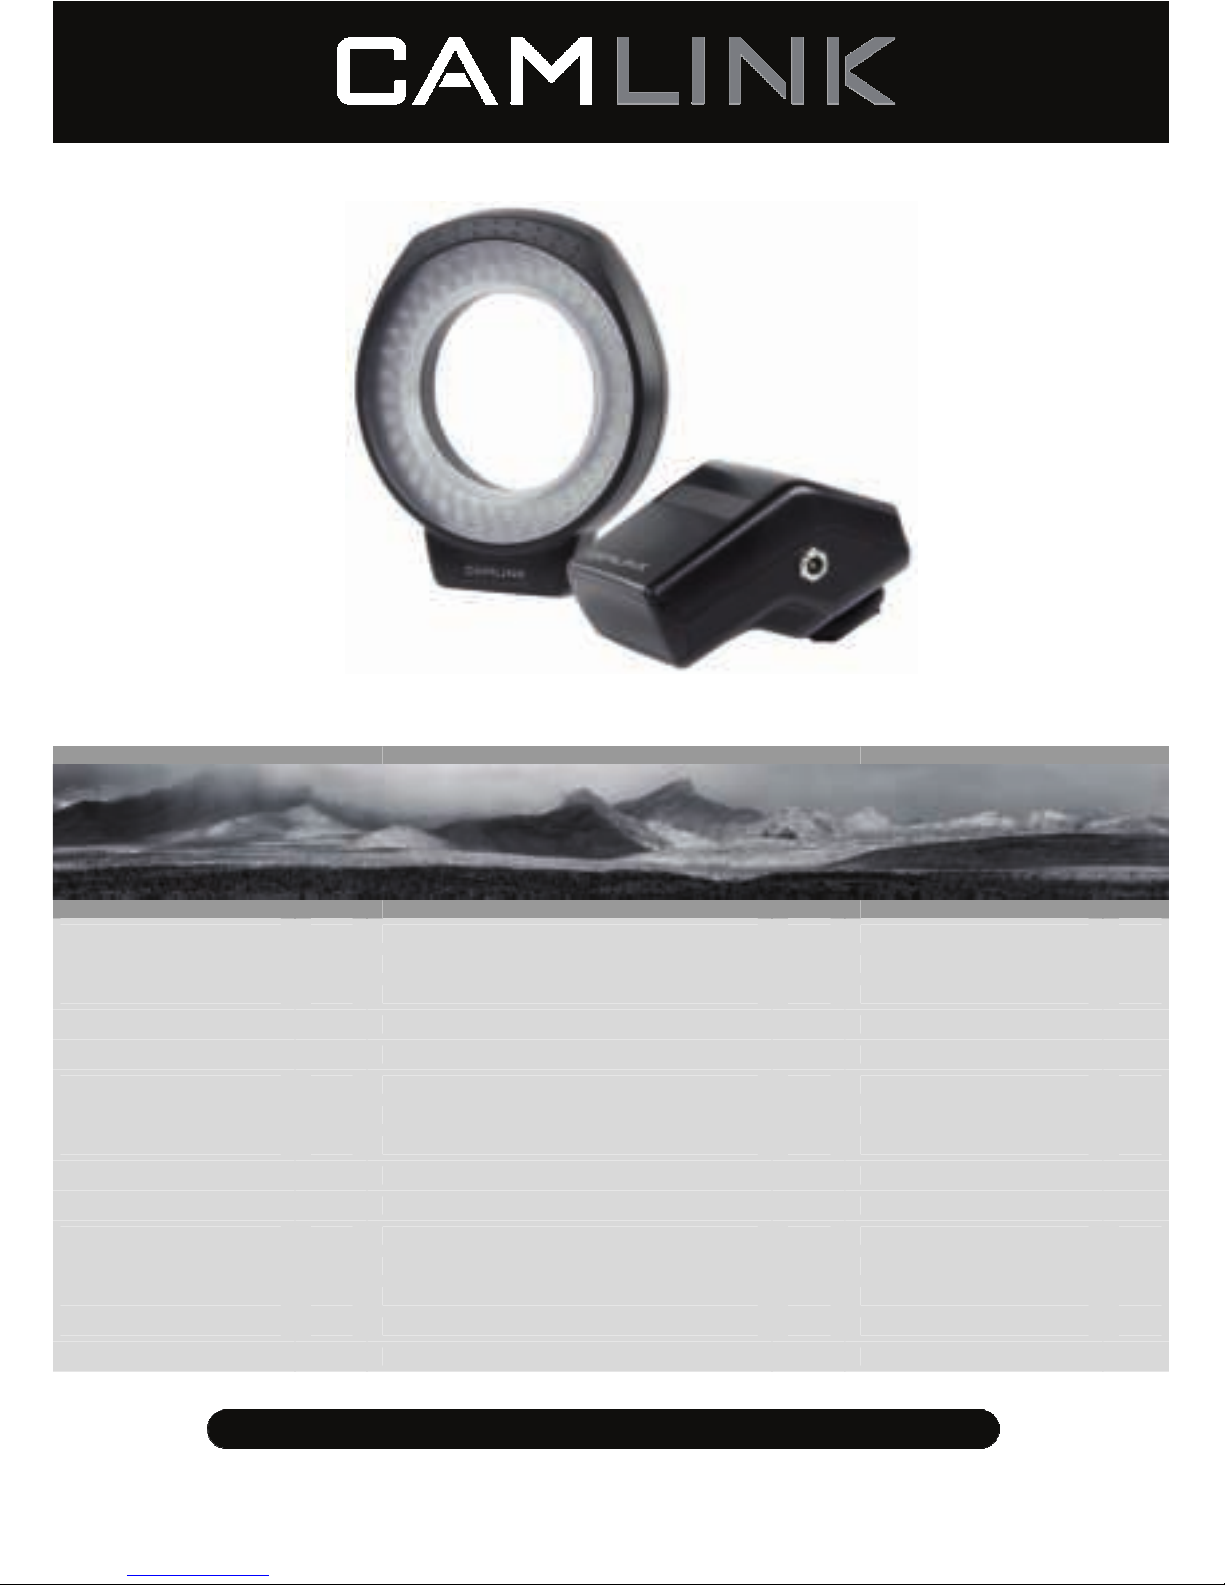
Sorgente luminosa: 80 LED ad alta intensità
Temperatura del Colore: 5400 K
Intensità luminosa: 380 lm
Numero guida: 33 (100 ISO)
Portata: 4 ft
Batteria: 4x AA
Precauzioni di sicurezza
Per ridurre il rischio di shock elettrico, questo prodotto dovrebbe essere aperto SOLO
da un tecnico autorizzato quando è necessario ripararlo. Scollegare il prodotto
dall’alimentazione e da altri apparecchi se dovesse esserci un problema. Non esporre il
prodotto ad acqua o umidità.
Istruzioni di installazione
1. Inserire 4 batteria Alkaline o Ni-MH AA nel comparto batterie. Assicuratevi che le batterie siano installate rispettando
il diagramma mostrato dentro il comparto batterie.
2. Montare il pacco alimentazione sul retro della videocamera.
3. Selezionare l'anello di montaggio corretto e farlo scivolare all'interno delle scanalature della luce ad anello fino a che
si incastri in posizione.
4. Avviare la luce ad anello sul filetto del filtro delle lenti e regolarla orizzontalmente.
5. Installate il cavo di alimentazione dal gruppo energia alla luce ad anello
Istruzioni utente
1. Utilizzate il controllo di luminosità sul gruppo energia per regolare l'intensità della luce.
2. Selezionare tra la modalità F (Flash) e modalità L (LED) utilizzando l'interruttore sul retro del pacco d'alimentazione.
Note: questo flash funziona solo con le videocamera che hanno una presa a caldo.
9
©2012 NEDIS BV. Camlink is a registered trademark of NEDIS BV. Although every effort has been made
to ensure the accuracy of the information contained in this manual specifications are subject to change
and therefore NEDIS BV cannot guarantee its correctness and completeness at all times.
3. Per testare il flash, premere il pulsante “test”.
4. Quando avete completato l'uso della luce ad anello, rimuovete prima il cavo di alimentazione e poi svitata la luce.
Manutenzione
1. Vi preghiamo di spegnere l'alimentazione dopo l'uso per evitare la generazione di calore a lungo termine e lo spreco
della batteria e della durata della vita dei bulbi del LED.
2. Rimuovere le batterie quando non state usando la lampada LED.
3. Vi preghiamo di installare le batterie con attenzione per evitare di danneggiare il porta batterie.
Garanzia
Non sarà accettata alcuna garanzia o responsabilità in relazione a cambiamenti e modifiche del prodotto o a danni
determinati dall’uso non corretto del prodotto stesso.
Disclaimer
Il design e le caratteristiche tecniche sono soggetti a modifica senza necessità di preavviso.
Tutti i marchi a logo e i nomi di prodotto sono marchi commerciali o registrati dei rispettivi titolari e sono riconosciuti
come tali in questo documento Tenere questo manuale e la confezione per riferimento futuro.
Smaltimento
•Questo prodotto è progettato per la raccolta differenziata nei punti di raccolta appropriati. Non
smaltite il prodotto con la spazzatura domestica.
•Per maggiori informazioni, contattate il rivenditore o l'autorità locale responsabile per la gestione
dei rifiuti.
FI – Suomi
Tekniset tiedot
Valolähde: 80 tehokasta LEDiä
Värilämpötila: 5400 K
Valovirta: 380 lm
Ohjenumero: 33 (100 ISO)
Kantomatka: 4 ft
Paristot: 4 x AA
Turvallisuuteen liittyvät varoitukset
Sähköiskun riskin pienentämiseksi, AINOASTAAN valtuutettu huoltohenkilö saa avata
tämän laitteen huoltoa varten. Jos ongelmia ilmenee, irrota laite verkkovirrasta ja
muista laitteista. Älä altista laitetta vedelle äläkä kosteudelle.
Asennusohjeet
1. Aseta neljä uudelleen ladattavaa AA-alkaliini- tai Ni-MH-paristoa paristotilaan. Tarkista, että paristot on asetettu
oikein paristotilan merkintöjen mukaisesti.
2. Kiinnitä paristopakkaus kameran päälle.
3. Valitse oikean kokoinen kiinnitysrengas ja liu'uta paristopakkaus rengasvalon takana oleviin hahloihin, kunnes se
napsahtaa paikoilleen.
4. Kierrä rengasvalo linssin suotimeen ja säädä se vaakatasossa.
5. Yhdistä paristopakkauksen virtajohto rengasvaloon.
Käyttöohjeet
1. Säädä valovirran määrää paristopakkauksen himmentimellä.
10
©2012 NEDIS BV. Camlink is a registered trademark of NEDIS BV. Although every effort has been made
to ensure the accuracy of the information contained in this manual specifications are subject to change
and therefore NEDIS BV cannot guarantee its correctness and completeness at all times.
2. Valitse F (Flash/salama) tai L (LED) paristopakkauksen takaosan kytkimellä.
Huomaa, että tämä salama toimii ainoastaan kameroissa, joissa on hot shoe -liitin.
3. Voit testata salaman painamalla ”test”-painiketta.
4. Kun lopetat rengasvalon käytön, irrota ensin virtajohto ja kierrä sitten rengasvalo irti.
Huolto
1. Virta tulee sammuttaa käytön jälkeen ylikuumenemisen, paristojen ehtymisen ja LED-lamppujen palamisen
välttämiseksi.
2. Poista paristot, kun LED-lamppu ei ole käytössä.
3. Aseta paristot takaisin varoen, jottei paristotila vahingoitu.
Takuu
Takuu ja vastuuvelvollisuus mitätöityvät, jos tuote vaurioituu siihen tehtyjen muutoksien tai sen väärinkäytön takia.
Vastuuvapaus
Muutoksia malliin ja teknisiin ominaisuuksiin voidaan tehdä ilmoituksetta.
Kaikki logot, merkit ja tuotenimet ovat niiden vastaavien omistajien tuotemerkkejä tai rekisteröityjä tuotemerkkejä ja niitä
on käsiteltävä sellaisina. Säilytä käyttöohjeet ja pakkaus myöhempää käyttötarvetta varten.
Hävittäminen
•Tämä tuote tulee toimittaa hävitettäväksi asianmukaiseen keräyspisteeseen. Tuotetta ei tule
hävittää kotitalousjätteen mukana.
•Lisätietoja antaa jälleenmyyjä tai paikallinen jätehuollosta vastaava viranomainen.
SE – Svenska
Tekniska specifikationer
Ljuskälla: 80 högeffekts LED-lampor
Färgtemperatur: 5 400 K
Ljusintensitet: 380 lm
Guidenummer: 33 (100 ISO)
Räckvidd: 4 ft
Batteri: 4x AA
Säkerhetsanvisningar
För att minska risken för elektriska stötar bör denna produkt ENDAST öppnas av
behörig tekniker när service behövs. Dra ut strömkabeln från eluttaget och koppla ur all
annan utrustning om något problem skulle uppstå. Utsätt inte produkten för vatten eller
fukt.
Installationsinstruktioner
1. Sätt i 4 AA alkalinbatterier eller Ni-MH laddningsbara batterier i batterifacket. Kontrollera att batterierna sätts i enligt
symbolerna som syns inuti batterifacket.
2. Montera nätdelen på kameran.
3. Välj rätt monteringsring och låt nätdelen glida in i spåren på ringlampans baksida tills den knäpps fast i sitt läge.
4. Skruva på ringlampan på linsens filtergängor och justera den horisontellt.
5. Fäst strömkabeln från nätdelen i ringlampan.
Bruksanvisning
1. Använd dimmern på nätdelen för att justera intensiteten.