EN 7
First Steps
Power on
Turn on the device on the backside (ON).
System will start automatically.
HINT
In case of non-usage for a longer period, it is rec-
ommended to turn off the device to avoid total dis-
charge of the battery.
Stand-by
Press to send the system to sleep mode or to re-
activate.
HINT
In sleep mode the power consumption will be re-
duced, but charging of the device battery is still
working. So the car battery is used.
Battery operation
While operating the unit without external power sup-
ply, the sensor indicator lights will be switched of
and the background light will be reduced to save
power. You can use the settings to setup further
power saving options.
DC operation
Connect the unit with the 12 V cigar jack of the vehi-
cle. The internal battery will now be charged.
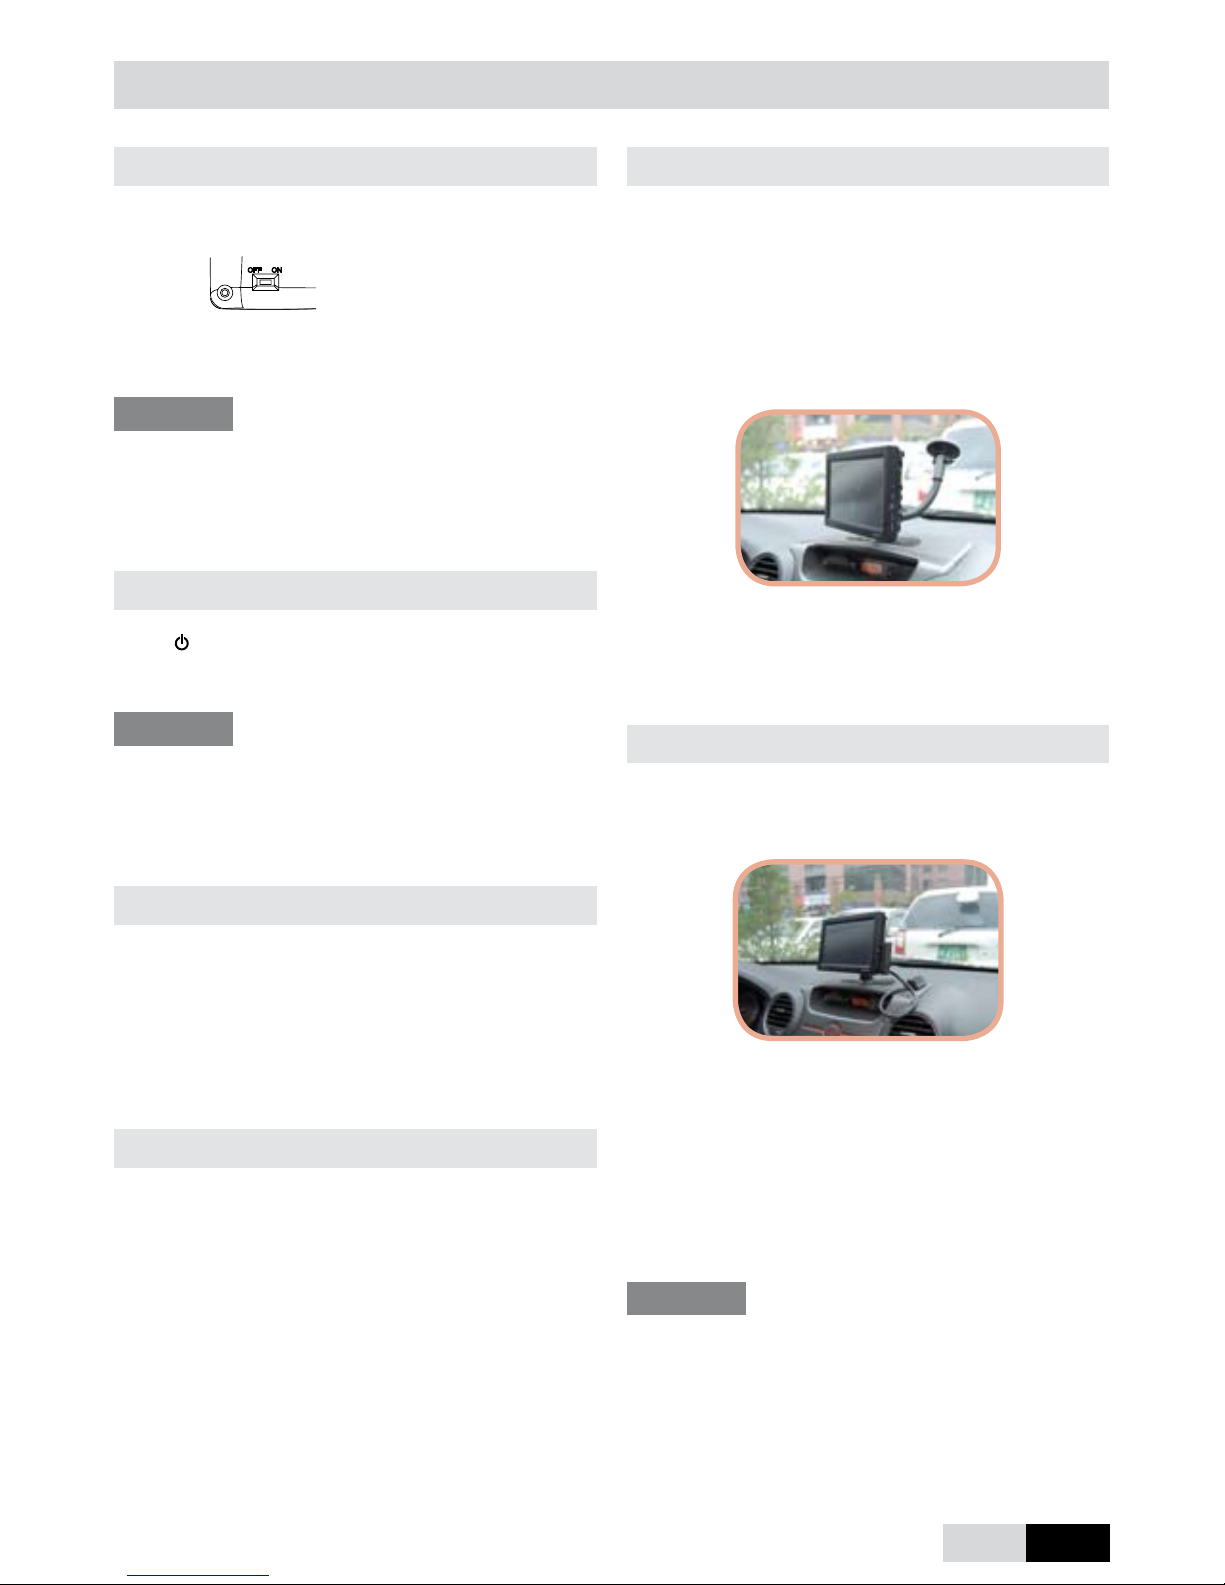
Installation (Quick)
There are different ways to install the unit in your
vehicle.
The easiest way is to use the goose neck with suc-
tion cup and to power the unit with the spiral cable
to the cigar jack. So you may install and use the
system within few minutes.
The optional TMC module with one-wire antenna
is placed onto the dash board.
Installation (Advanced, optional)
The taped socket CL-5 and the multi cable will en-
able you to install the unit without visible cables.
All connectors and cables remain behind the dash
board, which will keep your interior clear. In this
case the TMC module can be installed invisible.
Under certain conditions the reception quality of the
one-wire antenna might not be sufcient. A y-adapt-
er that will be put between car antenna and car hi
is available at well sorted stores.
HINT
Please establish electric connections only when
unit is switched off.