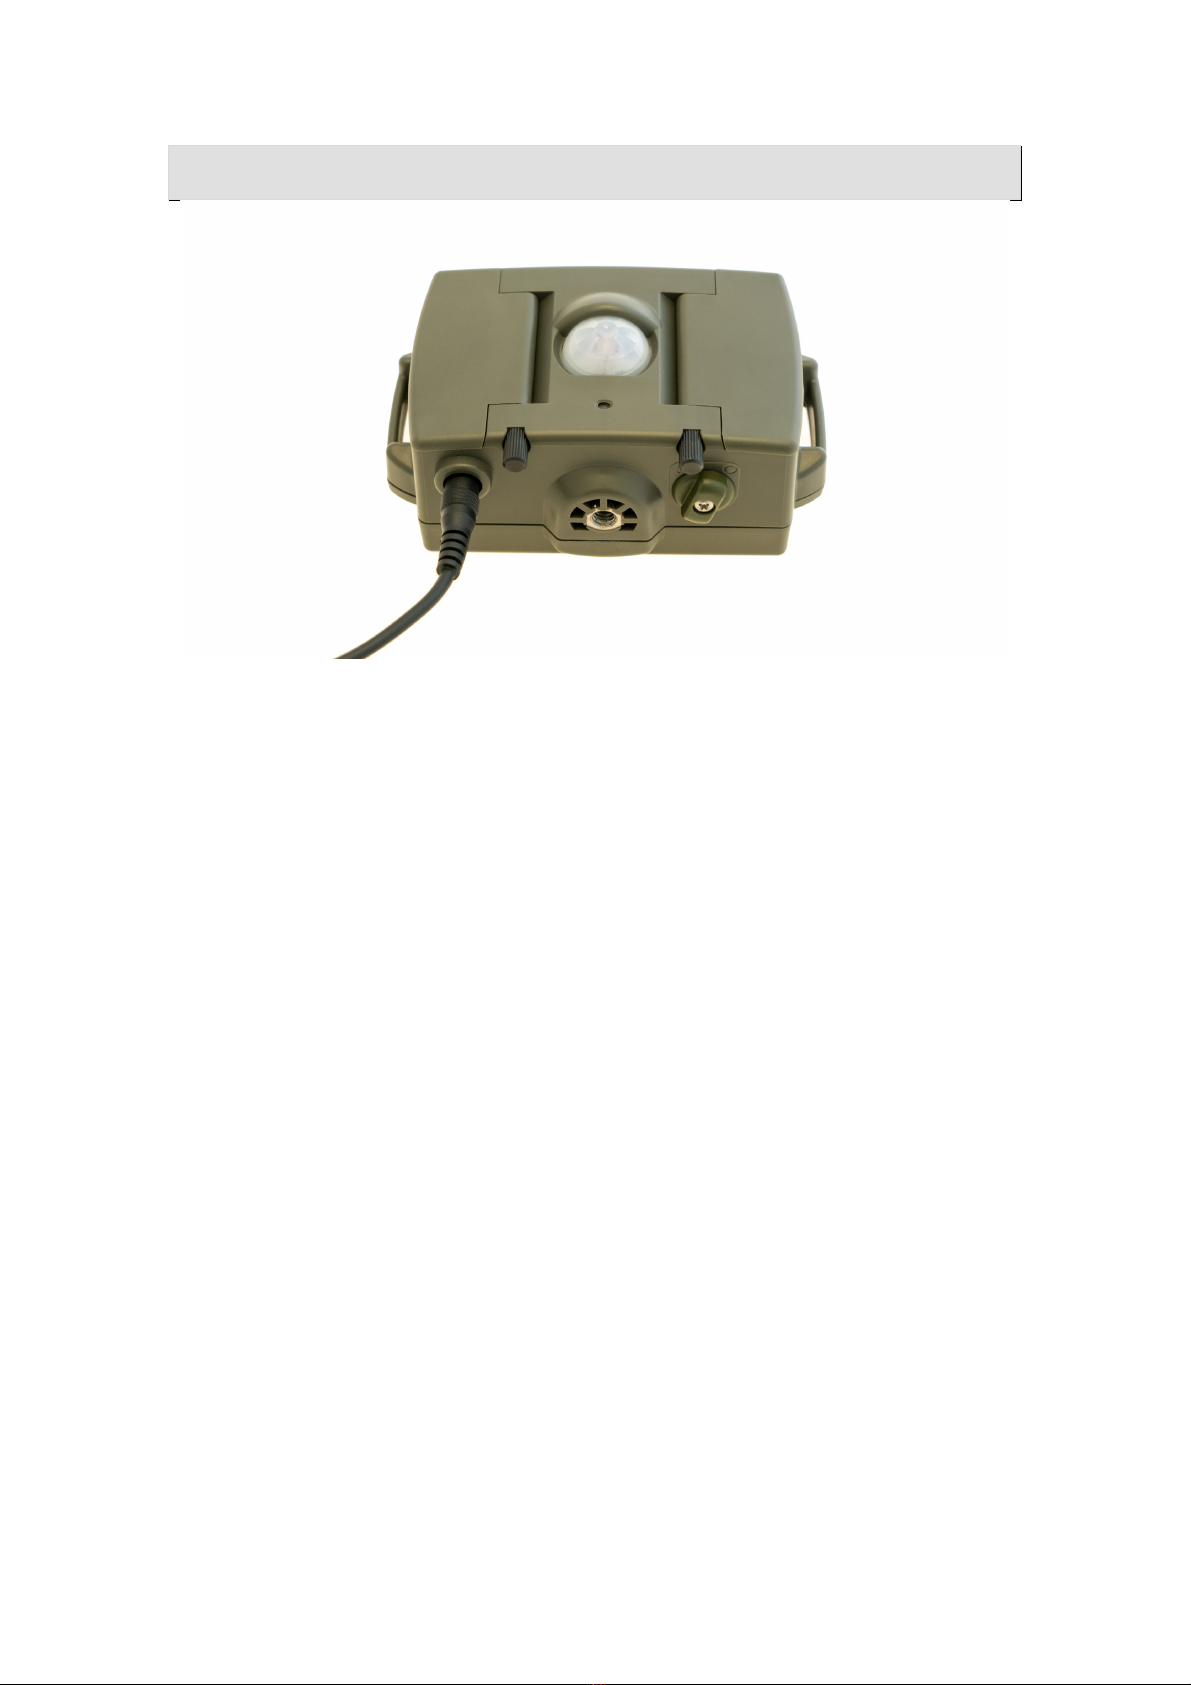
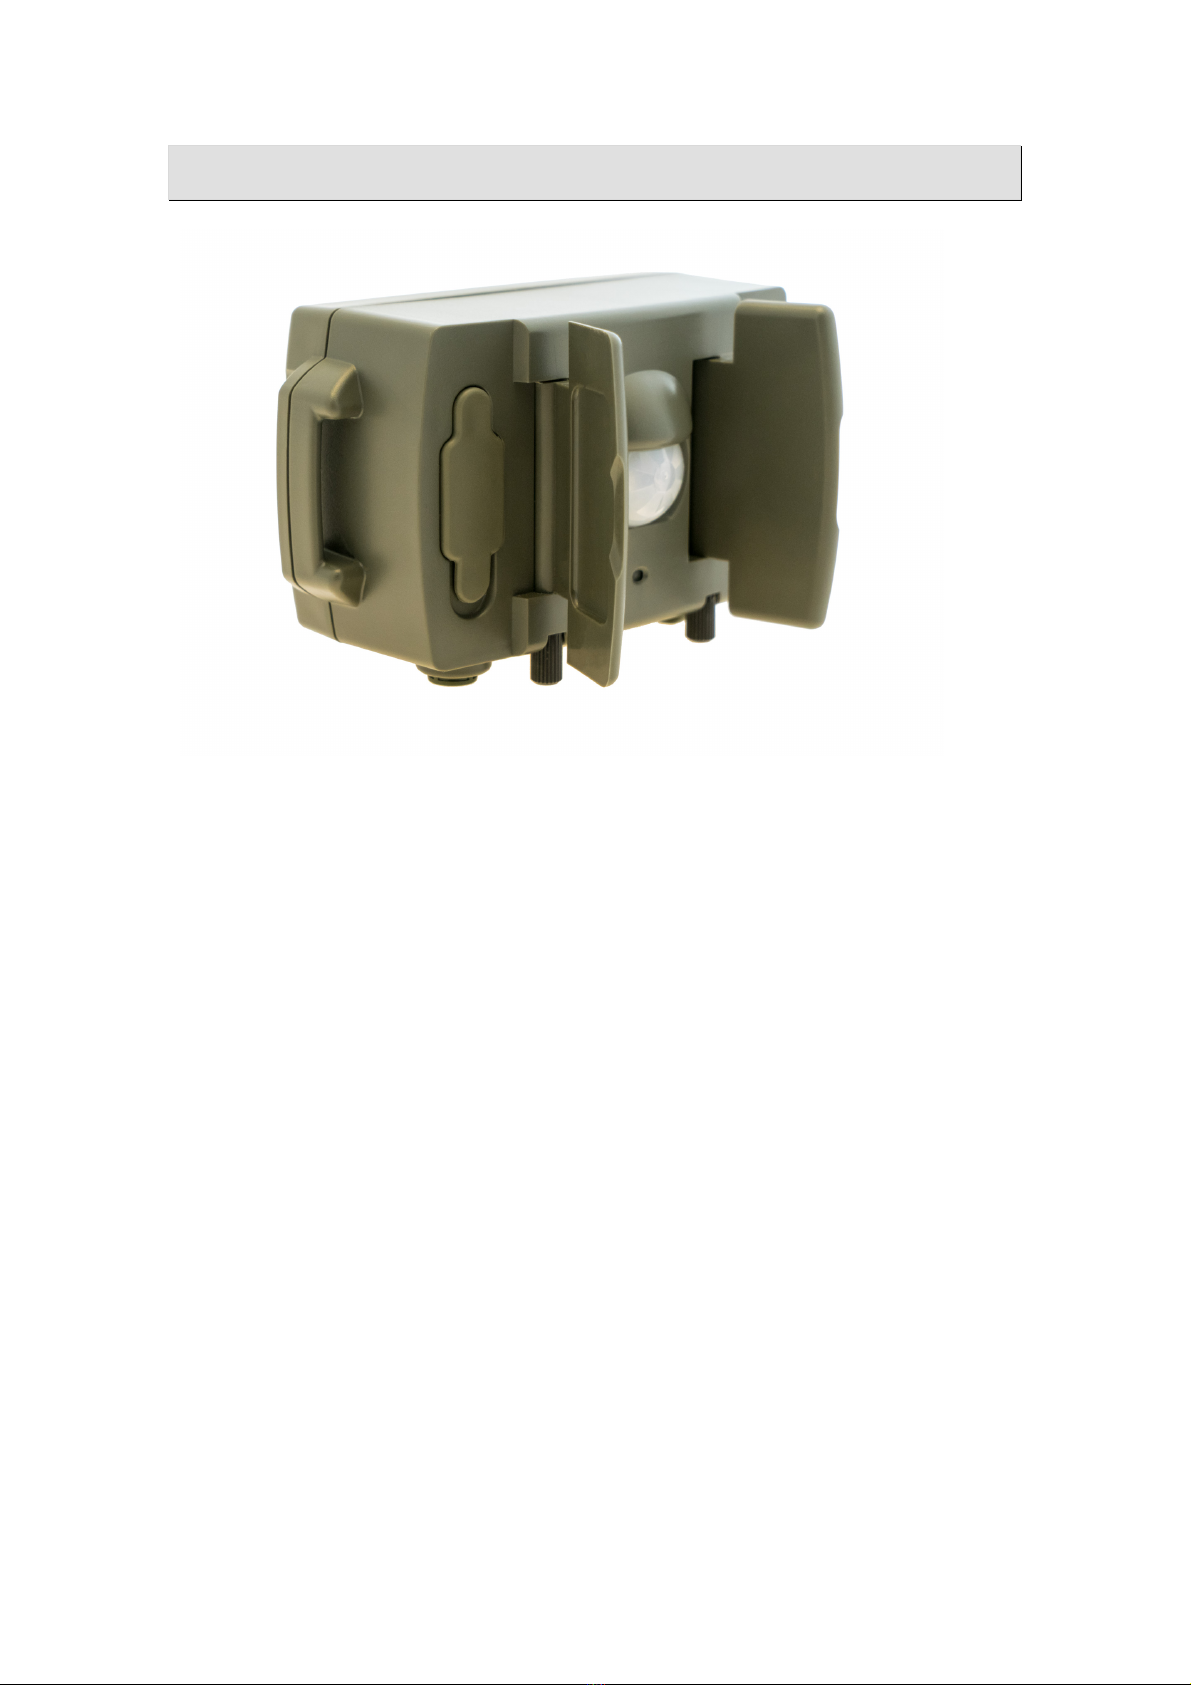
Camtraptions PIR Motion Sensor Manual Page 2
Index!
!
What!is!a!PIR!Motion!Sensor?!................................................................................!3!
Controls!.................................................................................................................!4!
!"#$%&'''''''''''''''''''''''''''''''''''''''''''''''''''''''''''''''''''''''''''''''''''''''''''''''''''''''''''''''''''''''''''''''''''''''''''&(!
)*"+,-.%&'''''''''''''''''''''''''''''''''''''''''''''''''''''''''''''''''''''''''''''''''''''''''''''''''''''''''''''''''''''''''''''''''''''&(!
/01233&)*"+,-&'''''''''''''''''''''''''''''''''''''''''''''''''''''''''''''''''''''''''''''''''''''''''''''''''''''''''''''''''''''''''''''&4!
Inserting!Batteries!.................................................................................................!6!
Red!LED!Indicator!...................................................................................................!7!
52*.6178&).97.0,.&''''''''''''''''''''''''''''''''''''''''''''''''''''''''''''''''''''''''''''''''''''''''''''''''''''''''''''''''''&:!
;$"<0=.0+&>&).0%"+"?"+@&A0B",#+26&''''''''''''''''''''''''''''''''''''''''''''''''''''''''''''''''''''''''''''''''''''''''''''''&C!
Connecting!Camera!................................................................................................!9!
Controlling!the!Field!of!View!................................................................................!10!
Mounting!the!Sensor!...........................................................................................!11!
Sensitivity!Dial!.....................................................................................................!12!
D"0"="E"0<&F#$%.&G6"<<.6%&''''''''''''''''''''''''''''''''''''''''''''''''''''''''''''''''''''''''''''''''''''''''''''''''''''''''&HI!
Time!Dial!.............................................................................................................!13!
Luminosity!Threshold!Dial!....................................................................................!14!
Program!Selection!................................................................................................!15!
Program!Quick!Reference!....................................................................................!16!
Programs!1!to!12:!Interval!....................................................................................!17!
562<6#=&H&+2&JK&A0+.6?#$&*"+-&L2&M7="02%"+@&N7+1233&''''''''''''''''''''''''''''''''''''''''''''''''''''''''''''''&H:!
562<6#=&:&+2&OK&A0+.6?#$P&L"<-+&''''''''''''''''''''''''''''''''''''''''''''''''''''''''''''''''''''''''''''''''''''''''''''''''&H:!
562<6#=&HQ&+2&HIK&A0+.6?#$P&!#@&''''''''''''''''''''''''''''''''''''''''''''''''''''''''''''''''''''''''''''''''''''''''''''''&HC!
Programs!13!to!24:!Video!.....................................................................................!18!
562<6#=&HR&>&H(K&F"S.B&!76#+"20&*"+-&L2&M7="02%"+@&N7+1233&''''''''''''''''''''''''''''''''''''''''''''''''&HO!
562<6#=&H(&>&H4K&D"0"=7=&!76#+"20&*"+-&L2&M7="02%"+@&N7+1233&'''''''''''''''''''''''''''''''''''''''''&HO!
562<6#=&HJ&>&H:K&F"S.B&!76#+"20P&L"<-+&'''''''''''''''''''''''''''''''''''''''''''''''''''''''''''''''''''''''''''''''''&IQ!
562<6#=&HC&>&HOK&D"0"=7=&!76#+"20P&L"<-+&''''''''''''''''''''''''''''''''''''''''''''''''''''''''''''''''''''''''''&IQ!
562<6#=&IQ&>&IHK&F"S.B&!76#+"20P&!#@&''''''''''''''''''''''''''''''''''''''''''''''''''''''''''''''''''''''''''''''''''''&IH!
562<6#=&II&>&IRK&D"0"=7=&!76#+"20P&!#@&'''''''''''''''''''''''''''''''''''''''''''''''''''''''''''''''''''''''''''''&IH!
Programs!25!to!28:!Bulb!.......................................................................................!22!
Programs!29!to!31:!Wake!.....................................................................................!22!
562<6#=&IO&>&RQK&T#U.&+-.0&)-22+&''''''''''''''''''''''''''''''''''''''''''''''''''''''''''''''''''''''''''''''''''''''''&IR!
562<6#=&RHK&T#U.&/0$@&'''''''''''''''''''''''''''''''''''''''''''''''''''''''''''''''''''''''''''''''''''''''''''''''''''''''''''&IR!
Program!32:!Shutter!Hold!Mode!..........................................................................!24!
Wireless!Switch!....................................................................................................!25!
Quick!Start!PIR!&!Camera!Settings!.......................................................................!26!
Support!................................................................................................................!27!