Canon VIXIA HF200 Quick Start Guide
Overview
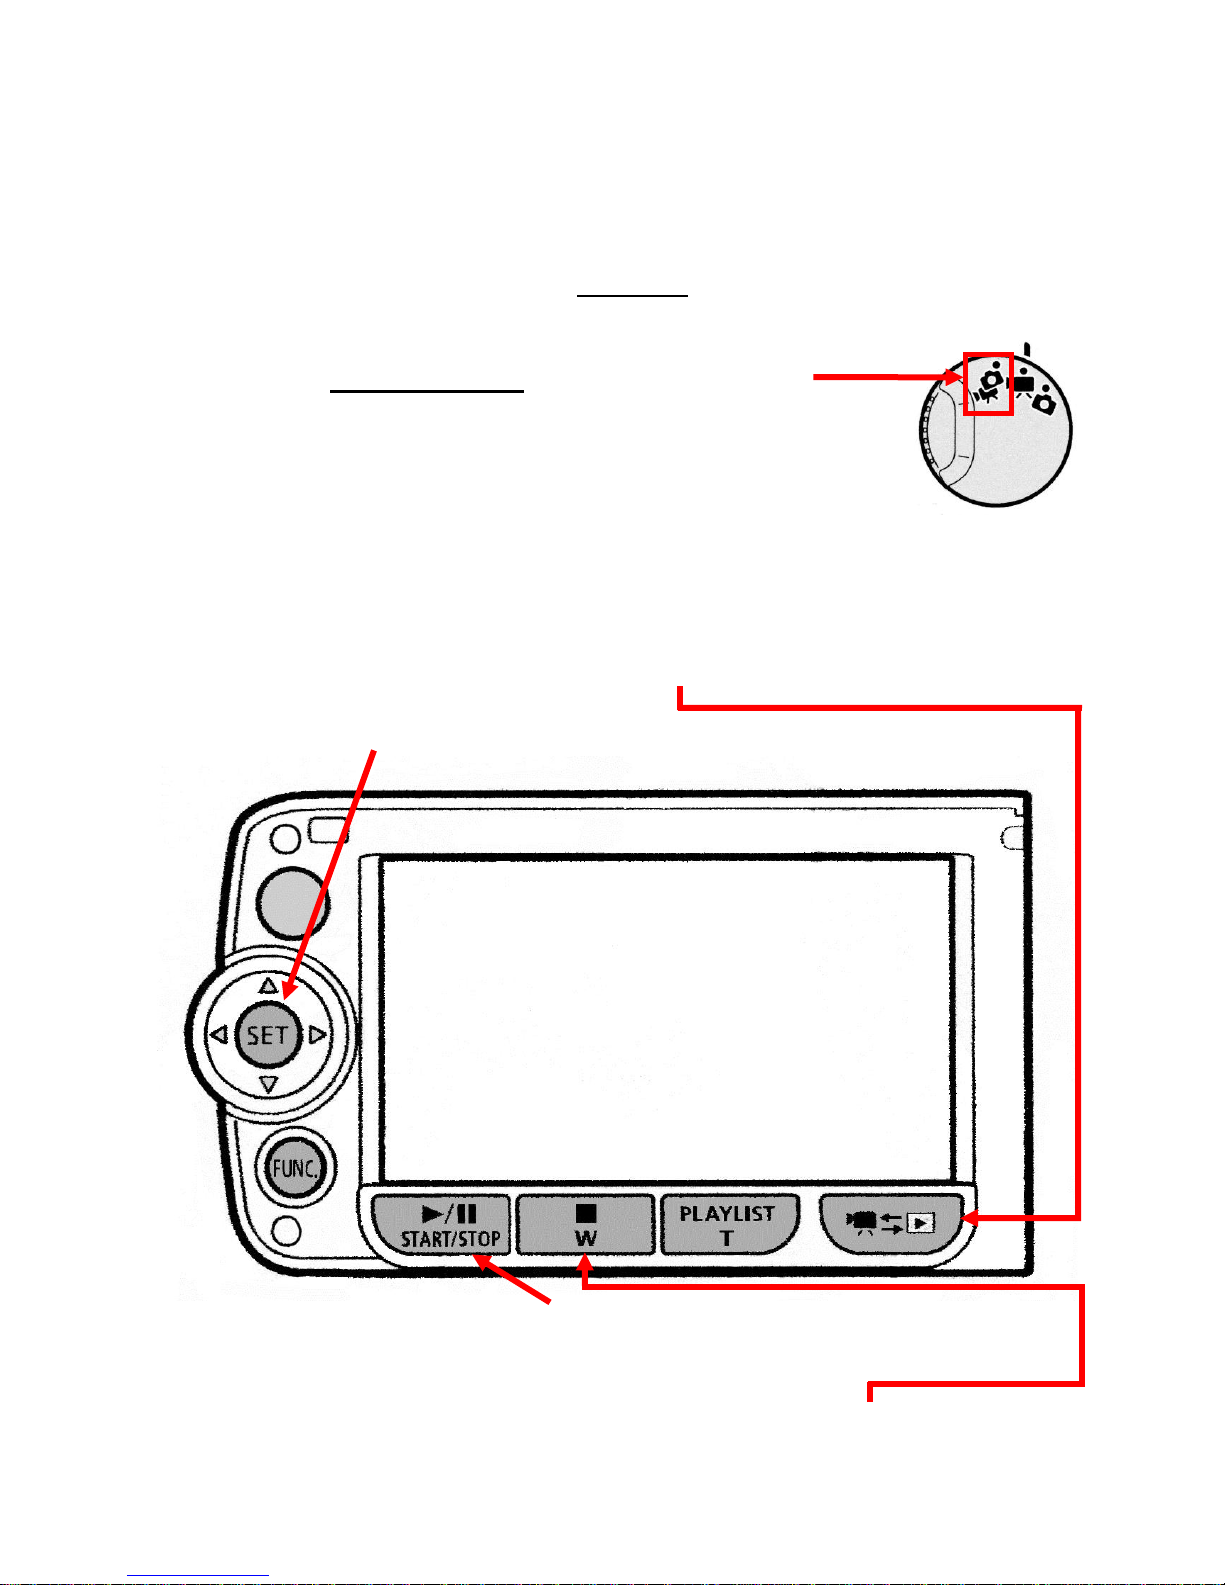
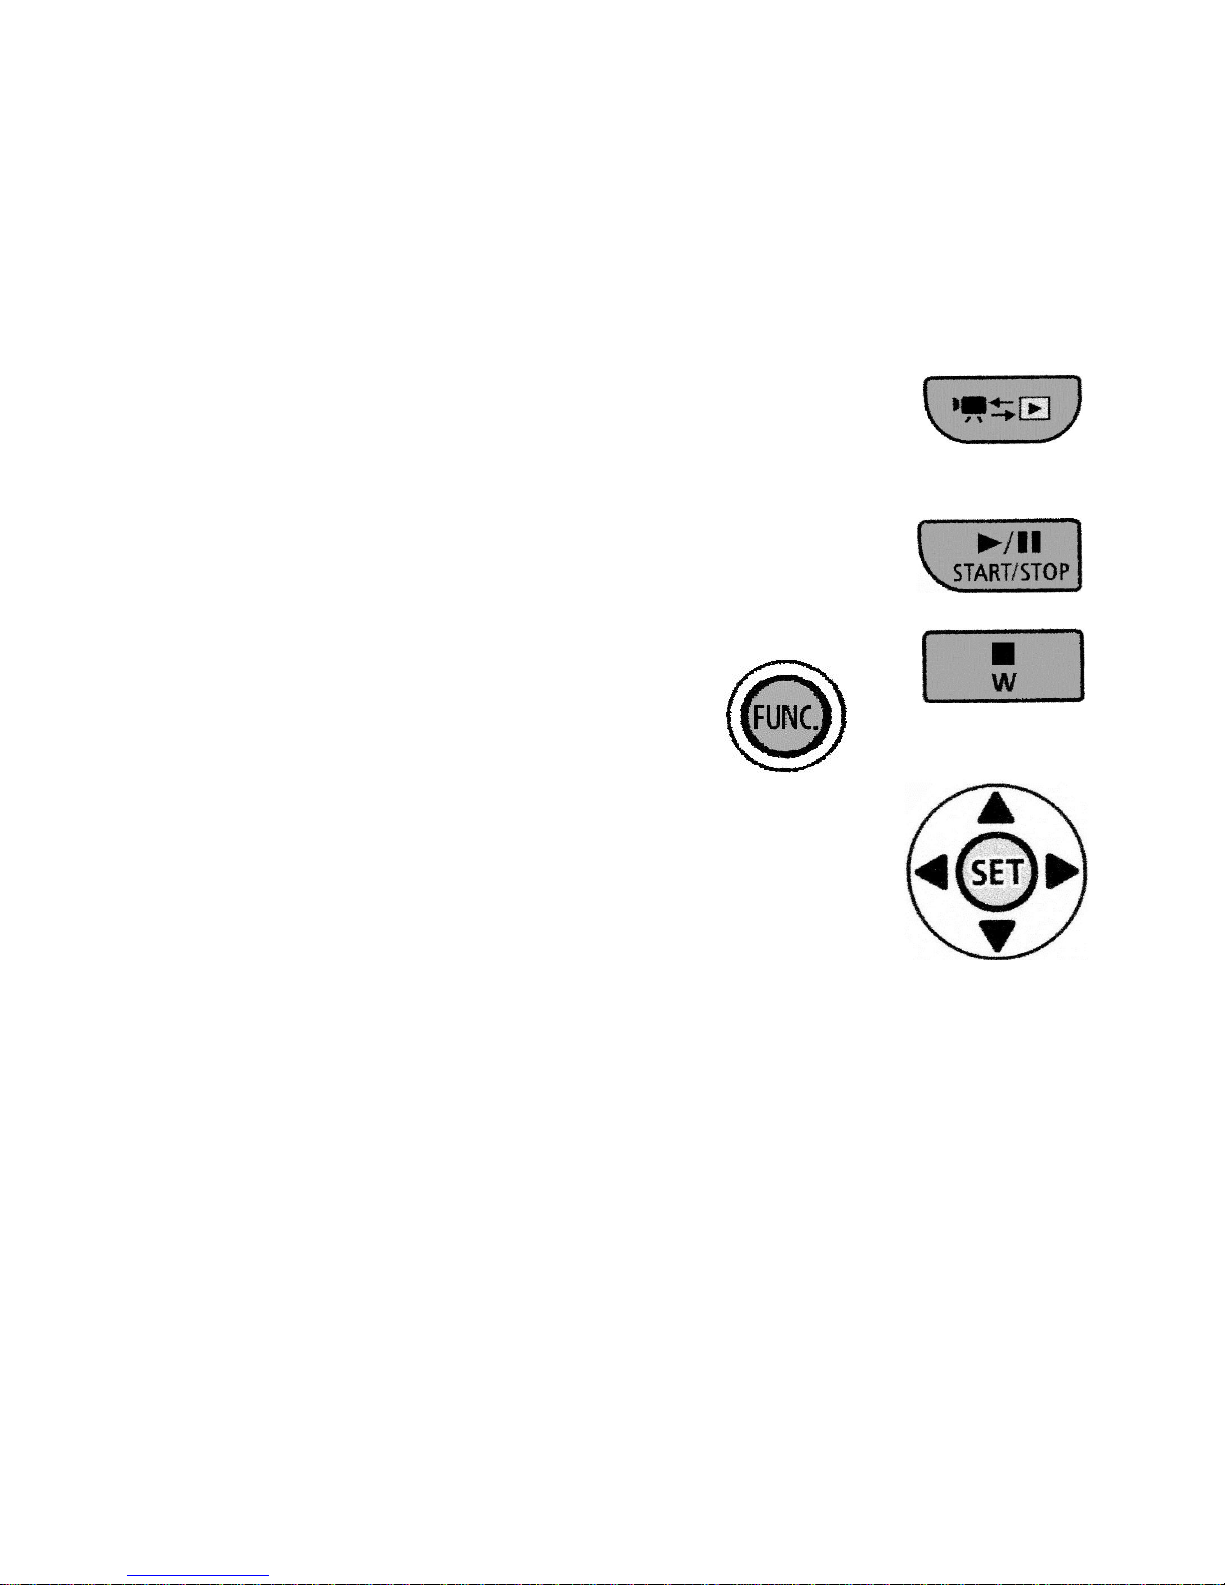
Please use this unit in the Dual Shot Mode which is the movie
camera icon located in the first position on the camera mode dial.
This mode will provide the greatest ease of use.
While the Dual Shot Mode will allow you to take still photographs as well as video, this
camcorder should not be used for taking still photographs. If you wish to take digital still
photos, our department has digital still cameras for loan that will yield much higher
quality pictures.
Important Operational Notes:
Handling Precautions
1. Do not carry the camcorder by the LCD panel.
2. Do not leave the camcorder in places of high heat or humidity.
3. Do not use camcorder near strong magnetic fields such as TV’s, or plasma
screens.
4. Do not subject the camcorder to shock or vibration.
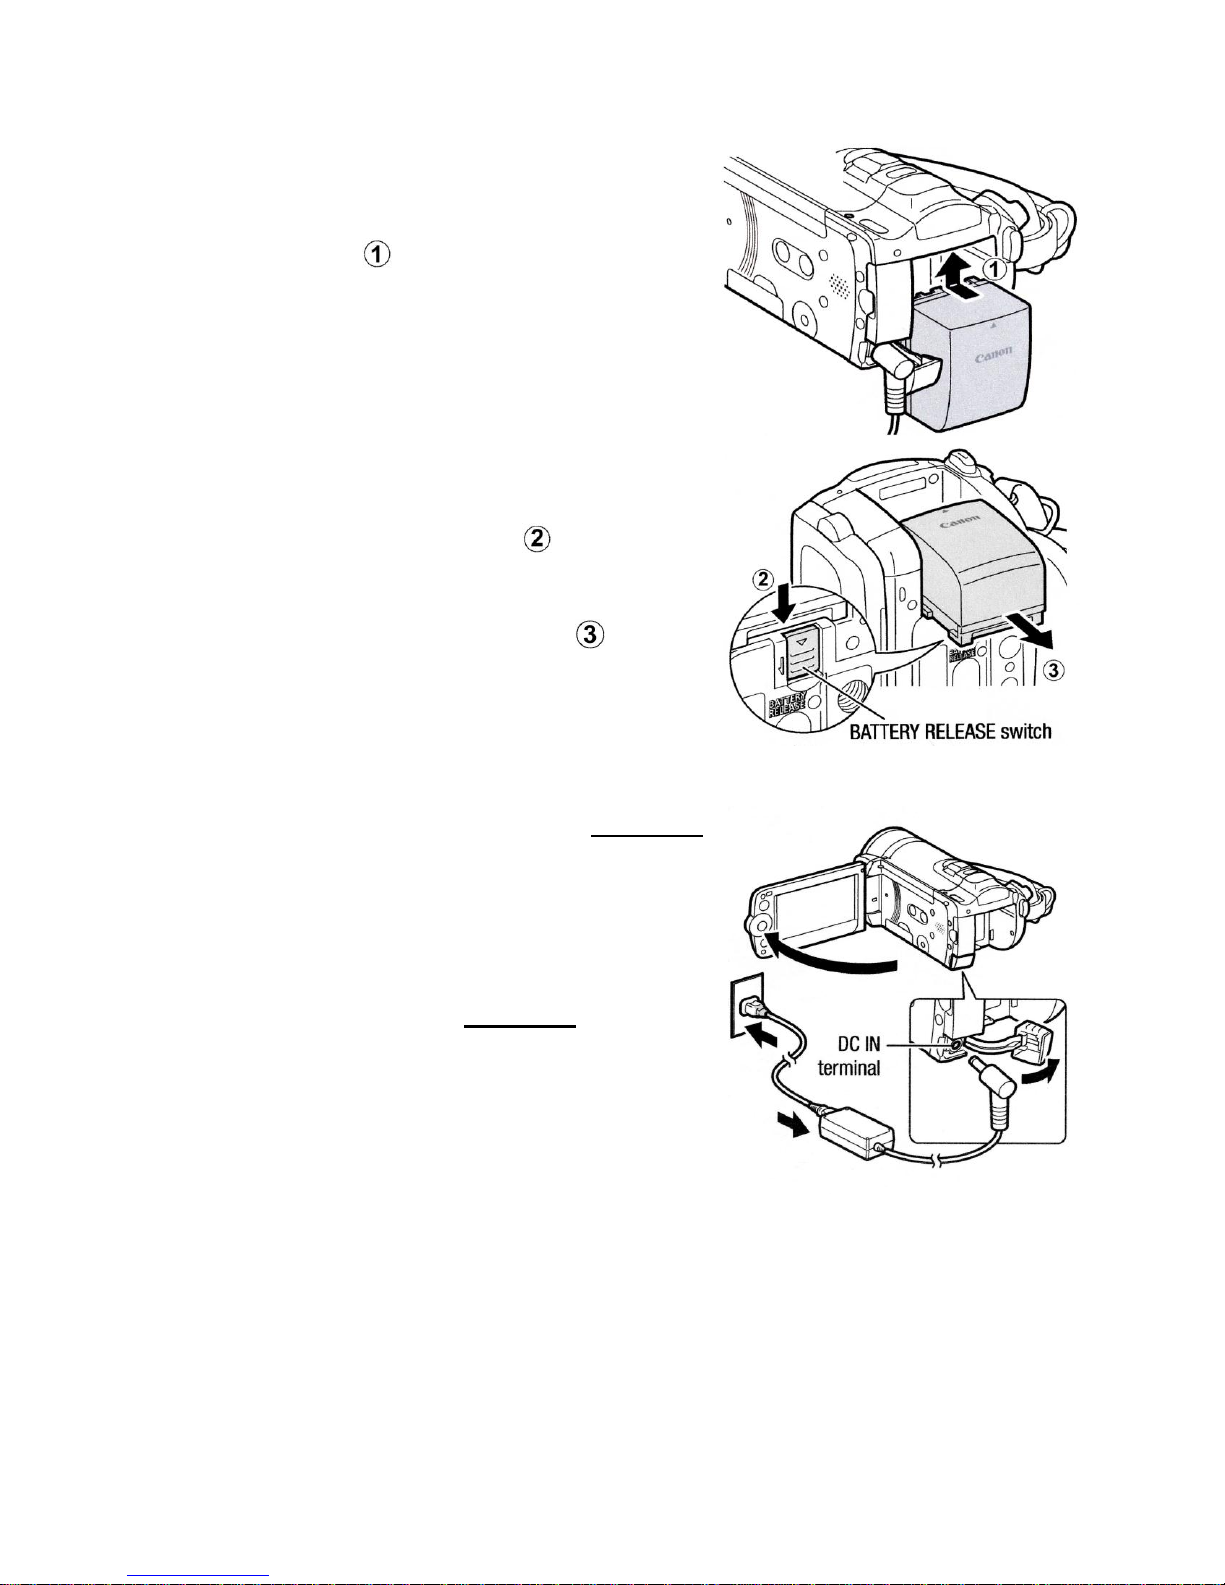
5. When mounting the camcorder to a tripod, remove the tripod plate from the tripod
and attach it to the camera first then attach the camcorder and plate to the tripod.
6. Do not point or leave the camcorder pointed at bright light sources.
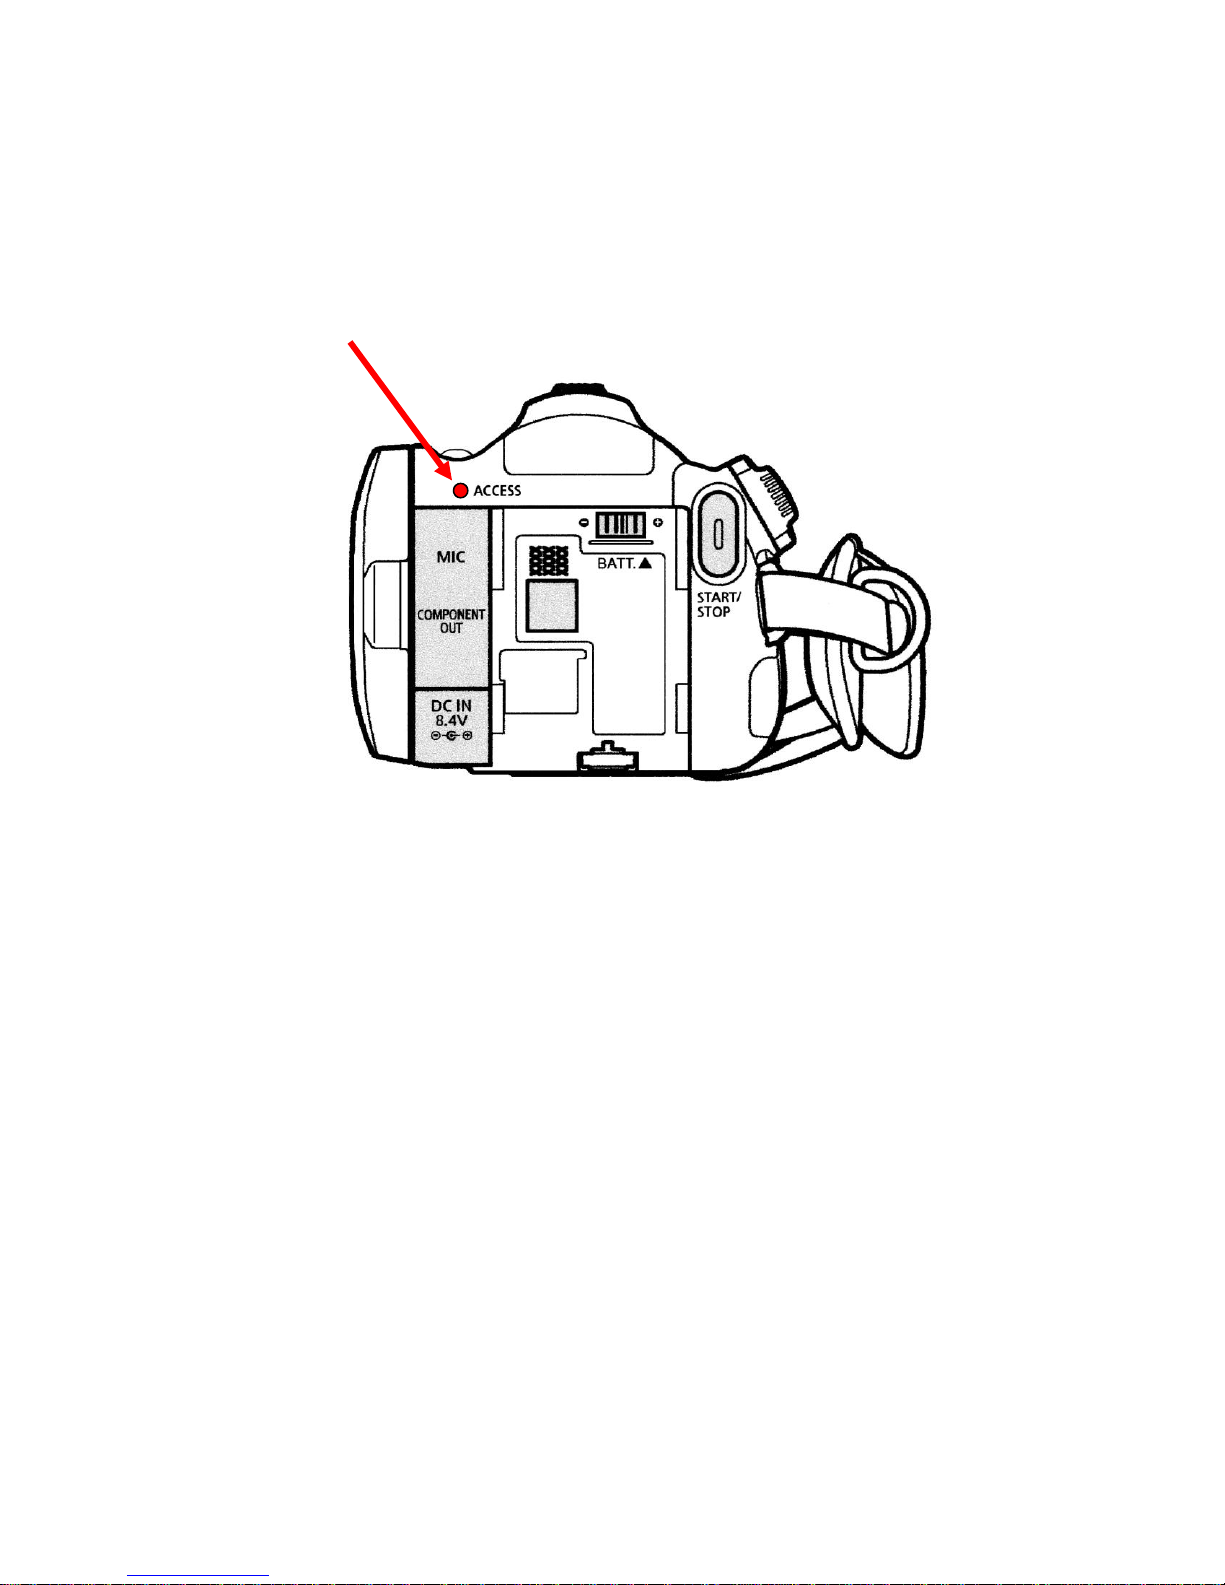
7. CAUTION: DO NOT ATTEMPT TO CLEAN THE LCD SCREEN.
SDHC Memory Cards Needed for Recording Video
1. Media Services does not supply the SDHC memory cards that you will need to
record your video.
2. The cards must have a speed rating of at least class 4 or 6. These can be
purchased at the university’s bookstore or at most locations that sell consumer
electronics or office supplies.
3. Only purchase SDHC memory cards from the following manufacturers:
SanDisk, Panasonic or Toshiba.Use of other manufacturer’s memory cards
may result in the loss of the recorded video.
4. A 4GB SD or SDHC card will yield approximately 1 hour and 10 minutes of
recording time. An 8 GB SD or SDHC card will yield approximately 2 hours and
20 minutes of recording time.
5. CAUTION: DO NOT USE Eye-Fi MEMORY CARDS.
Canon VIXIA HF200 Quick Start Guide
Overview
This camcorder should not be used for taking still photographs. If you wish to take
digital still photos, our department has digital still cameras for loan that will yield much
higher quality pictures.
Please use this unit in the Video Only Mode which is the movie
camera icon located in the center position on the camera mode
dial.
Important Operational Notes:
Handling Precautions
1. Do not carry the camcorder by the LCD panel.
2. Do not leave the camcorder in places of high heat or humidity.
3. Do not use camcorder near strong magnetic fields such as TV’s, or plasma
screens.
4. Do not subject the camcorder to shock or vibration.
5. When mounting the camcorder to a tripod, remove the tripod plate from the tripod
and attach it to the camera first then attach the camcorder and plate to the tripod.
6. Do not point or leave the camcorder pointed at bright light sources.
7. Do not attempt to clean the LCD screen.
SDHC Memory Cards Needed for Recording Video
1. Media Services does not supply the SDHC memory cards that you will need to
record your video.
2. The cards must have a speed rating of at least class 4 or 6. These can be
purchased at the university’s bookstore or at most locations that sell consumer
electronics or office supplies.
3. Only purchase SDHC memory cards from the following manufacturers:
SanDisk, Panasonic or Toshiba.Use of other manufacturer’s memory cards
may result in the loss of the recorded video.
4. A 4GB SD or SDHC card will yield approximately 1 hour and 10 minutes of
recording time. An 8 GB SD or SDHC card will yield approximately 2 hours and
20 minutes of recording time.
5. CAUTION: DO NOT USE Wi-Fi MEMORY CARDS.