manuals.online logo
Brands
  1. Home
  2. •
  3. Brands
  4. •
  5. Canon
  6. •
  7. Digital Camera
  8. •
  9. Canon POWERSHOT A810 User manual

Canon POWERSHOT A810 User manual

CaHOH
Camera User Guide
Before use be sure to read this c including the
3recautions.
This guide will familiarize with how to use the camera
correctly.
Keep the guide handy for future reference,
_Y Navigating Through images an
in index
By displaying multiple images in an index, you can quickly find the images you
are looking for.
Display images in an index.
_ _ Move the zoom lever toward _ to display
images in an index. Moving the lever again
will increase the number of images shown.
To display fewer images, move the zoom
lever toward 0,. Fewer images are shown
each time you move the lever.
Choose an image.
Press the ,_'_ { _ buttons to choose an
image.
An orange frame is displayed around the
selected image.
Press the @ button to view the selected
image in single-image display.
@Using the Touch=Screen Panel
in index display, you can touch the screen to choose images.
Dragging up or down across the screen will scroll through the image index.
Touch an image to choose it, and touch it again to view it in single-image
display.
Touch an image to choose it, and then hold the zoom lever toward Q. to
view an image in single-image display.
111
Browsing and FHtering images
Navigating Through images Using Jump
Display
To find images on a memory card full of images, you can jump by a specific
number of images or method.
Position of Current Image
Choose a jump method.
Press the MENU button, and then choose
[Jump Search] on the [] tab (p. 45).
Press the ._'_ buttons to choose a jump
method.
The jump method and the position of the
current image is shown at the bottom of the
screen.
:: Switch to the previous or next
image.
To navigate through images using your
selected jump method, press the _ F buttons.
To return to the menu screen, press the
MENU button.
._ ,o_. _, _ Jumps to the first image in each group of images that
,Jump o.o_ _,aLe were shot on the same date.
Jump 10 Images Jumps by 10 images at a time.
Jump 100 Images Jumps by 100 images at a time.
Jump to first Jumps to still images only.
Jump to Movie Jumps to movies only.
The number of images matching the jump method (except for _ and _) is shown on
the right side of the screen.
If no images match the jump method, nothing will happen when you
press the 4_ buttons.
112
_'_'Magnifyingimages
......................................................................................................Magnify an image,
Moving the zoom lever toward Q, will zoom in
and magnify the image, and O% is displayed.
You can magnify images up to about 10x by
continuing to hold the zoom lever.
To zoom out, move the zoom lever toward
_. You can return to single-image display
by continuing to hold it.
Move the display position and
switch images as needed.
To move the display position, press the
Av _ J, buttons.
While O% is displayed, you can switch to
Or_+ by pressing the @ button. To switch
to other images while zoomed, press the 4_
buttons. Press the @ button again to restore
the original setting.
oucai_ reiur;_ 1osii_gle:i_a geciispiay frommag nif dispiayb ressing{he .........
MENU button.
Approximate Position of
Displayed Area
@Using the Touch=Screen Panel
Touching the screen will zoom in and magnify the image, and _), and (_
are displayed.
You can magnify images up to about 1Ox, centered around where you
touch, by touching repeatedly.
You can also zoom in or out bv touching _), or _. To zoom in or out
continuously, touch and hold _ or _.
To move the display position, drag across the screen.
Touch _ to restore single-image display.
113
image Viewing Options
Automatically play back images from a memory card as follows.
Access the setting screen.
Press the MENU button and choose
[Slideshow] on the [] tab (p. 45).
:: Configure the setting.
Choose a menu item to configure, and then
choose the desired option (p. 45).
Start automatic playback.
Press the A'v" buttons to choose [Start], and
then press the @ button.
The slideshow will start a few seconds after
[Loading image...] is displayed.
Press the MENU button to stop the
slideshow.
(_ The camera's power-saving functions (p. 40) are deactivated during
slideshows.
To pause or resume slideshows, press the @ button.
You can switch to other images during playback by pressing the _ _ buttons.
For fast-forward or fast-rewind, hold the { _ buttons down.
114
Protect important images to prevent accidental erasure by the camera
(p. 116).
Choose [Protect].
Press the MENUbutton, and then choose
[Protect] on the [] tab (p. 45).
Choose an image.
Press the 4_ buttons to choose an image,
and then press the @ button. [] is
displayed.
To cancel protection, press the @ button
again. [] is no longer displayed.
Repeat this process to choose additional
images.
Protect the image.
Press the MENUbutton. A confirmation
message is displayed.
Press the 4_ buttons to choose [OK], and
then press the @ button.
Protected images on a memory card will be erased if you format the
card (pp. 126, 127).
Images will not be protected if you switch to Shooting mode or turn
the camera off before finishing the setup process in step 3.
protection settings first.
115
You can choose and erase unneeded images one by one. Be careful when
erasing images, because they cannot be recovered.
Choose an image to erase.
Press the 4 _ buttons to choose an image.
Erase the image.
Press the A button.
After [Erase?] is displayed, press the 4 _'
buttons to choose [Erase], and then press the
@ button.
The current image is now erased.
To cancel erasure, press the _ _ buttons to
choose [Cancel], and then press the @
button.
_f Erasing All it.ages
You can erase all images at once. Be careful when erasing images, because
they cannot be recovered. However, protected images (p. 115) cannot be
erased.
Choose [Erase All].
Press the MENU button, and then choose
[Erase All] on the [] tab (p. 45).
Erase all images.
Press the _ _ buttons to choose [OK], and
then press the @ button.
116
Change the orientation of images and save them as follows.
Choose [Rotate].
Press the MENUbutton, and then choose
[Rotate] on the [] tab (p. 45).
Rotate the image.
Press the _ buttons to choose an image.
The image is rotated 90 ° each time you press
the @ button.
To return to the menu screen, press the
MENU button.
Movies with an image quality of _ cannot be rotated.
Rotation is not possible when [Auto Rotate] is set to [Off].
/_, Deactivating Auto Rotation
Follow these steps to deactivate automatic rotation by the camera, which
rotates images shot in vertical orientation so they are displayed vertically on
the camera.
Press the MENUbutton, choose [Auto
Rotate] on the [] tab, and then choose [Off]
(p. 45).
(_ Images cannot be rotated when you set [Auto Rotate] to [Off].
Additionally, images already rotated will be displayed in the original
orientation.
117
(T) mage editing (pp. 118 - 120) is only available when the memory
card has sufficient free space.
Save a copy of images at a lower resolution.
Choose [Resize].
Press the MENU button, and then choose
[Resize] on the [] tab (p. 45).
Choose an image.
Press the {_ buttons to choose an image,
and then press the @ button.
Choose an image size.
Press the 4 _ buttons to choose the size, and
then press the @ button.
[Save new image?] is displayed.
Save the new image.
Press the 4 _ buttons to choose [OK], and
then press the @ button.
The image is now saved as a new file.
Review the new image.
Press the MENU button. [Display new
image?] is displayed.
Press the _ buttons to choose [Yes], and
then press the @ button.
The saved image is now displayed.
118
Editing Still images
(_ Editing is not possible for images shot at a resolution of _ (p. 62) or
saved as XS in step 3.
/_,__' Correcting image Brightness (i=Contrast)
Excessively dark image areas (such as faces or backgrounds) can be detected
and automatically adjusted to the optimal brightness. Insufficient overall image
contrast is also automatically corrected, to make subjects stand out better.
Choose from four correction levels, and then save the image as a separate file.
:; Choose [i=Contrast].
Press the MENUbutton, and then choose [i-
Contrast] on the [] tab (p. 45).
Choose an image.
Press the _ buttons to choose an image,
and then press the @ button.
Choose an option.
Press the _ _ buttons to choose an option,
and then press the @ button.
Save as a new image and review.
Follow steps 4 - 5 on p. 118.
(_ For some images, correction may be inaccurate or may cause
images to appear grainy.
Images may look grainy after repeated editing using this function.
119
[Low], [Medium], or [High].
Automatically corrects images affected by red-eye. You can save the
corrected image as a separate file.
:Choose [Red=Eye Correction].
Press the MENU button, and then choose
[Red-Eye Correction] on the [] tab (p. 45).
Choose an image.
Press the _ buttons to choose an image.
Correct the image.
Press the @ button.
Red-eye detected by the camera is now
corrected, and frames are displayed around
corrected image areas.
Enlarge or reduce images as needed. Follow
the steps in "Magnifying Images" (p. 113).
Save as a new image and review.
Press the A'_ buttons to choose [New
File], and then press the @ button.
The image is now saved as a new file.
Follow step 5 on p. 118.
120
Editing Still images
i_ Some images may not be corrected accurately.
To overwrite the original image with the corrected image, choose
[Overwrite] in step 4. In this case, the original image will be erased.
Protected images cannot be overwritten.
121
122
i
Functions can be configured on the _1' tab. Customize commonly used
functions as desired, for greater convenience (p. 45).
Silence camera sounds and movies as follows.
Choose [Mute], and then choose [On].
Operation can also be silenced by holding down the v button as you turn the
camera on.
Sound is not played during movies if you mute camera sounds (p. 108). To
restore sound during movies, press the ._. button. Adjust volume with the Av
buttons, as needed.
Sound settings cannot be changed in [] mode (p. 69).
Adjust the volume of individual camera sounds as follows.
Choose [Volume], and then press the @
button.
Choose an item, and then press the _
buttons to adjust the volume.
124
Adjusting Basic Camera Functions
_Hiding Hints and Tips
Hints and tips are normally shown when you choose FUNC. menu (p. 44)
items. If you prefer, you can deactivate this information.
Choose [Hints & Tips], and then choose [Off].
_Screen Brightness
Adjust screen brightness as follows.
Choose [LCD Brightness], and then press the
,_ buttons to adjust the brightness.
:Hiding the Start=up Screen
If you prefer, you can deactivate display of the start-up screen normally
shown when you turn the camera on.
Choose [Start-up Image], and then choose
[Off].
125
Adjusting Basic Camera Functions
Before using a new memory card or a card formatted in another device, you
should format the card with this camera.
Formatting erases all data on a memory card. Before formatting, copy images
on the memory card to a computer, or take other steps to back them up.
Access the [Format] screen.
Choose [Format], and then press the @
button.
Choose [OK].
Press the 4_ buttons to choose [OK], and
then press the @ button.
Format the memory card.
To begin the formatting process, press the
,_'_ buttons to choose [OK], and then press
the @ button.
When formatting is finished, [Memory card
formatting complete] is displayed. Press the
@ button.
(_) Formatting or erasing data on a memory card only changes file
management information on the card and does not erase the data
completely. When transferring or disposing of memory cards, take
steps to protect personal information if necessary, as by physically
destroying cards.
_eiotaicar_ica_aciiyi;__icate_ioi_{_e{or___t_;_gscree_i_ay6eies 5__ _e........
advertised capacity.
126
Adjusting Basic Camera Functions
@Low=Level Formatting
Perform low-level formatting in these cases: [Memory card error] is displayed,
the camera is not working correctly, card image reading/writing is slower,
continuous shooting is slower, or movie recording suddenly stops. Lowqevel
formatting erases all data on a memory card. Before low-level formatting,
copy images on the memory card to a computer, or take other steps to back
them up.
Perform low=level formatting.
On the screen in step 2 on p. I26, press the
,_v buttons to choose [Low Level Format],
and then select this option (mark with a *_/* )
by pressing the 4)' buttons.
Press the ,,L'_ _ _ buttons to choose [OK],
press the @ button, and then follow step 3
on p. 126 to format (low-level format) the
memory card.
because data is erased from all storage regions of the memory card.
You can cancel low-level formatting in progress by choosing [Stop]. Inthis case,
all data will be erased, but the memory card can be used normally.
127
Adjusting Basic Camera Functions
_" File Numbering
Your shots are automatically numbered in sequential order (0001 -9999) and
saved in folders that store up to 2,000 images each. You can change how the
camera assigns file numbers.
Choose [File Numbering], and then choose
an option.
Images are numbered
Continuous consecutively (until the 9999th shot
is taken/saved) even if you switch
memory cards.
Image numbering is reset to 0001 if
Auto Reset tou switch memory cards, or when
a new folder is created.
Regardless of the option selected in this setting, shots may be numberedconsecutively after the last number of existing images on newly inserted
memory cards. To start saving shots from 0001, use an empty (or formatted
(p. 126)) memory card.
Refer to the ImageBrowser EX User Guide for information on the card folder
structure and image formats.
Instead of saving images in folders created each month, you can have the
camera create folders each day you shoot to store shots taken that day.
Choose [Create Folder], and then choose
[Daily].
Images will now be saved in folders created
on the shooting date.
128
Adjusting Basic Camera Functions
_Lens Retraction Timing
The lens is normally retracted for safety about one minute after you press the
[] button in Shooting mode (p. 40). To have the lens retracted immediately
after you press the [] button, set the retraction timing to [0 sec.].
Choose [Lens Retract], and then choose [0
sec.].
L Power=Saving Adjustment
Adjust the timing of automatic camera and screen deactivation (Auto Power
Down and Display Off, respectively) as needed (p. 40).
Access the [Power Saving] screen.
Choose [Power Saving], and then press the
@ button.
Configure the settings.
After choosing an item, press the _ _ buttons
to adjust it as needed.
To conserve battery power, you should normally choose [On] for
[Auto Power Down] and [1 min.] or less for [Display Off].
To conserve battery power, you should normally choose [On] for
[Auto Power Down] and [1 min.] or less for [Display Off].
129

Other manuals for POWERSHOT A810

1

This manual suits for next models

5

Other Canon Digital Camera manuals

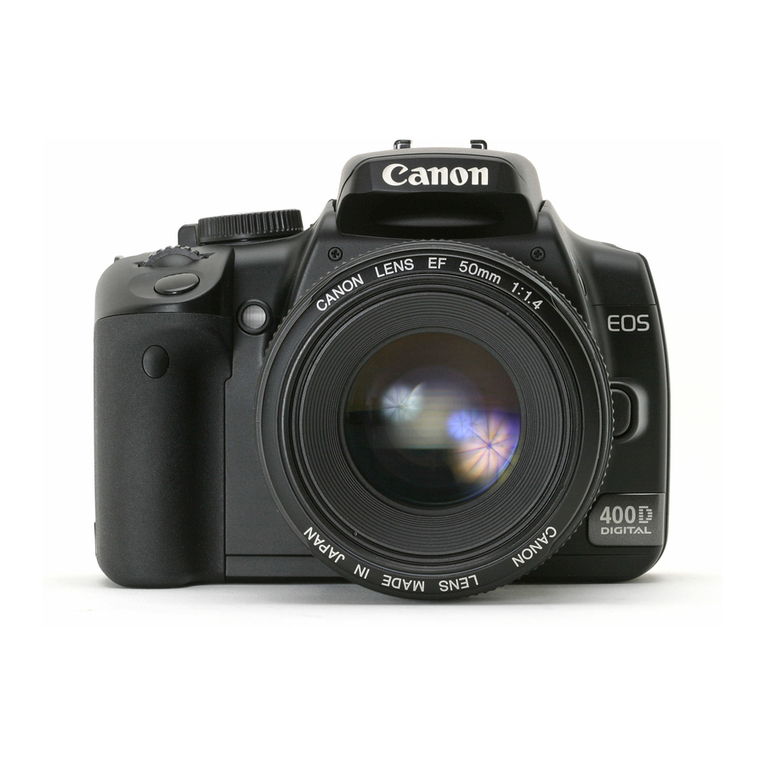
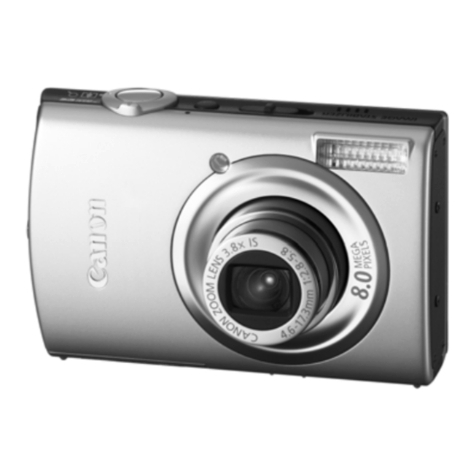
Canon Digital IXUS 90 IS User manual

Canon

Canon Digital IXUS 90 IS User manual

Canon PowerShot G3 Instruction Manual

Canon

Canon PowerShot G3 Instruction Manual

Canon 4342B001 User manual

Canon

Canon 4342B001 User manual

Canon PowerShot SD1300IS User manual

Canon

Canon PowerShot SD1300IS User manual

Canon Powershot S2 IS User manual

Canon

Canon Powershot S2 IS User manual

Canon PowerShot A10 User manual

Canon

Canon PowerShot A10 User manual

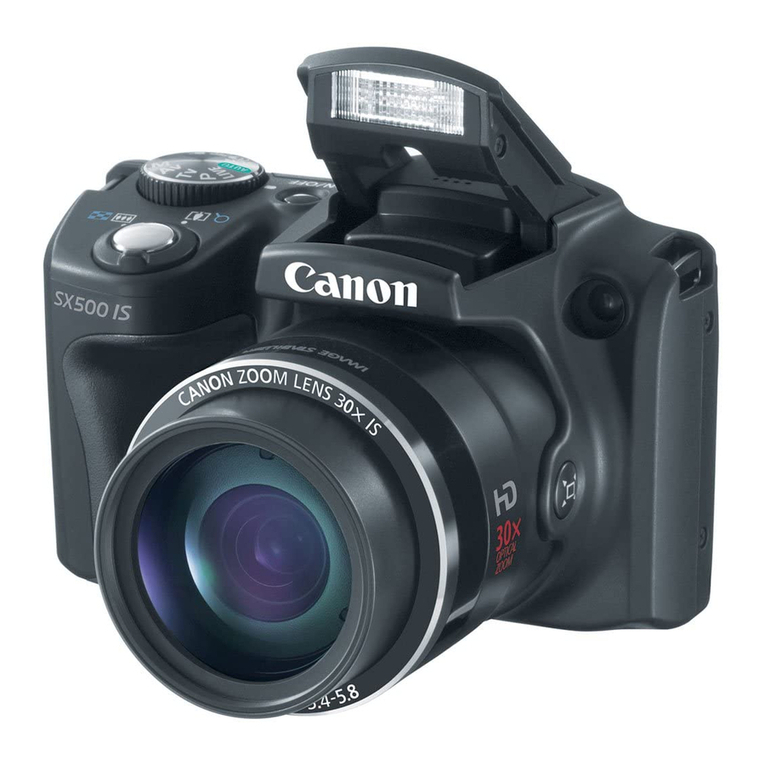
Canon PowerShot SX10 IS User manual

Canon

Canon PowerShot SX10 IS User manual

Canon PowerShot A300 User manual

Canon

Canon PowerShot A300 User manual

Canon IXUS 1000 HS User manual

Canon

Canon IXUS 1000 HS User manual

Canon PowerShot SX110 IS User manual

Canon

Canon PowerShot SX110 IS User manual

Canon PowerShot A540 User manual

Canon

Canon PowerShot A540 User manual

Canon EOS-1N RS User manual

Canon

Canon EOS-1N RS User manual

Canon PowerShot A70 User manual

Canon

Canon PowerShot A70 User manual

Canon PowerShot G2 Instruction Manual

Canon

Canon PowerShot G2 Instruction Manual

Canon EOS 600D User manual

Canon

Canon EOS 600D User manual

Canon EOS 7D Mark II (G) User manual

Canon

Canon EOS 7D Mark II (G) User manual

Canon WP-DC49 User manual

Canon

Canon WP-DC49 User manual

Canon PowerShot SX720 HS User manual

Canon

Canon PowerShot SX720 HS User manual

Canon PowerShot G2 User manual

Canon

Canon PowerShot G2 User manual

Canon EOS 55 User manual

Canon

Canon EOS 55 User manual

Canon POWERSHOT PRO 1 User manual

Canon

Canon POWERSHOT PRO 1 User manual

Canon EOS R5C User manual

Canon

Canon EOS R5C User manual

Canon EOS-1D Mark II Digial User manual

Canon

Canon EOS-1D Mark II Digial User manual

Canon PowerShot N2 User manual

Canon

Canon PowerShot N2 User manual

Popular Digital Camera manuals by other brands

Easypix Ultra Slim user manual

Easypix

Easypix Ultra Slim user manual

Bolymedia UNI CAM 3.1 user manual

Bolymedia

Bolymedia UNI CAM 3.1 user manual

foc.us FOCUS FireStore FS-5 Specifications

foc.us

foc.us FOCUS FireStore FS-5 Specifications

AVer Information CAM520 quick start guide

AVer Information

AVer Information CAM520 quick start guide

InMotion in21T1P1D quick start guide

InMotion

InMotion in21T1P1D quick start guide

PTZOptics NDI HX PT20X-NDI-ZCAM user manual

PTZOptics

PTZOptics NDI HX PT20X-NDI-ZCAM user manual

Easypix V 527 manual

Easypix

Easypix V 527 manual

Catit Pixi SMART MOUSE CAMERA user manual

Catit

Catit Pixi SMART MOUSE CAMERA user manual

Millar 61.016 user manual

Millar

Millar 61.016 user manual

JW Fishers DHC-1 Operation manual

JW Fishers

JW Fishers DHC-1 Operation manual

Elmo UN43H Operation manual

Elmo

Elmo UN43H Operation manual

FeiYu Tech Pocket 3 instructions

FeiYu Tech

FeiYu Tech Pocket 3 instructions

PureLink VIP-CAM-100-USB3 user manual

PureLink

PureLink VIP-CAM-100-USB3 user manual

Nite Devil IPCND714 instruction manual

Nite Devil

Nite Devil IPCND714 instruction manual

HIK VISION UD03451B user manual

HIK VISION

HIK VISION UD03451B user manual

Bolymedia SG570-12mHD user manual

Bolymedia

Bolymedia SG570-12mHD user manual

Hamilton/Buhl VividPro CAM17SV instruction manual

Hamilton/Buhl

Hamilton/Buhl VividPro CAM17SV instruction manual

Easypix GOXTREMELIVE 360 user manual

Easypix

Easypix GOXTREMELIVE 360 user manual

manuals.online logo
manuals.online logoBrands
  • About & Mission
  • Contact us
  • Privacy Policy
  • Terms and Conditions

Copyright 2025 Manuals.Online. All Rights Reserved.