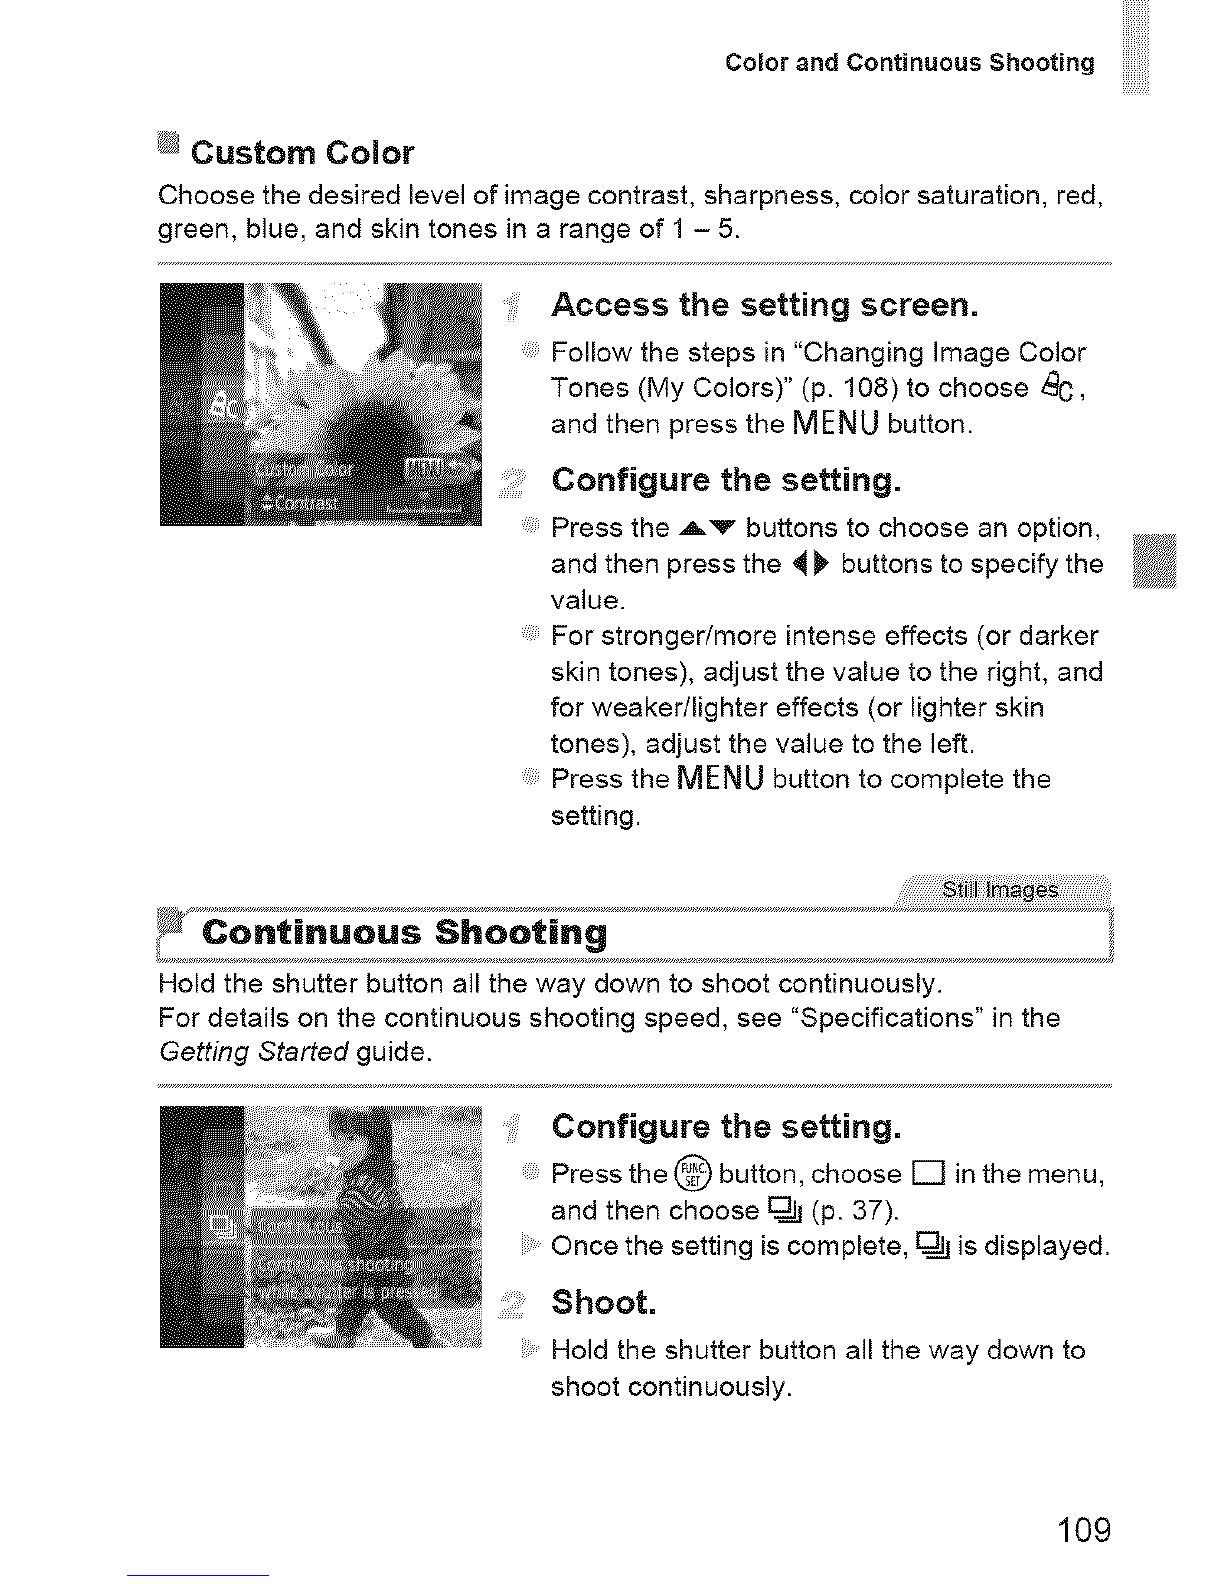
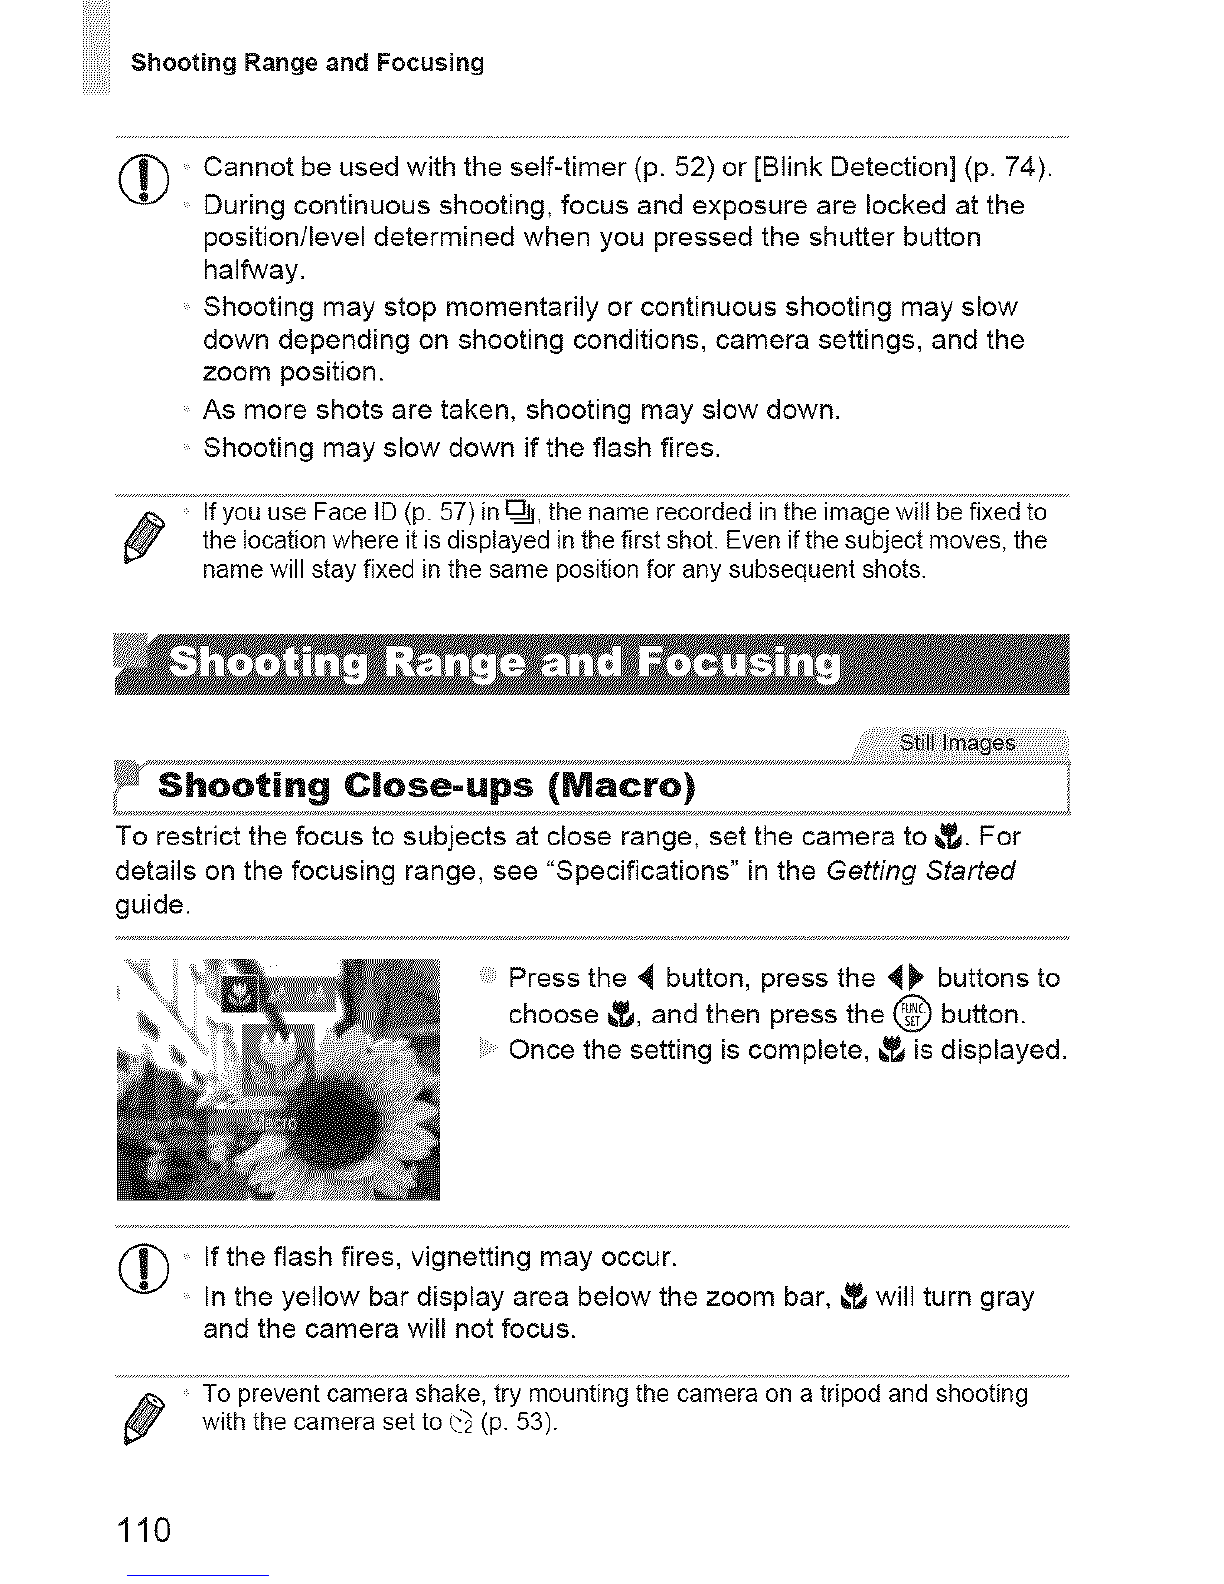
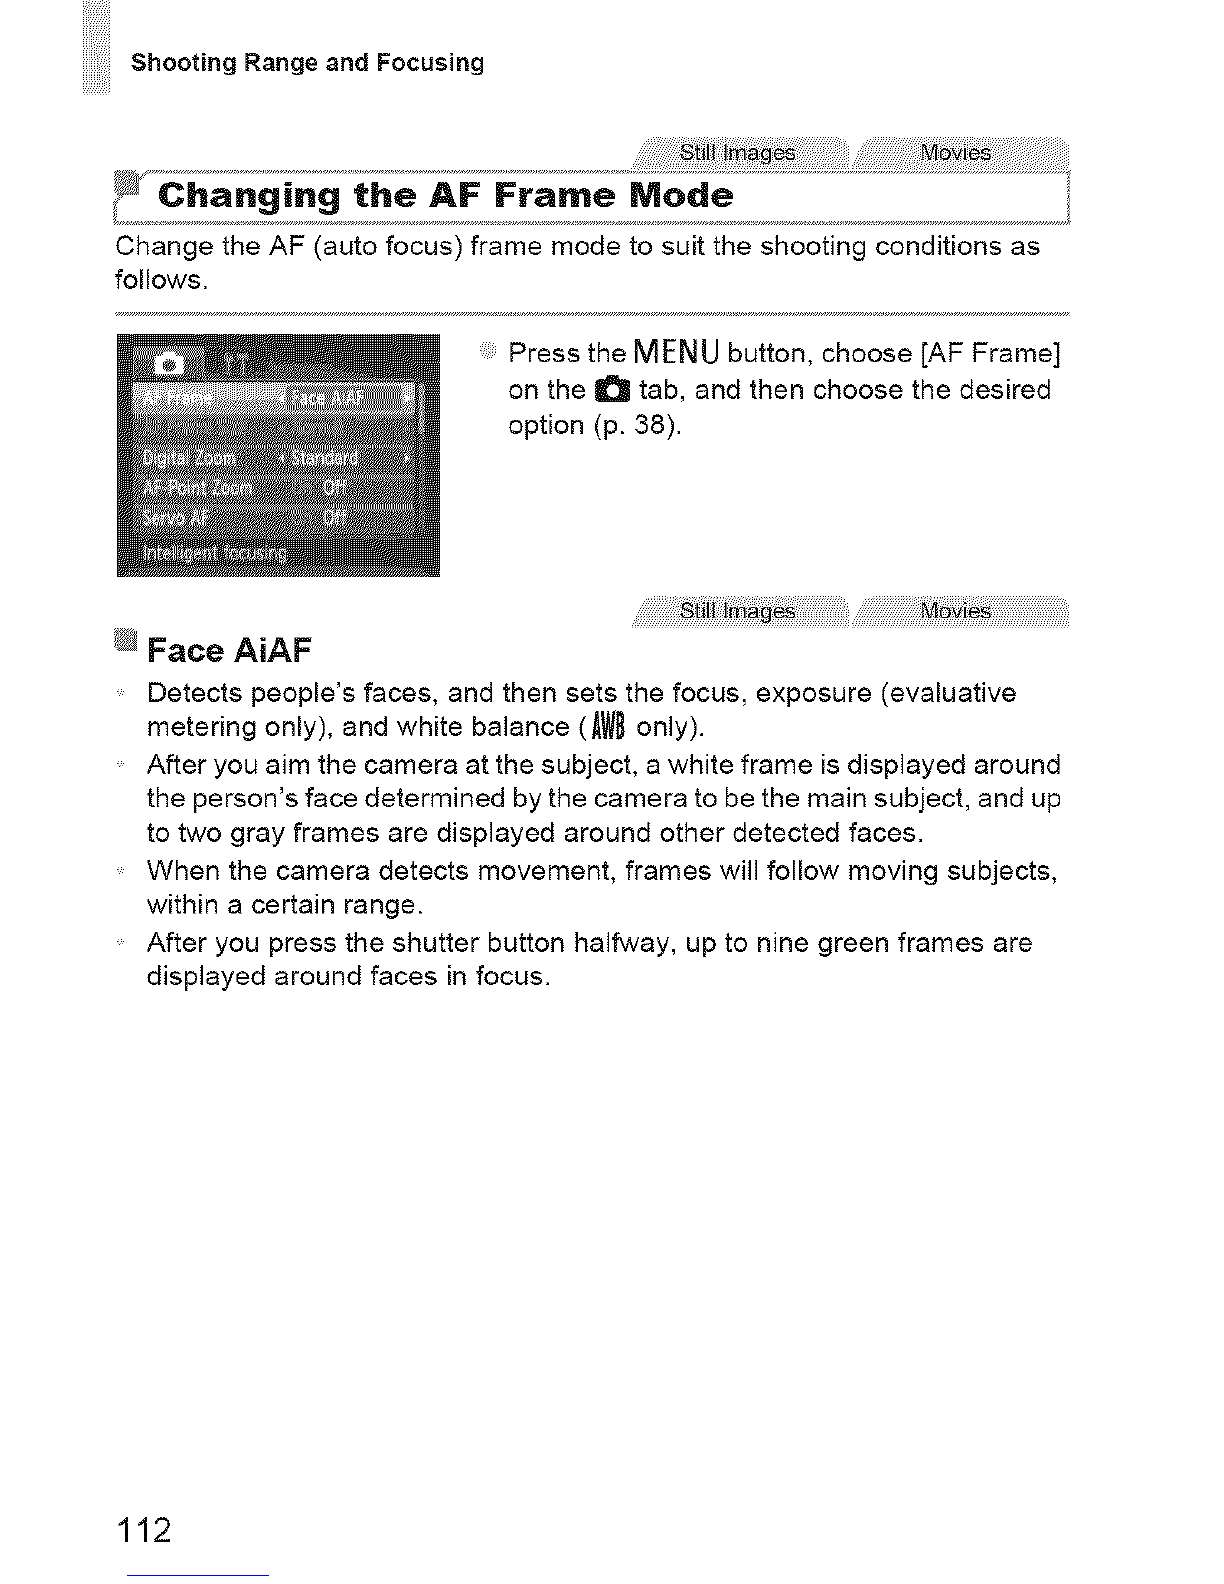
Canon PowerShot ELPH 110 HS User manual
Other Canon Digital Camera manuals

Canon
Canon PowerShot A400 User manual

Canon
Canon EOS M3 User manual

Canon
Canon PowerShot SD10 Digital ELPH User manual

Canon
Canon PowerShot A400 User manual

Canon
Canon VIXIA HFR60 User manual

Canon
Canon PowerShot S30 User manual

Canon
Canon EOS 550D User manual

Canon
Canon Powershot SX150 IS User manual

Canon
Canon POWERSHOT A700 User manual

Canon
Canon POWERSHOT S10 User manual

Canon
Canon EOS-1D Mark II Digial Quick start guide

Canon
Canon WP-DC310L User manual

Canon
Canon EOS 90D Assembly instructions

Canon
Canon PowerShot G15 User manual

Canon
Canon PowerShot A95 User manual

Canon
Canon PowerShot G9 User manual

Canon
Canon PowerShot A1100 IS User manual

Canon
Canon ELPH Jr IXUS L-1 User manual

Canon
Canon EOS M2 Installation guide

Canon
Canon EOS 6D User manual