manuals.online logo
Brands
  1. Home
  2. •
  3. Brands
  4. •
  5. Canon
  6. •
  7. Digital Camera
  8. •
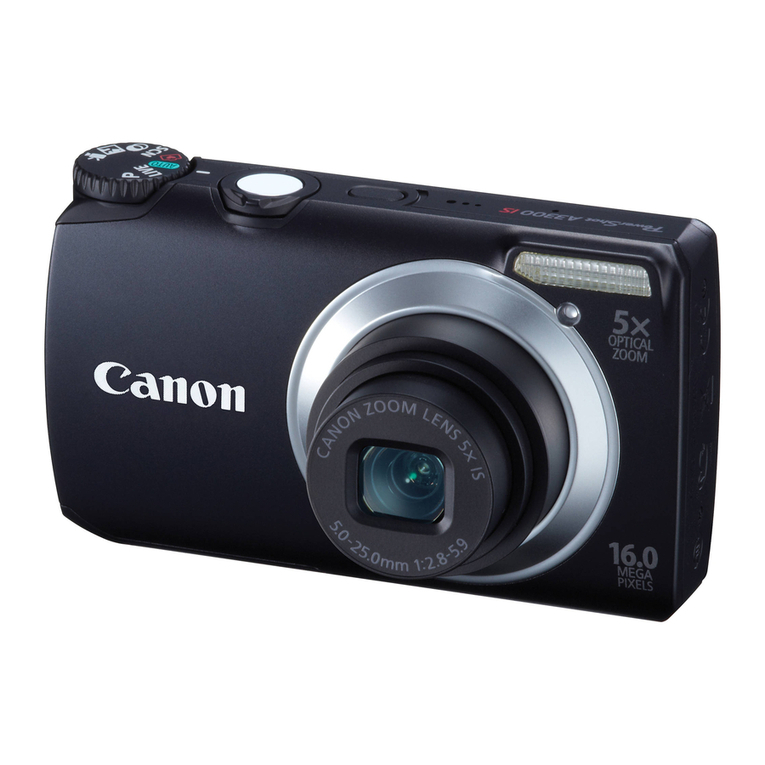
  9. Canon PowerShot SX530 HS Instruction Manual

Canon PowerShot SX530 HS Instruction Manual

Other manuals for PowerShot SX530 HS

4

This manual suits for next models

2

Other Canon Digital Camera manuals

Canon RebelT3i EOS 600D User manual

Canon

Canon RebelT3i EOS 600D User manual
Canon EOS R50 Assembly instructions

Canon

Canon EOS R50 Assembly instructions

Canon TL User manual

Canon

Canon TL User manual

Canon DIGITAL IXUS 70 User guide

Canon

Canon DIGITAL IXUS 70 User guide

Canon PowerShot SD880 IS Digital ELPH User manual

Canon

Canon PowerShot SD880 IS Digital ELPH User manual

Canon PowerShot A590 IS User manual

Canon

Canon PowerShot A590 IS User manual

Canon EOS Rebel T4i 18-135mm IS STM Lens Kit User manual

Canon

Canon EOS Rebel T4i 18-135mm IS STM Lens Kit User manual

Canon Powershot SD40 User manual

Canon

Canon Powershot SD40 User manual

Canon PowerShot ELPH 140 IS IXUS 150 User manual

Canon

Canon PowerShot ELPH 140 IS IXUS 150 User manual

Canon PowerShot SD870 IS Digital ELPH User manual

Canon

Canon PowerShot SD870 IS Digital ELPH User manual

Canon AF35M II Quartz Date User manual

Canon

Canon AF35M II Quartz Date User manual

Canon PowerShot G3 User manual

Canon

Canon PowerShot G3 User manual

Canon ivy Cliq+ 2 User manual

Canon

Canon ivy Cliq+ 2 User manual

Canon EOS 400D Digital User manual

Canon

Canon EOS 400D Digital User manual

Canon WP-DC27 User manual

Canon

Canon WP-DC27 User manual

Canon PowerShot G6 Instruction Manual

Canon

Canon PowerShot G6 Instruction Manual

Canon EOS 10D Digital Mounting instructions

Canon

Canon EOS 10D Digital Mounting instructions

Canon IXUS 130 User manual

Canon

Canon IXUS 130 User manual

Canon PowerShot G7 X Mark III User manual

Canon

Canon PowerShot G7 X Mark III User manual

Canon S410 - PowerShot Digital ELPH Camera User manual

Canon

Canon S410 - PowerShot Digital ELPH Camera User manual

Canon EOS-1D Mark II Digial User manual

Canon

Canon EOS-1D Mark II Digial User manual

Canon Pocket Guide G2 User manual

Canon

Canon Pocket Guide G2 User manual

Canon Powershot SD3500 IS User manual

Canon

Canon Powershot SD3500 IS User manual

Canon Powershot Pro90 IS Mounting instructions

Canon

Canon Powershot Pro90 IS Mounting instructions

Popular Digital Camera manuals by other brands

Xiaomi 70mai Dash Cam Lite user manual

Xiaomi

Xiaomi 70mai Dash Cam Lite user manual

Samsung PL70 Quick start manual

Samsung

Samsung PL70 Quick start manual

GE E1680W user manual

GE

GE E1680W user manual

Tevion MD 86497 user guide

Tevion

Tevion MD 86497 user guide

Exakta VX Features

Exakta

Exakta VX Features

Kodak Digital Science DC120 user guide

Kodak

Kodak Digital Science DC120 user guide

Nikon FM3A Specifications

Nikon

Nikon FM3A Specifications

Vectra Fitness H1 Quick reference guide

Vectra Fitness

Vectra Fitness H1 Quick reference guide

Nikon COOLPIX 775 quick start guide

Nikon

Nikon COOLPIX 775 quick start guide

Olympus IR 500 - 4MP Digital Solutions Camera Manuel de Référence

Olympus

Olympus IR 500 - 4MP Digital Solutions Camera Manuel de Référence

Samsung EC-L100ZBBA brochure

Samsung

Samsung EC-L100ZBBA brochure

FujiFilm FINEPIX BL01124-201 owner's manual

FujiFilm

FujiFilm FINEPIX BL01124-201 owner's manual

Panasonic DMC-L10KPP Service manual

Panasonic

Panasonic DMC-L10KPP Service manual

Hyundai Electric HYU-CC-CHBF12001 Quick installation guide

Hyundai Electric

Hyundai Electric HYU-CC-CHBF12001 Quick installation guide

Sony DSC-WX80 specification

Sony

Sony DSC-WX80 specification

Nikon Nuvis S - Point & Shoot instruction manual

Nikon

Nikon Nuvis S - Point & Shoot instruction manual

Olympus CAMEDIA C-3030ZOOM overview

Olympus

Olympus CAMEDIA C-3030ZOOM overview

Teledyne Piranha4 user manual

Teledyne

Teledyne Piranha4 user manual

manuals.online logo
manuals.online logoBrands
  • About & Mission
  • Contact us
  • Privacy Policy
  • Terms and Conditions

Copyright 2025 Manuals.Online. All Rights Reserved.

Sending images from a camera to an iPhone (PowerShot SX530
HS, SX610 HS, and SX710 HS)
IMPORTANT
•In the following explanation, smartphone setting procedures are indicated by the icon, and
camera setting procedures are indicated by the icon.
•In this article, iPhones and iPads are collectively referred to as 'smartphones'.
NOTE
•Keep your fingers or other objects off the Wi-Fi antenna area. Covering this may decrease the
speed of your image transfers.
•Connections require that a memory card be in the camera.
•Depending on the condition of the network you are using, it may take a long time to send
movies. Be sure to keep an eye on the camera battery level.
•Up to 50 images can be sent together at once. You can send movies together as long as the total
playback time is within two minutes. (PowerShot SX30 HS only)
•When sending movies to smartphones, note that the supported image quality varies depending
on the smartphone. For details, refer to the smartphone user manual.
•For movies that you do not compress, a separate, compressed file is sent instead of the original
file. Note that this may delay transmission, and the file cannot be sent unless there is enough
space for it on the memory card.
•On the screen, wireless signal strength is indicated by the following icons.
-[ ] high, [ ] medium, [ ] low, [ ] weak
Getting Started
The procedure for using the Wi-Fi function to send images from a camera to an smartphone is explained
in the following four steps. Proceed in order from Step 1.
Step 1: Confirming the iOS version
Step 2: Installing CameraConnect on the smartphone
Step 3: Connecting the camera to the smartphone
Step 4: Sending images to the smartphone.
Step 1: Confirming the iOS version
1. Check the smartphones specifications.
The camera can connect via Wi-Fi to smartphones running the following operating systems:
•iOS 6.0 / 6.1 / 7.0 / 7.1 / 8.0
To check the iOS version information, touch [Settings] [General] [About].
Step 2: Installing Camera Connect on the smartphone
Download Camera Connect from the App Store and install it on the smartphone.
If Camera Connect is already installed on the iPhone, please proceed to
Step 3: Connecting the camera to the smartphone.
NOTE
•The example procedure is shown on an iPhone installed with iOS 6.0.
•The example screen images from the iPhone are used to explain the setting procedures and may
differ from the screens shown on other models.
1. Touch the [App Store] application on your smartphone to access the App Store.
IMPORTANT
•The Camera Connect application is free, but separate connection charges for accessing the App
Store may be applicable.
•An Apple account is necessary to download Camera Connect.
•Downloading the application via a cellular network may take longer than downloading via Wi-Fi.
2. Tap the search icon.
3. Enter [Camera Connect] in the search field, and then tap [Search].
4. Choose [Camera Connect] from the displayed search results, and install it on the iPhone.
After installation has been completed, tap the [Home] button to return to the Home Screen.
5. Touch [Settings].
6. Confirm that the smartphone is not set to [Airplane mode].
7. Tap [Wi-Fi], and then set the [Wi-Fi] switch to [ON].
Step 3: Connecting the camera to the smartphone
IMPORTANT
The position and shape of the operation buttons, screens displayed, and setting items may differ
according to the model you use.
•Procedures for using the two connection methods below are explained in the following sections.
A: Registering the smartphone to the [ ] button and connecting.
NOTE
Simply press the [ ] button to connect the devices. This simplifies sending images to a smartphone.
B: Connecting via Wi-Fi.
NOTE
You can connect the camera to a smartphone as you would connect it to a computer or other device.
Multiple smartphones can be added.
A. Pressing the Mobile Device Connect button to connect with the smartphone, and saving
images from the camera to the smartphone.
A-1. Press the cameras < Mobile device connect > ( ) button.
(Hereafter referred to as the [ ] button.)
NOTE
•When setting up Wi-Fi for the first time, the camera nickname registration screen will be
displayed.
This nickname will be displayed on [Select a Device] screen when connecting to other devices via Wi-Fi.
If the [Device Nickname] screen is displayed, press the [ ], [ ] buttons to choose [OK], and then
press the <FUNC./SET> [ ] button.
You can change the device nickname (display name) that is displayed on the camera. To change the
nickname, press the [ ], [ ] buttons to choose [Change Device Nickname] and press the
<FUNC./SET> [ ] button. Then, select the input field and press the <FUNC./SET> [ ] button. Use the
keyboard displayed to enter a new nickname.
* Depending on the model you use, a nickname may not be registered. In this case, enter a nickname
using the procedure for changing a nickname explained above.
A-2.Press the [ ], [ ] buttons to choose [ ], and then press the < FUNC./SET > [ ] button.
A-3. The cameras SSID is displayed on the screen.
REFERENCE
•When you are in the vicinity of an access point that you have previously connected to, the
camera will automatically connect to it.
•To change access points, select [Switch Network] from the screen that will be displayed when
the connection is being established.
A-4. Choose the SSID (network name) displayed on the cameras screen from the list of access points
displayed on the smartphone.
NOTE
For better security, you can require password input by accessing MENU and choosing [ ] tab
[Wi-Fi Settings] [Password] [On]. In this case, enter the password displayed on the camera in
the password field on the smartphone when it is displayed.
•After confirming that the iPhone and the camera are connected, touch the [Home Button] to
return to the [Home Screen].
A-5. Tap the [Canon CC] ( ) application icon on the iPhone to start [Camera Connect].