manuals.online logo
Brands
  1. Home
  2. •
  3. Brands
  4. •
  5. CANTERBURY
  6. •
  7. Plumbing Product
  8. •
  9. CANTERBURY ARENA Z3314-44 User manual

CANTERBURY ARENA Z3314-44 User manual

DECK MOUNTED 5-HOLES BATHTUB SET WITH
HAND SPRAY, GOOSE NECK SPOUT
Art: Z3314--44 ARENA
• Handmade in Italy since 1960
• ¼ Turn valves handmade at
Nicolazzi Factory
• Lead Free Brass Compliant to
AZ/NZS 3718
• Suitable even and uneven
pressure
• Handles are interchangeable
Specifications
WM22315
AS/NZS3662
Canterbury Sink & Tap Co.
Max/Min Operating
Pressure: 100/500kPa
Further information Phone (03) 9761 4603 sales@sinkandtap.com.au
Available replacement
handles:
-- 44 Handle
--56 Leva Arena
CAREFULLY READ THROUGH THESE INSTRUCTIONS BEFORE INSTALLATION AND USE OF ALL TAP WARE AND WALL
VALVES
INSTALLATION and WARRANTY INSTRUCTIONS
TECHNICAL INFORMATION
All flexible hoses are designed and manufactured for use with water in exposed locations only. Do not expose to
household cleaners, chlorine, chloride, hydrochloric acid or other corrosive chemicals.
All connections with threads M10x1 male must be hand tighten. Do not over tighten. Over tightening may cause
damage to the hose.
All tap ware washers and o-rings are designed and manufactured for use with water. Do not expose to household
cleaners, chlorine, chloride, hydrochloric acid or other corrosive chemicals.
Our tap ware is designed for use with the temperatures and pressures listed below:
minimum cold water supply 10 °C
maximum hot water supply 62 °C
minimum pressure 100 kPa
maximum pressure 500 kPa
maximum fixing torque value = 13.6 Nm
Please note: The recommended pressure for best performance is between 270 kPa and 420 kPa. More pressure than
420 kPa or less pressure than 270 kPa may affect the diverting action in side spray tap ware.
Do not use any Nicolazzi tap ware with sulphurous water.
The minimum temperature for all tap ware is 10 degrees Celsius . Below 10 degrees Celsius will void the warranty.
When available, filter systems must be placed between hot and cold supply lines and the tap ware. Improper use or
non-use of filters may make diverting tap ware with hand sprays perform poorly.
Don't modify the tap ware and their components.
Use only original spare parts if there are replacements to be ordered. Installation must be made by authorized
plumbers or installers. Improper installation or diagnosis of problems is not covered by the warranty. Yearly
maintenance of cleaning and flushing is recommended.
Operation and use of any tap ware or wall valve that do not conform to these technical instructions will void the
warranty.
Important Notice Model : Z3314--44
Further information Phone (03) 9761 4603 sales@sinkandtap.com.au
2
Installation Instructions Model : Z3314--44
Further information Phone (03) 9761 4603 sales@sinkandtap.com.au
Hand spray
Tap section cut out hole sizes : Maximum 33mm
diameter.
Under side clearance : Maximum 40mm
3
Preparation
Tap body
Tap body cut out hole sizes : Maximum 33mm diameter.
Under side clearance : Maximum 60mm
Continue…….
Tap section
Flush out the pipework to remove any foreign matter.
Tap section cut out hole sizes : Maximum 33mm diameter.
Under side clearance : Maximum 40mm
Installation Instructions Model : Z3314--44
Further information Phone (03) 9761 4603 sales@sinkandtap.com.au
❷
❸
Adjust the Tap Side body to the correct height
and then tighten using a 32mm spanner or
adjustable smooth jawed shifter.
Note: Make sure that the locking nuts are fully
tightened, otherwise the side body may turn
while turning the On Off lever.
Feed the cover plate 6, onto the tap side body,
until it is flush with the counter top surface.
Thread the retaining flange and handle 7, onto
the cartridge, securing it firmly by hand only.
See the “Removing and replacing a handle”, on
page “12” for additional details.
4
❶
Thread the bottom brass lock nut 1, followed by the
bottom rubber washer 2, onto the Side body 3, thread
section.
Repeat for the opposite side.
Insert the Side body 3, through the tap hole cut outs in
the counter top.
Feed the top rubber washer 4over the thread section
followed by the top brass lock nut 5.
Continue…….
Installation Instructions Model : Z3314--44
Further information Phone (03) 9761 4603 sales@sinkandtap.com.au
❺
❻
Feed the cover plate 13, onto the Diverter
body, until it is flush with the counter top
surface.
Thread the retaining flange and handle 14,
onto the Diverter spline, securing it firmly by
hand only. See the “Removing and replacing a
handle”, on page “12” for additional details.
Insert the hand spray escutcheon 15, into the
cut out hole.
Install the rubber gasket 16, onto the
escutcheon thread extension, followed by the
brass lock nut 17. Secure on to the worktop
underside, but do not over tighten.
5
❹
Thread the bottom brass lock nut 9, followed
by the bottom rubber washer 10, onto the
Diverter body 8, thread section.
Insert the Diverter body 8, through the tap
hole cut out in the counter top.
Feed the top rubber washer 11 over the
thread section followed by the top brass lock
nut 12.
Adjust the Diverter body to the correct height
and then tighten using a 32mm spanner or
adjustable smooth jawed shifter.
Note: Make sure that the locking nuts are
fully tightened, otherwise the Diverter body
may turn while turning the Diverter lever.
Continue…….

Other CANTERBURY Plumbing Product manuals

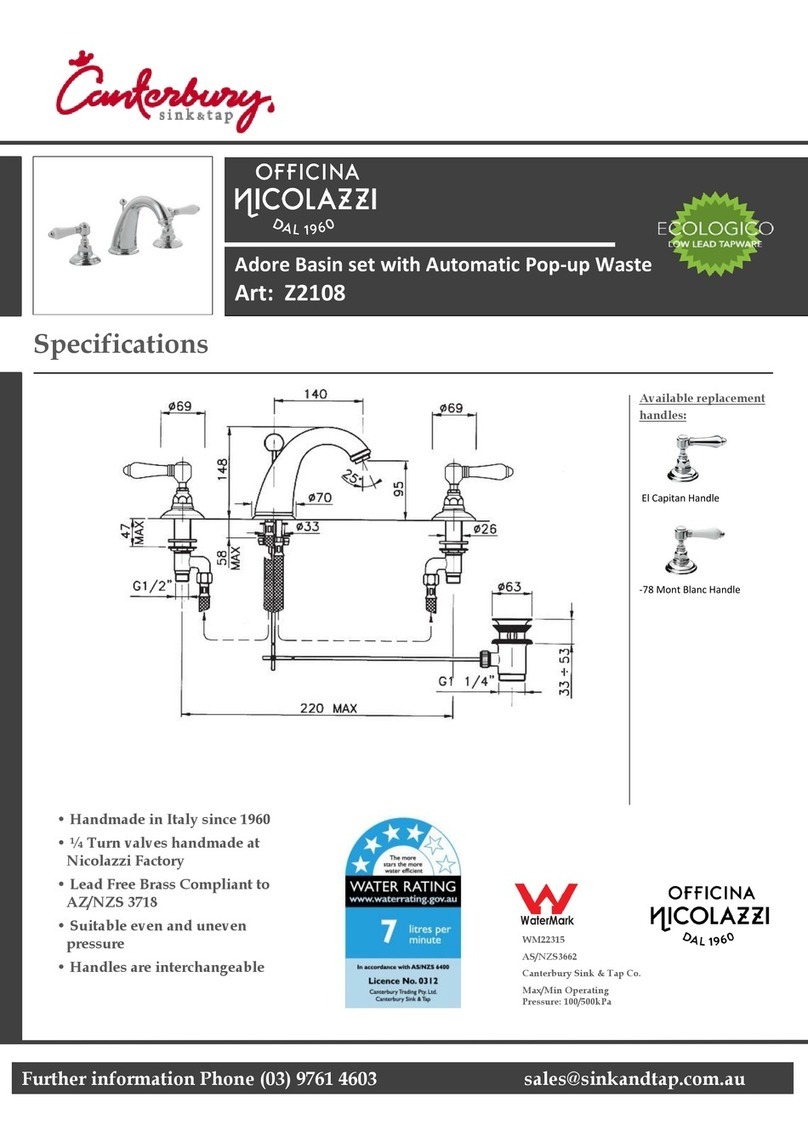
CANTERBURY OFFICINA NICOLAZZI Z2108 User manual

CANTERBURY

CANTERBURY OFFICINA NICOLAZZI Z2108 User manual

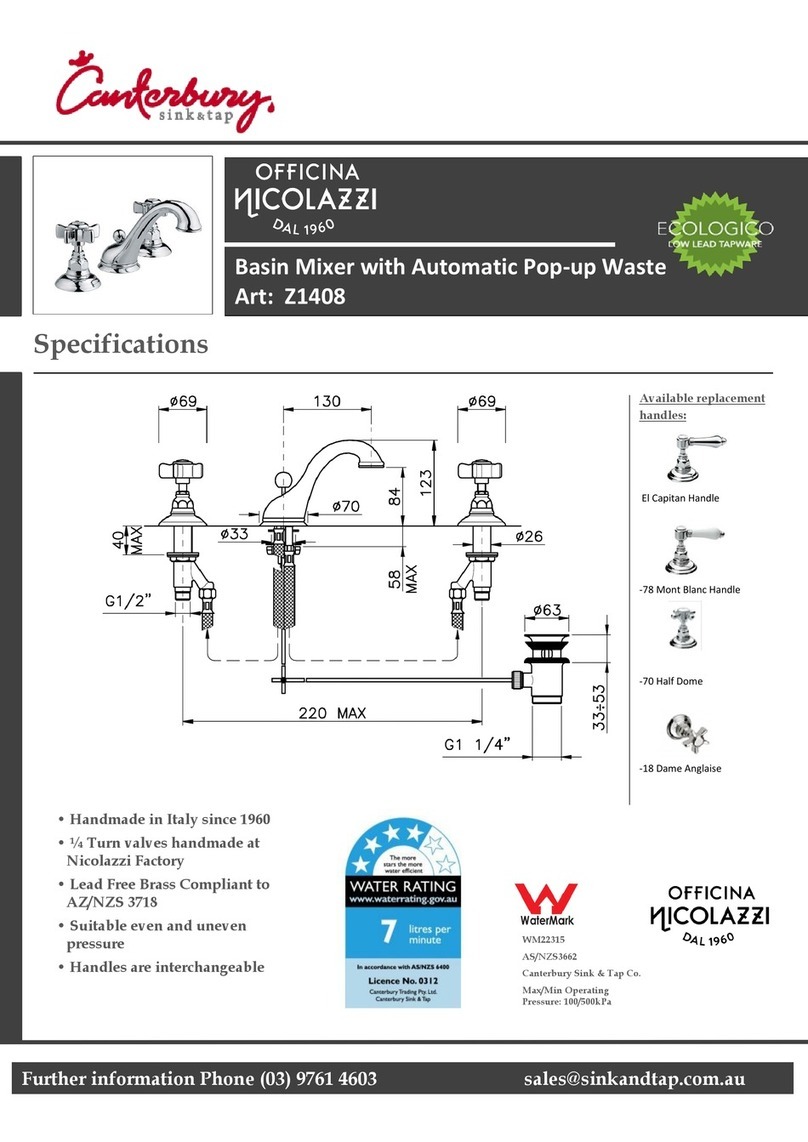
CANTERBURY Z1408 User manual

CANTERBURY

CANTERBURY Z1408 User manual

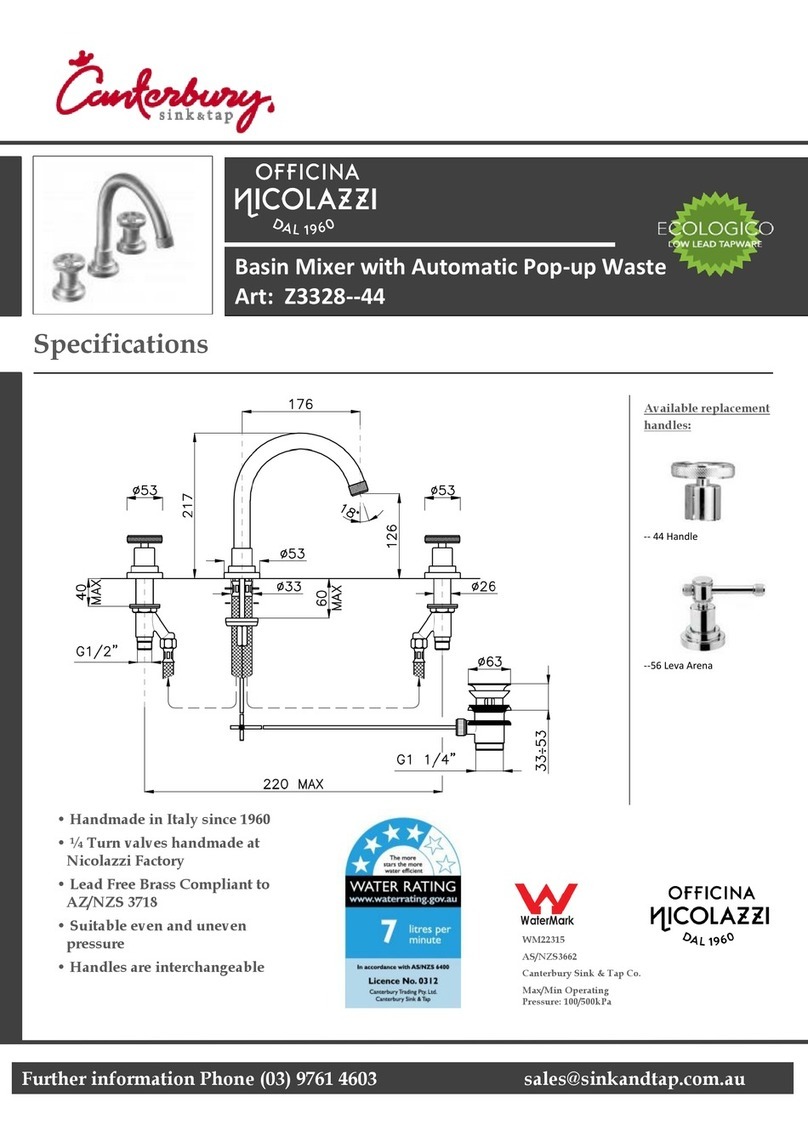
CANTERBURY Z3328-44 User manual

CANTERBURY

CANTERBURY Z3328-44 User manual

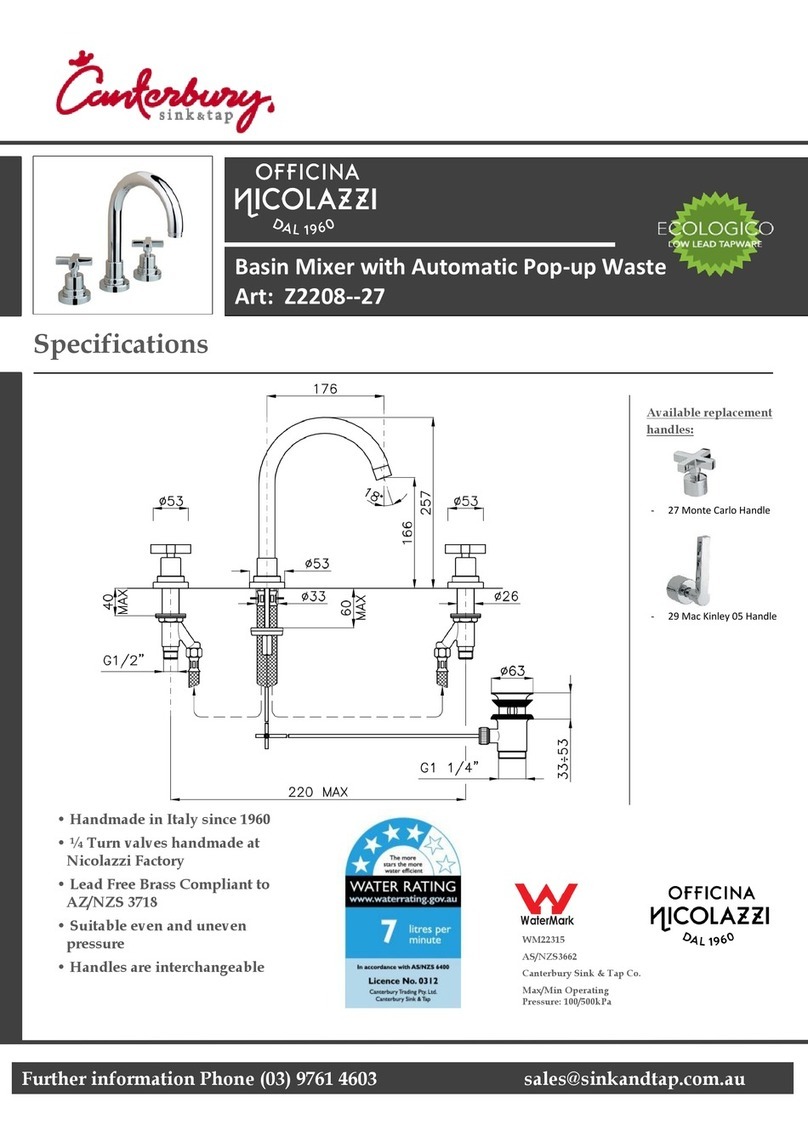
CANTERBURY Z2208--27 User manual

CANTERBURY

CANTERBURY Z2208--27 User manual

CANTERBURY Nicolazzi Z1458WS User manual
CANTERBURY

CANTERBURY Nicolazzi Z1458WS User manual

CANTERBURY OFFICINA NICOLAZZI Z1459 User manual
CANTERBURY

CANTERBURY OFFICINA NICOLAZZI Z1459 User manual

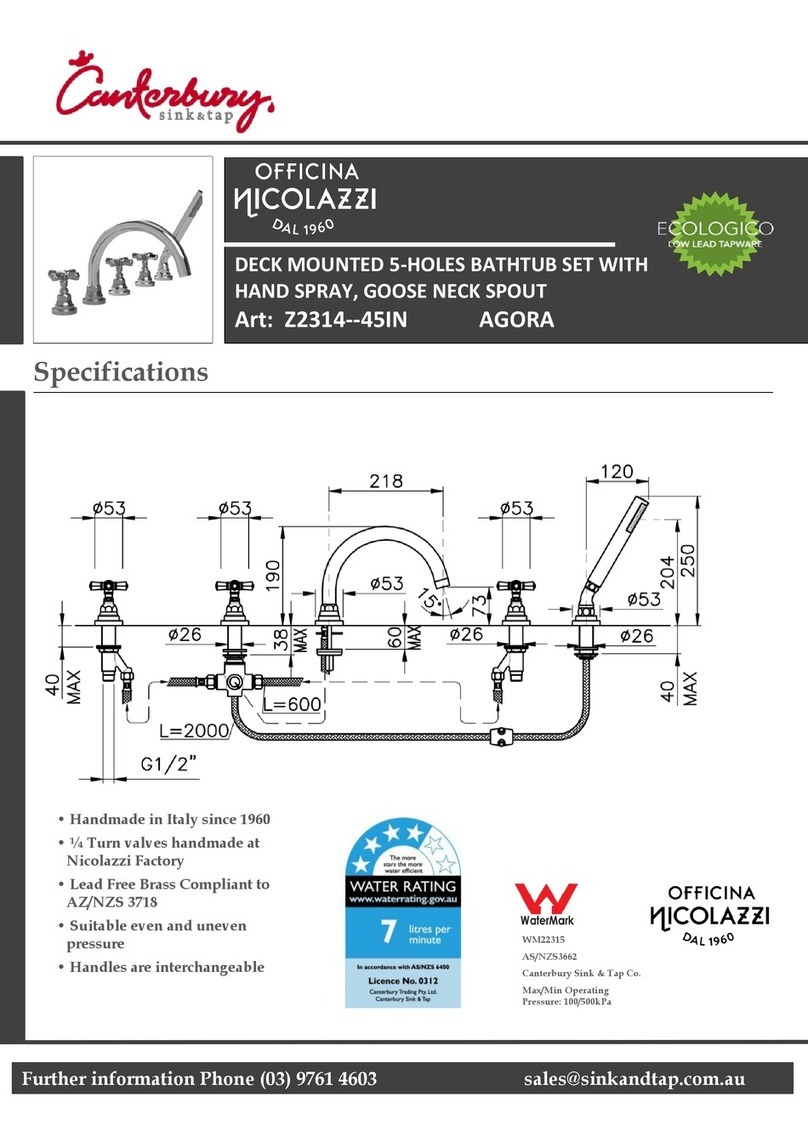
CANTERBURY AGORA Z2314-45IN User manual

CANTERBURY

CANTERBURY AGORA Z2314-45IN User manual

Popular Plumbing Product manuals by other brands

Moen SANI-STREAM 8797 manual

Moen

Moen SANI-STREAM 8797 manual

Grohe Allure Brilliant 19 784 manual

Grohe

Grohe Allure Brilliant 19 784 manual

Cistermiser Easyflush EVO 1.5 manual

Cistermiser

Cistermiser Easyflush EVO 1.5 manual

Kohler Triton Rite-Temp K-T6910-2A installation guide

Kohler

Kohler Triton Rite-Temp K-T6910-2A installation guide

BEMIS FNOTAB100 Installation instruction

BEMIS

BEMIS FNOTAB100 Installation instruction

Hans Grohe ShowerTablet Select 700 13184000 Instructions for use/assembly instructions

Hans Grohe

Hans Grohe ShowerTablet Select 700 13184000 Instructions for use/assembly instructions

Akw Stone Wash Basin Installation instructions manual

Akw

Akw Stone Wash Basin Installation instructions manual

Enlighten Sauna Rustic-4 user manual

Enlighten Sauna

Enlighten Sauna Rustic-4 user manual

Moen ShowHouse S244 Series quick start guide

Moen

Moen ShowHouse S244 Series quick start guide

Sanela SLWN 08 Mounting instructions

Sanela

Sanela SLWN 08 Mounting instructions

Franke 7612982239618 operating instructions

Franke

Franke 7612982239618 operating instructions

Heritage Bathrooms Granley Deco PGDW02 Fitting Instructions & Contents List

Heritage Bathrooms

Heritage Bathrooms Granley Deco PGDW02 Fitting Instructions & Contents List

Tres TOUCH-TRES 1.61.445 instructions

Tres

Tres TOUCH-TRES 1.61.445 instructions

STIEBEL ELTRON WS-1 Operation and installation

STIEBEL ELTRON

STIEBEL ELTRON WS-1 Operation and installation

Miomare HG00383A manual

Miomare

Miomare HG00383A manual

BELLOSTA revivre 6521/CR1 quick start guide

BELLOSTA

BELLOSTA revivre 6521/CR1 quick start guide

American Standard Heritage Amarilis 7298.229 parts list

American Standard

American Standard Heritage Amarilis 7298.229 parts list

BorMann Elite BTW5024 quick start guide

BorMann

BorMann Elite BTW5024 quick start guide

manuals.online logo
manuals.online logoBrands
  • About & Mission
  • Contact us
  • Privacy Policy
  • Terms and Conditions

Copyright 2025 Manuals.Online. All Rights Reserved.