manuals.online logo
Brands
  1. Home
  2. •
  3. Brands
  4. •
  5. Capresso
  6. •
  7. Coffee Maker
  8. •
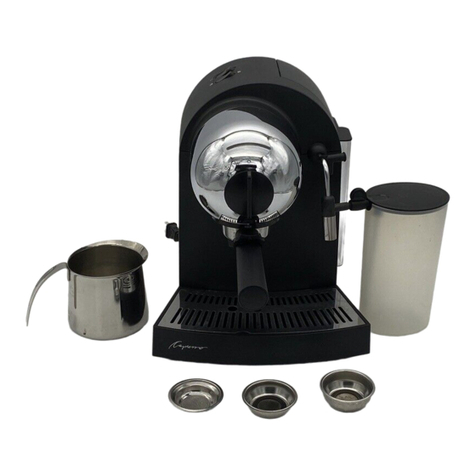
  9. Capresso ULTIMA 121 User manual

Capresso ULTIMA 121 User manual

Other manuals for ULTIMA 121

1

Other Capresso Coffee Maker manuals

Capresso froth Tec 206 Installation guide

Capresso

Capresso froth Tec 206 Installation guide

Capresso EspressoPRO 112 User manual

Capresso

Capresso EspressoPRO 112 User manual

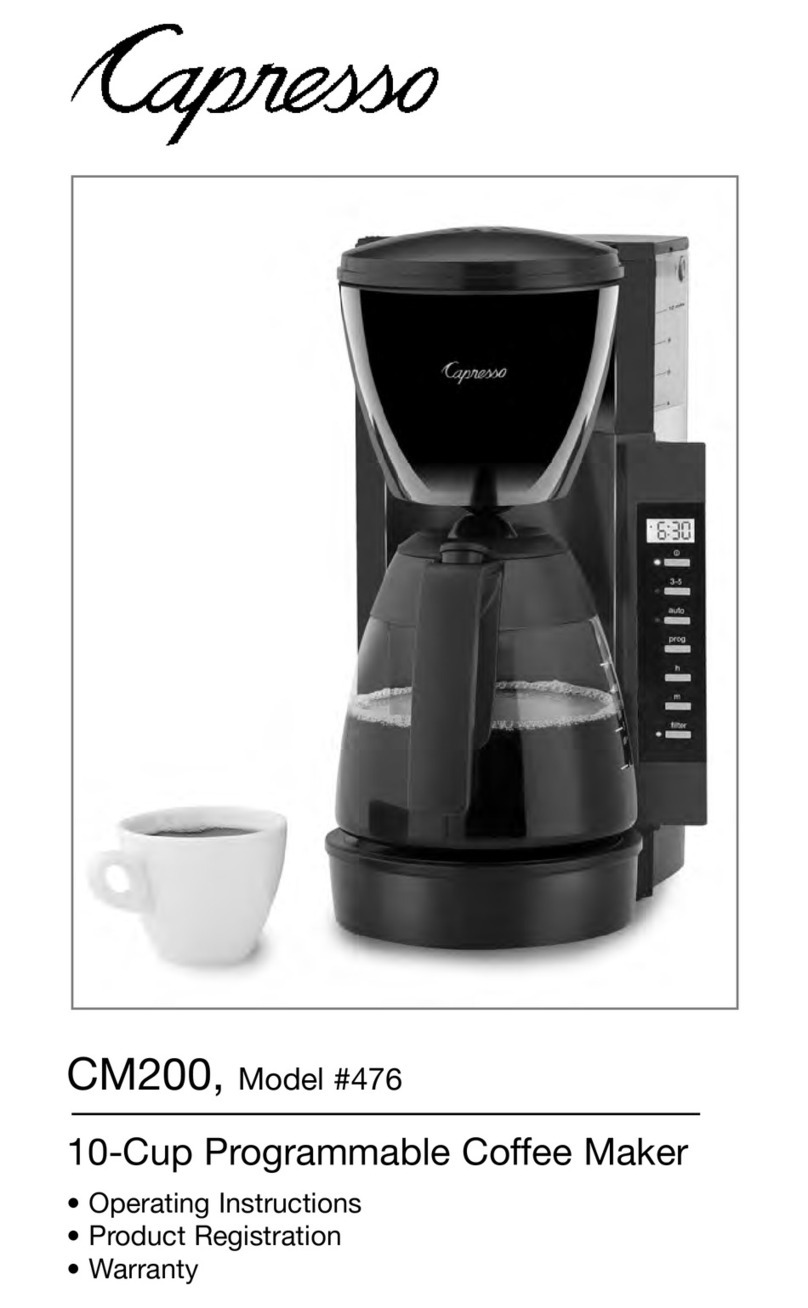
Capresso 476 User manual

Capresso

Capresso 476 User manual

Capresso 440 User manual

Capresso

Capresso 440 User manual

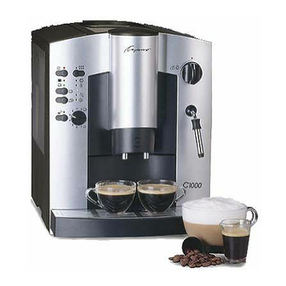
Capresso C1000 User manual

Capresso

Capresso C1000 User manual

Capresso ULTIMA PRO 124.01 User manual

Capresso

Capresso ULTIMA PRO 124.01 User manual

Capresso CoffeeTEAM TS 465 User manual

Capresso

Capresso CoffeeTEAM TS 465 User manual

Capresso CoffeeTEAM TS 465 User manual

Capresso

Capresso CoffeeTEAM TS 465 User manual

Capresso CAPRESSO User manual

Capresso

Capresso CAPRESSO User manual

Capresso EC100 Installation guide

Capresso

Capresso EC100 Installation guide

Capresso CoffeeTEC 471 User manual

Capresso

Capresso CoffeeTEC 471 User manual

Capresso ST300 User manual

Capresso

Capresso ST300 User manual

Capresso Impressa S Avantgarde User manual

Capresso

Capresso Impressa S Avantgarde User manual

Capresso EC1OO 116 User manual

Capresso

Capresso EC1OO 116 User manual

Capresso CAPRESSO CoffeeTEC User manual

Capresso

Capresso CAPRESSO CoffeeTEC User manual

Capresso CoffeeTEAM Pro Glass 477 User manual

Capresso

Capresso CoffeeTEAM Pro Glass 477 User manual

Capresso 303 User manual

Capresso

Capresso 303 User manual

Capresso Coffeemaker User manual

Capresso

Capresso Coffeemaker User manual

Capresso SG120 494 User manual

Capresso

Capresso SG120 494 User manual

Capresso EC100 User manual

Capresso

Capresso EC100 User manual

Capresso 156 User manual

Capresso

Capresso 156 User manual

Capresso CoffeeTEAM PRO Plus 487.05 User manual

Capresso

Capresso CoffeeTEAM PRO Plus 487.05 User manual

Capresso ULTIMA PRO User manual

Capresso

Capresso ULTIMA PRO User manual

Capresso 303 User manual

Capresso

Capresso 303 User manual

Popular Coffee Maker manuals by other brands

illy FrancisFrancis X7.1 user manual

illy

illy FrancisFrancis X7.1 user manual

Continental Electric CE23601 instruction manual

Continental Electric

Continental Electric CE23601 instruction manual

Electrolux EKF3 series Instruction book

Electrolux

Electrolux EKF3 series Instruction book

MIA KF 1740 instruction manual

MIA

MIA KF 1740 instruction manual

DeLonghi ECAM26455M Instructions for use

DeLonghi

DeLonghi ECAM26455M Instructions for use

Fagor CG-414 D Instructions for use

Fagor

Fagor CG-414 D Instructions for use

Bunn JDF-2S Installation & operating guide

Bunn

Bunn JDF-2S Installation & operating guide

Somogyi Elektronic Home HG PR 14 instruction manual

Somogyi Elektronic

Somogyi Elektronic Home HG PR 14 instruction manual

Morphy Richards Accents Espresso MR47580 instructions

Morphy Richards

Morphy Richards Accents Espresso MR47580 instructions

Crux 14634 instruction manual

Crux

Crux 14634 instruction manual

Taurus Livorno 6 manual

Taurus

Taurus Livorno 6 manual

Delta-q QUICK instruction manual

Delta-q

Delta-q QUICK instruction manual

Bunn LCA-1 Installation & operating guide

Bunn

Bunn LCA-1 Installation & operating guide

Chris Coffee Service Silvano owner's manual

Chris Coffee Service

Chris Coffee Service Silvano owner's manual

Black & Decker BLACK DECKER HOME DE790 Use and care book

Black & Decker

Black & Decker BLACK DECKER HOME DE790 Use and care book

Saeco Vienna Plus Sup 018M operating instructions

Saeco

Saeco Vienna Plus Sup 018M operating instructions

INCAPTO BXCO1470E Instructions for use

INCAPTO

INCAPTO BXCO1470E Instructions for use

Bosch TASSIMO finesse TAS16B Series user manual

Bosch

Bosch TASSIMO finesse TAS16B Series user manual

manuals.online logo
manuals.online logoBrands
  • About & Mission
  • Contact us
  • Privacy Policy
  • Terms and Conditions

Copyright 2025 Manuals.Online. All Rights Reserved.

“ULTIMA”
Semi-Automatic Coffee Maker and
Espresso/Cappuccino Machine
• Warranty
• Mail-in product registration
Model #121
Operating Instructions
US Patent Number 5,622,099
17055
IMPORTANT SAFEGUARDS
When using electrical appliances, basic safety precautions should always be fol-
lowed, including the following:
• Read all instructions.
• Do not touch hot surfaces. Use handles or knobs.
• To protect against fire, electric shock and personal injury do not immerse
cord, plugs, or appliance in water or other liquid.
• Close supervision is necessary when any appliance is used by or near children.
• Unplug from outlet when not in use and before cleaning. Allow to cool before
putting on or taking off parts, and before cleaning the appliance.
• Do not operate any appliance with a damaged cord or plug or after the
appliance malfunctions, or has been damaged in any manner. Return
appliance to the nearest authorized service facility for examination, repair
or adjustment.
• The use of accessory attachments not recommended by the appliance
manufacturer may result in fire, electric shock or personal injury.
• Do not use outdoors.
• Do not let cord hang over edge of table or counter, or touch any hot surfaces.
• Do not place on or near a hot gas or electric burner, or in a heated oven.
• Always attach plug to appliance first, then plug cord into the wall outlet.
To disconnect, turn any control "off", then remove plug from wall outlet.
• Do not use appliance for other than intended use.
• Use extreme caution when disposing hot steam.
• Appliances with Glass Containers.
A. The container is designed for use with this appliance. It must
never be used on a range top.
B. Do not set a hot container on a wet or cold surface.
C. Do not use a cracked container or a container having a loose or
weakened handle.
D. Do not clean container with cleansers, steel wool pads, or other
abrasive material.
SAVE THESE INSTRUCTIONS
SPECIA CORD SET
INSTRUCTIONS
Regarding your Cord Set:
A. A short power-supply cord (or detachable power-supply cord) is
to be provided to reduce risks resulting from becoming entangled
in or tripping over a longer cord.
B. Longer detachable power-supply cords or extension cords are
available and may be used if care is exercised in their use.
C. If a long detachable power-supply cord or extension cord is used,
(1) the marked electrical rating of the detachable power-supply
cord or extension cord should be at least as great as the electrical
rating of the appliance, (2) if the appliance is of the grounded
type, the extension cord should be a grounding type 3-wire cord,
and (3) the longer cord should be arranged so that it will not drape
over the counter top or table top where it can be pulled on by
children or tripped over.
D. This appliance has a polarized plug (one blade is wider than the
other). As a safety feature, this plug will fit in a polarized outlet
only one way. If the plug does not fit fully in the outlet, reverse the
plug. If it still does not fit, contact a qualified electrician. Do not
attempt to defeat this safety feature.
CAUTION:
This appliance is for household use. Any servicing other than cleaning
and user maintenance should be performed by an authorized
service representative.
• Do not immerse base in water or try to disassemble.
• To reduce the risk of fire or electric shock, do not remove the base.
No user serviceable parts inside. Repair should be done by
authorized service personnel only.
• Check voltage to be sure that the voltage indicated on the name
plate agrees with your voltage.
• Never use warm or hot water to fill the water container! Use cold
water only!
• Keep your hands and the cord away from hot parts of the appliance
during operation.
• Never clean with scouring powders or hard implements.
fig. 1
1 Knob
2 Handle Bar
3 L V R
4 Carousel (removable)
5 Funnel for coffee (removable)
6 Operating Panel
fig 1.1
6a Main On/Off Switch (illuminated)
6b Pump On/Off Switch
6c Red Indicator Light (empty coffee
container / tray missing)
6d Thermostat Light (yellow)
6a
fig. 1.1
fig. 1.2
6b
6c
6d
7c
7b
7a
10b
10c
10a
fig. 1.3
fig. 1
fig. 2
7 Selector Switch
fig 1.2
7a Coffee Position (spout)
7b Hot Water Position
7c Steam/Frothing Position
8 Frother
8a Cylinder (movable)
8b Frother Tip (removable)
9 Grid (removable)
10 Tray (removable)
fig 1.3
10a Tray Base
10b Overflow Indicator
10c Used Coffee Container
11 Measuring Scoop
12 Dual Coffee Spout (height-adjustable)
13 Tab to move spout up and down
14 Water Tank (removable)
15 Lid for Water Tank
16 Lid for Coffee Funnel
1
2
3
4
5
6
7
8a
8b
9
10
11
16
15
14
13
12
10b
fig. 3
fig. 4
fig. 8
fig. 9
fig. 5
fig. 6
fig. 8a
¨ First squeeze
≠ Then raise
or lower
¨
≠
¨ First squeeze
≠ Then raise or lower
¨
rotate counter
clockwise only
fig. 10 fig. 11
fig. 12 fig. 12a fig. 12b
fig. 13
fig. 13b
fig. 10a fig. 10b
fig. 14
fig. 15
fig. 16
fig. 17
Steam
Froth
“ULTIMA”
Semi-Automatic Coffee Maker and
Espresso/Cappuccino Machine
WHO IS CAPRESSO?
With more than 20 years experience in coffee equipment for consumers
in the US, I founded Capresso Inc. in 1994. My goal is to provide coffee
makers and espresso/cappuccino machines for the customer who wants
a better product. Safety, reliability, performance, and convenience are the
cornerstones of Capresso quality. Our products are available through
selected retailers who can give you expert advice and will treat you as a
valued customer. I hope you will enjoy your new Capresso product and
will recommend it to your friends.
Michael Kramm, President
A WORD ABOUT PRESSURE BREWED COFFEE ("Crema Coffee")
Grinding, tamping and brewing coffee under high pressure is considered the
ideal process to extract its maximum flavor and aroma by the majority of coffee
experts. Your Capresso "Ultima"will always produce espresso or coffee with a
thick, foamy layer called "crema". The "crema" traps the fine aromatics and the
light gaseous flavors that register on the palate. It keeps the flavors, which
would otherwise escape, locked in. The high pressure and the short brewing
time prevent the extraction of bitter oils and release less caffeine than other
brewing methods. You will always make the absolute freshest and most
aromatic cup of coffee. This is also the reason why many fine uropean
restaurants and hotels will serve you "crema coffee" only. Use the Capresso
"Ultima" to make a cup or two of "crema coffee".
factoid - caffeine
Caffeine is tasteless. A "strong" coffee or espresso is mostly the result of the
amount of coffee in relation to the amount of water. The longer a bean is
roasted, the less caffeine it has. "Arabica" beans have less caffeine than
"Robusta" beans. "Arabica" beans have more flavor than "Robusta" beans,
which are mostly used in high-volume coffees and instant coffees.
factoid - espresso
spresso is the way the bean is roasted, not the bean itself. You can use many
different roasts to produce espresso coffee. You can also use the espresso
roasted coffee to make a larger cup of coffee. In the US, espresso roasting
results mostly in a darker roast than espresso roasting in urope.
Contents
Chapters Page
1. QUIPM NT .....................................................................................................4
2. PL AS DO NOT ..............................................................................................4
3. CAPR SSO Plus Service™...............................................................................4
4. AFT R UNPACKING .........................................................................................4
5. WORKING WITH TH CAROUS L................................................................4-5
6. INITIAL PR PARATION .....................................................................................5
7. HOW TH TH RMOSTAT LIGHT WORKS........................................................5
8. WHICH COFF GRIND?..............................................................................5-6
9. B V RAG S... B V RAG S. ...........................................................................6
10. MAKING SPR SSO ......................................................................................6
11. MAKING CAPPUCCINO (frothing milk)...........................................................7
12. MAKING CAF LATT (steaming milk) ........................................................7-8
13. CL ANING TH FROTH R IMM DIAT LY.....................................................8
14. HOT WAT R S TTING ....................................................................................8
15. CAR AND MAINT NANC ............................................................................8
15.1 R MOVING US D COFF ..........................................................................8
15.2 OV RFLOW WAT R INDICATOR..................................................................9
15.3 R MOVING TH CAROUS L .......................................................................9
15.4 CL ARING TH TH RMOCOIL ....................................................................9
15.5 D CALCIFYING.............................................................................................9
16. WHAT IF... ......................................................................................................10
17. FR QU NTLY ASK D QU STIONS........................................................10-11
18. LIMIT D WARRANTY / Capresso Customer Service ...................................12
PRODUCT R GISTRATION ...........................................................................13-14
1. EQUIPMENT
The CAPR SSO "Ultima" (#121)
comes with the following parts:
• Coffee Scoop
• Removable tray with grid, internal
used coffee container and overflow
indicator
• Removable water container with lid
• Removable coffee funnel insert with lid
• Mail Order Insert
2. P EASE DO NOT
• Do not try to rotate the carousel
(fig. 1; #4) clockwise
• Do not try to rotate the carousel
with the lever (fig. 1; #3) down
• Do not try to push the lever down
unless the lever points to the front
• Do not fill more than two scoops of
coffee into the coffee funnel
• Do not fill coffee into the coffee
funnel if the funnel is not pointing
towards the front of the machine
• Do not fill anything else but ground
coffee into the coffee funnel
• Do not operate the machine without
the complete tray, with all its com-
ponents, properly inserted into the
machine
• Do not clean or decalcify the brew-
ing chamber with any highly reactive
cleaning solutions
• Do not lift the machine by the lever
3. CAPRESSO Plus Service™
• HE P CA 1-800-767-3554
(Monday - Friday 9 AM to 4 PM
astern Standard Time)
• E-Mail address:
contact@capresso.com
• Fax: 201-767-9684
• Website: www.capresso.com
We want you to be completely satis-
fied with your Capresso "Ultima". If
you need any assistance, call the
above number. Call anytime you want.
If you get a voice mail message leave
your phone number and say "model
#121" or "Capresso Ultima" and tell us
a good time to call you back. You can
also e-mail or fax us any time.
Our unique CAPR SSO "Ultima" Plus
Service" offers you the following within
the first 12 months (within the United
States of America):
• Free repair or free replacement if
your Capresso Ultima malfunctions,
including shipping both ways and
convenient UPS call tag pick-up
(UPS will come to you to pick up
your machine, so you don't have to
go to UPS or the post office).
• Free replacement of any defective
part including free shipping.
For limitations and restrictions see
chapter 18, WARRANTY.
4. AFTER UNPACKING
• When unpacking your Capresso
"Ultima" the lever (fig. 1; #3) is in the
locked position (see fig. 2). To un-
lock and raise the lever first squeeze
the handle bar towards the knob
(see fig. 3), then lift the lever upwards
and release the handle bar (see fig. 4)
Now you can rotate the carousel
counter clockwise (see fig. 6).
• After unpacking your machine, clean
the loose parts (water container, tray
with components) with a mild deter-
gent and warm water, then rinse
thoroughly.
5. WORKING WITH THE CAROUSE
a. The carousel only turns when the
lever is in the raised position (see
fig. 5)
b. The carousel only turns counter
clock wise (see fig. 6)
c. The lever can only be pushed down
when it points to the front of the
machine (see fig. 5 and 7)
d. To move the lever up or down you
must always first squeeze and hold
the handle bar then pull the lever
up or push it down (see fig. 7).
Then release the handle bar. The
best way to work the handle bar is
to place the palm of your hand on
top of the knob and then squeeze
the handle bar with two fingers
towards the knob (see fig. 4 and fig. 3)
4.