manuals.online logo
Brands
  1. Home
  2. •
  3. Brands
  4. •
  5. Carrier
  6. •
  7. Heat Pump
  8. •
  9. Carrier 48XT Infinity Instruction Manual

Carrier 48XT Infinity Instruction Manual

to the Expertg[
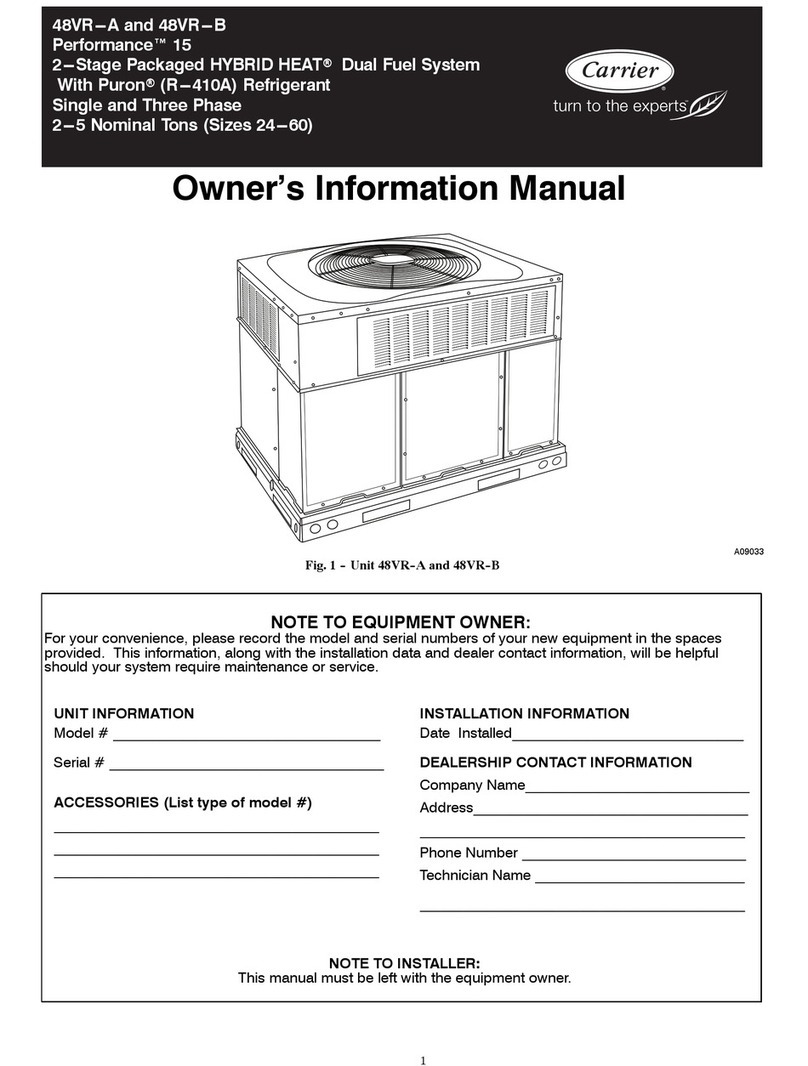
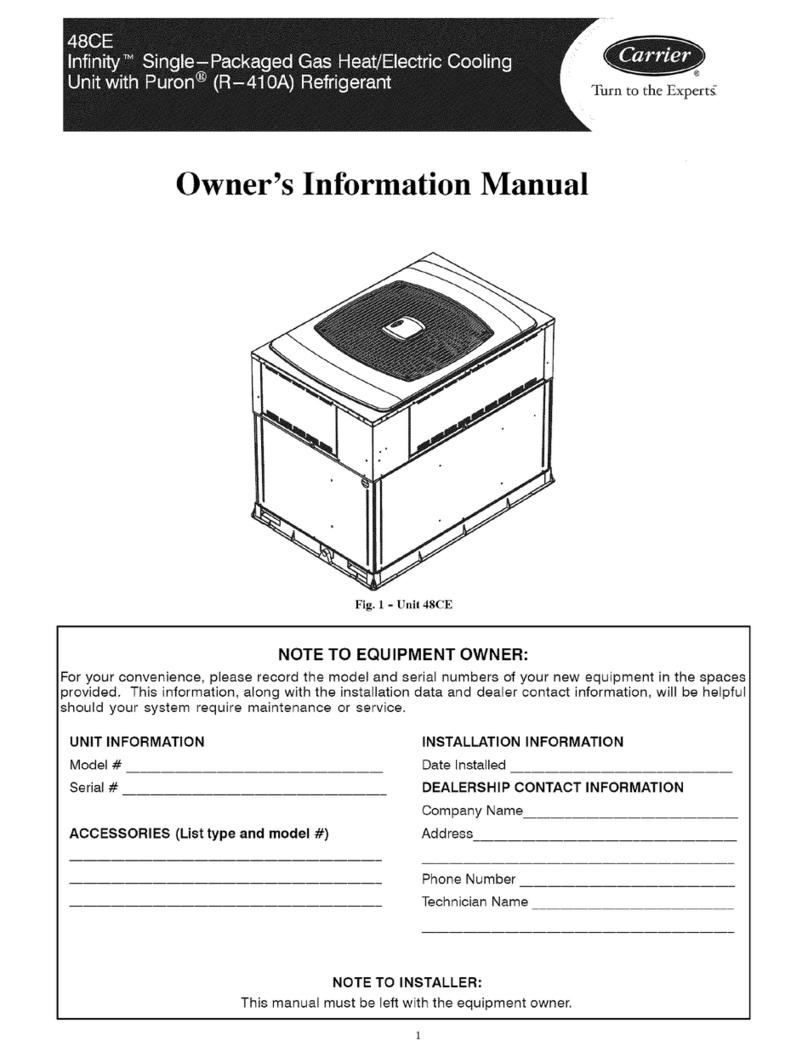
Owner's Information Manual
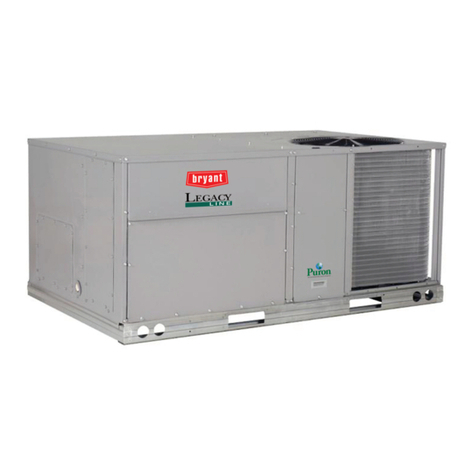
Fig. 1 -Unit 48XT
NOTE TO EQUIPMENT OWNER:
For your convenience, please record the model and serial numbers of your new equipment in the spaces
provided. This information, along with the installation data and dealer contact information, will be helpful
should your system require maintenance or service.
UNIT INFORMATION
Model #
Serial #
ACCESSORIES (List type and model #)
INSTALLATION INFORMATION
Date Installed
DEALERSHIP CONTACT INFORMATION
Company Name
Address
Phone Number
Technician Name
NOTE TO INSTALLER:
This manual must be left with the equipment owner.
SAFETY CONSIDERATIONS
Installation and servicing of this equipment can be hazardous due to
mechanical and electrical components. Only trained and qualified
personnel should install, repair, or service this equipment.
Untrained personnel can perform basic maintenance functions such
as cleaning and replacing air filters. All other operations must be
performed by trained service personnel. When working on this
equipment, observe precautions in the literature, on tags, and on la-
bels attached to or shipped with the unit and other safety precautions
that may apply.
Follow all safety codes. Installation nmst be in compliance with lo-
cal and national building codes. Wear safety glasses, protective
clothing, and work gloves. Have fire extinguisher available. Read
these instructions thoroughly and follow all warnings or cautions
included in literature and attached to the unit.
Recognize safety information. This is the safety-alert symbol _.
When you see this symbol on the unit and in instructions or manuals,
be alert to the potential for personal injury. Understand these signal
words; DANGER. WARNING, and CAUTION. These words are
used with the safety-alert symbol. DANGER identifies the most se-
rious hazards which will result in severe personal injury or death.
WARNING signifies hazards which could result in personal injury
or death. CAUTION is used to identify unsafe practices which may
result in minor personal injury or product and property damage.
NOTE is used to highlight suggestions which will result in en-
hanced installation, reliability, or operation.
Note: Installer: This manual should be left with the equipment user.
FOR YOUR SAFETY
Failure to follow this caution may result in personal injury.
Do not store or use gasoline or other flammable vapors and
liquids in the vicinity of this or any other appliance.
FIRE, EXPLOSION, ELECTRICAL SHOCK HAZARD
Failure to follow this warning could result in personal injury,
death or property damage.
Do not use this unit if any part has been underwater.
Immediately call a qualified service technician to inspect the
unit and to replace any part of the control system which has
been underwater.
For your safety if you smell gas:
1. Do not try to light any appliance.
2. Do not touch any electrical switch; do not use any phone
in your building.
3. Immediately call your gas supplier from a nearby phone.
Follow the gas supplier's instructions.
4. If you cannot reach your gas supplier, call the fire
department.
UNIT INTRODUCTION
This 48XT unit is a small packaged Hybrid Heat"' system that can
utilize both the efficiency of heat pump heating and the comfort of
gas heating. The system will optimize for ideal heating, depending
®
on several factors. This unit uses Puron ,the ozone friendly refrig-
erant, for cooling and heat pump heating.
You may notice your two-stage packaged Hybrid Heat _'_
system runs for longer periods of time. Nearly 80% of the time
it's running, it is operating in low-stage, and your indoor
temperature will remain more consistent with fewer drafts, better
humidity control, enhanced comfort and enhanced energy
efficiency.
FIRE, EXPLOSION HAZARD
Failure to follow this warning could result in death, personal
injury and/or property damage.
Do not attempt to light by hand.
FIRE, EXPLISION, ELECTRICAL SHOCK HAZARD
Failure to follow this hazard warning could result in personal
injury, death and/or property damage.
1. Do not turn off the electrical power to unit without first
turning off the gas supply.
2. Before attempting to start the gas heating section.
familiarize yourself with all the procedures that must be
followed.
Starting or Shutting Off Unit
To start the unit:
1. Turn on the electrical power supply to unit.
2. Turn on the gas supply to unit.
3. Select temperature and set User Interface (UI) control to
desired mode.
To shut off unit:
Note: If the unit is being shut down because of a malfunction, call
your dealer as soon as possible.
1. Set UI control to OFF.
2. Turn off gas supply to unit.
3. Turn off electrical power supply to unit.
OPERATING YOUR UNIT
The operation of your unit is controlled by the Infinity _" UI. You
simply program the UI and it maintains the indoor temperature at the
level you select. See UI manual for detailed instructions.
To better protect your investment and to eliminate unnecessary ser-
vice calls, familiarize yourself with the following facts:
Step 1--Cooling Mode
With the SYSTEM control set to COOL. your unit will run in cool-
ing mode until the indoor temperature is lowered to the level you
have selected. On extremely hot days, your unit will run for longer
periods at a time and have shorter "off" periods than on moderate
days.
Step 2--Hybrid Heating Mode
Your Hybrid Heat system combines the strengths of two heating
sources; an electric heat pump and a gas furnace. A Hybrid Heat
system provides more control over your monthly energy bills by al-
lowing you to choose the most economical method of heating. As
conditions change, the system automatically switches between the
two sources to maintain greater efficiency than with a single-source
heating system.
WiththeUIcontrolsettoHEAT.yourunitwillnormallyoperatethe
electricheatpumpuntiltheroomtemperatureisraisedtothelevel
youhaveselected.Ifthedemandforheatcannotbemetbytheelec-
tricheatpump,yourUIcontrolwillautomaticallyswitchtogasheat
untilthecallforheatissatisfied.
Oncolderdays,yoursystemmayautomaticallyswitchtogasheat
astheprimaryheatingsourcetomaximizetheoverallsystemeffi-
ciencyandmaintainyourcomfortlevel.
MAINTENANCEANDSERVICE
Thissectiondiscussesmaintenancethatshouldbeperformedon
yoursystem.Mostmaintenanceshouldbeperformedbyyourdeal-
er.You,astheowner,maywishtohandlesomeminormaintenance
foryournewunit.
RoutineMaintenance
Allroutinemaintenanceshouldbehandledbyskilled,experienced
personnel.Yourdealercanhelpyouestablishastandardprocedure.
Toassureproperfunctioningoftheunit,flowofcondenserairmust
notbeobstructedfromreachingtheunit.Clearancefromthetopof
theunitis48in.Clearanceofatleast36in.isrequiredonsidesex-
ceptthepowerentryside(42in.clearance)andtheductside(12in.
minimumclearance).
Maintenanceand Care for the Equipment Owner
Before proceeding with those things you might want to maintain
voursel£ please carefully consider the following:
FIRE, EXPLOSION, ELECTRICAL SHOCK HAZARD
Failure to follow this warning could result in personal injury,
death or property damage.
BEFORE SERVICING OR PERFORMING MAINTE-
NANCE ON YOUR UNIT:
1. TURN OFF GAS SUPPLY TO YOUR UNIT.
2. TURN OFF ELECTRICAL POWER TO YOUR UNIT.
Table 1--Air Filters Located Inside Unit
(For Replacement Purposes)
Unit Size Quantity Filter Size
024- 030 2 12x20xl
036 - 060 3 12x24x I
To replace or inspect filters in accessory filter rack (See Fig. 2):
1. Remove the filter access panel using a 5/16-in. nut driver.
2. Remove the filter(s) by pulling it out of ttae unit. If the filter(s)
is dirty, clean or replace with a new one.
When installing the new filter(s), note the direction of the airflow ar-
rows on the filter frame.
If you have difficulty locating your air filter(s) or have questions
concerning proper filter maintenance, contact your dealer for in-
structions. When replacing filters, always use the same size and type
of filter that was supplied originally by the installer.
FIRE AND UNIT OPERATIONA HAZARD
Failure to follow this warning could result in death, personal
injury and/or property damage.
Never operate your unit without filters in place. An
accumulation of dust and lint on internal parts of your unit can
cause loss of efficiencv.
ELECTRICAL SHOCK HAZARD
Failure to follow this warning could result in death, personal
injury and/or property damage.
When removing access panels or performing maintenance
functions inside your unit, be aware of sharp sheet metal parts
and screws. Although special care is taken to reduce sharp
edges to a minimum, be extremely careful when handling
parts or reaching into the unit.
Air Filters
The air filter(s) should be checked every 3 or 4 weeks and changed
or cleaned whenever it becomes dirty. Dirty filters produce exces-
sive stress on the blower motor and can cause the motor to overheat
and shut down.
This unit must have air filters in place before it can be operated.
These filters can be located in one of at least two places. In many ap-
plications, the installer will provide return air filter grilles mounted
on the wall or ceiling of the conditioned structure. In the instance of
filter grilles, the filters can simply be removed from the grille and re-
placed.
The other typical application is an accessory filter rack installed in-
side the unit itself. The following information is given to assist in
changing filters used in these internal filter racks.
Table 1 indicates the correct filter size for your unit. Refer to Fig. 2
to access filters installed in the accessory filter rack.
ACCESS PANEL
FINER ACCESS
PANEL*
*For accessory filter rack
Fig. 2 - Accessory Filter Rack Access Panel
Fans and Fan Motors
Periodically check the condition of fan wheels and housings and fan
motor shaft bearings. Contact your dealer for the required annual
maintenance.
Indoor and Outdoor Coils
Cleaning of the coils should only be done by qualified service per-
sonnel. Contact your dealer for the required annual maintenance.
Condensate Drain
The drain pan and condensate drain line should be checked and
cleaned at the same time the cooling coils are checked by your deal-
er.
Compressor
All compressors are factory shipped with a normal charge of the cor-
rect type of refrigeration grade oil. A compressor should rarely re-
quire additional oil.
CondenserFan
PERSONAL INJURY AND UNIT DAMAGE HAZARD
Failure to follow this warning could result in death, personal
injury and/or property damage.
Do not insert sticks, screwdrivers, or any other objects into
revolving fan blades.
The fan must be kept free of all obstructions to ensure proper cool-
ing. Contact your dealer for any required service.
Electrical Controls and Wiring
Electrical controls are difficult to check without proper instrumenta-
tion. If there are any discrepancies in the operating cycle, contact
your local dealer and request service.
Refrigerant Circuit
The refrigerant circuit is difficult to check for leaks without the prop-
er equipment. If inadequate cooling is suspected, contact your local
dealer for service.
EXPLOSION AND BURN HAZARD
Failure to follow this warning could result in death, personal
injury and/or property damage.
System under pressure. Relieve pressure and recover all
refrigerant before system repair or final unit disposal. Use all
service ports and open all flow-control devices, including
solenoid valves.
Unit Panels
After performing any maintenance or service on the unit. be sure all
panels are fastened securely in place to prevent rain from entering
unit cabinet and to prevent disruption of the correct unit airflow pat-
tern.
Regular Dealer Maintenance
In addition to the type of routine maintenance you might be willing
to perform, your unit should be inspected regularly by a properly
trained service technician. An inspection (preferably each year. but
at least every other year) should include the following:
1. Inspection and, if required, cleaning of the outdoor and
indoor coils.
2. Inspection and. if required, cleaning of the indoor coil drain
pan.
3. Inspection and cleaning of blower wheel housing and motor.
4. Inspection of all supply-air and return-air ducts for leaks,
obstructions, and insulation integrity. Any problems found
should be resolved at this time.
5. Inspection of the unit base to ensure that no cracks, gaps, etc.,
exist which may cause a hazardous condition.
6. Inspection of the unit casing for signs of deterioration.
7. Inspection of all electrical wiring and components to assure
proper connection.
8. Inspection for leaks in the refrigerant circuit. Pressure check
to determine appropriate refrigerant charge.
9. Inspection of compressor oil level by service person to
ensure proper oil level is maintained in the compressor when
it is installed and running.
10. Operational check of the unit to determine working
conditions. Repair or adjustment should be made at this time.
Your servicing dealer may offer an economical service contract that
covers seasonal inspections. Ask for further details.
Complete service instructions can be found in the unit Installation,
Start-up and Service Instructions.
Warranty Certificate
Your unit has a limited warranty. Be sure to read the warranty care-
fully to determine the coverage for your unit.
Before you call for service...
...check for several easily-solved problems.
If insufficient heating or cooling is suspected:
( ) Check for sufficient airflow. Check the air filter for dirt. Check
for blocked return-air or supply-air grilles. Be sure they are open
and unobstructed. If these checks do not reveal the cause, call your
servicing dealer.
If your unit is not operating at all, check the following list for
easy solutions:
( ) Check to be sure that the temperature specified by your User
Interface is set below the indoor temperature during the cooling sea-
son or above the indoor temperature during heating season. Be sure
the User Interface is set to COOL or HEAT and not OFF.
( ) If your unit still fails to operate, call your servicing dealer for
troubleshooting and repairs. Specify the model and serial numbers
of your unit. (Record them in this manual in the space provided.) If
the dealer knows exactly which unit you have, he may be able to
offer suggestions over the phone, or save valuable time through
knowledgeable preparation for the service call.
In Case of Trouble
If you perform the steps above and unit performance is still unsatis-
factory, shut off the unit and call your dealer.
®
Turn to the Expertg[
TO OBTAIN INFORMATION ON PARTS: Consult your installing dealer or classified section of your local telephone directory under the
"Heating Equipment" or "Air Conditioning Contractors & Systems" heading for dealer listing by brand name.
Have available the Model No., Series Letter. & Serial No. of your equipment to ensure correct replacement part.
Copyright 2006 Carrier Corporation Printed in the US.A. Edition Date: 11/06
Manufacturer reserves the right to change, at any tirne_ specifications and design without notice and without obligation. Catalol_ No: 0M48-26
Replaces: New

Other Carrier Heat Pump manuals

Carrier 50QQ018 Dimensions and installation guide

Carrier

Carrier 50QQ018 Dimensions and installation guide

Carrier 38BQ Dimensions and installation guide

Carrier

Carrier 38BQ Dimensions and installation guide

Carrier 38BQ Dimensions and installation guide

Carrier

Carrier 38BQ Dimensions and installation guide

Carrier AQUAZONE 50RHE006-060 Quick guide

Carrier

Carrier AQUAZONE 50RHE006-060 Quick guide

Carrier XCT 7 40VC009-048F-7G-QEE Installation instructions

Carrier

Carrier XCT 7 40VC009-048F-7G-QEE Installation instructions

Carrier AQUAZONE PCV015-060 Quick guide

Carrier

Carrier AQUAZONE PCV015-060 Quick guide

Carrier 50HCQ12 User manual

Carrier

Carrier 50HCQ12 User manual

Carrier AQUAZONE 50PCH Dimensions and installation guide

Carrier

Carrier AQUAZONE 50PCH Dimensions and installation guide

Carrier Aquazone 50PSW025-420 User manual

Carrier

Carrier Aquazone 50PSW025-420 User manual

Carrier 25HPA6 Quick start guide

Carrier

Carrier 25HPA6 Quick start guide

Carrier 38QB User manual

Carrier

Carrier 38QB User manual

Carrier 50SZ024 User manual

Carrier

Carrier 50SZ024 User manual

Carrier WEATHERMASTER 2000 User manual

Carrier

Carrier WEATHERMASTER 2000 User manual

Carrier 80AWX Series User manual

Carrier

Carrier 80AWX Series User manual

Carrier Infinity 24VNA6 User manual

Carrier

Carrier Infinity 24VNA6 User manual

Carrier 25TPA7 User manual

Carrier

Carrier 25TPA7 User manual

Carrier AQUAZONE 50KQE Series Manual

Carrier

Carrier AQUAZONE 50KQE Series Manual

Carrier AutoZone 50HTQ Operating and installation instructions

Carrier

Carrier AutoZone 50HTQ Operating and installation instructions

Carrier 38AQ012 Dimensions and installation guide

Carrier

Carrier 38AQ012 Dimensions and installation guide

Carrier 38AYC Series Operation manual

Carrier

Carrier 38AYC Series Operation manual

Carrier GT-PX Split Series Guide

Carrier

Carrier GT-PX Split Series Guide

Carrier 38AUQ 16 Series Dimensions and installation guide

Carrier

Carrier 38AUQ 16 Series Dimensions and installation guide

Carrier 50QT Dimensions and installation guide

Carrier

Carrier 50QT Dimensions and installation guide

Carrier 50SZ Series Dimensions and installation guide

Carrier

Carrier 50SZ Series Dimensions and installation guide

Popular Heat Pump manuals by other brands

Nortek GKU18USV4DH Installation instructions & owner's manual

Nortek

Nortek GKU18USV4DH Installation instructions & owner's manual

emmeti MIRAI SMI Installation and use manual

emmeti

emmeti MIRAI SMI Installation and use manual

Bard SH381 installation instructions

Bard

Bard SH381 installation instructions

hawa 3116 Operation manual

hawa

hawa 3116 Operation manual

Bard SH612D installation instructions

Bard

Bard SH612D installation instructions

McQuay Incremental MQT Series Installation and maintenance data

McQuay

McQuay Incremental MQT Series Installation and maintenance data

ACS Marvair MAA1020H Installation & operation manual

ACS

ACS Marvair MAA1020H Installation & operation manual

Graco HIGH-FLO 311211L Instructions - parts

Graco

Graco HIGH-FLO 311211L Instructions - parts

EarthLinked SCWD-024-1C Quick start instructions

EarthLinked

EarthLinked SCWD-024-1C Quick start instructions

Daikin CHYHBH05AA installation manual

Daikin

Daikin CHYHBH05AA installation manual

Haier GE NS22HM Service manual

Haier

Haier GE NS22HM Service manual

Raypak 5350 Series Installation & operating instructions

Raypak

Raypak 5350 Series Installation & operating instructions

Daikin FVXD56FV2C Service manual

Daikin

Daikin FVXD56FV2C Service manual

Ecotec EAS SERIES Installation & user manual

Ecotec

Ecotec EAS SERIES Installation & user manual

IVT Optima 600 installation guide

IVT

IVT Optima 600 installation guide

Trane FLEX HP HT Installation operation & maintenance

Trane

Trane FLEX HP HT Installation operation & maintenance

Haier GE APPLIANCES Connect Series Service manual

Haier

Haier GE APPLIANCES Connect Series Service manual

Bosch EHP 6.5 AA Operation manual

Bosch

Bosch EHP 6.5 AA Operation manual

manuals.online logo
manuals.online logoBrands
  • About & Mission
  • Contact us
  • Privacy Policy
  • Terms and Conditions

Copyright 2025 Manuals.Online. All Rights Reserved.