Casecore Games Explorer Case Pro User manual

1. Important safety instructions
●Before using the product, read these instructions carefully. Keep this document in a safe place for future
reference.
●Only use this device in dry, clean and well ventilated places, minimum clearances for ventilation are top: 10cm,
rear: 10cm, sides 10 cm.
●Keep the device away from any heat sources, vibrations, direct sunlight and water.
●Do not place any objects on top of the device, do not cover with cloths, paper or other materials that may
obstruct heat radiation.
●Always make sure the device is turned off when storing.
●Do not plug this device directly into the wall power socket with USB cable, as it may cause an electrical shock, fire,
damage to the unit and/or personal injury.
●Always use high quality and safe chargers.
●Do not use the device installed upside-down.
●Do not use force on switches, buttons, keypad or other elements.
●This device should not be used by children without supervision of adults.
●Only input voltage specified for this unit can be used. Using higher voltage can be dangerous and may cause fire,
damage the unit and/or personal injury. Casecore will not be held responsible for any damage resulting from the
use of this unit with a voltage other than specified.
●Do not attempt to modify or fix this unit without contacting the manufacturer.
●The front panel of the unit should not be lifted without contacting the manufacturer.
●Don’t leave the device on constant charging when storing for a long time.
●To charge up the batteries inside the device use a stable 5V DC power supply.
CAUTION! DO NOT PUT IN DOMESTIC WASTE.
This marking means that the product cannot be discarded with other wastes. To prevent potential
damage to the environment or health, used up the product must be recycled. In accordance with
applicable law, unfit electrical equipment must be collected separately, at specially designated
places for them to be processed and re-processed, based on applicable environmental protection
standards.
Intended use of the device
This device is designed as a portable escape room game prop and should not be used in any other way.
Handle with care
The device was made as durable and robust as possible but fragile electronic connections inside might be
damaged on serious impacts, therefore move it with care.
2

2. Prop specifications
Model name
Explorer Case Pro
Dimensions (Width x Height x Depth)
47cm x 35cm x 16.5cm
Weight
8.6 kg
Tilt Range
45°
Operating Temperature
0°C to 35°C
Operating Humidity
< 80%
Battery charge input power
5V DC
Battery capacity
4400 mAh
3. List of included accessories
1. Set of 5 RFID cards numbered from 1 to 5 for triggering hints.
2. USB flash drive with default audio files
3. Pair of keys to turn the prop on and off.
4. Set of 4 6.3mm jack wires.
5. USB-A to USB-B cable for charging.
3

4. Gameplay mechanics
4

The versatile design of the prop allows for numerous usage possibilities. Included above is a
diagram illustrating the basic mechanics of gameplay achievable with this prop. You can opt
to run the game in two different modes: linear mode, which involves activating one module
after another in sequence, or non-linear mode, which allows for all five modules to be
tackled simultaneously.
5. When will the game start?
There are two options of starting the game:
●Right after the power key is inserted and turned once.
●When the lid of the case is opened a game is triggered by a light sensor.
You can change the starting condition via the APP.
If you chose to start a game when the lid is opened, a staff member would need to insert the key,
turn it once when the lid is closed and wait for the case to beep. After that first beep the case is
armed and if after opening the lid if the correct amount of light hits the panel, the game will start
automatically.
The key switch instead of regular on/off switch is important, so the players can’t turn or restart the
device during a game. If you leave the key to the players, it is possible but unlikely they will figure
out how to turn the device off and on again.
6. When will the game end?
The game will end after all 5 modules are solved, then the lights will flash green and victory text
with score will be displayed. There will also be backlight green LED animation and victory sound
played.
Players will lose if they run out of total mistakes or when the time lost penalty is greater than
remaining game time. Please remember that if you run a fun only game, you can set maximum
mistakes to 999 and no time lost on each mistake.
7. How to turn the device on and off?
At the back of the case there is a maintenance panel with a keyhole. When you twist the key once
the case will be powered on. When you twist the key twice within 2 seconds it will turn off.
The prop will be reseted each time it’s powered on, no progress is saved between resets!
It means that between each game, you have to turn the case off and back on to prepare it for a new
round.
5

8. Charging the battery
At the back of the case, there is a USB type B slot. Use the provided cable along with any
5V DC charger to charge up the battery. The batteries are protected by over discharge and
overcharge, but don’t leave the device on constant charging when storing.
9. Battery power level
At the back of the case there is a battery level indicator. Please note the power level indicator is only
active when the case is powered, not during charging. There is no direct indicator for the charging
process.
Battery indicator stages:
Red outline only: >25% battery almost discharged
1 bar: 25% battery
2 bars: 50% battery
3 bars: 75% battery
4 bars: 100% battery
10. Setting up Bluetooth connection
●First you need to download Casecore Controls App from Google Play store. You can find a
link on our website www.casecoregames.com or go directly to the Play Store and find the
app.
●Next you need to pair the prop with your phone (you only need to do this step once).
To pair with your phone:
1. Turn on the case
2. Turn on the bluetooth connection on your phone
3. Go to the bluetooth device list in your phone and look for devices available to pair with.
4. After a while prop should appear, please note the name of the device is usually HC-05 but on your
phone it might be different, for example sometimes it’s just the address like “98:D3:71:F6:BA:1A”.
If you have multiple cases we recommend marking them with their addresses to easily find them if
you want to change the settings in the future.
5. Click on the name and enter password: “1234”.
6. If the devices are successfully paired, open the Casecore Controls APP.
In the app press “Select” button:
6

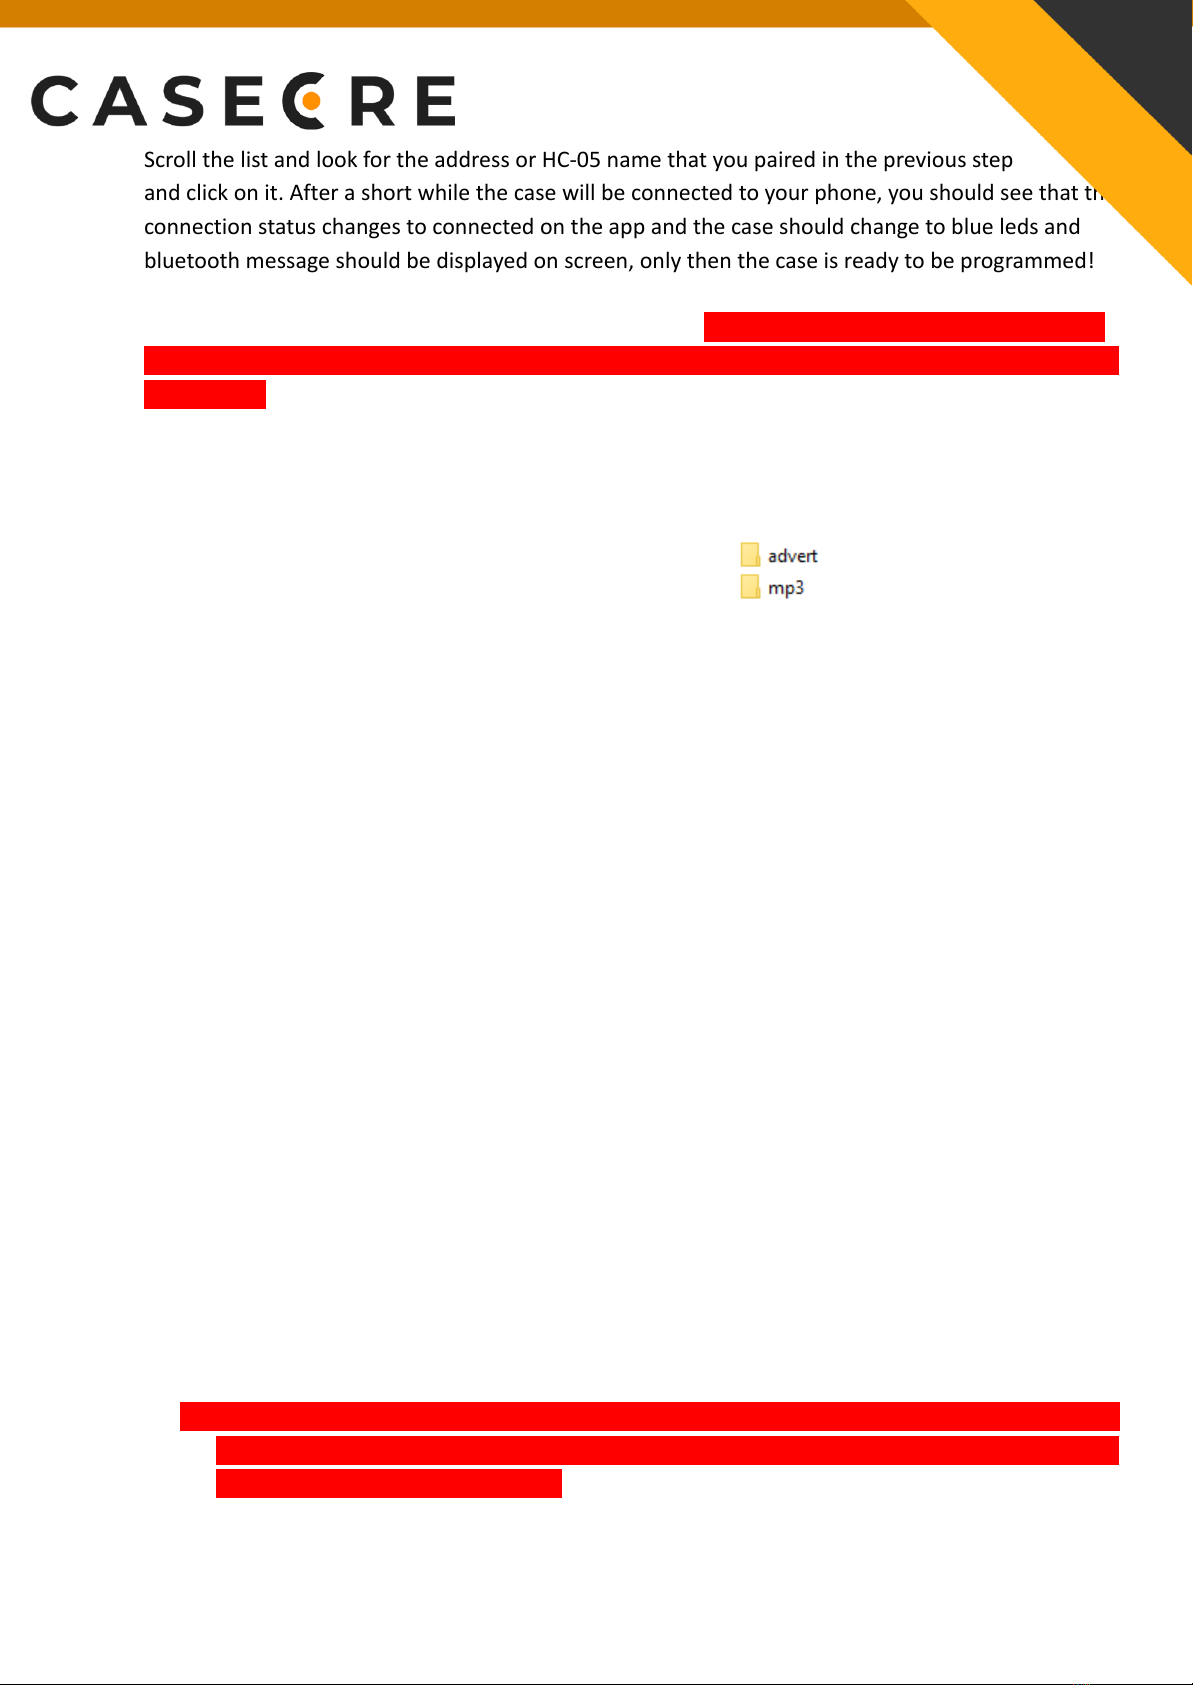
Scroll the list and look for the address or HC-05 name that you paired in the previous step
and click on it. After a short while the case will be connected to your phone, you should see that the
connection status changes to connected on the app and the case should change to blue leds and
bluetooth message should be displayed on screen, only then the case is ready to be programmed!
All the changes you make will be active after power reset. Please note that when powering off the
case and turning it back on, you would need to connect the app once again by selecting the device
from the list (but you only need to pair the device once with your phone).
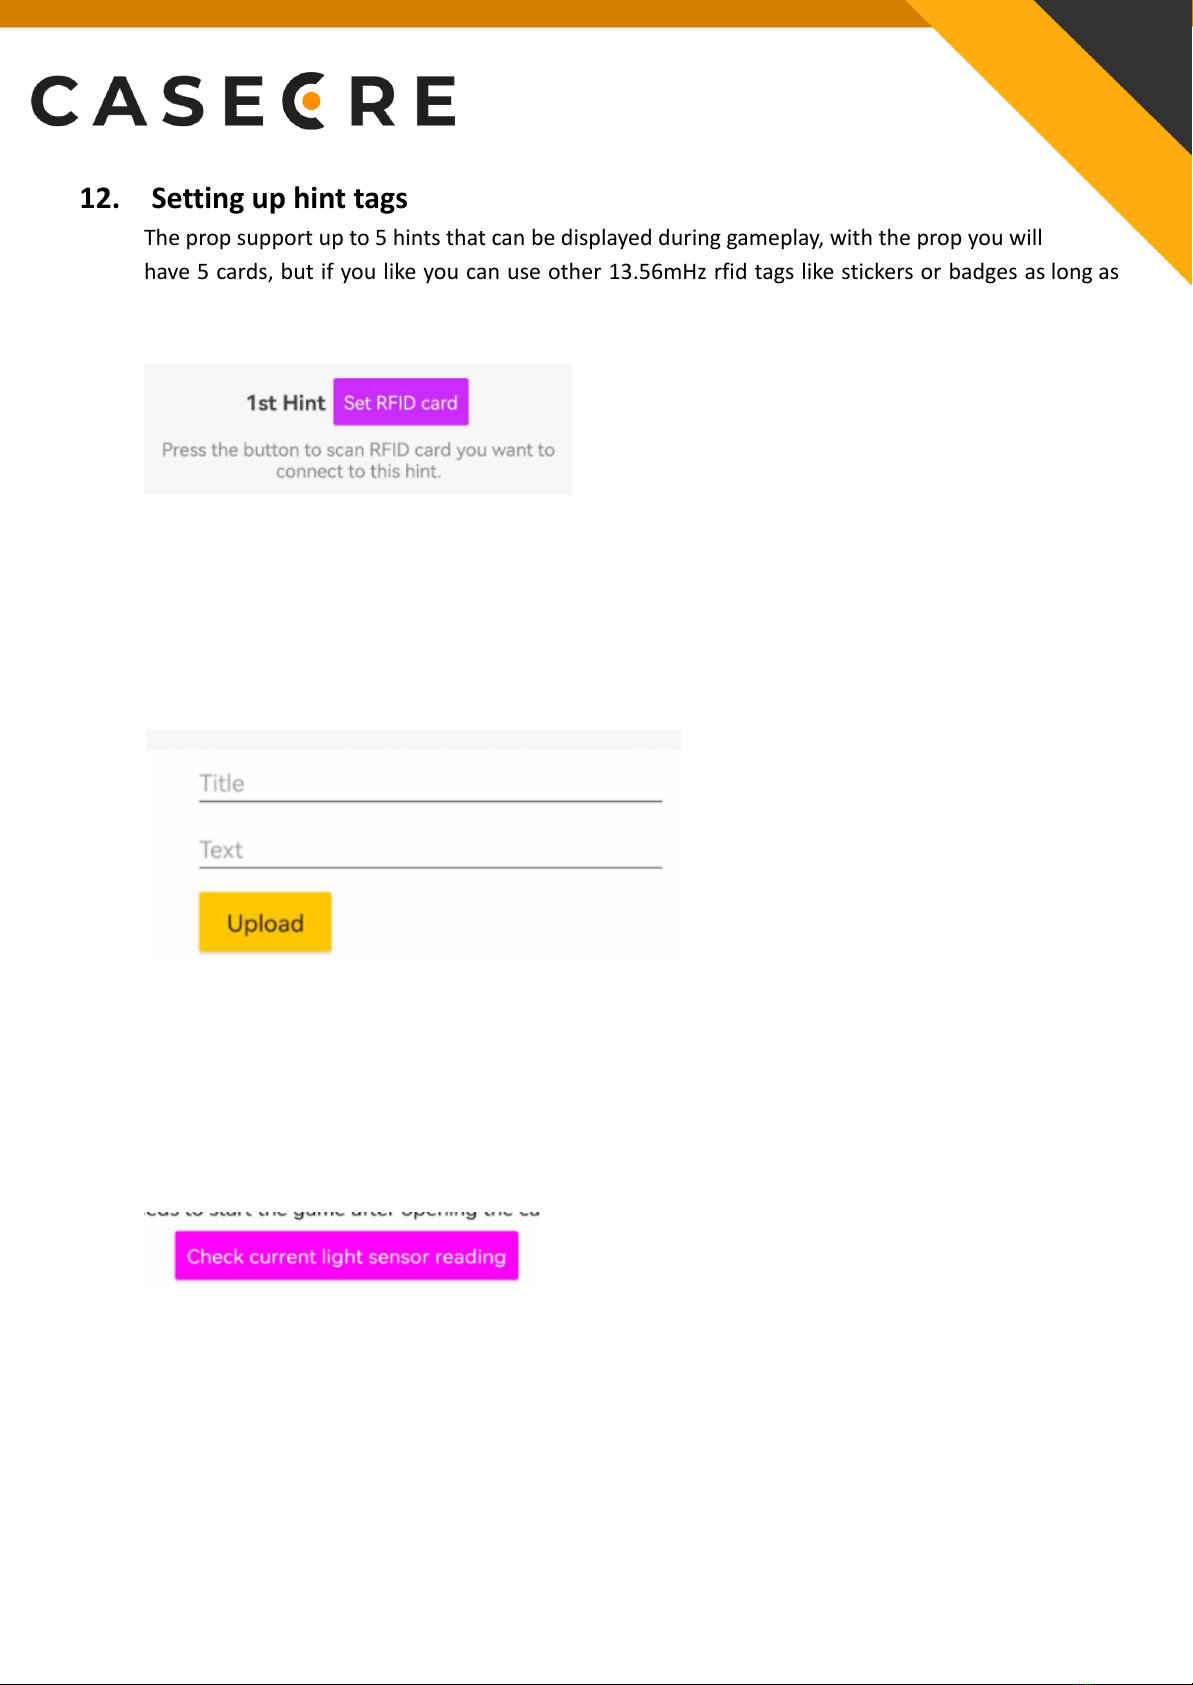
11. Setting up custom audio files
To change the default audio files stored on USB flash drive you need to follow below actions:
1. Plug the USB flash drive to your PC.
2. You should see two folders inside, advert and mp3.
3. Copy those folders to your PC as a backup!
4. The structure of the folders in the flash drive has to remain the same, so you will always
need to have advert and mp3 folders.
5. When you change the files you will always need to follow a strict naming scheme, if you just
put in random files the case will not know what file is to what action!
a. In the mp3 folders there are 4 files:
■0001.mp3 - this is the background music file name
■0002.mp3 - this is bluetooth connection sound effect, you don’t have to
change it
■0003.mp3 - this is a victory sound effect played when players win
■0004.mp3 - this is a game over sound effect played when players lose
b. In the advert folder there are 9 files:
■0001.mp3 - universal success sound played when module is solved
■0002.mp3 - universal strike sound played when players made mistake
■0003.mp3 - universal hint used sound effect played when rfid card is scanned
■0004.mp3 - welcome message played when the game starts
■0005.mp3 - padlock sound effect played when this module is solved
■0006.mp3 - buttons sound effect played when this module is solved
■0007.mp3 - switches sound effect played when this module is solved
■0008.mp3 - keypad sound effect played when this module is solved
■0009.mp3 - jacks sound effect played when this module is solved
6. Prepare two new folders called advert and mp3 on your PC and fill them with new files
named as mentioned above.
7. Delete the present two advert and mp3 folders from the USB flash drive, so it’s empty.
8. Drag and drop two of the new folders you created with new files onto the usb flash drive, it’s
very important that you do this all at once, if you just try to replace single files on the usb,
the case might play the wrong files!
9. Plug the USB flash drive back to prop and check if everything works correctly.
7

12. Setting up hint tags
The prop support up to 5 hints that can be displayed during gameplay, with the prop you will
have 5 cards, but if you like you can use other 13.56mHz rfid tags like stickers or badges as long as
they are good quality and can be put close enough to the scanning sensor behind the screen.
One hint is triggered by one card/tag. To setup the
card or tag to hint you have to be connected to the
case with the bluetooth app, go to the Clues section
and press the purple button “set RFID card”:
You will see a message on the prop’s screen that it’s waiting for the new card/tag to be scanned.
When you do this, you should hear a sound and a new message will be displayed saying that a new
card/tag has been scanned and also its ID.
From now on, whenever this card / tag is scanned during the game it will trigger the two related
titles and text to show on the screen for the selected amount of time.
Please remember you need to press upload after you edit the above messages.
13. Setting light sensor sensitivity for automatic start
Since the environment where props are used can be different, if you’ve chosen to start a
game with the “lid is lifted” option, you also have to adjust the amount of light required by
the case to start the game.
When the case is connected you can press purple
button:
To see what the current value of the light sensor is. It will be displayed on the prop's screen.
Now you need to adjust the trigger value with the slider above this button to be higher than
the value you just checked, this way the sensor will always trigger for the current light
settings.
8
Table of contents
Other Casecore Games Game manuals
Popular Game manuals by other brands

FIRST TEAM SPORTS
FIRST TEAM SPORTS POP-A-SHOT PREMIUM Assembly instructions

Techno Source
Techno Source Sesame Street 1500 user manual

Midway
Midway BLITZ 99 Operation manual

MOB
MOB MO9493 user manual

Tiger
Tiger Hollywood Hogan 80-605 manual

Hasbro
Hasbro Deluxe Electronic Adventure Woody 09336 instruction manual

Hasbro
Hasbro Beyblade Grevolution Wyvern DJ 85421 instructions

goki
goki Three dwarves manual

Hasbro
Hasbro Nerf Dart Tag 61579 instruction manual

LEXIBOOK
LEXIBOOK ChessMan Light CG1500 user guide

Parker Brothers
Parker Brothers Boggle instructions

Playskool
Playskool Barney Pop-Up Playmat 5755 instruction manual